Winterizing Sprinklers and Ridgid Compressor tool review is sponsored by The Home Depot. I have been compensated for my time and provided with product. All ideas and opinions are my own. This post contains some affiliate links for your convenience. Click here to read my full disclosure policy.
If you have sprinklers in your yard for your lawn and live where it freezes, then one job that needs to be done each year before winter is winterizing sprinklers. If the water is left in the sprinkler lines, you could risk the water freezing and cracking your pipes in the lawn. No bueno. Winterizing your sprinklers, or blowing them out, is a simple task but you’ll need a few tools.
Tools Needed
- Air Compressor – we usually set ours to about 80 psi.
- Air Hose with QD couplers if not already on the hose
- Hose Adapter
Compressor
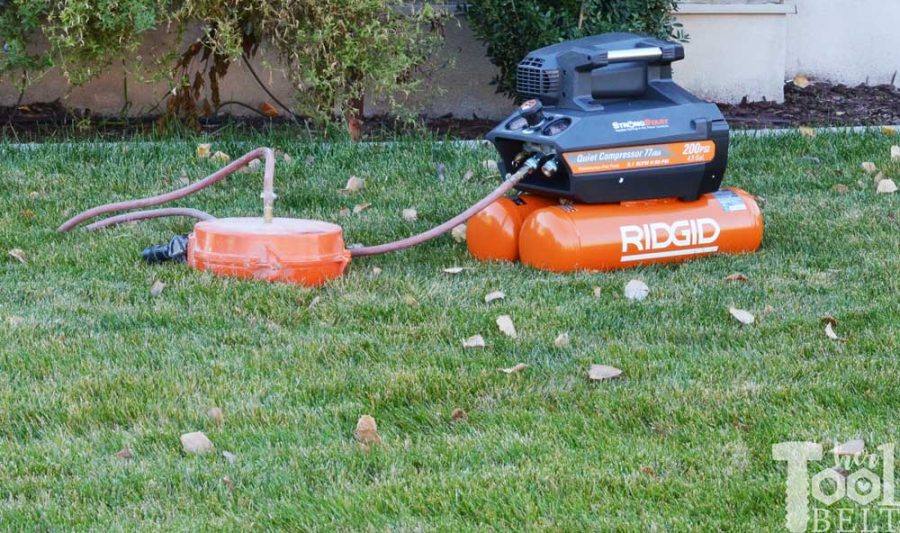
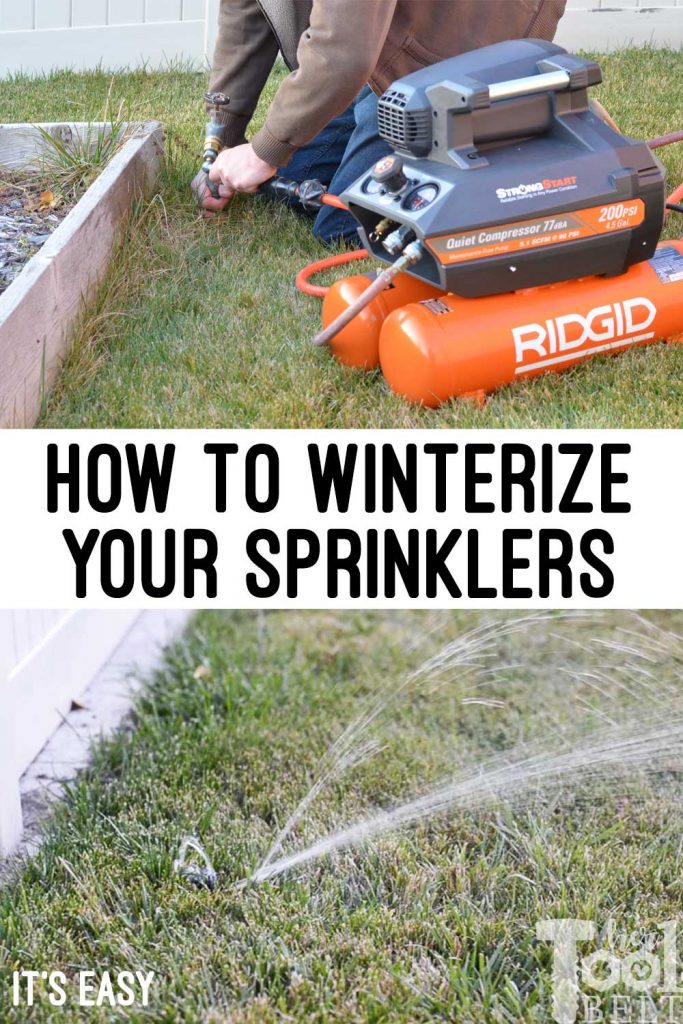
We have used a variety of compressor sizes to winterize our sprinklers over the years. You need a compressor that has either enough volume or large enough motor to fill your system with pressurized air. A compressor size of 4-6 gallons should be enough. I’ve been reviewing this Ridgid 4.5 gallon quiet compressor, and it did the job in a breeze. Even though the tank size is only 4.5 gallons, the motor is strong and it fills the tank very quickly compared to other home/job site compressors I’ve used. It is also quite a bit quieter than any other compressor I’ve used, it doesn’t scare the kids when kicking on :-). It is a bit on the heavier side though, for a portable compressor. Overall great option.
Hose Adapter
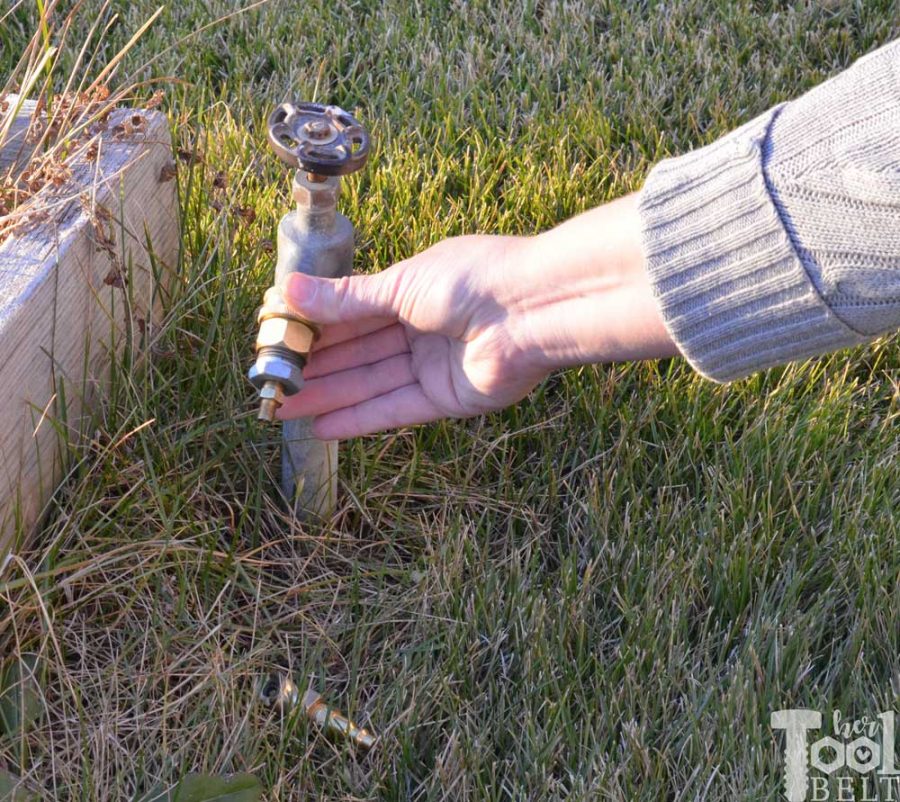
We originally bought this water spigot adapter at the sprinkler store, or you can get one with a quick disconnect here, or make your own.
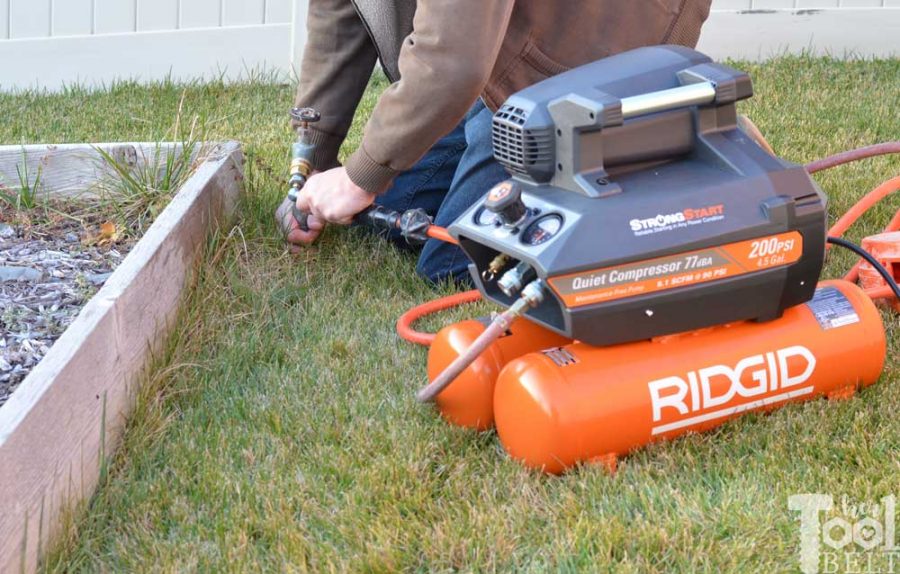
Our adapter uses our tire air chuck attachment, so we have to hold the hose onto the adapter while filling the lines with air. A quick disconnect would be so much easier.
How to Winterize Sprinklers
Step 1 – Isolate from the Water Source
Isolate your system from the water source – turn off the main valve (righty tighty).
Step 2 – Blow out your main line
Open all of your water spigots. On one of the water spigots attach your adapter.
Then attach your compressor and start filling up your lines with air, you should see or hear water coming out of all of your spigots (water taps attached to your sprinkler line). Once the water finishes spraying out of the open spigots (taps), close all of the spigots except the one that you are using to fill the system with air.
Step 3 – Blow out each Zone
With all of the main line spigots closed, except the one you are using, it’s time to run through each zone and blow out those lines.
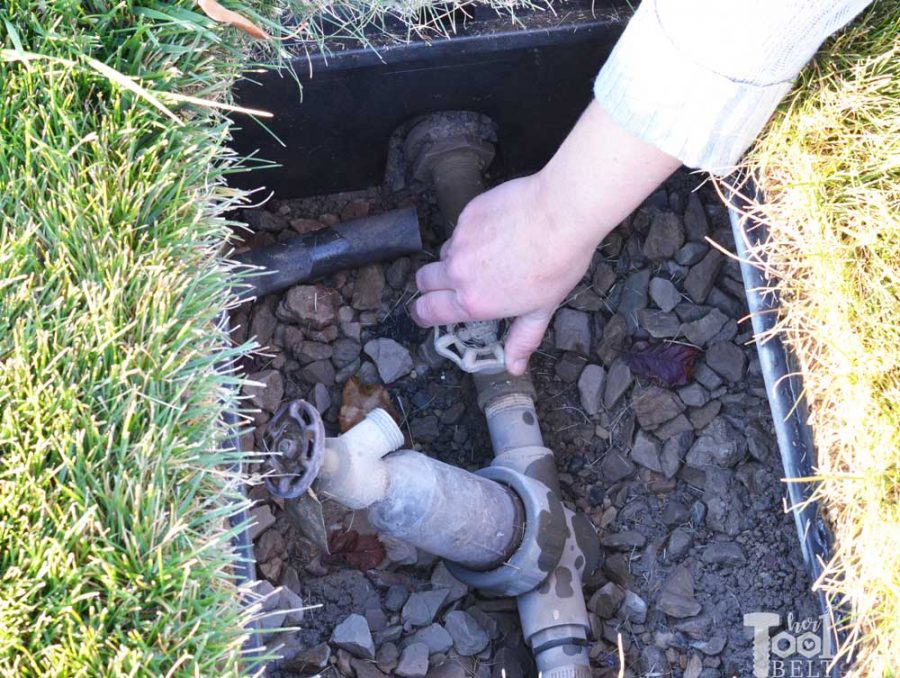
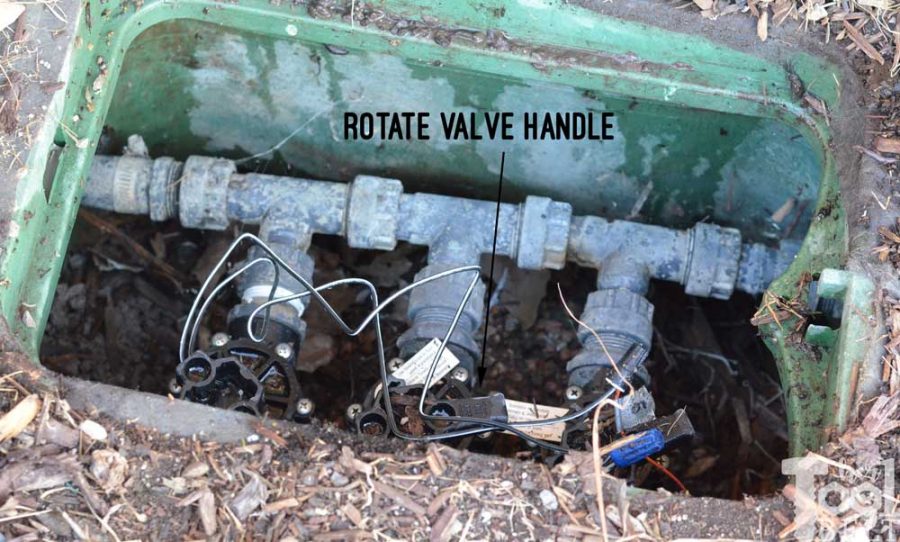
You can turn your zones on manually with the valves in the valve box.
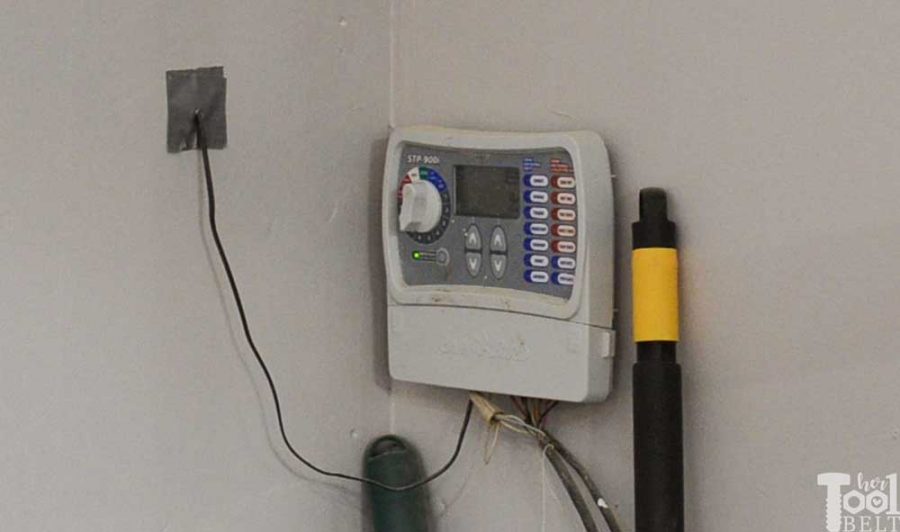
Or use your controller and manually turn a zone on.
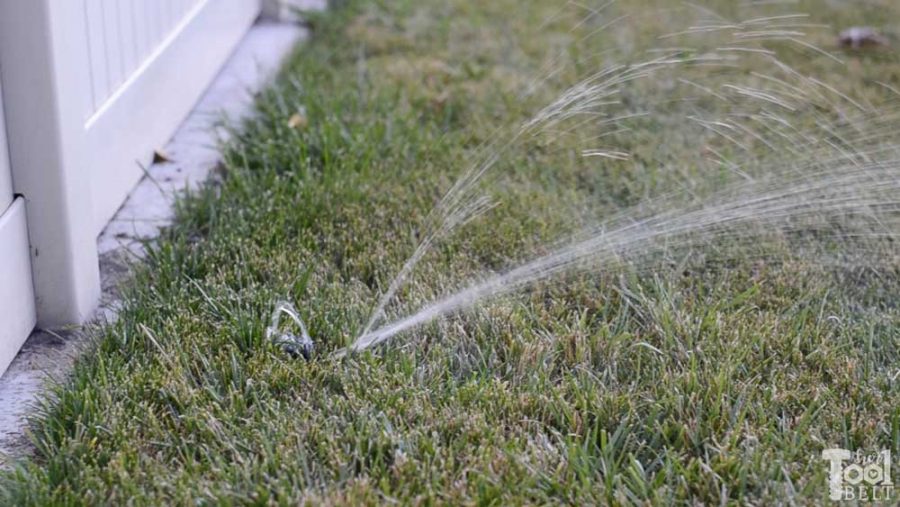
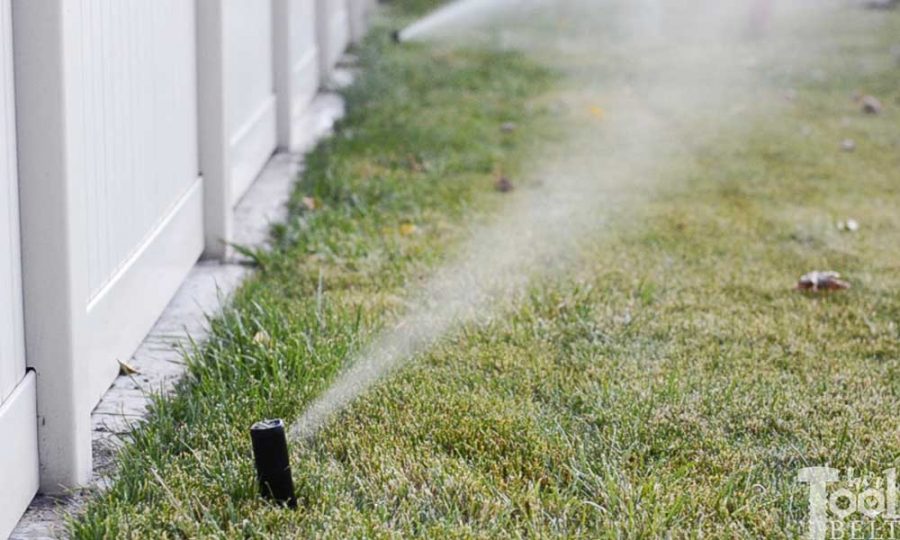
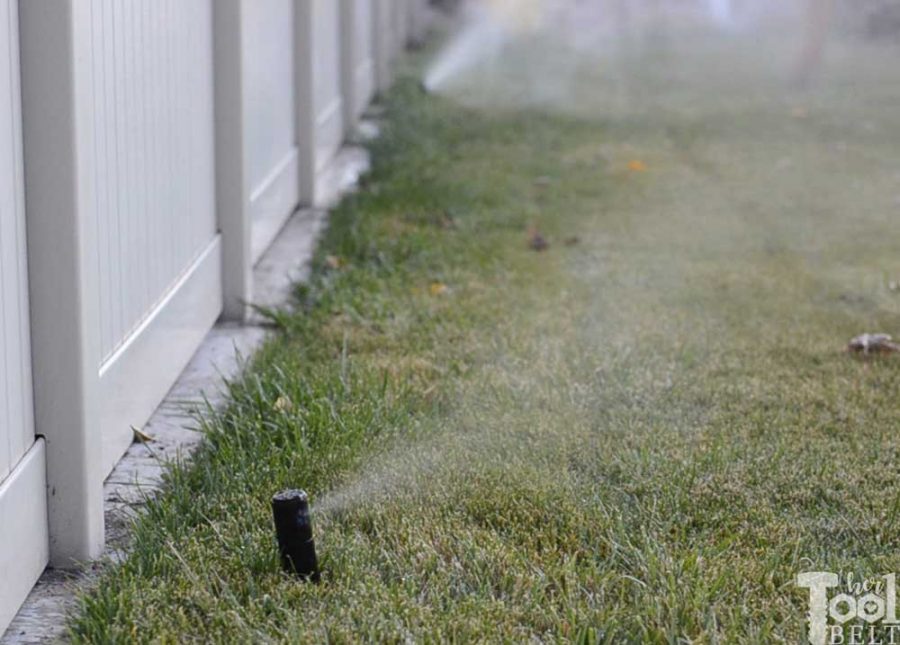
Turn on the zones one at a time and add air until the water stops spraying out of the sprinklers.
This is our ‘lowest’ and longest zone, so it has the most water in it.
Some of the zones will barely spray any water. If you have the large rotary sprinklers, try not to run them very long without water, it isn’t great for the motor.
While you’re at it, make sure to disconnect any hoses connected to hose bibbs on your house (water taps on your house). If a hose is connected to the bibb and it traps water, it can crack the pipe.
Run through all of the zones.
Turn off the controller.
And you’re done!
“I acknowledge that The Home Depot is partnering with me to participate in the Tool Review Program. As a part of the Program, I am receiving compensation in the form of products and services, for the purpose of promoting The Home Depot. All expressed opinions and experiences are my own words. My post complies with the Word Of Mouth Marketing Association (WOMMA) Ethics Code and applicable Federal Trade Commission guidelines.”
Leave a Reply