Hi! I’d love for you to follow me on Pinterest Her Tool Belt and if you love instagram, you can keep up with me there too!
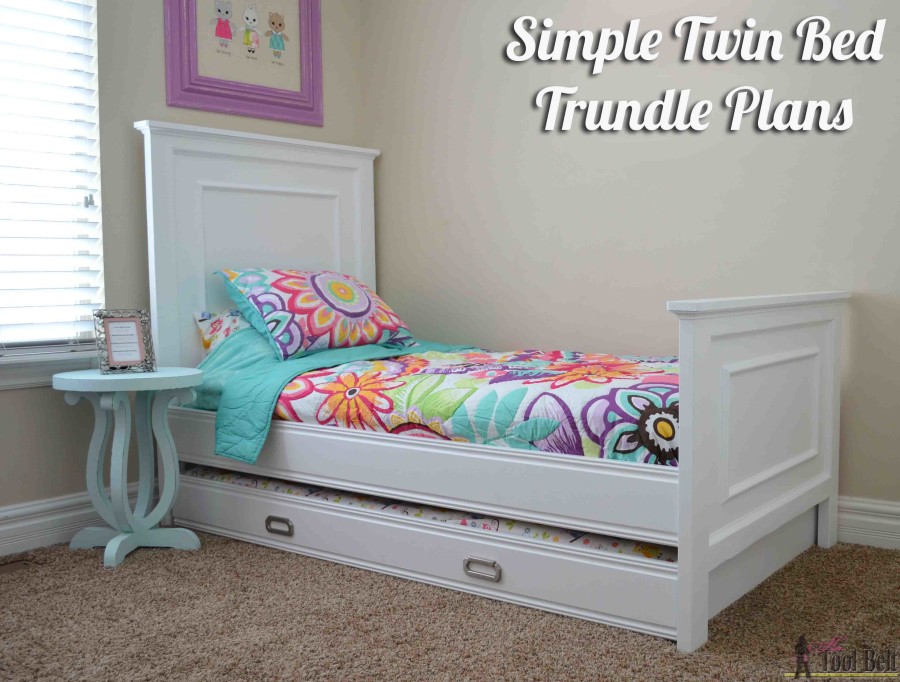
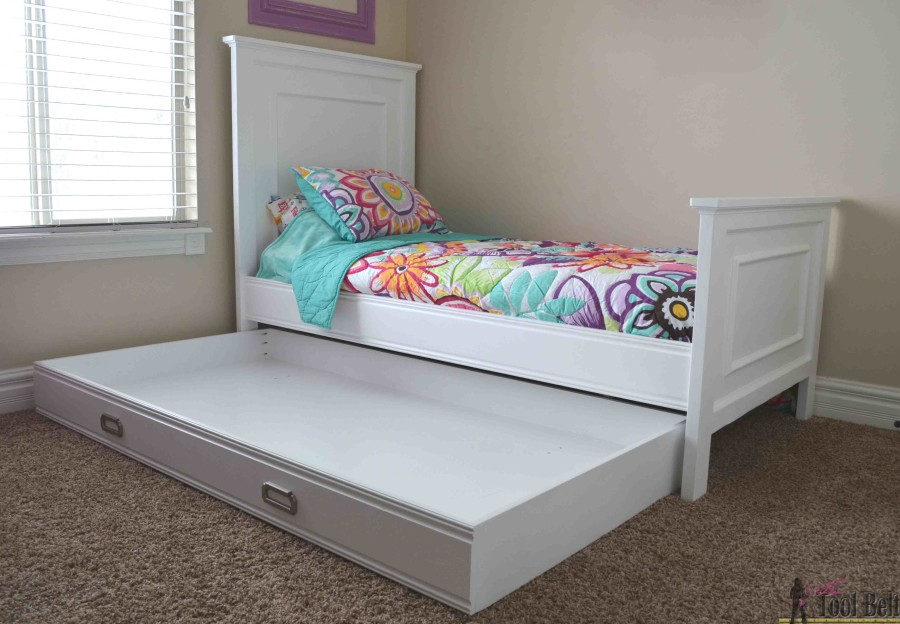
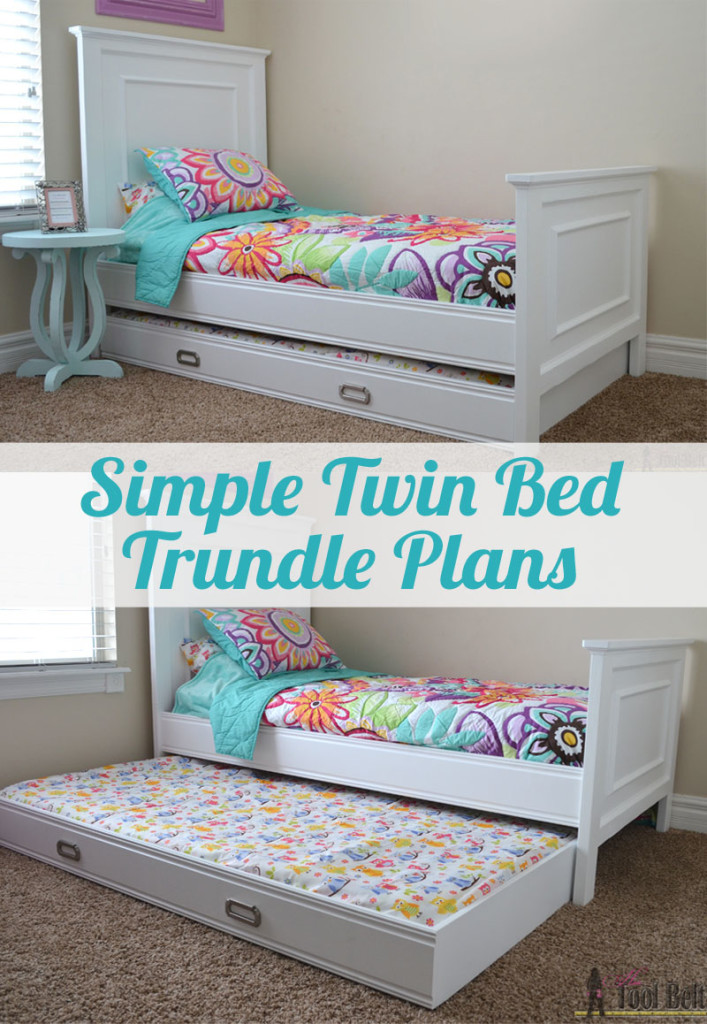
It’s time for my little girl to graduate to a big girl bed! I decided to add a trundle to her new bed, then we can have an extra spot for when the cousins came to stay. This simple twin bed trundle is really so easy to build. Even if you don’t want an extra bed, it can provide tons of extra storage. I’ve even seen on Pinterest where people have created car play areas in a trundle box. The plans for the matching Twin Bed are at BuildSomething.com.
How to Build a Simple Twin Bed Trundle
If you are building the trundle for an existing bed, adjust the length to fit under the bed.
Materials
- 1 sheet 3/4″ plywood (48″ x 96″)
- 1 – 1″ x 8″ x 8′ board (actual 3/4″ x 7 1/4″)
- 4 – casters (2 swivel, 2 fixed) 2″ miniumum
- 12-16 – 1″ Flad head phillips screws with nuts
- 1 1/4″ pocket hole screws
- 2 pulls – optional
- front trim/molding – optional
- sandpaper
- wood glue
- primer/paint
- approximate cost: $56 (plywood $35 Home Depot, 1×8 $9 Home Depot, casters $3/each at Harbor Freight)
Cut List
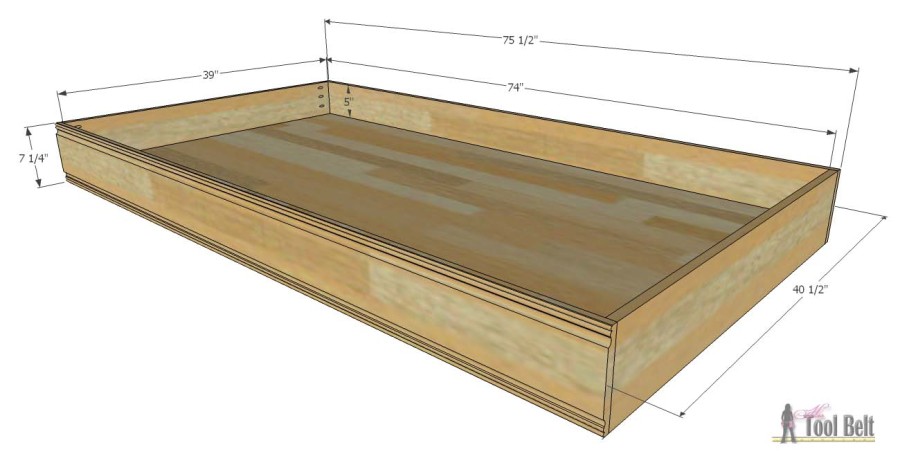
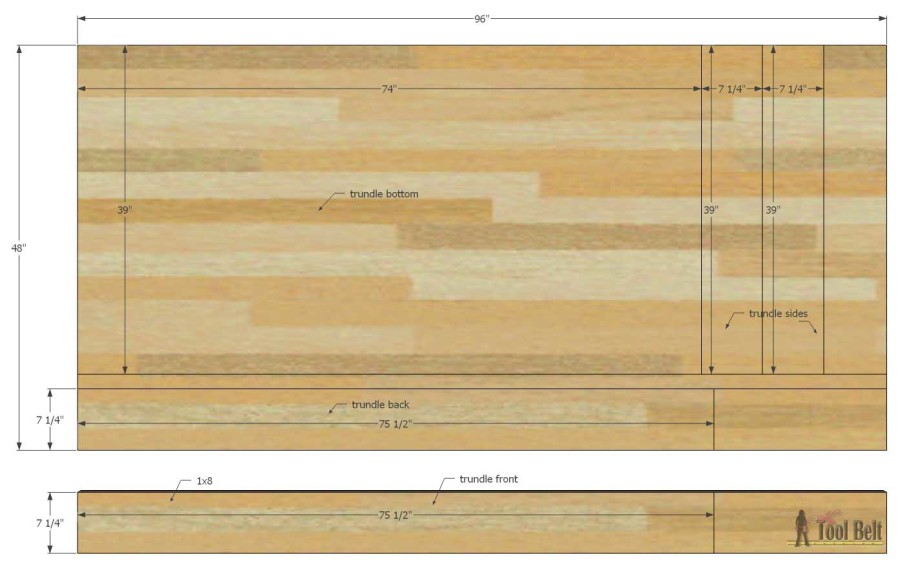
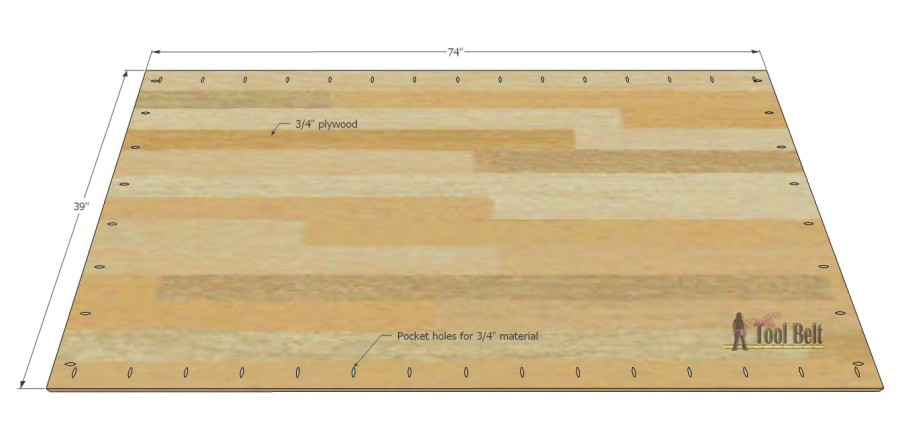
- 1 – 3/4″ x 39″ x 74″ plywood – bottom
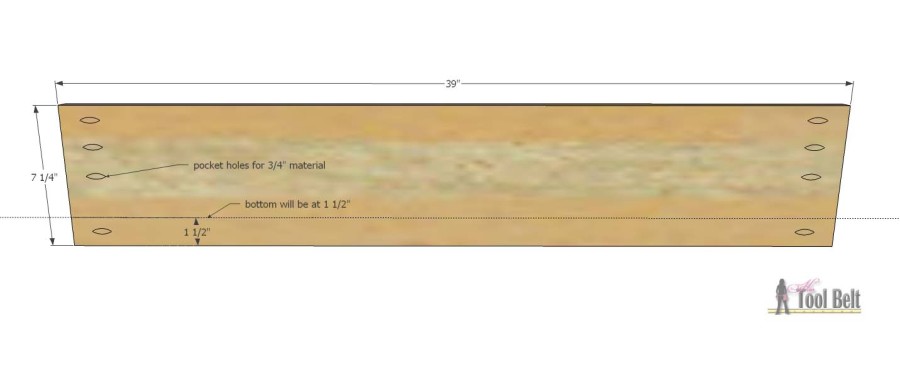
- 2 – 3/4″ x 39″ x 7 1/4″ plywood – sides
- 1 – 3/4″ x 7 1/4″ x 75 1/2″ plywood – back
- 1 – 3/4″ x 7 1/4″ x 75 1/2″ board – front
Cut Diagram
Step 1
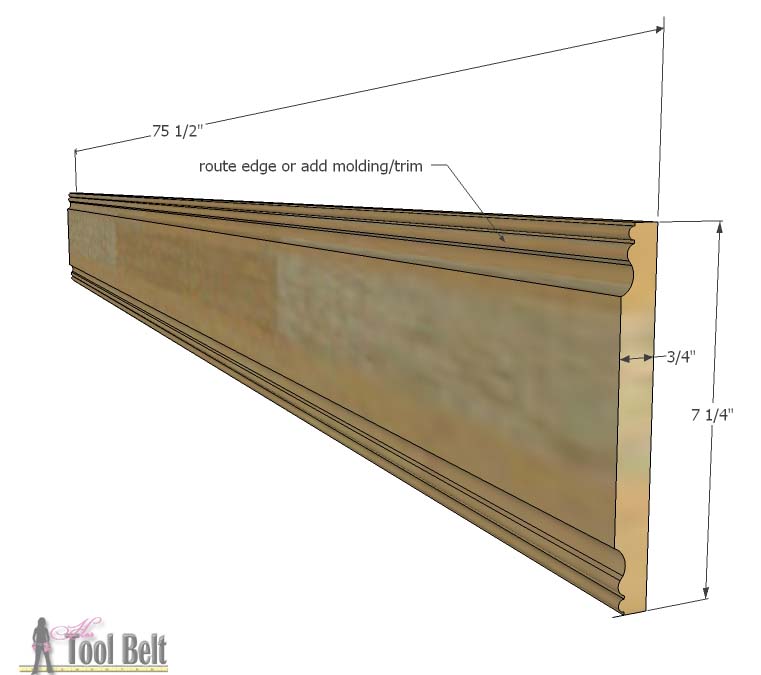
Cut out the trundle parts using the cut list and diagram. On the front board, I added some detail by routing a shape on the edges, this is totally optional. Another idea would be to add your favorite molding or trim to the top and bottom of the front piece.
Step 2
Drill pocket holes for 3/4″ material in the ends of the side pieces.
Drill pocket holes for 3/4″ material around the trundle bottom, space about every 5 inches.
Step 3
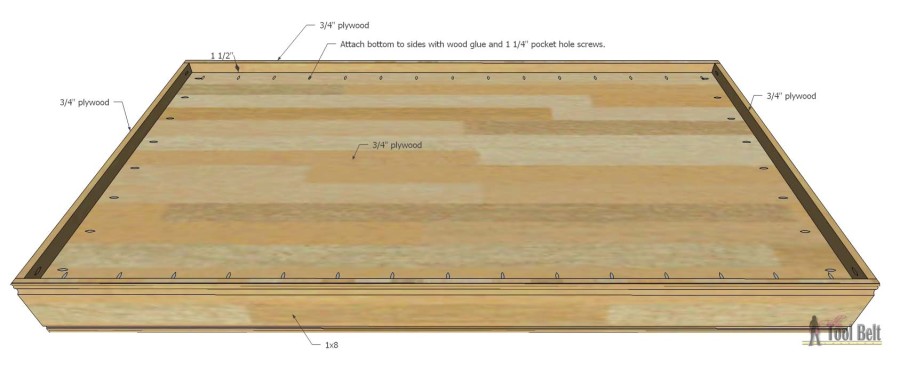
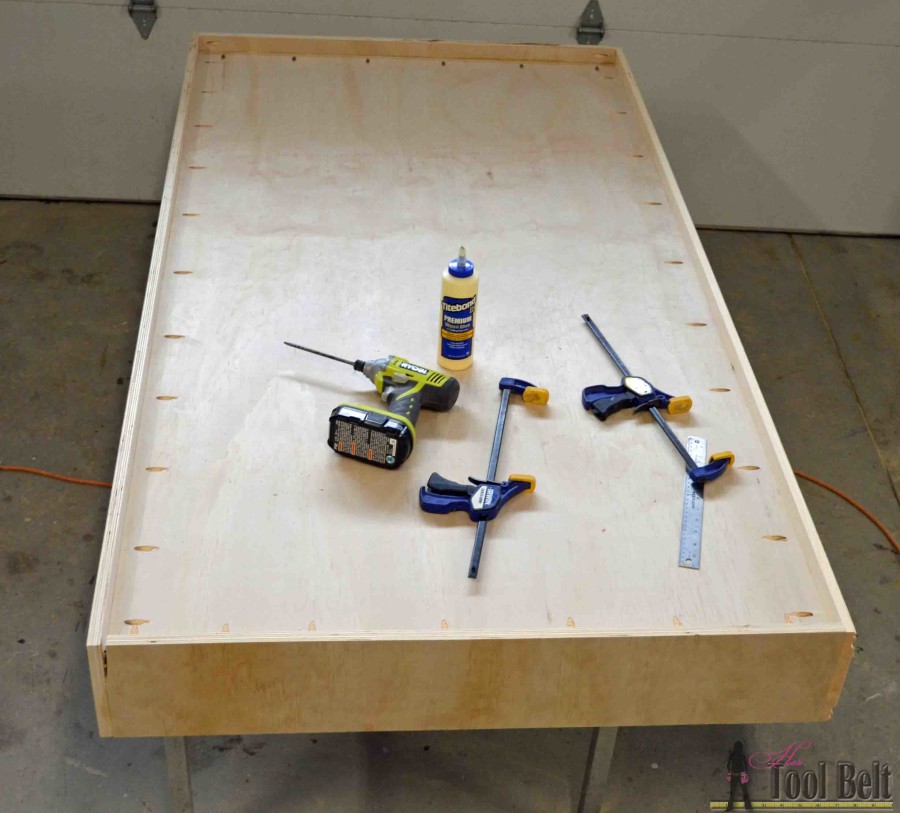
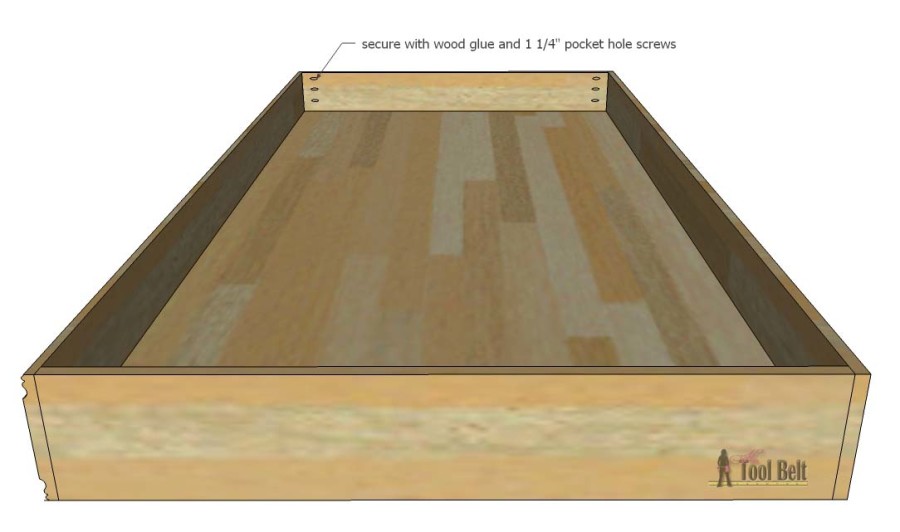
Measure and mark 1 1/2″ from the bottom on the sides. Use wood glue and 1 1/4″ pocket hole screws to secure the side pieces to the bottom. Then attach the back and front pieces to the bottom.
Use wood glue and 1 1/4″ pocket hole screws to secure the side pieces to the front and back.
Step 4
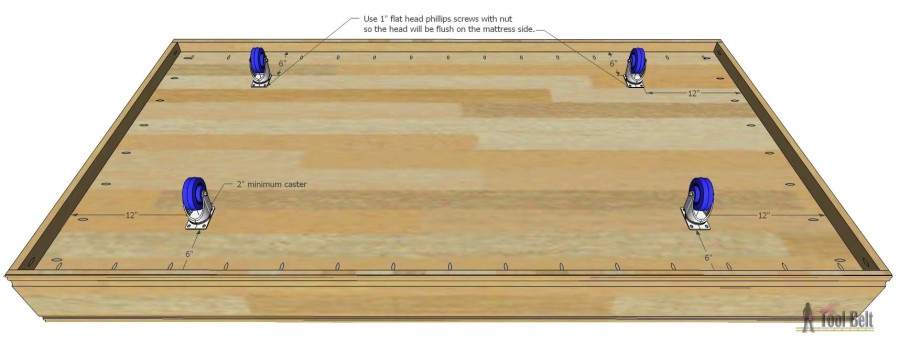
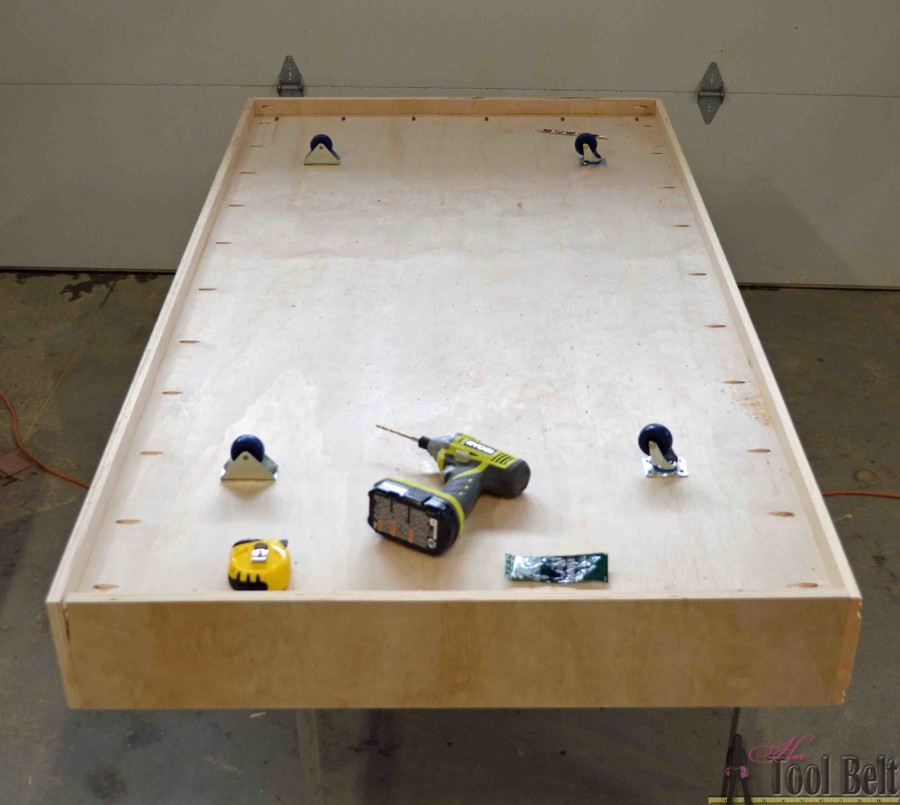
Measure and mark in 6″ from the front/back and 12″ from the sides. Drill holes for the casters. I placed the 2 fixed casters in the back and the swivels in the front.
Step 5
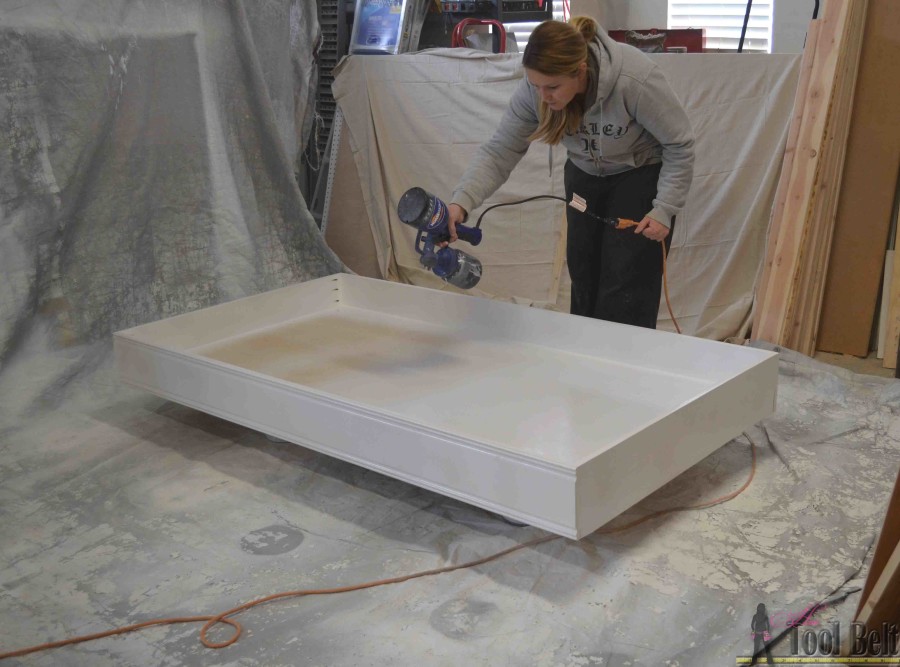
Lightly sand the trundle as needed. To make the plywood edge look good when painted, I apply a skim coat of Spackle with my finger, let it dry and lightly sand it. Apply paint primer to the trundle box, let dry then apply paint. I used the Home Right Finish Max to paint the trundle and it made painting a breeze and the finish perfect!
It’s been snowing a bunch here and the daily high temps are at about freezing…so I set up a temporary spray booth in the garage. Fun fun.
Once the paint is dry, attach the casters. Attach handles/pulls to the front if you want. The handles I used are Young House Love Liberty bail pulls.
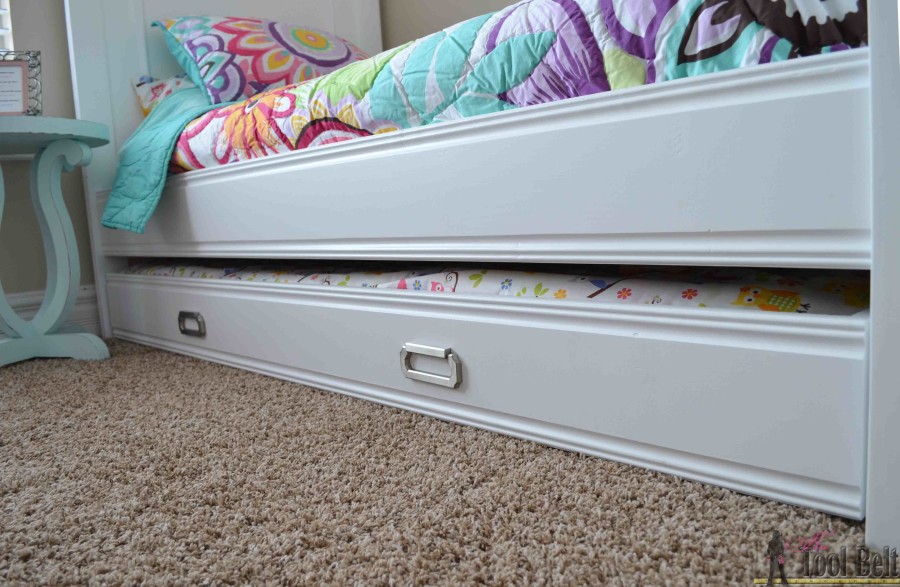
Even if you don’t need an extra bed, look how much extra storage the trundle can hold. The trundle rolls really easy, so it’s easy access.
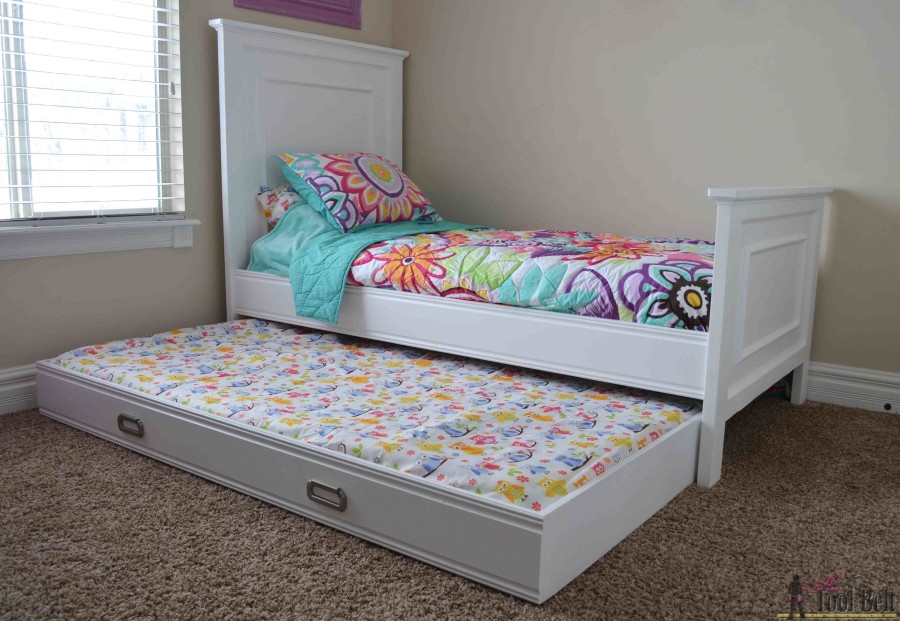
I used an old IKEA mattress that we’ve had around for the trundle mattress, it’s the perfect height. The trundle box will fit a regular twin mattress too (for a more comfortable nights rest.) 🙂
Download the plans
twin bed trundle plans hertoolbelt
Thanks for pinning
Linked to Link parties, remodelaholic, savvy southern style
Really cute!
I really love that how simple and really cute not like the old ones we were raised on
I love this bed! I made a platform bed with basket storage that I am planning on using at our lake house after our crazy remodel. This bed would be perfect for the large kids room we are building over the garage area! You can never have too many beds at the lake! Thanks for a great project! If you check out my platform bed I would love to hear your thoughts
I’m considering doing the house bed in full size but I want her to have a drawer up under it do you recommend using this plan to construct a drawer?