This post is sponsored by The Home Depot. I have been compensated for my time and provided with product. All ideas and opinions are my own. This post contains some affiliate links for your convenience. Click here to read my full disclosure policy.
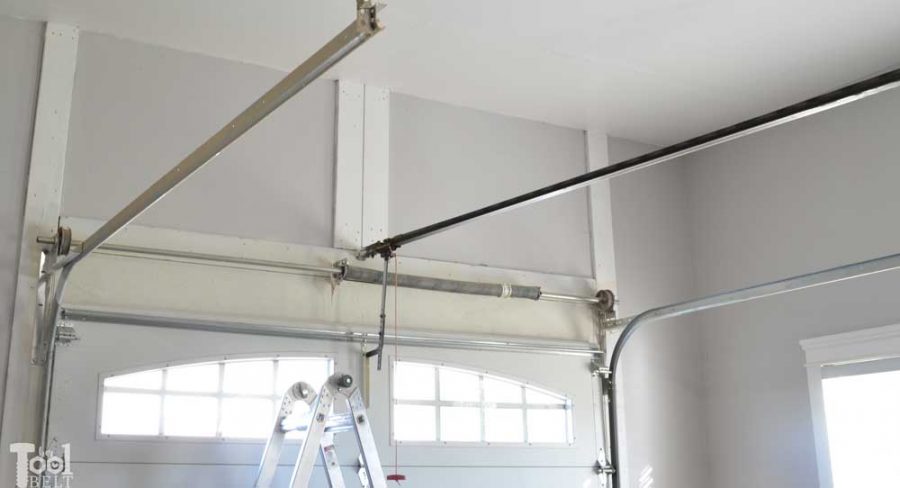
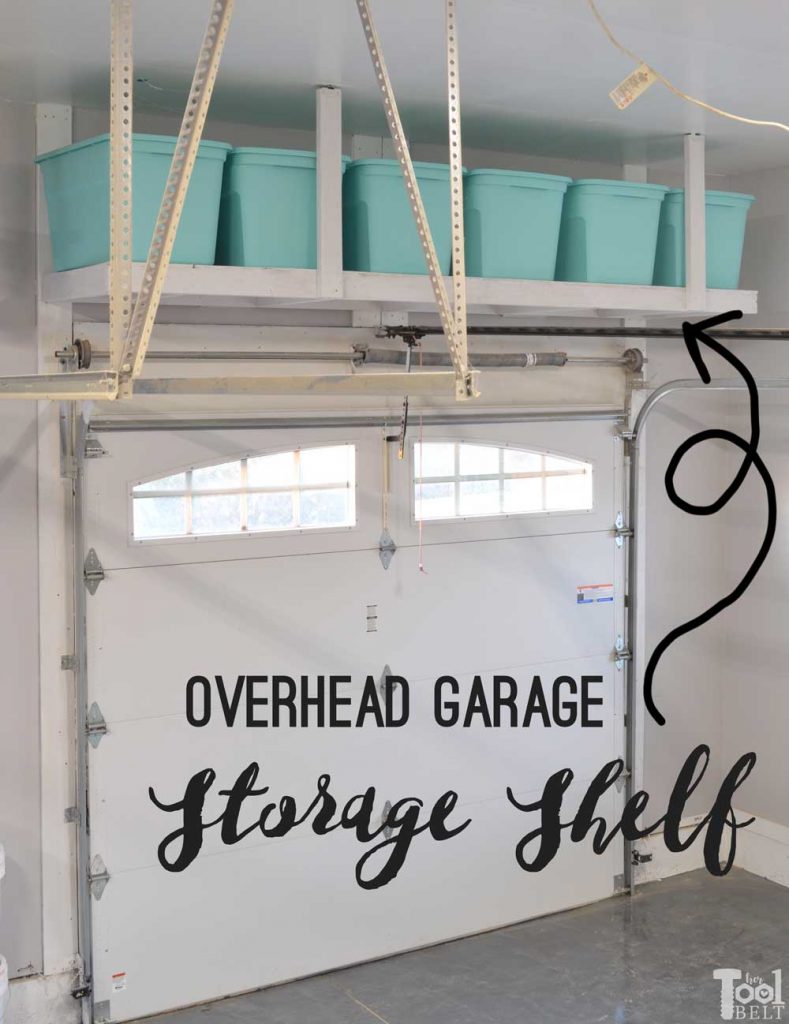
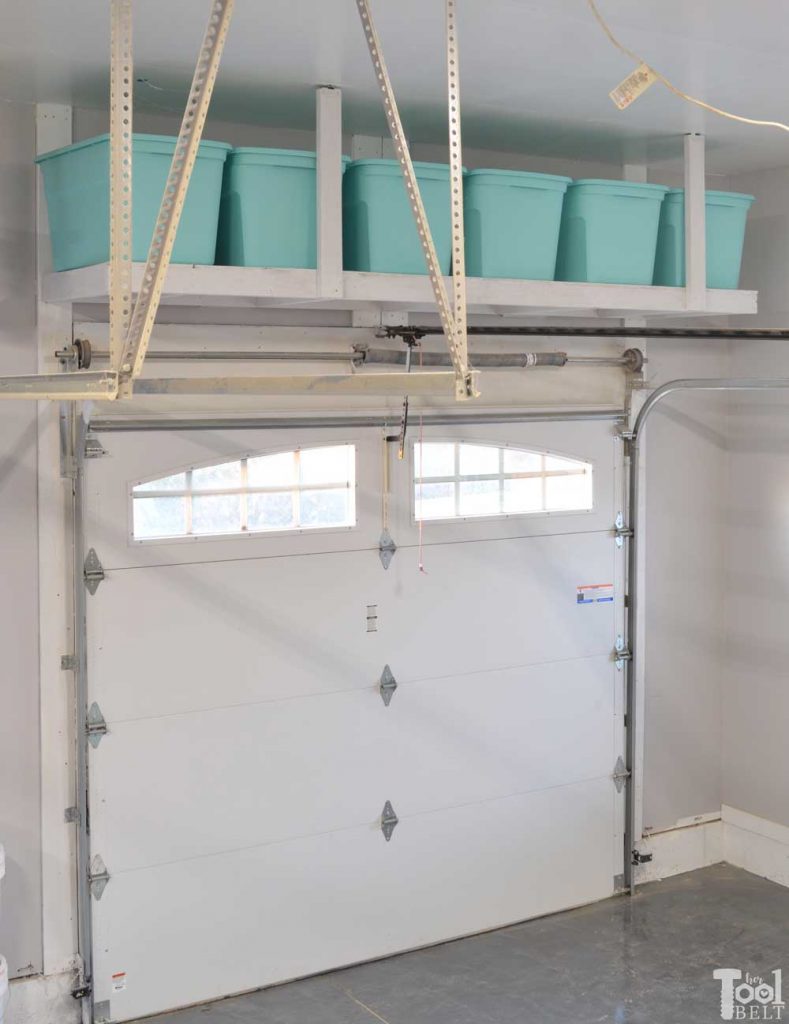
I’ve been working on adding storage areas in my home. There is this space right above the garage door that makes a perfect storage space.
A few years ago I added a couple of overhead garage storage shelves above my double garage door, but didn’t get around to putting an overhead garage storage shelf above the single garage door. These shelves are ideal for items that aren’t too heavy and that you don’t use very often. Hauling heavy items up and down a ladder is not fun. 🙂 I usually store seasonal items and decor on the shelves.
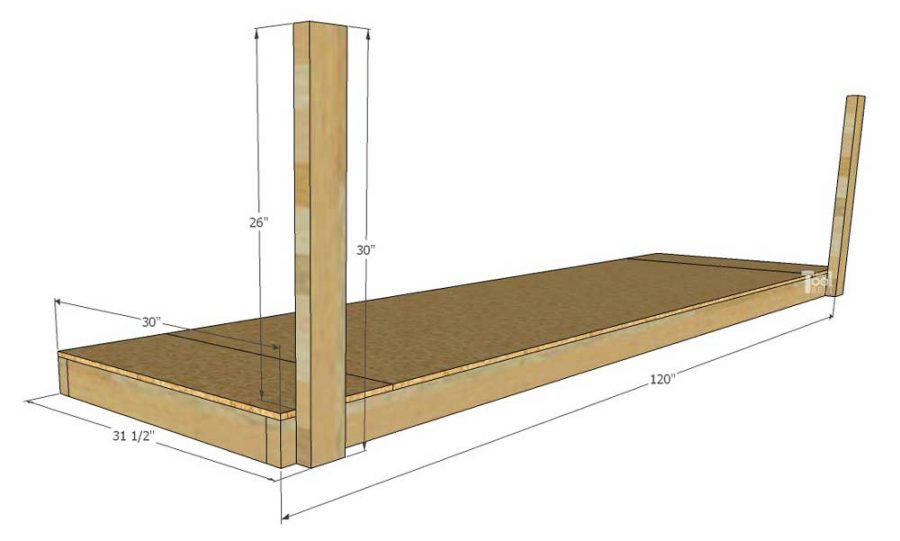
When planning out the shelf, I measured the distance from the garage door motor track to ceiling and decided how wide and deep I wanted the shelf. My motor track is 34″ from the ceiling, so the bottom of my shelf is 30″ down from the ceiling to give plenty of space. I plan on storing plastic totes on the shelf, so I made it 30″ deep. The shelf is 10 feet long.
(My double garage door shelves are 8′ long each and 24″ wide which is ideal for 1 sheet (4′ x 8′) of plywood.)
How to build a Overhead Garage Storage Shelf for a single garage door
10′ long x 26″ tall x 30″ deep
Materials
- 2 – 2″ x 4″ x 10′ stud
- 3 – 2″ x 4″ x 8′ stud
- 1 – 1/2″ sheet plywood
- 2 – Rigid Tie Connector
- 3 1/4″ nails
- 2 1/2″ nails
- 4 – 3″ screws
- 8 – 1 1/4″ screws
- wood glue – optional
- paint and primer – optional
- brush – optional
- Screws can be substituted for the nails in this project if desired.
Tools Used
- Milwaukee Framing Hammer
- Ridgid Palm Nailer
- DeWalt Circular Saw
- Carpenter Square
- Measuring Tape
- Drill
- Kreg Rip-cut
- Stud Finder
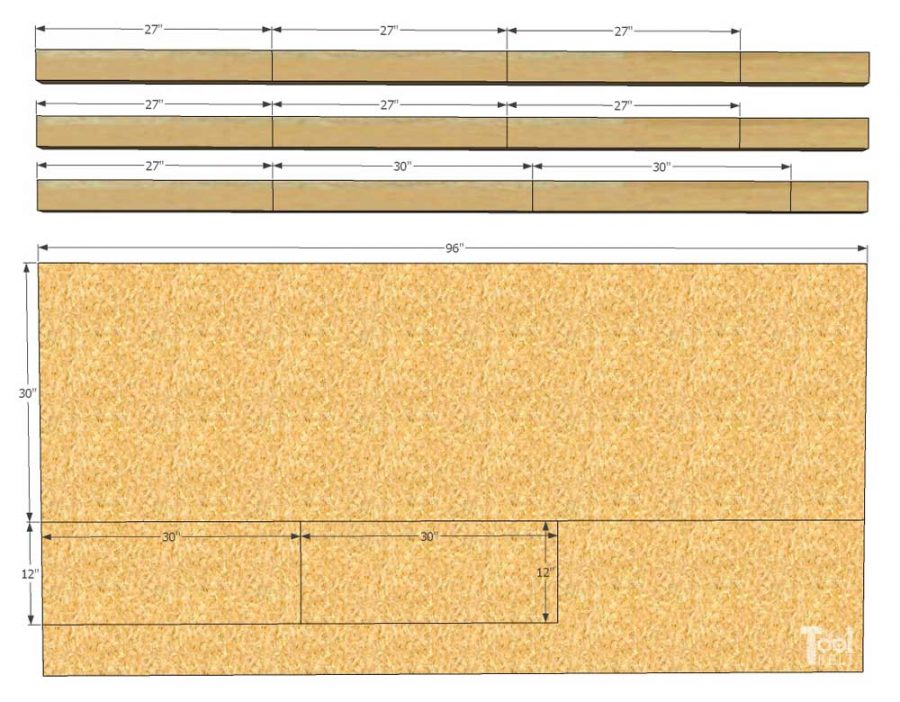
Cut List
- 2 – 2″ x 4″ x 10′ boards (already this length, no need to cut)
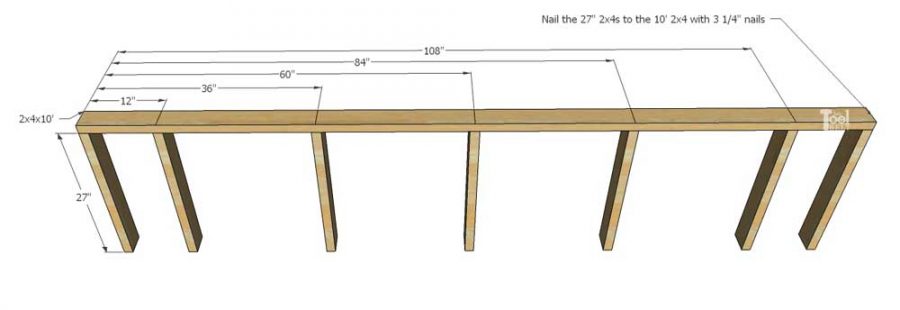
- 7 – 2″ x 4″ x 27″ boards
- 2 – 2″ x 4″ x 30″ boards
- 1 – 1/2″ x 30″ x 8′ sheet
- 2 – 1/2″ x 12″ x 30″ sheet
Cut Diagram
During this project I’ll be reviewing the Milwaukee 22oz framing hammer and the Ridgid palm nailer.
Step 1
Make cuts according to cut list.
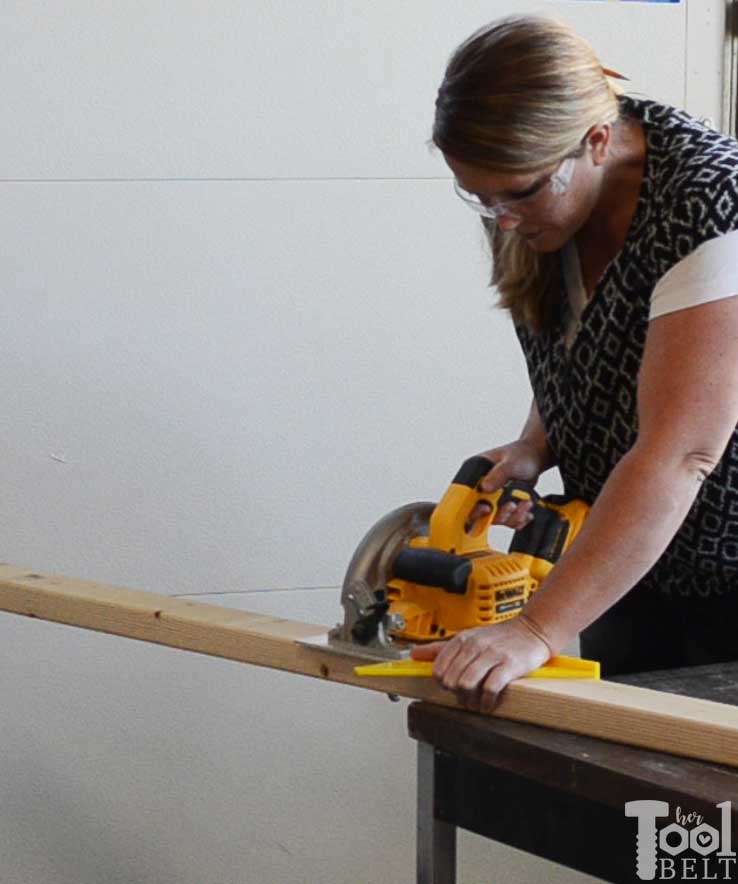
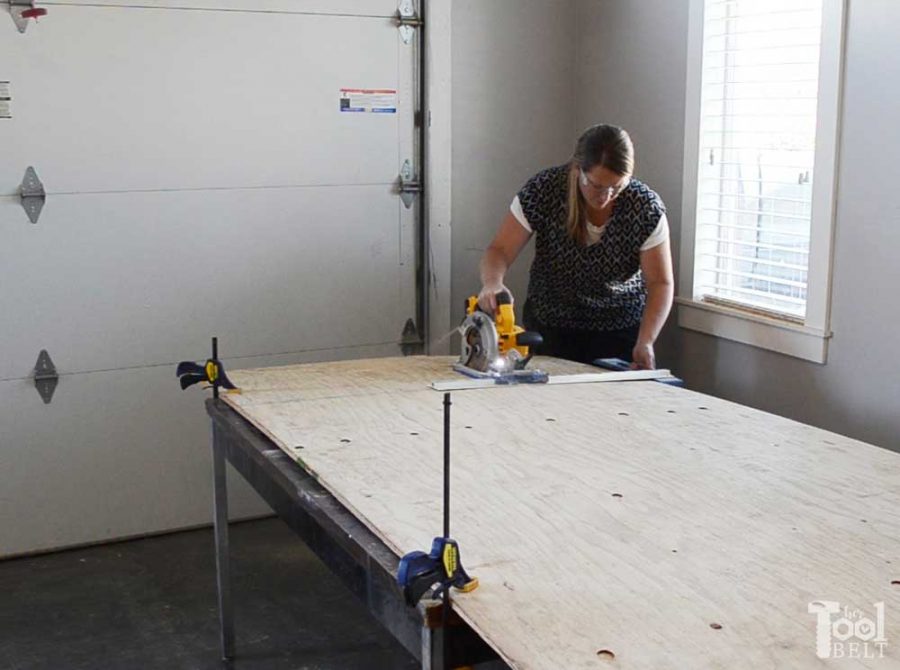
I used the circular saw and rip-cut to cut the plywood to size.
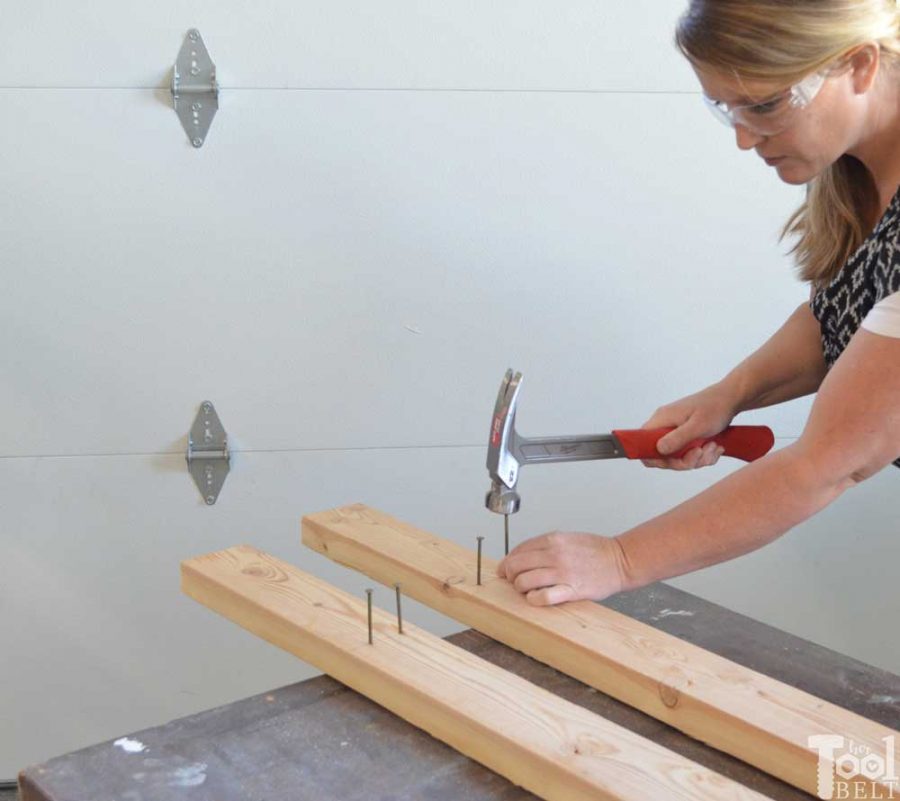
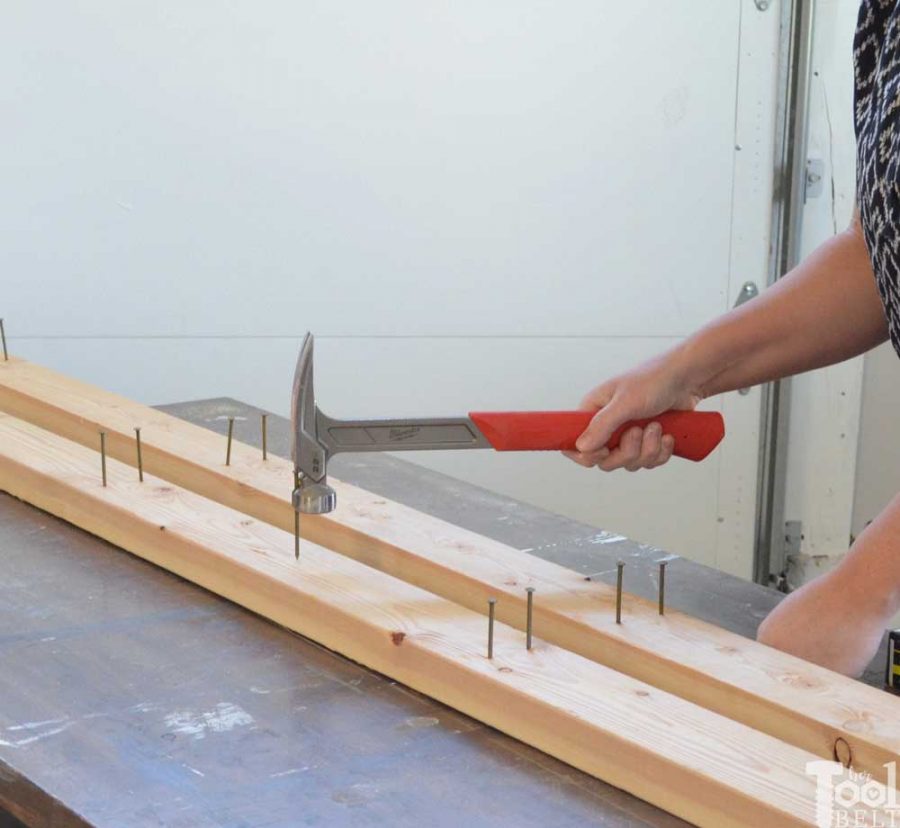
To make assembly easier while on the ladder later, I started all of the nails in the 10′ boards. Mark the 10′ board for nails at 1′, 3′, 5′, 7′, 9′. These marks will also be the center for all of the 27″ support boards.
I really like the swing of the Milwaukee hammer, it is weighted nicely and doesn’t have much vibration. It also has this cool nail starter feature with a magnet that holds the nail to start it (no more smashing your nail holding hand 🙂 ). I used the hammer for everything on the ground, and used the palm nailer while on the ladder.
Step 2
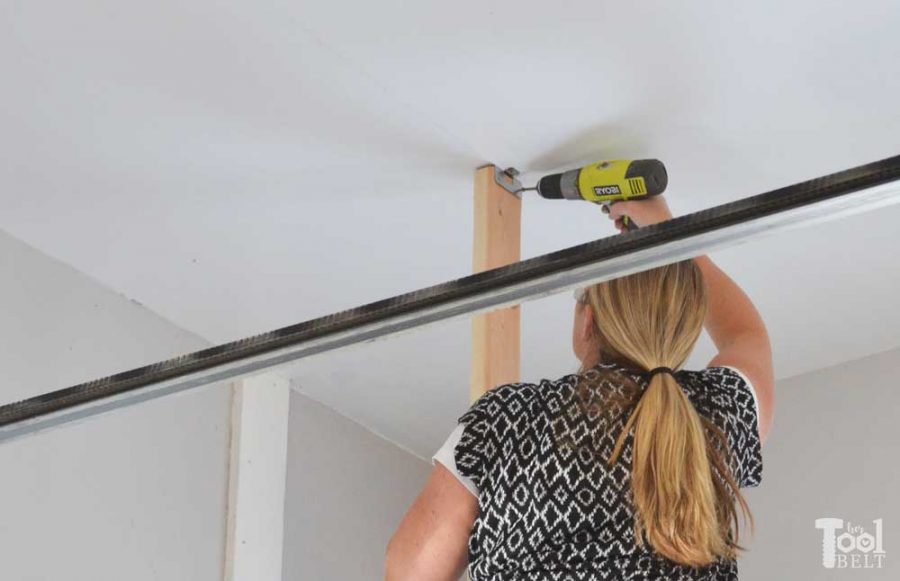
If needed, use a stud finder to located the beams in the ceiling to attach the vertical support to. Find a beam that is close to the corner of the shelf and mark out 30″ from the wall. This is where the rigid tie connector will start. Secure the rigid tie connector to the ceiling with 3″ construction screws. Attach a 30″ board to each connector with 1 1/4″ screws.
Step 3
Measure down from the ceiling and mark 30″, this will be the bottom of the shelf.
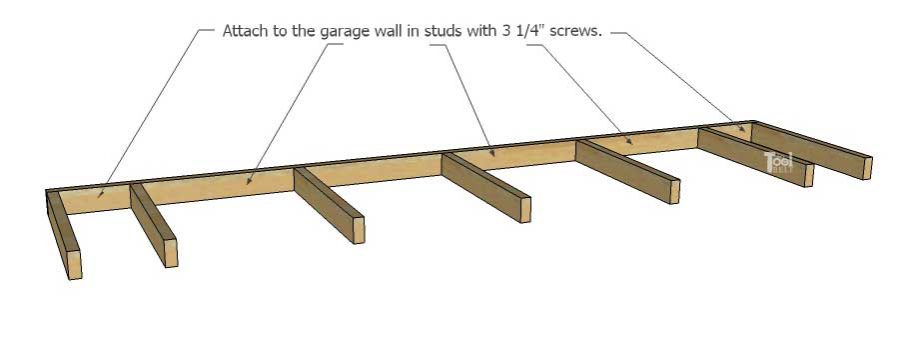
Lift the shelf assembly into place and use 3 1/4″ nails to secure tightly on the wall. Make sure you are nailing into studs in the wall.
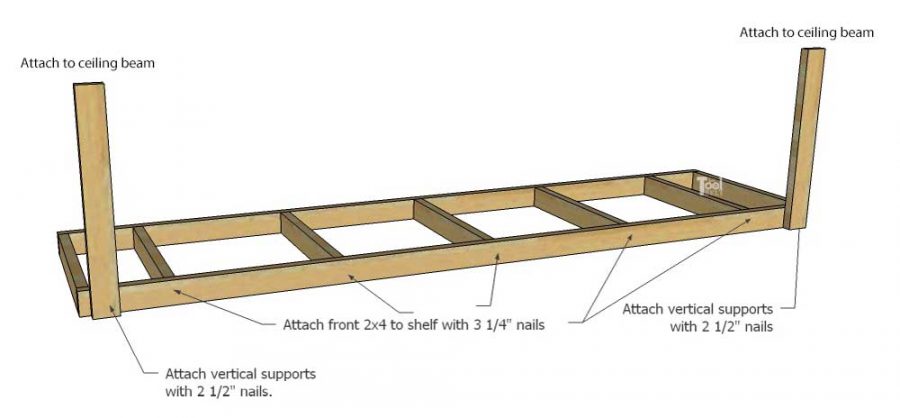
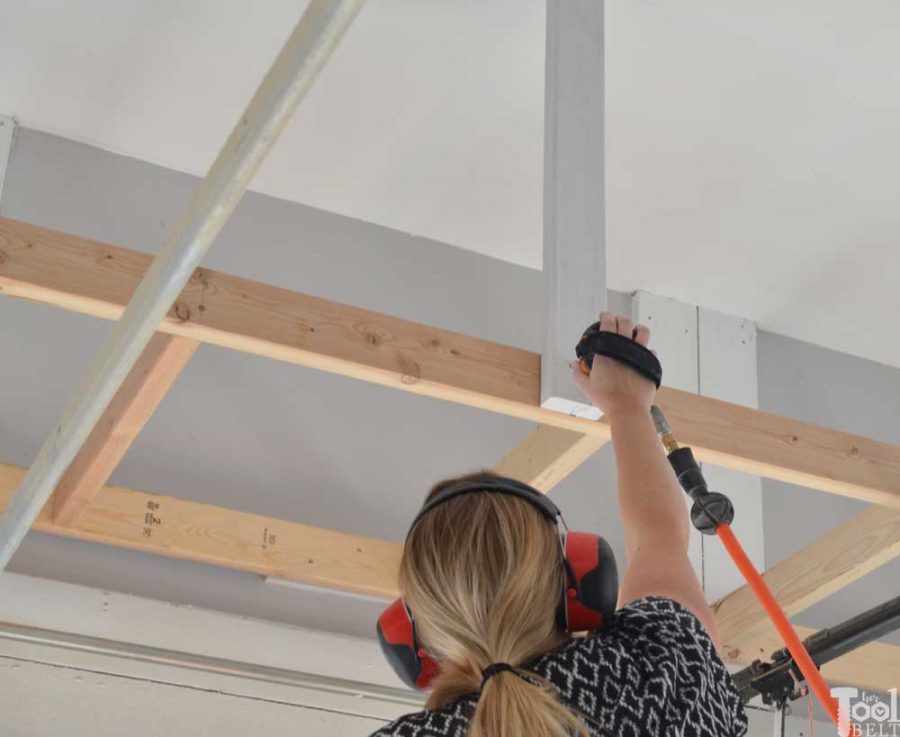
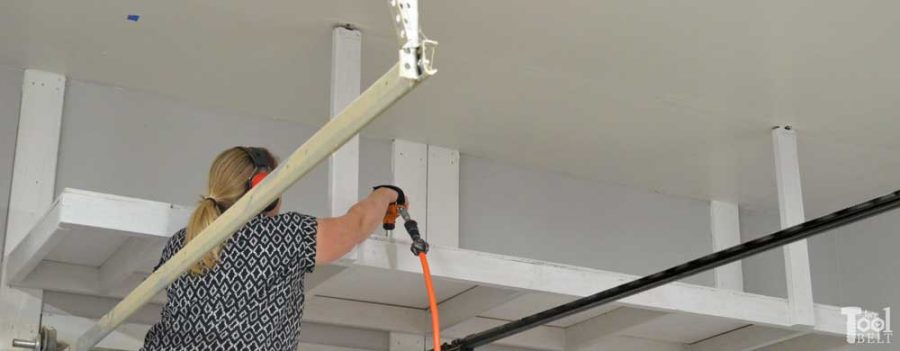
Place the front 10′ board on the shelf assembly and nail to the 27″ supports and also the vertical supports. The bottom of the vertical supports should be flush with the bottom of the shelf.
The palm nailer made working up high really easy and the grip is really comfortable. You just place a screw on the magnet in the middle and press down. The palm nailer does all of the work for you. Warning – earmuffs are required, it is loud! The swivel on the quick disconnect makes moving around with the pneumatic hose convenient. It also allows you to change the depth of nail head drive.
Step 4
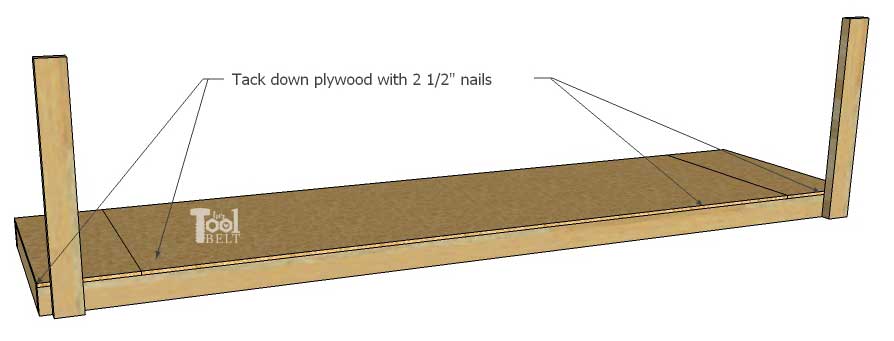
Place the plywood on top of the shelf. Put the 12″ pieces on the ends, they should line up in the middle of the first supports.
Tack the plywood in place with 2 1/2″ nails.
Prime and paint the shelf as desired. Add cute bins!
Now it’s ready for the totes, Yay!
“I acknowledge that The Home Depot is partnering with me to participate in the Tool Review Program. As a part of the Program, I am receiving compensation in the form of products and services, for the purpose of promoting The Home Depot. All expressed opinions and experiences are my own words. My post complies with the Word Of Mouth Marketing Association (WOMMA) Ethics Code and applicable Federal Trade Commission guidelines.”
Overhead storage isn’t the first thing that comes to most homeowners’ minds but it’s a fantastic way to free up tons of space!
What kind of stud finder did you use? Also, I’m nervous to attempt this.