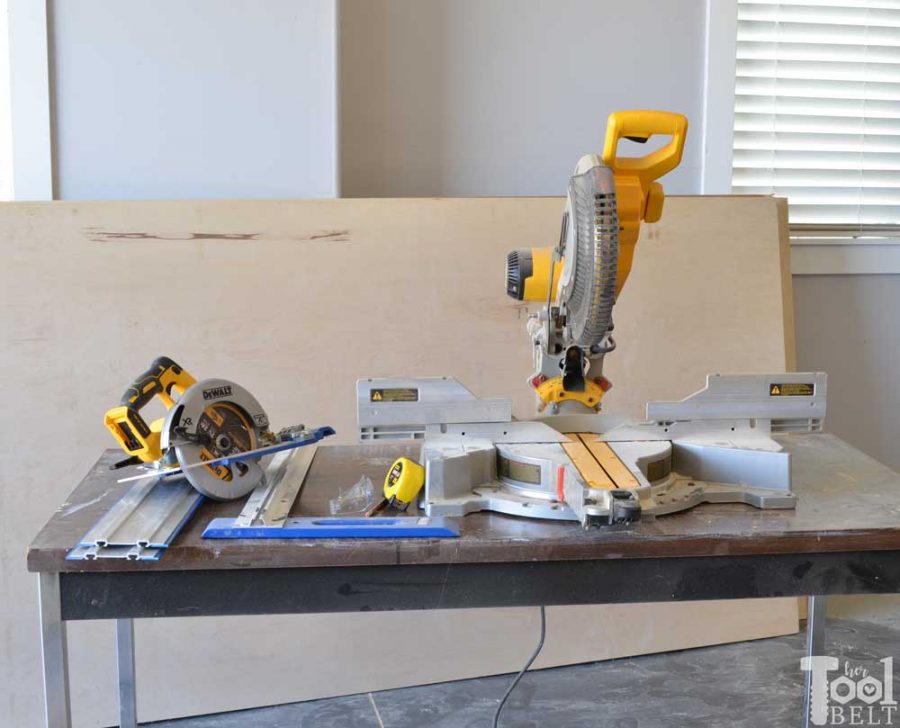
I have been slowly trying to get my garage/workshop organized and easy to work in as a shared space. Two major things that I have issues with are storage and work space. I use this old table as an assembly table/ miter saw stand. I am tired of pulling the heavy miter saw on and off the table and want a permanent spot for it. But since it’s my garage, it really does need to be mobile.
The features that I want in a miter saw stand are:
- #1 – Plenty of support for the boards being cut – no more cantilevering an 8′ board off of the small miter saw table!
- Useful space – room for my tape measure and plans, but I want to keep the cut space clear (I have a clutter problem).
- Room for a vacuum
- Measuring guide for easy repeat cuts.
- Mobile
This post contains some affiliate links for your convenience. Click here to read my full disclosure policy.
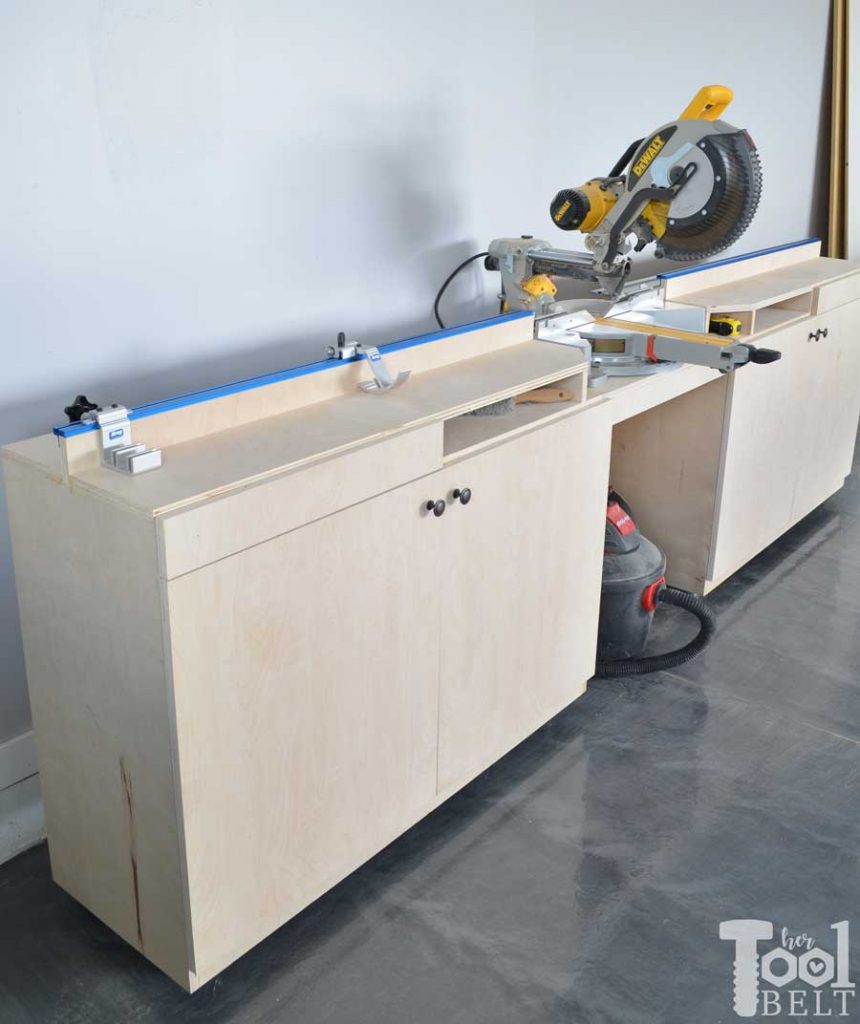
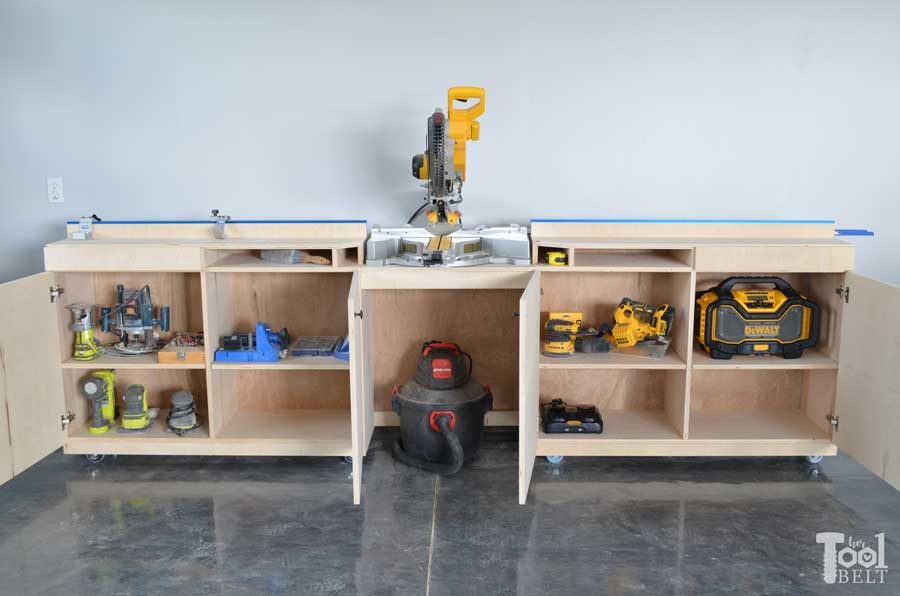
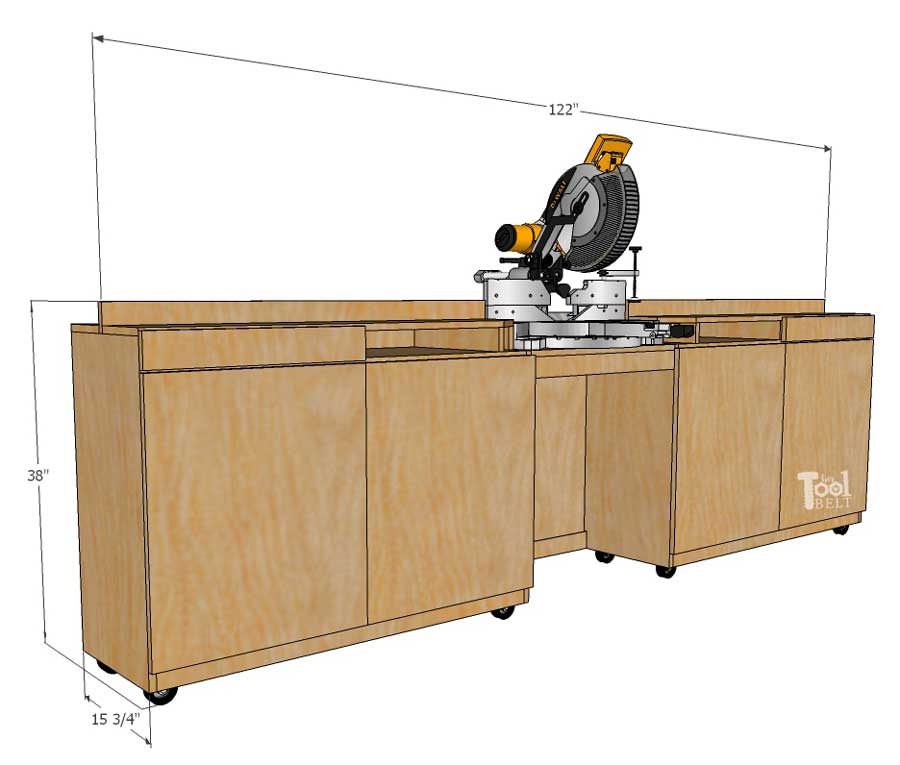
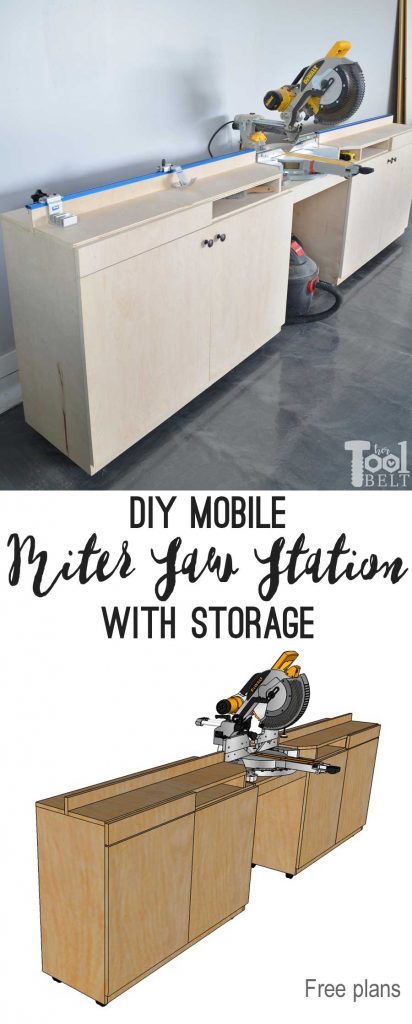
I’m excited with the result, it has TONS of storage with the two 4′ cabinets and two 2′ shallow drawers. It is quite large because it has 4′ on each side of the miter saw. If you don’t want a cabinet that large, the plans can be easily modified to only 2′ on each side of the saw.
This mobile miter saw station and storage unit calls for 3 sheets of 3/4″ birch plywood (about $50 each) and 1 sheet of 1/4″ plywood (about $12). It includes the Kreg Precision Trak and Stop Kit on top of the fence to make repeat cuts nice and easy. Did I mention, I’m so excited…what an upgrade!
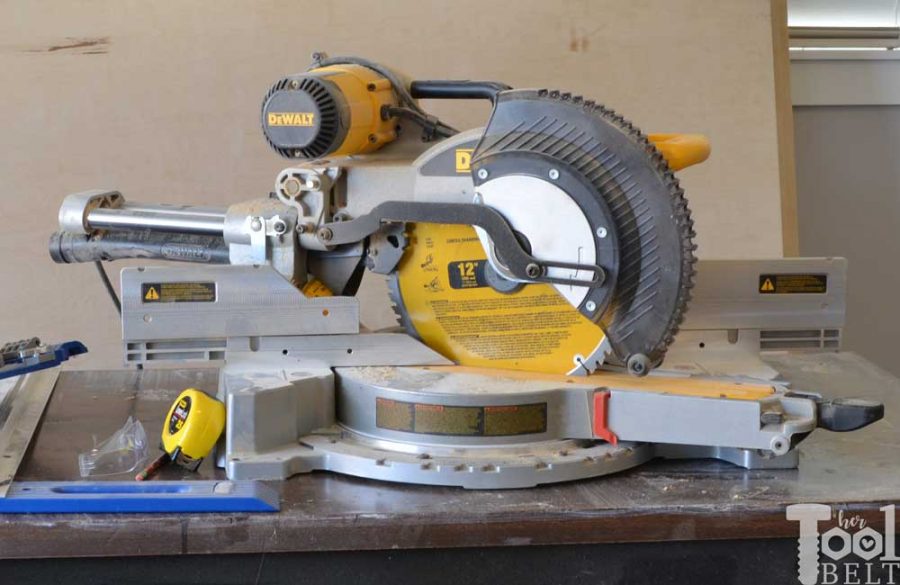
I did customize the miter saw station for my Dewalt Miter Saw, but it should work with any miter saw. The plans note to measure the saw width, table height and how far the miter arm swings.
I’ve teamed up again with Buildsomething.com to bring you the free plans including the supply list, cut list and step by step instructions. Buildsomething is Kreg’s new DIY project plan site with hundreds of free plans. BuildSomething is a great community resource for woodworkers and DIY’ers, that may not have a site of their own, to share the plans they’ve created online. Shared plans don’t have to be computer generated, even hand sketches will work. (click on link or sketch to be directed to the plans)
Grab the free building plans at BuildSomething! <–click here
Notes about the build:
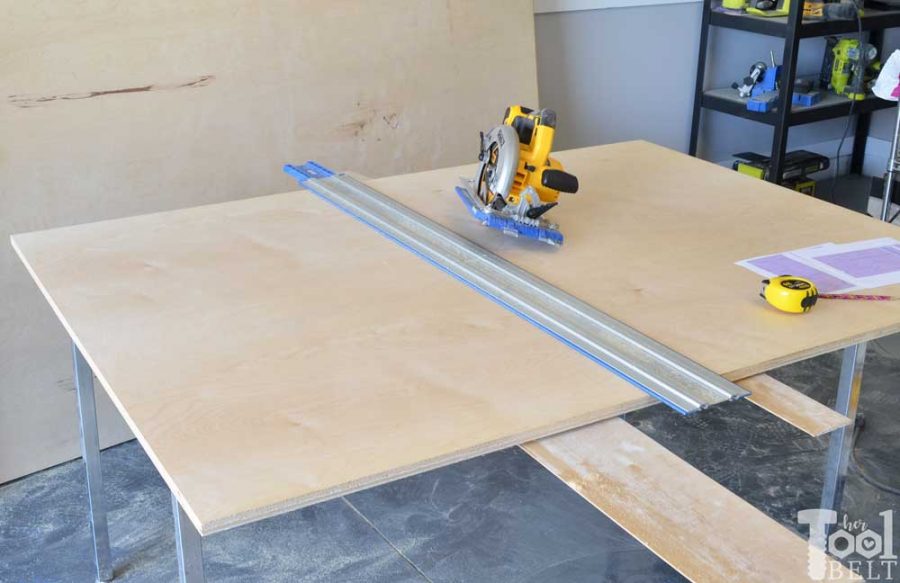
I rarely ask my husband for help on projects, but when I do, it’s usually to help me cut down full sheets of plywood on the table saw. He doesn’t really like to help cut full sheets because it’s a little stressful, if the plywood sheet starts going a little crooked then it can get bound up and that’s not good. So getting a Rip Cut, may possibly be a marriage saver 
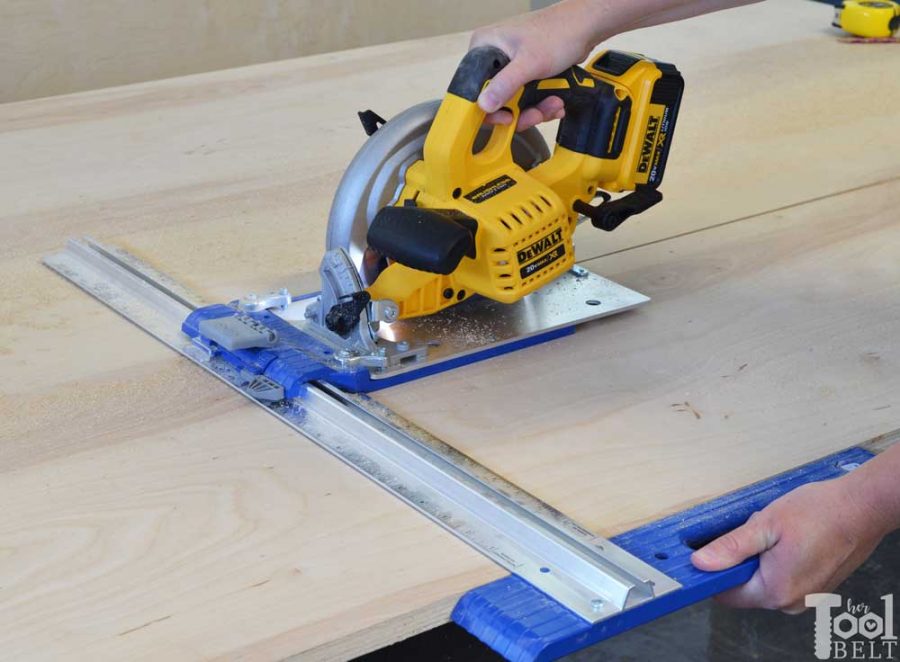
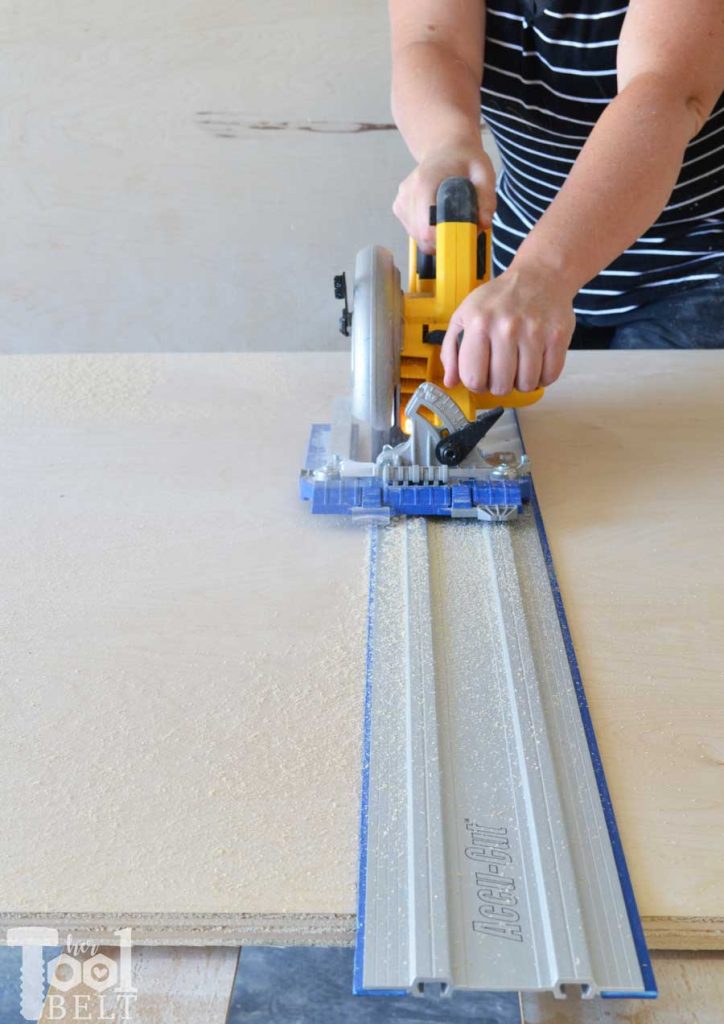
I like using the Rip Cut, but there is one flaw, it can only cut up to 2′ wide. So if you need to cut the center of the plywood sheet you are SOL. To solve that issue, Kreg now has the Accu-Cut which is a simple guide that you just place on the plywood (no clamps, it has a rubber bottom). You use the same sled thing attached to your circular saw for the Rip Cut and the Accu-cut!
Once the plywood is down to manageable pieces, I still like to cut the exact sizes on my table saw. I do have building buddies that don’t use a table saw and build everything with the Rip cut/Accu-cut.
Setting up the Accu-Cut
It took me a few minutes to get the Accu-Cut assembled and ready to go.
First you attach the two 2′ tracks together with the provided bars and set screws.
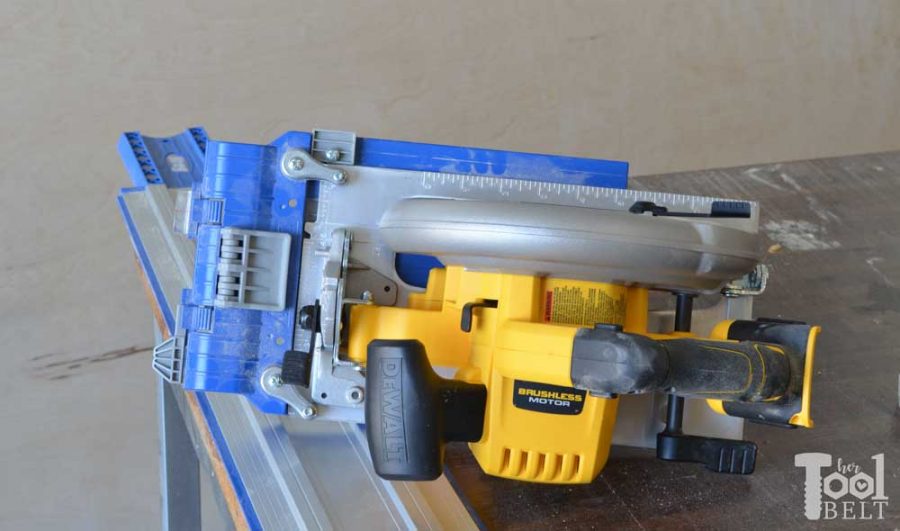
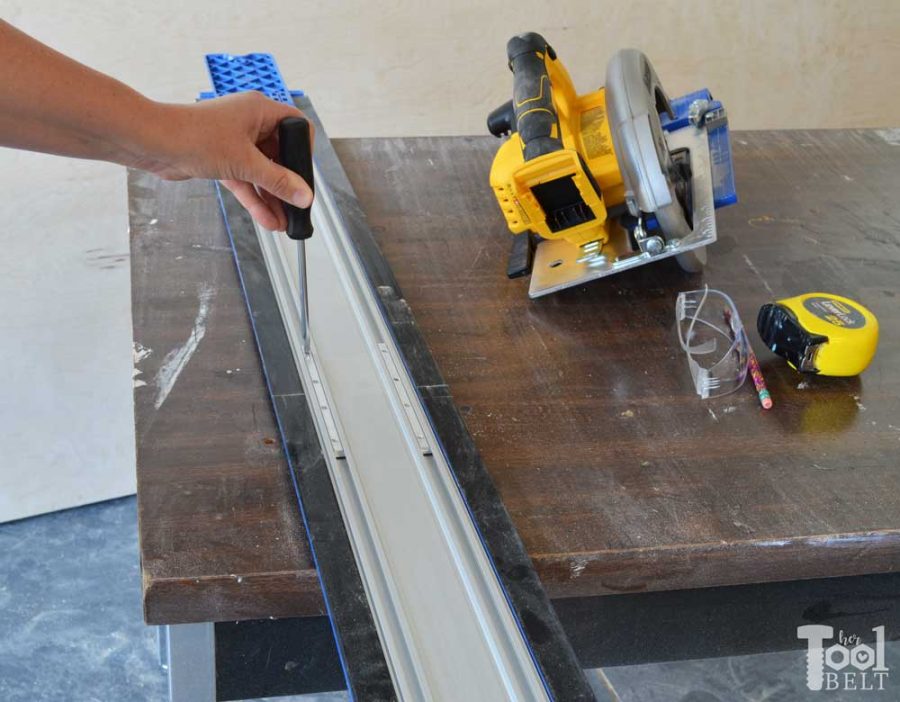 Then you put the sled on the miter saw, this takes a bit of patience. You need to center the blade in the sled slot, set the right side position stop (gray block) and snug the little swing arms with set screws. The swing arms help hold the circular saw base to the sled.
Finally you adjust for zero clearance (see set up guide) and you’re ready to go. Just remember, this isn’t a track saw, it’s really a fancy and handy ‘guide’ for your circular saw. I’m really happy with the results.
Once you get the plywood sheets cut up, you’re halfway there!
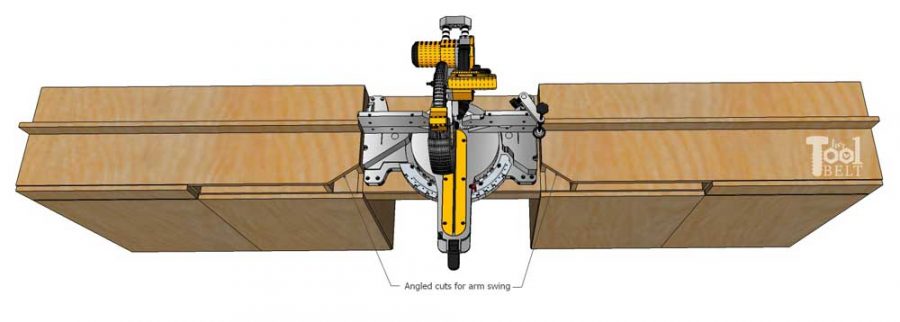
A couple of things to think about when you’re building the miter saw station, is your miter saw swing arm and table height. If your miter saw arm swings beyond the miter saw base you’ll want to make sure you have enough room for it to swing fully right or left.
The plans allow for this, but you’ll want to know how much your saw swings to make sure there is enough room.
Thanks for pinning!
This building plan was sponsored by Buildsomething.com, all opinions and ideas are 100% my own.
Beautiful! I’m one of those building buddies who doesn’t use a table saw because of my portable workshop situation relying completely on the rip cut and accu cut – making it work thanks to Kreg.
Looks great, it looks like I am beginning with the same vision. In fact, my stage of the project is painting the walls and I’m ready to re-finish the floor before building in my miter saw station. My searches for a miter stand is what brought me to your site. Then I saw the floor in your photo. Did you end up going with Rocksolid metallic flooring? I wondered if you could comment on what you thought of it so far and what color your used.
Thanks!
Hi Scott,
Yes I did Rocksolid metallic flooring in silver bullet and so far I love it, I’ve had it since the spring ’17. The floor is nice a smooth and looks cool. I got a 3′ dust mop and it is so slick to sweep up the dust. I definitely recommend it.
I have the same DWS780 Miter Saw. How many inches behind the back of the cabinet frame does the sliding arm of the saw stick out?
It sticks out about 14″ behind the back.