It’s Reveal Day of the Jeffrey Court All-star Challenge hosted by Jeffrey Court along with Behr Paint and Frog Tape.
Voting goes through July 12th at 11:59 pm EST. You can vote once per day. If you have a minute, I would sure love your vote.
Vote HERE
missed any master bath reno progress?
It’s Done, It’s Done…
I can’t believe my master bath reno is finally done.
It turned out better than I imagined and I am so excited to have a beautiful bathroom!
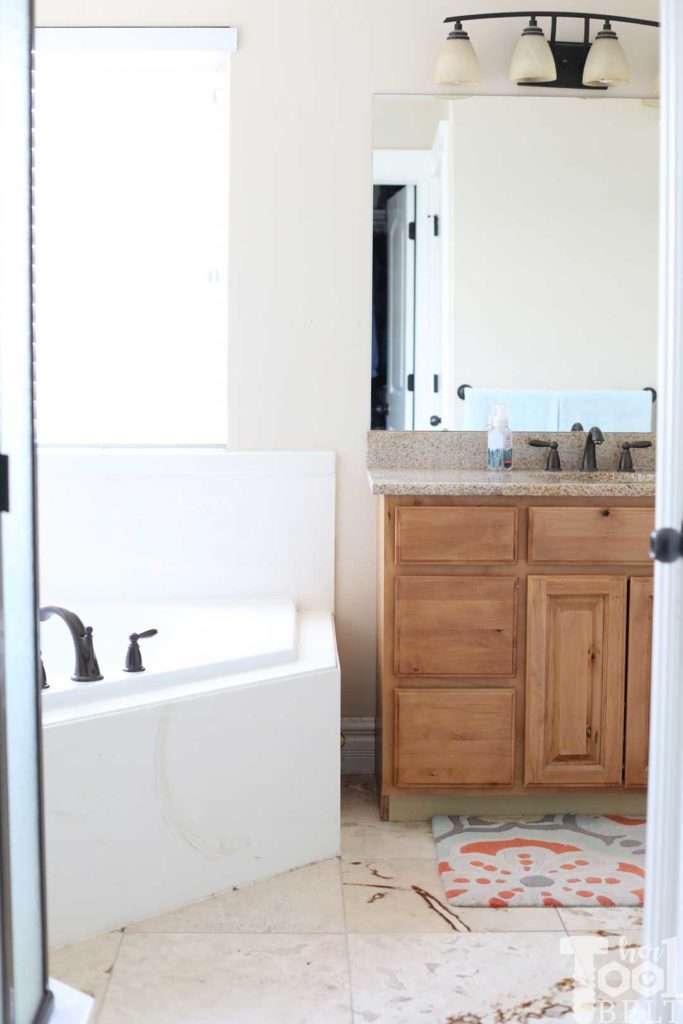
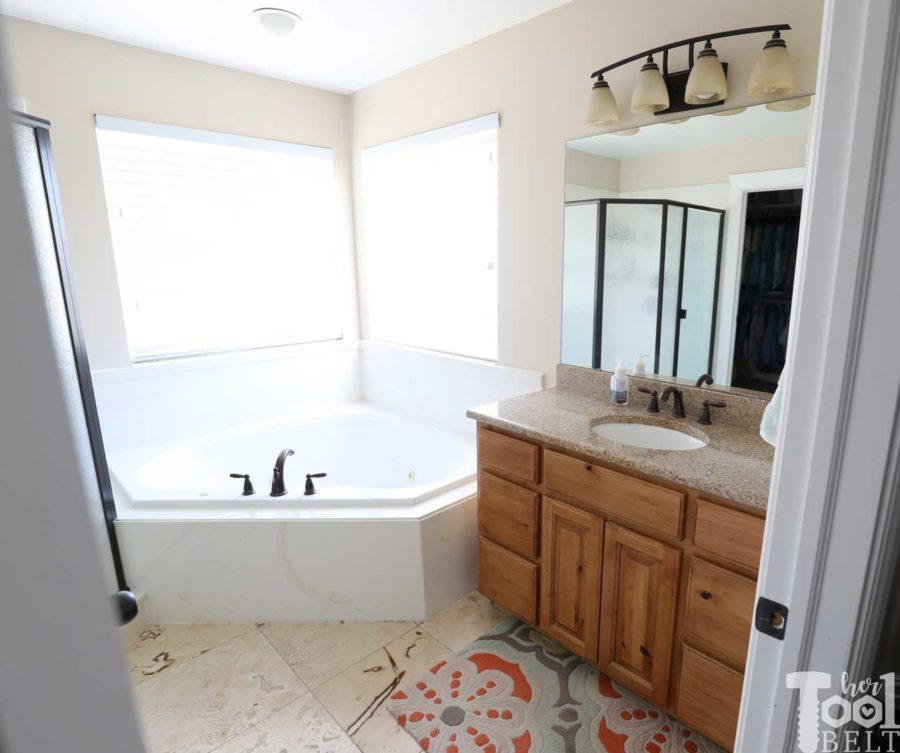
Before
After
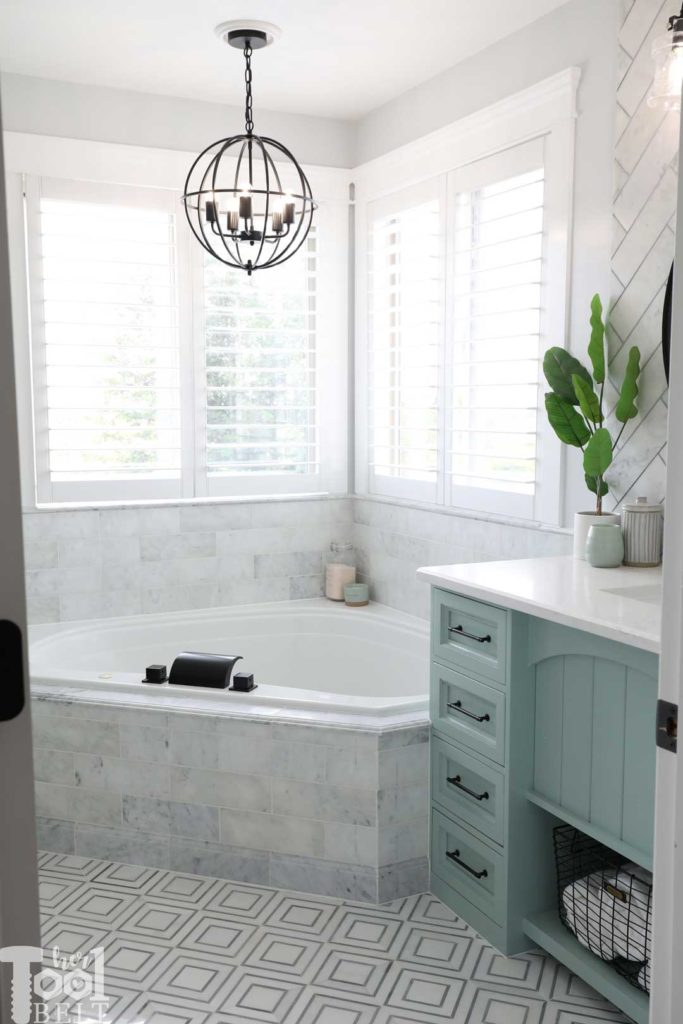
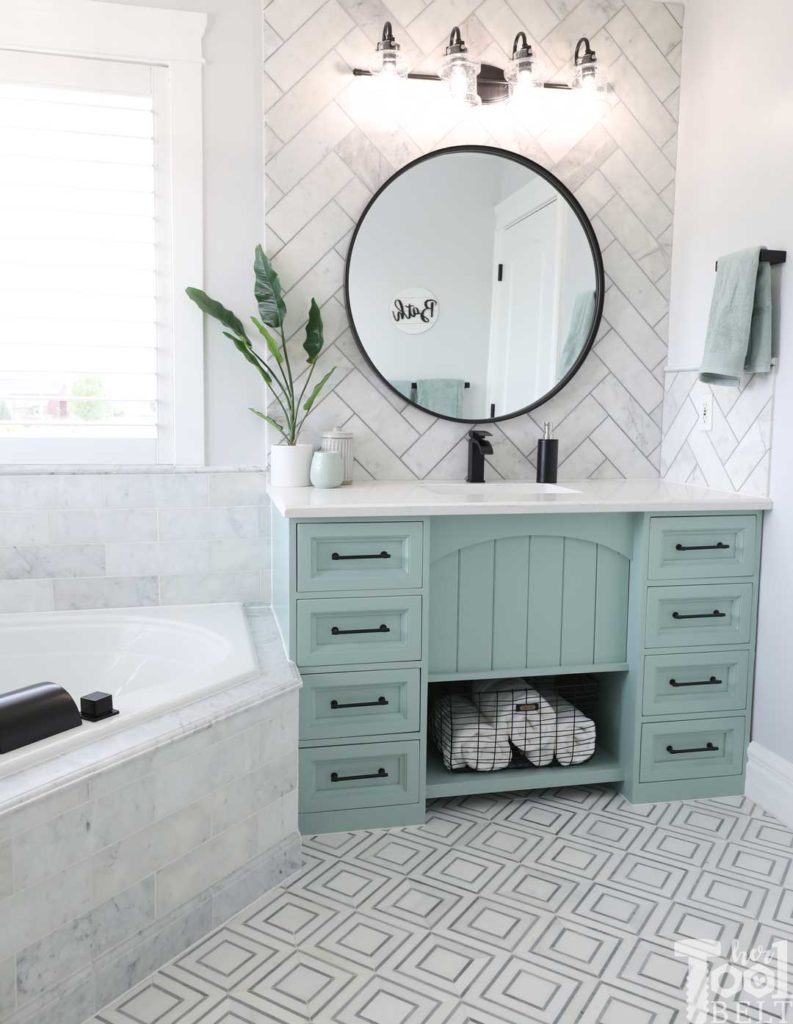
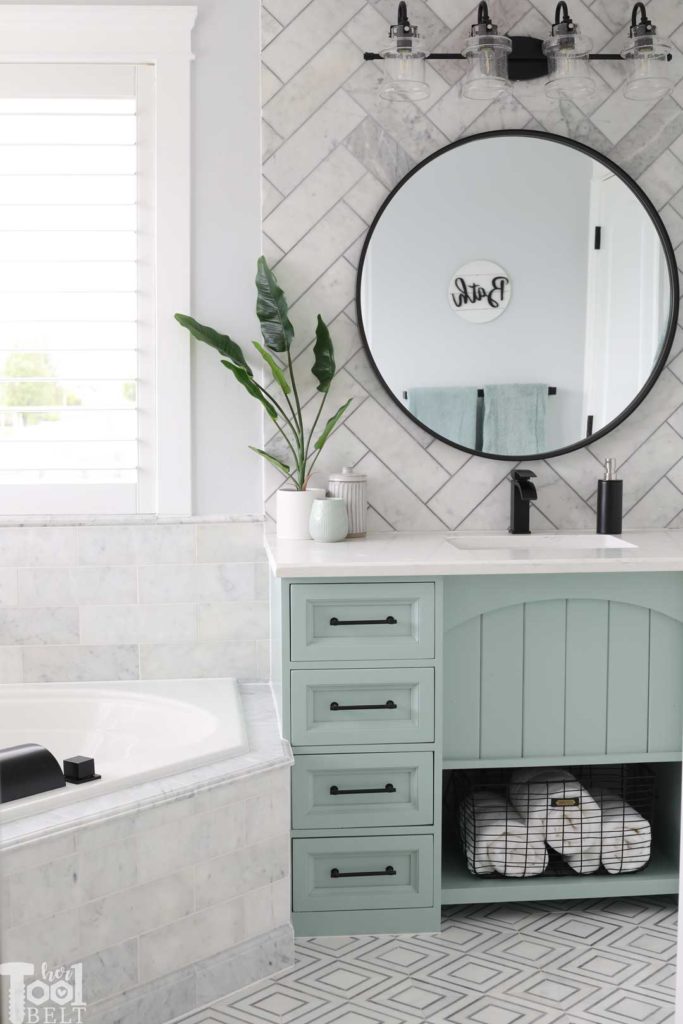 I love the color of the vanity, it’s Behr Zen. It is a neat color, depending on the time of day it looks green or blue. It is one of my all-time favorite colors and I have it all through out my house.
Before
After
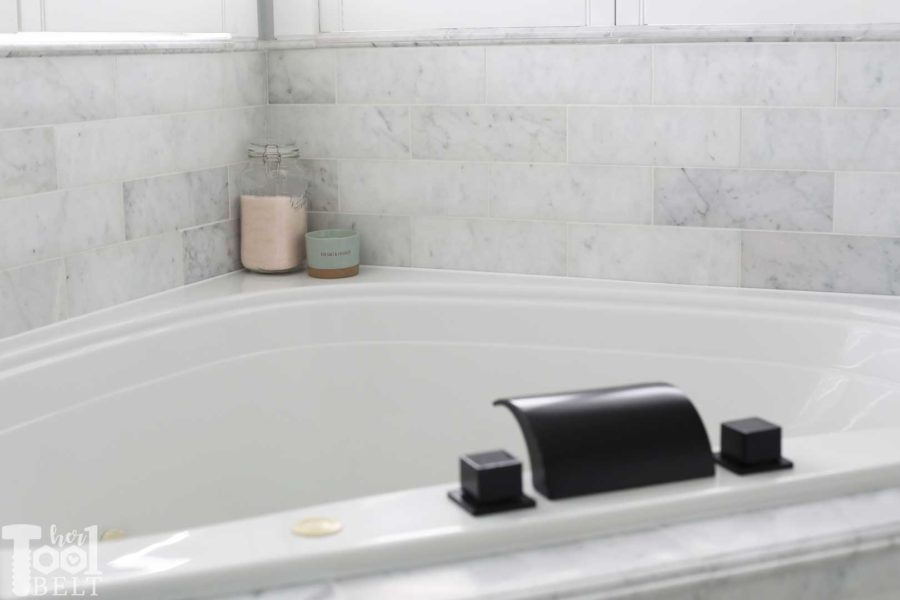
I love the new tub surround. It is carrara marble tile in a brick pattern with bright white grout.
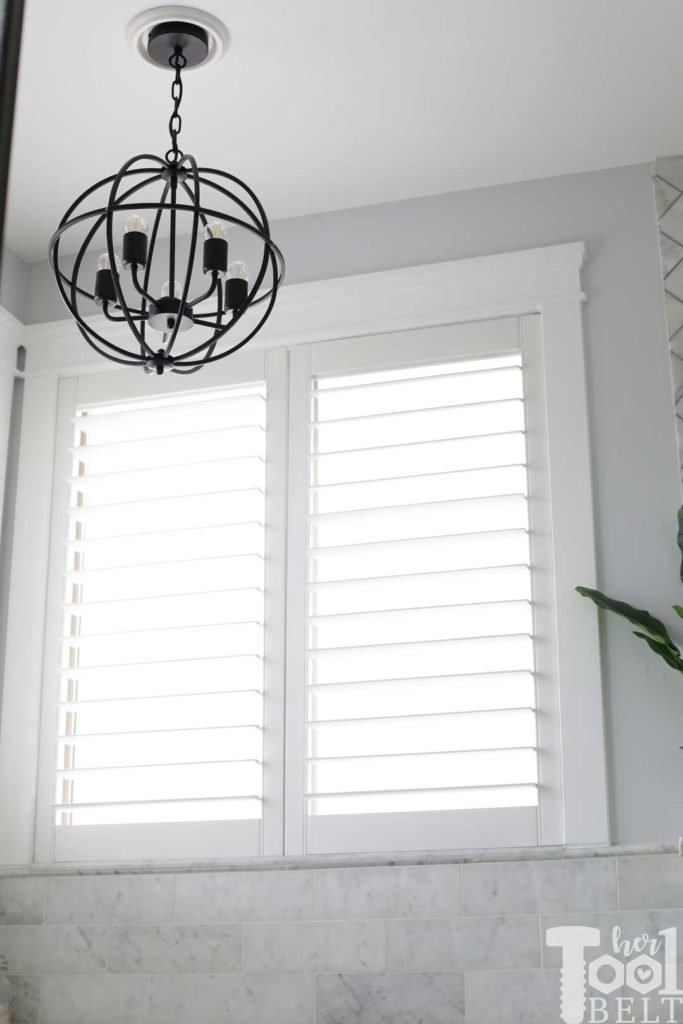
I used the base trim as a decorative piece around the tub and as a window seal on the windows.
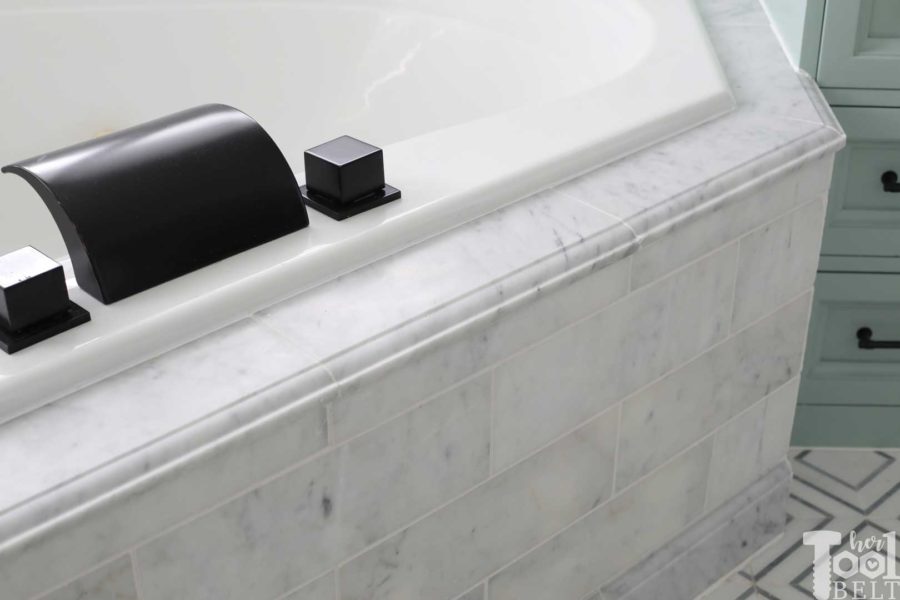 Marble window sill base trim pieces.
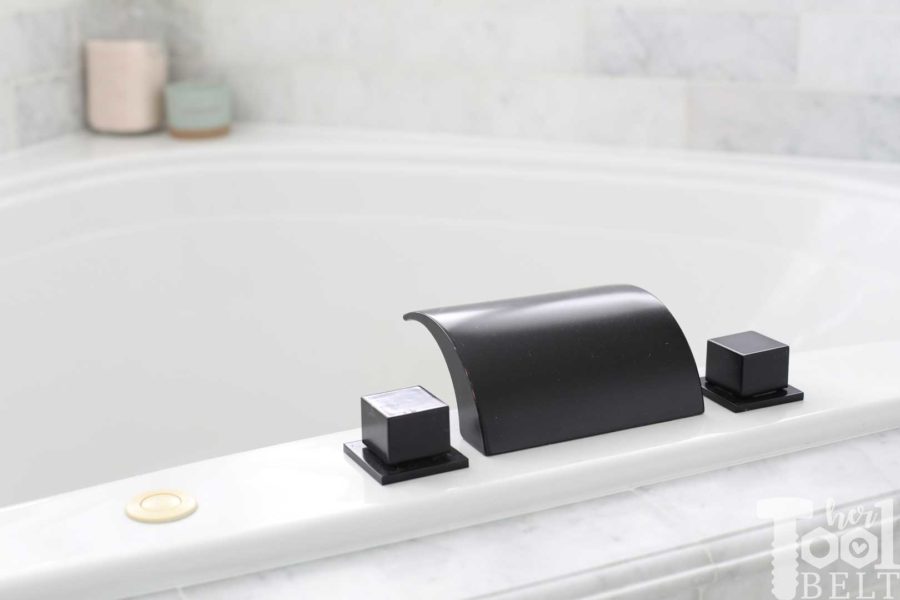
My kids (little) love taking baths in the big jetted tub. I’ve loved ribbon/waterfall faucets since I was young, so I thought it would be fun for the kids to have a ribbon faucet.
My windows definitely pop with the trim and I am loving my DIY plantation shutters. So glad to have those yellowed vinyl blinds out.
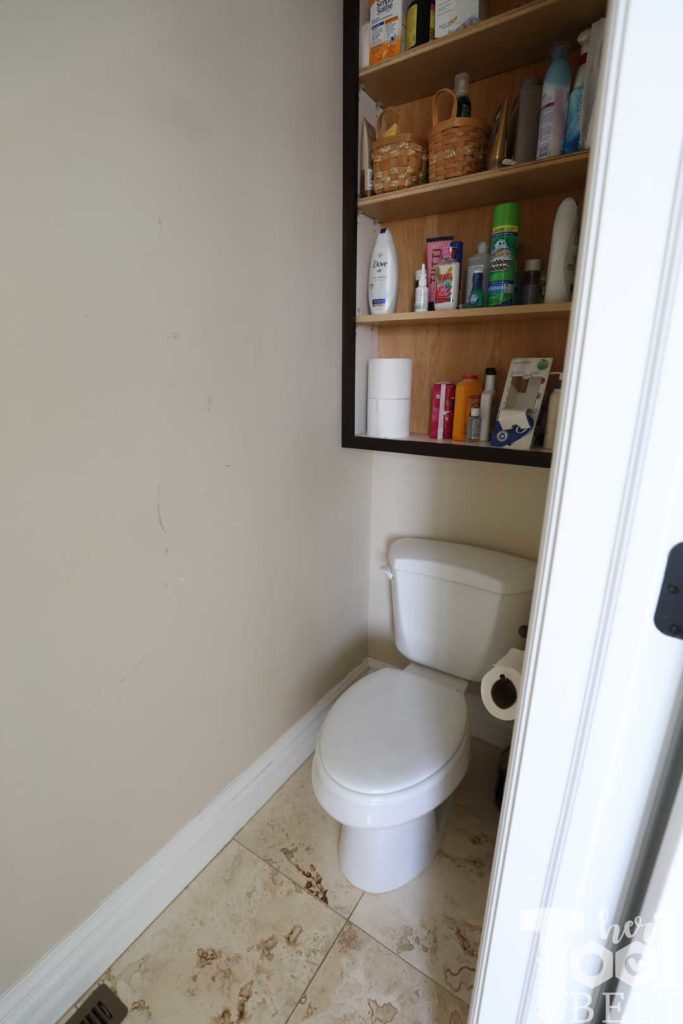
On to the toilet room…
Before
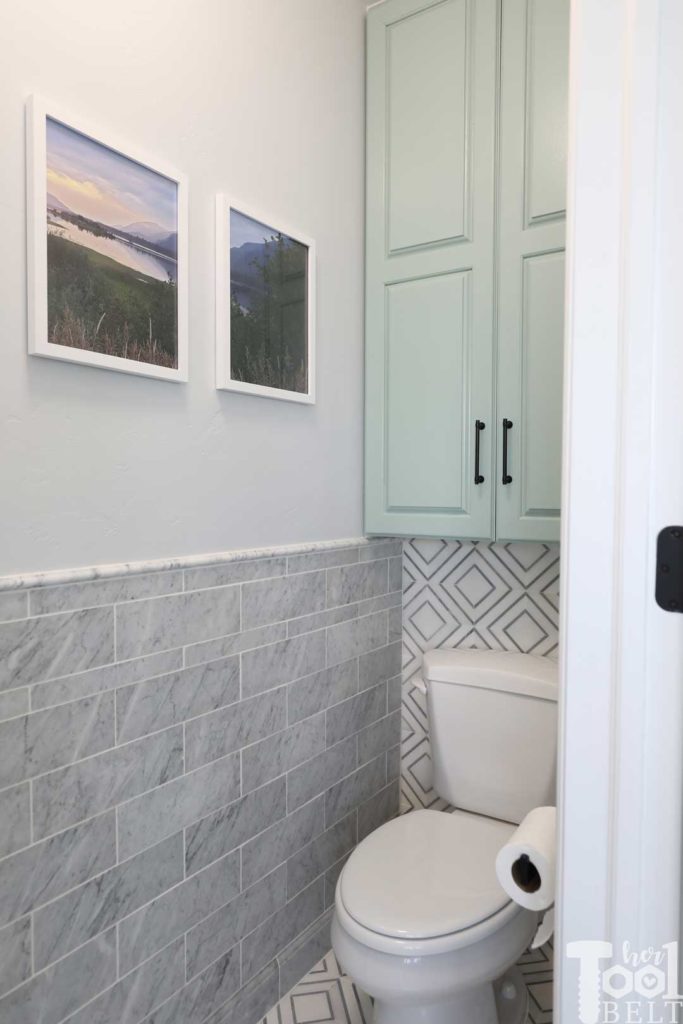
After
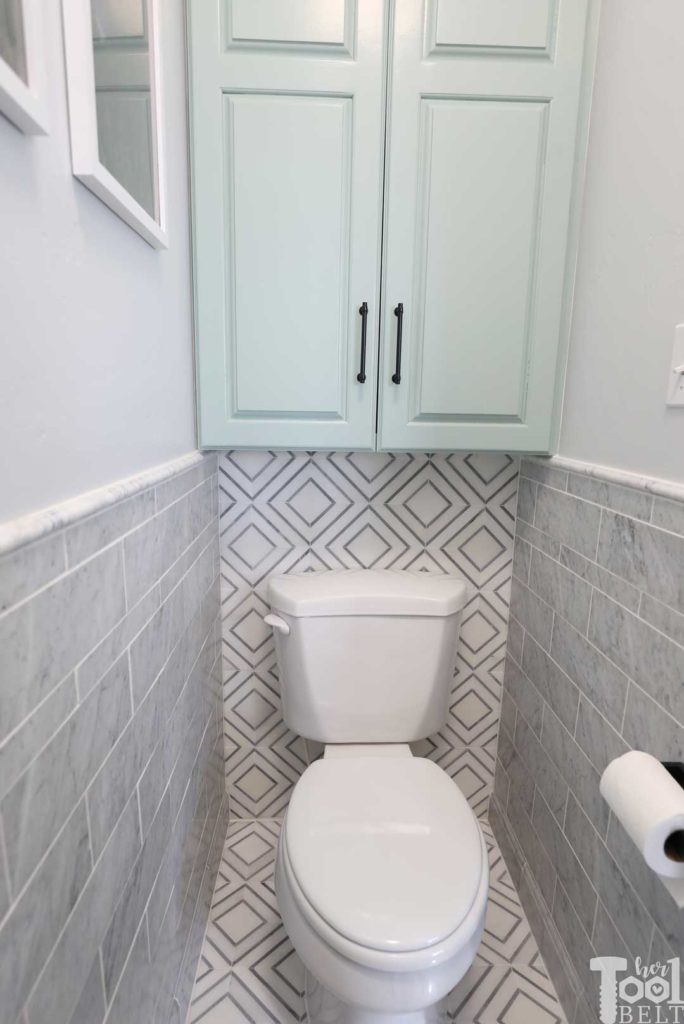
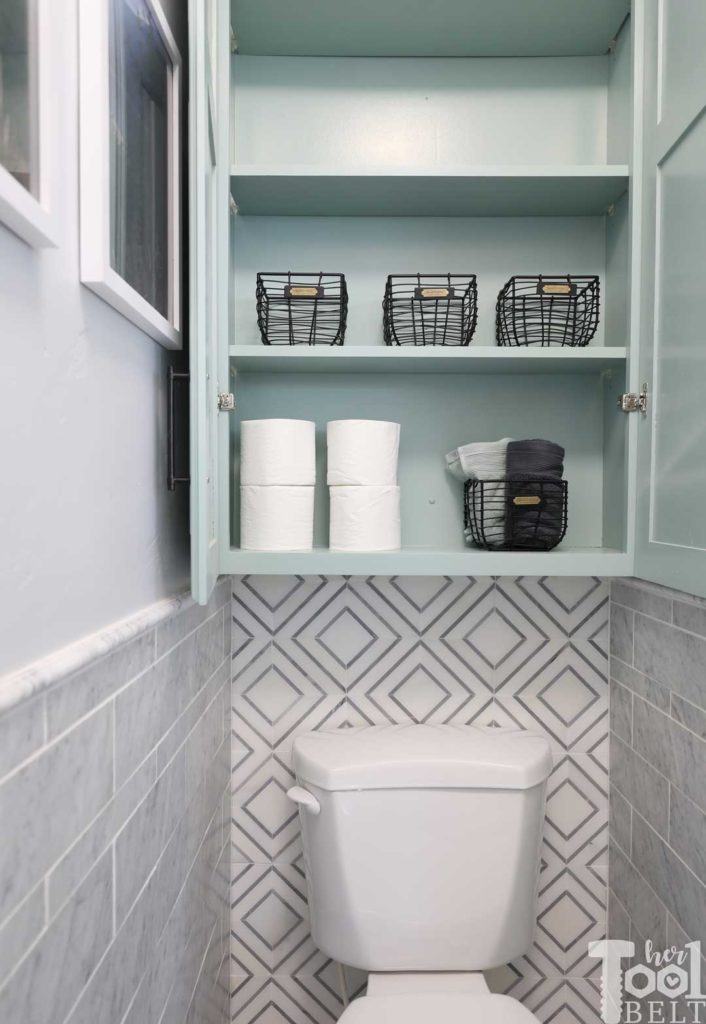
In the toilet room, I continued the Jeffrey Court Balancing Act marble tile up the back wall behind the toilet. It is one of my favorite features in the toilet room! I also added carrara marble tiles about 1/3 up the walls in a brick pattern. At the base of the walls, I used Jeff Lewis base trim. It adds a little extra detail to the wall.
Amazingly enough…I actually made the cabinet doors…AND installed them. 🙂 So much better.
I painted the cabinet Zen, and it looks sooo much better.
Onto the floor
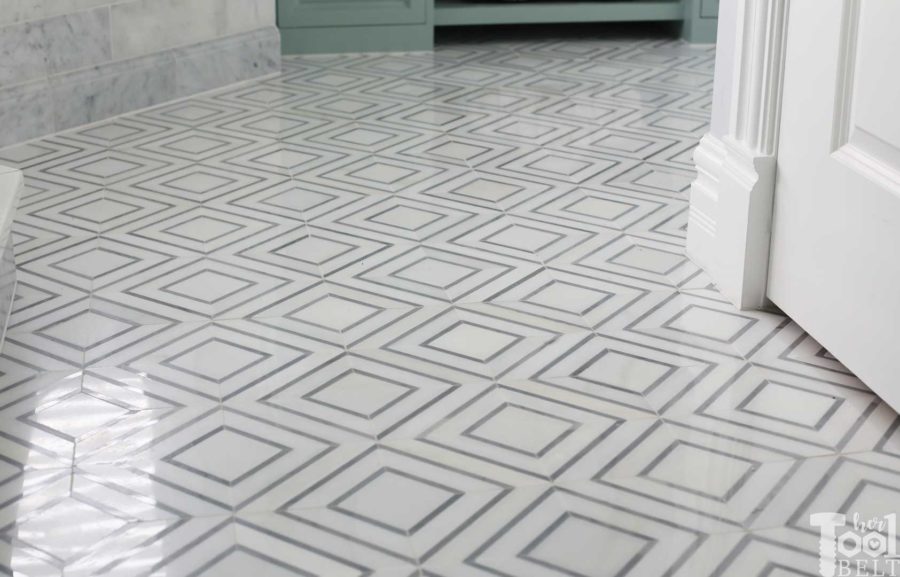
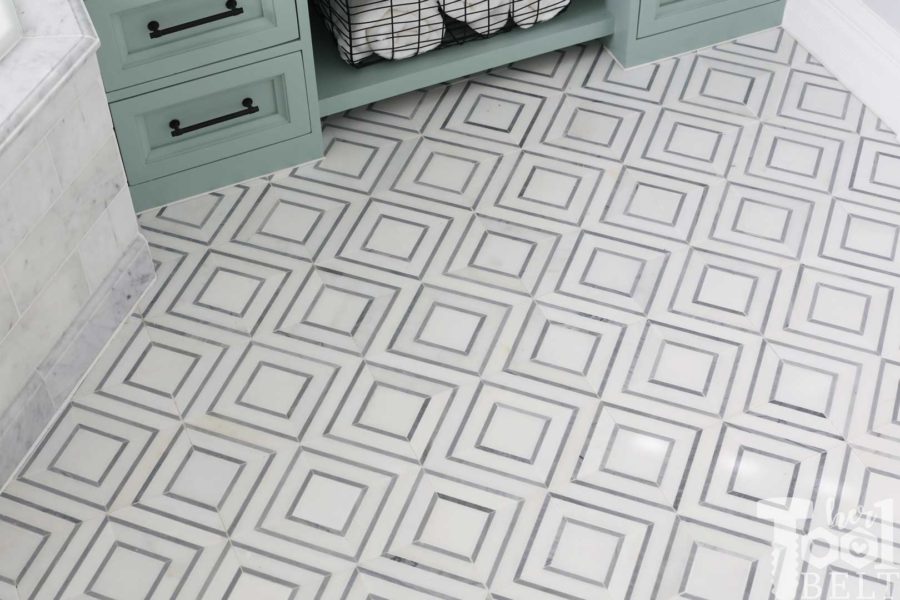
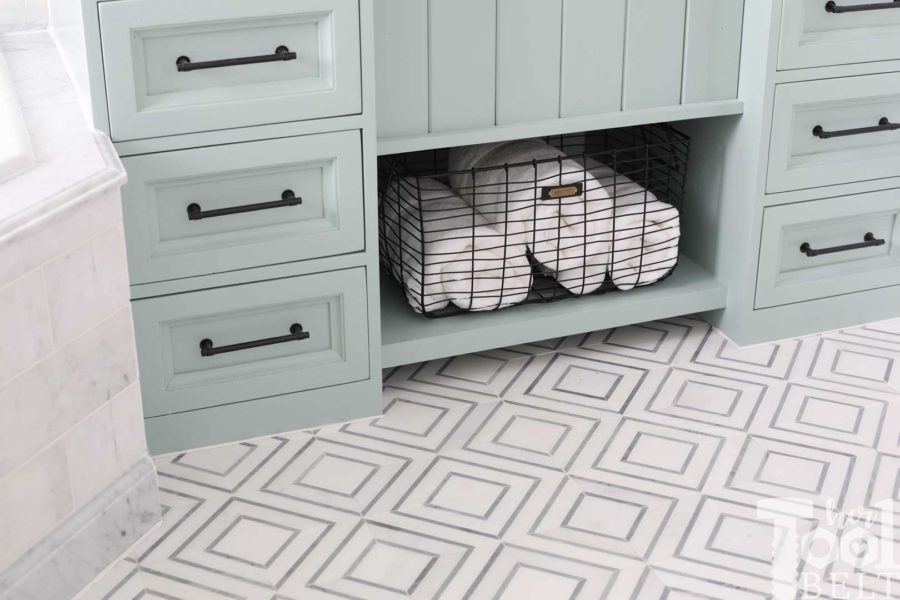
I do love geometric shapes, and I LOVE this floor. It is a marble mosaic tile. It is most likely not meant for the floor, but this is a low traffic area so we should be fine.
All the heart eyes for this floor!
Sink and Vanity
I’m so happy to have the tub motor access hole finally covered up! (The motor can be accessed when the vanity drawers are removed.)
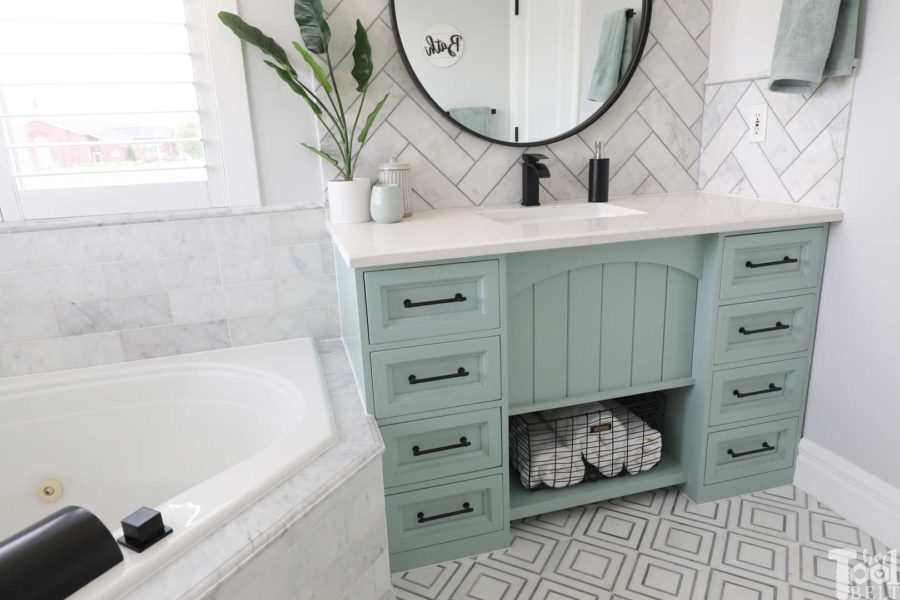
This vanity has lots of storage space with 8 drawers.
There is a shelf at the bottom for towels, which is so nice because we don’t have a linen closet. The vertical wood slats can be removed to access the plumbing.
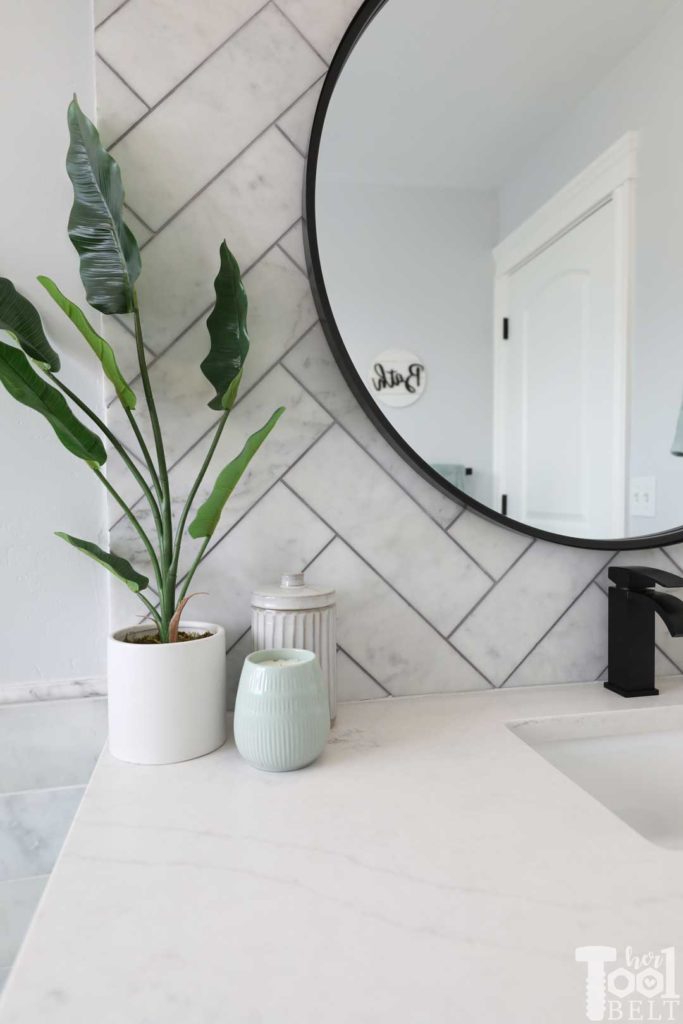
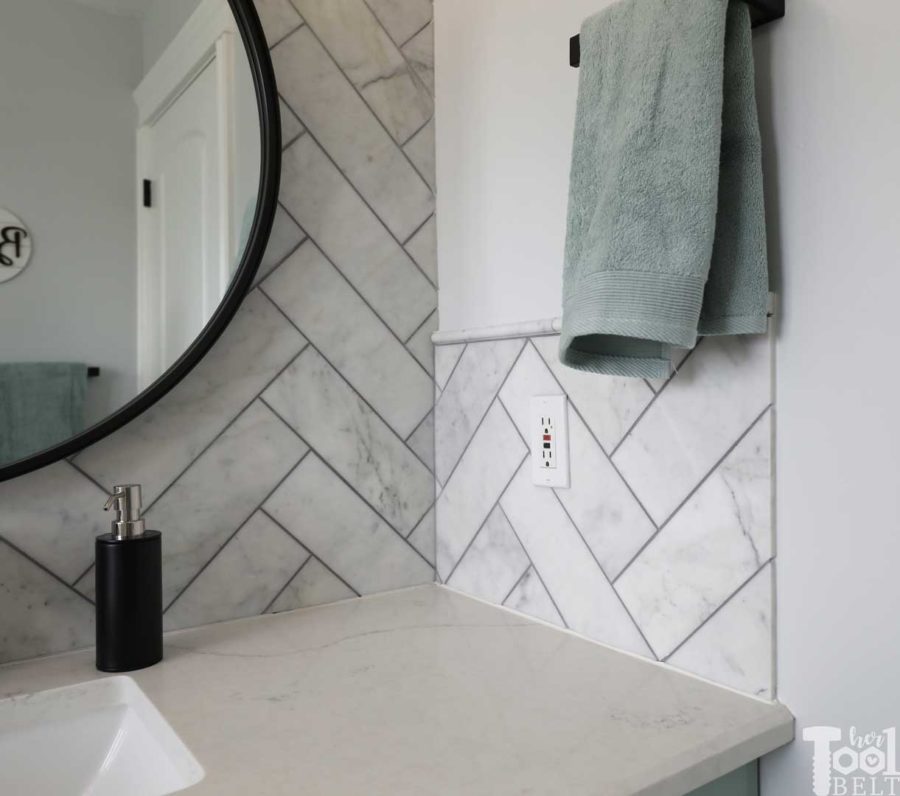
I wanted to do some sort of feature wall for a back splash to the vanity. I used the same carrara marble tile in herringbone with a gray grout.
I think the trickiest part of this job was ‘wrapping’ the herringbone around the corner. It was definitely worth the brain exercise measuring and cutting those tiles. 🙂
The wall color is a super light gray called Evening White by Behr.
Even though this is a competition, I already feel like the winner. (So cliche, I know.) It is so nice to have a beautiful bathroom without 10 To-Do items looming over my head.
I finally feel like it is a Master Bathroom!
Breakdown of the Projects:
Rip up the travertineRemove the cultured marble tub surroundRemove old vanityTile the floor withBalancing ActAddMarble Base Trim TileandAccent Trim TileTile accent walls with Carrara MarblePaint the bathroomBuild a new vanityBuild plantation shuttersTrim out the windowsBuild(and install 🙂 ) doors on the cabinetPaint cabinetReplace lightsReplace or refresh fixturesReplace mirror
I can’t believe it all got done!!!
Want to check out the other All-Star Makeovers? Here are the amazing All-Stars

YOu must be so pleased with this transformation! The tilework looks amazing, giving me inspiration for an upcoming bath. Great work!
Stunning transformation Amy!! And Oh My Goodness, the way you’ve curved the herringbone pattern around like that is sooooooo professional. Love everything about your bathroom and toilet room