Valentine’s Day is just around the corner and today I’m participating in a Handmade Valentine Blog Hop with 40+ fun handmade Valentine’s ideas.
Be sure to check out all of the fun ideas at the end of the post.
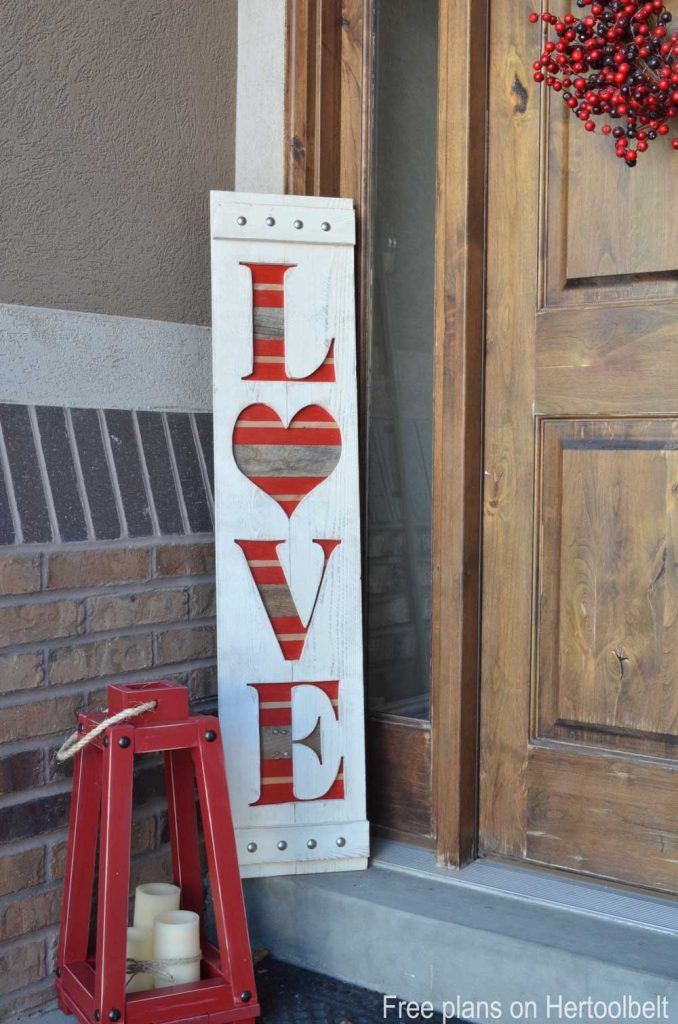
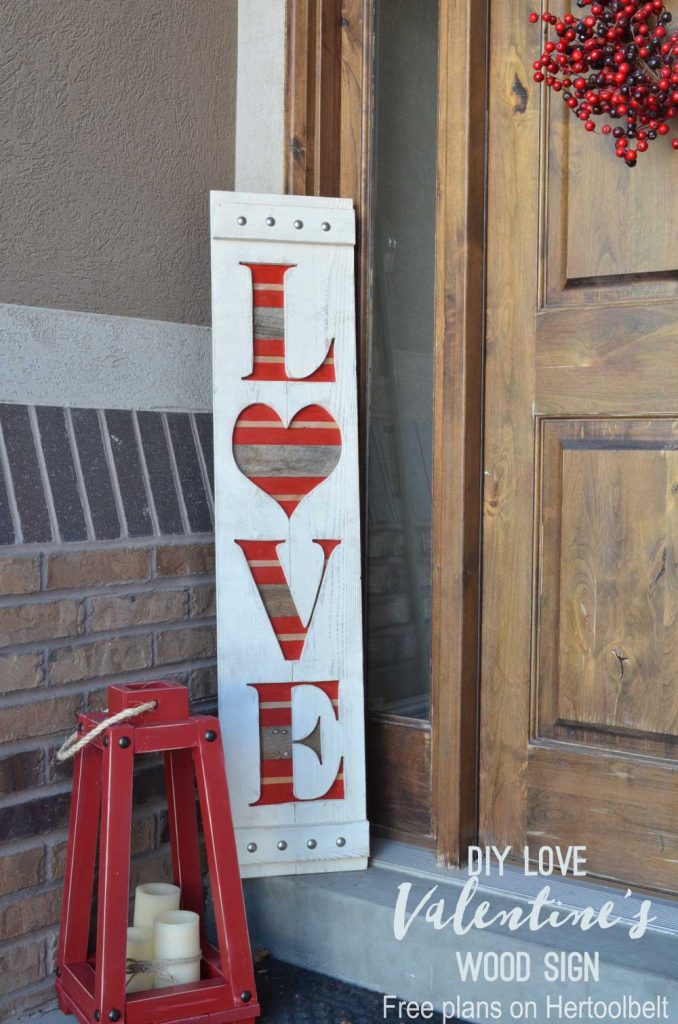
I have quite the pile of scrap wood collecting in my garage, and I love any excuse to use some up. This big Valentine’s love wood sign is the perfect project for scrap wood. The main part of the sign uses cheap cedar pickets that I got from Home Depot, they are fun to use because they are thin and rough which is great for distressing. This idea is inspired by My Altered State Pauline’s Christmas Ornaments, they are so cute!
You can find the tutorial for the DIY lantern here.
How to Make a Big LOVE Sign
This post contains some affiliate links for your convenience. Click here to read my full disclosure policy.
Materials
- 2 – 5/8″ x 6″ x 6′ cedar pickets (about $2.55 each)
- Gorilla glue
- Amy Howard Home Toscana Milk Paint in Strasbourg White
- Red paint – optional
- 3/4″ decorative nails – optional ($2.99 at HL)
- scrap wood (or another picket)
Tools
- jigsaw
- miter saw – optional
- sander – optional
- drill and drill bit (3/8)
- clamps
- tape measure
Cut List
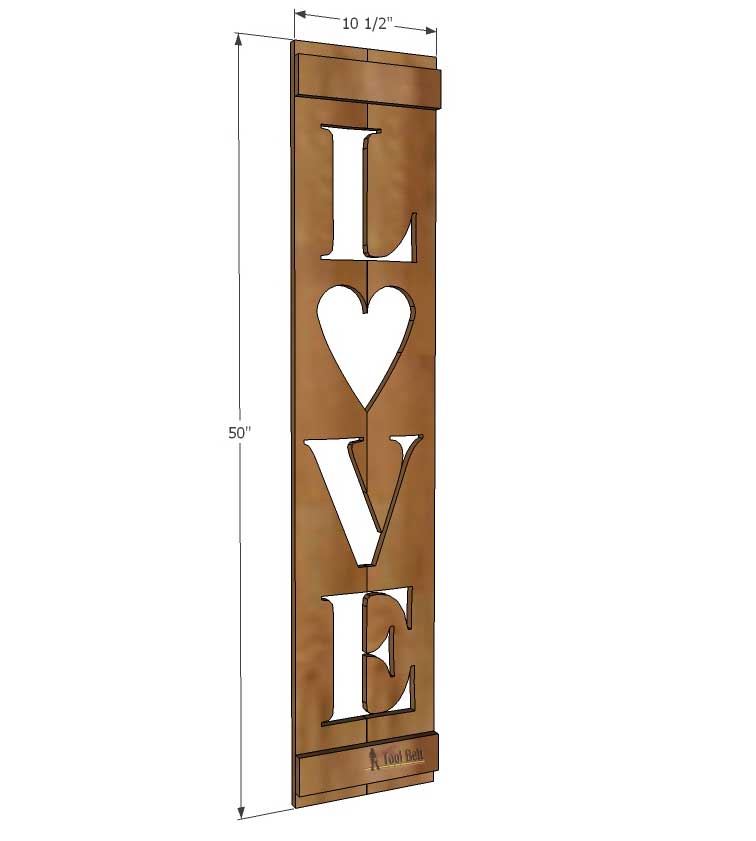
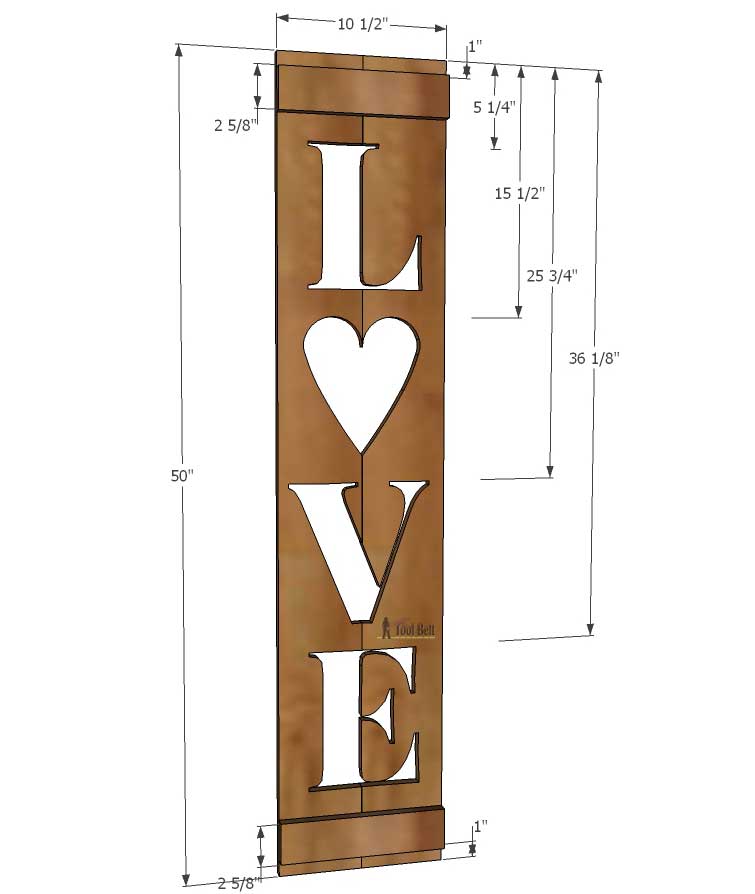
- 2 – 1/2″ x 5 1/2″ x 50″
- 2 – 1/2″ x 2 5/8″ x 10 1/2″ (or the width of two pickets together)
- scrap wood about 9″ long
Step 1
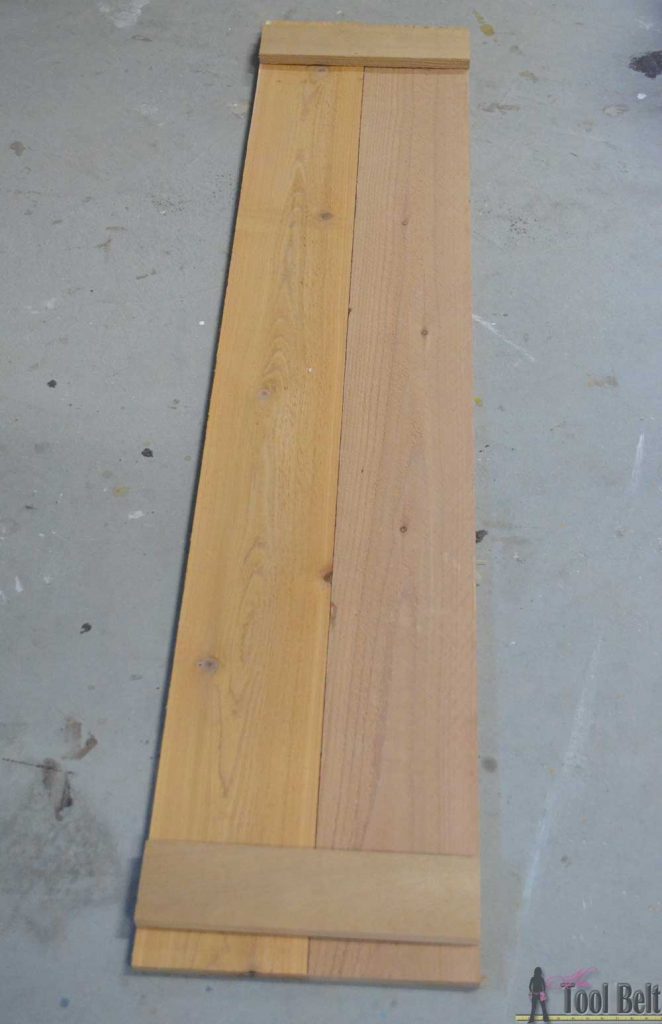
Cut the 2 cedar pickets to 50″ long. Measure the width of the two pickets together (should be around 10 1/2″-11″). Cut a piece of cedar picket to that length, then cut in half length wise.
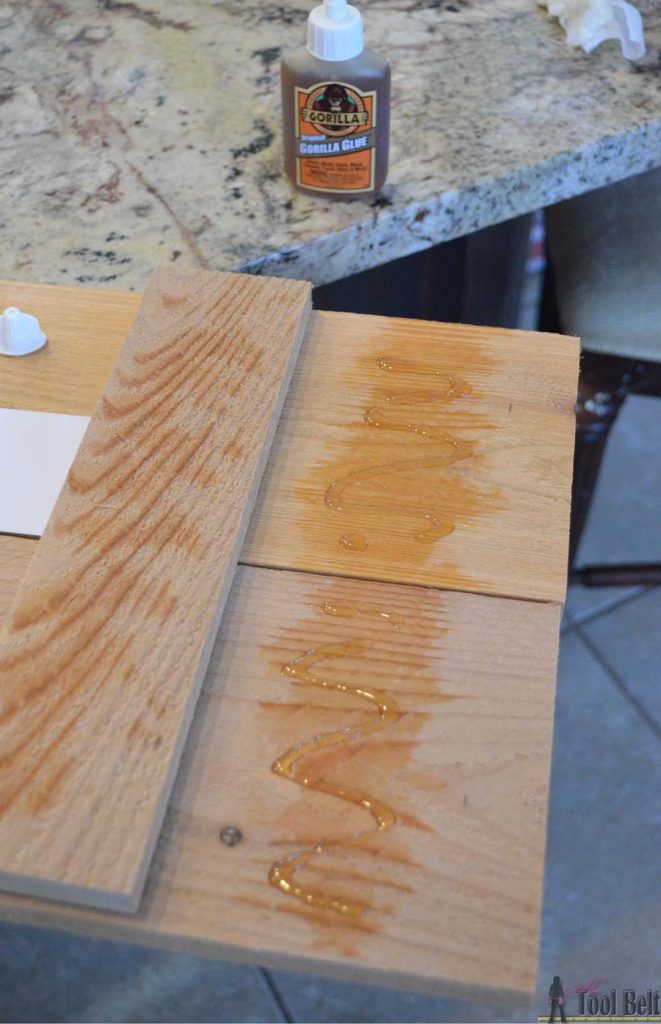
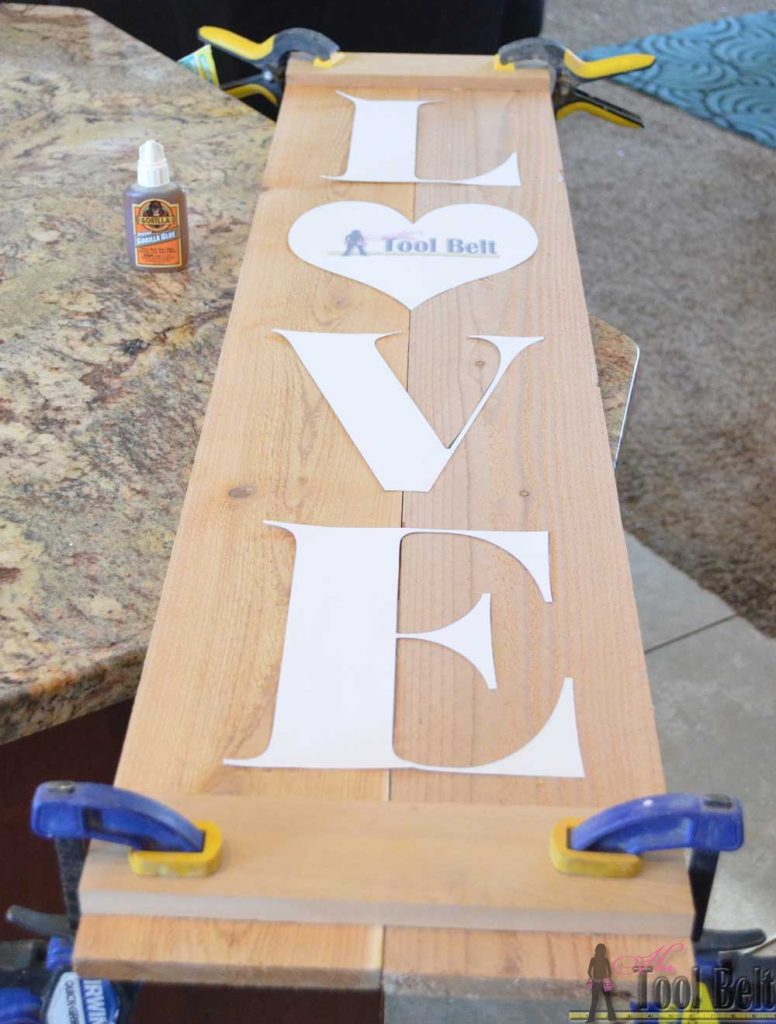
Put the cross pieces 1″ from each end of the 50″ pickets, apply glue and clamp in place. Note: Gorilla glue is activated with water, get the surface wet you are gluing (water bottle or a rag) before gluing.
Step 2
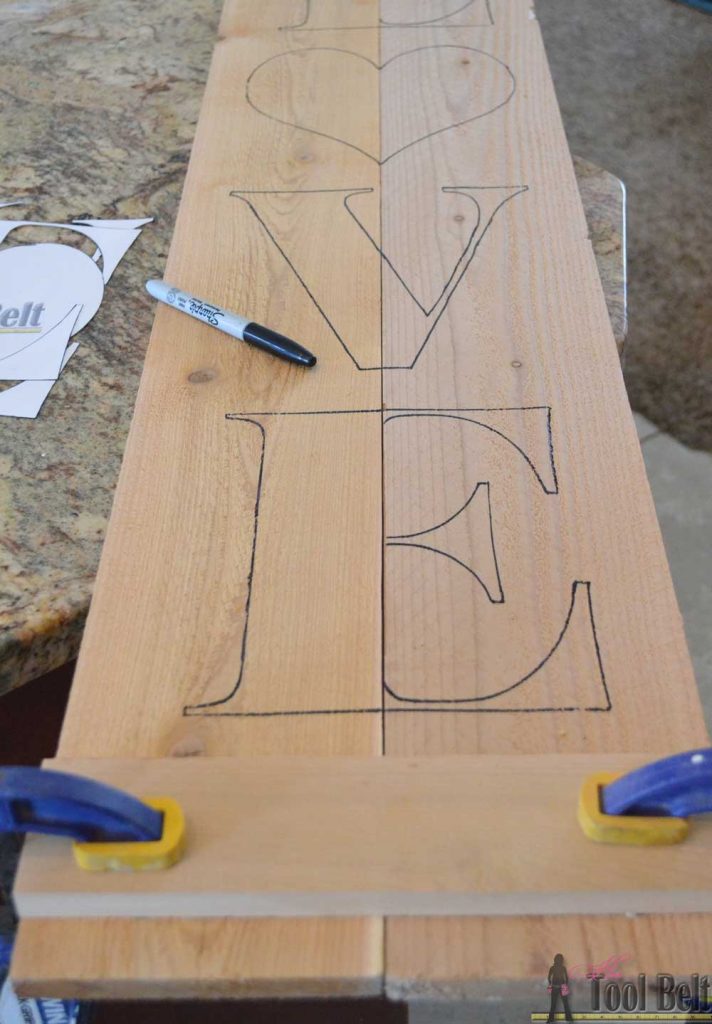
Print out the LOVE template —> LOVE template. Cut out the letters and lay them out on the board. Mark the locations for the letters on the board L is 5 1/4″, heart is 15 1/2″, V is 25 3/4″ and E is 36 1/8″ from the top. Line up the L and E so the straight part is on the center-line where the two boards meet.
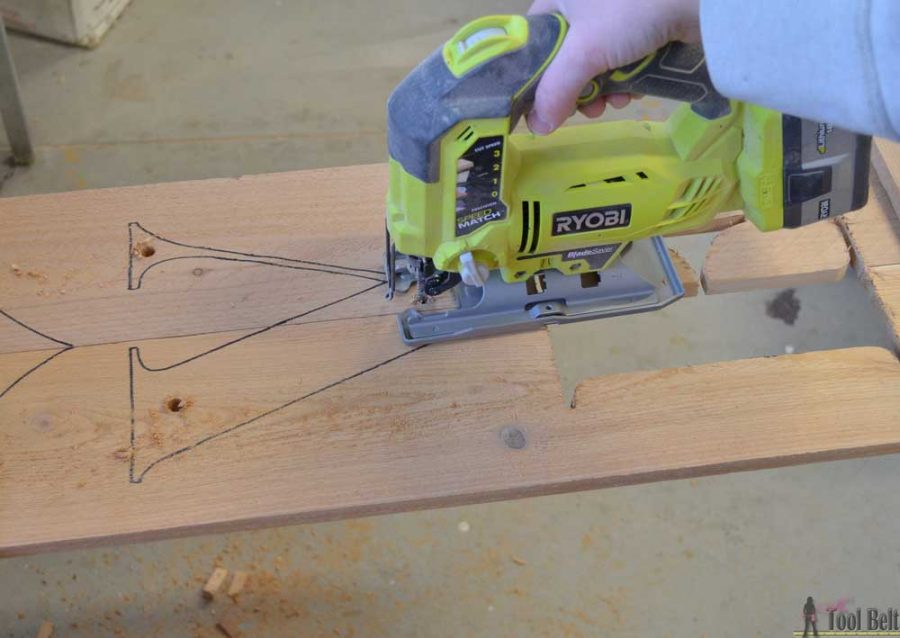
Trace the letters, I like to use a sharpie so it’s easy to see while cutting out with the jigsaw.
Step 3
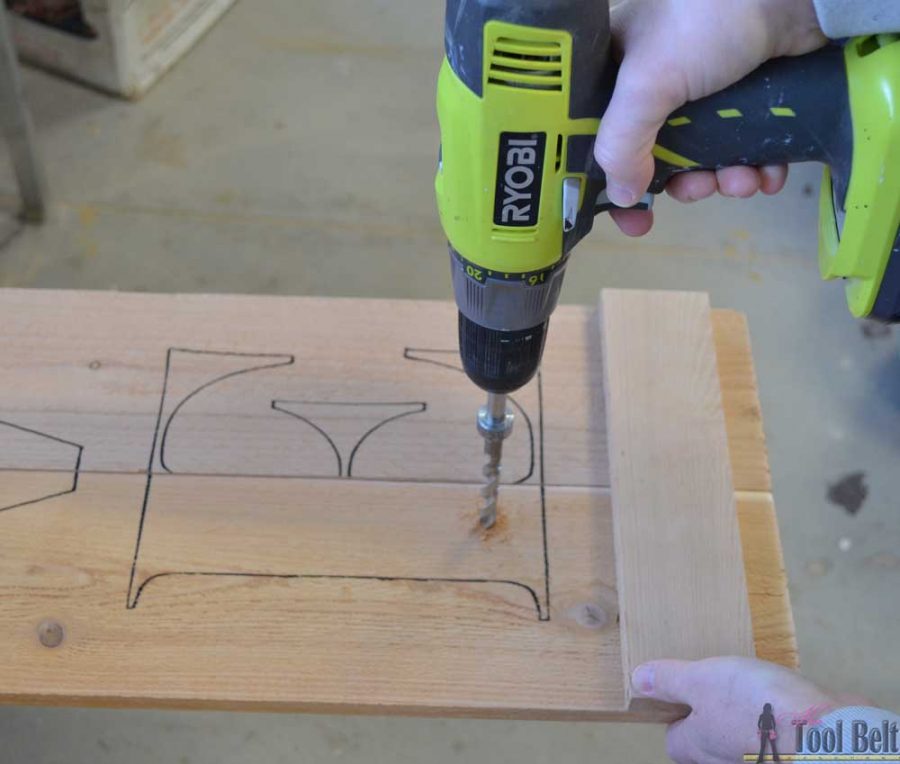
Use a jig saw or a scroll saw to cut out the letters. First drill holes in the letters for the saw blade to go, a 3/8″ bit is a good size to use. Drill as many holes as needed.
Cut out the letters. It helps to have a higher quality blade.
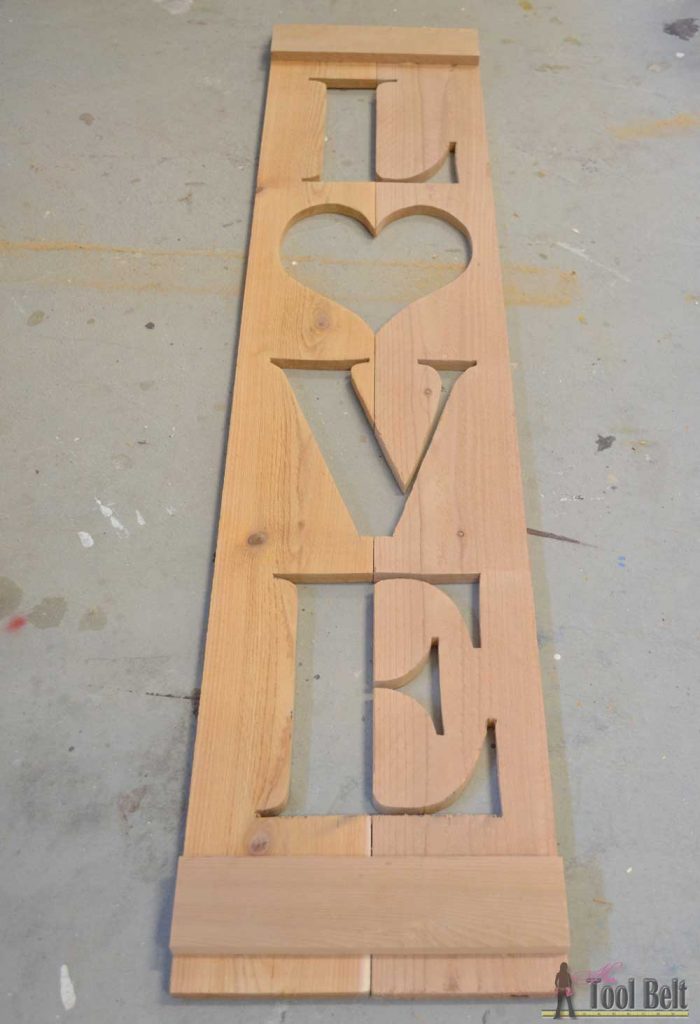
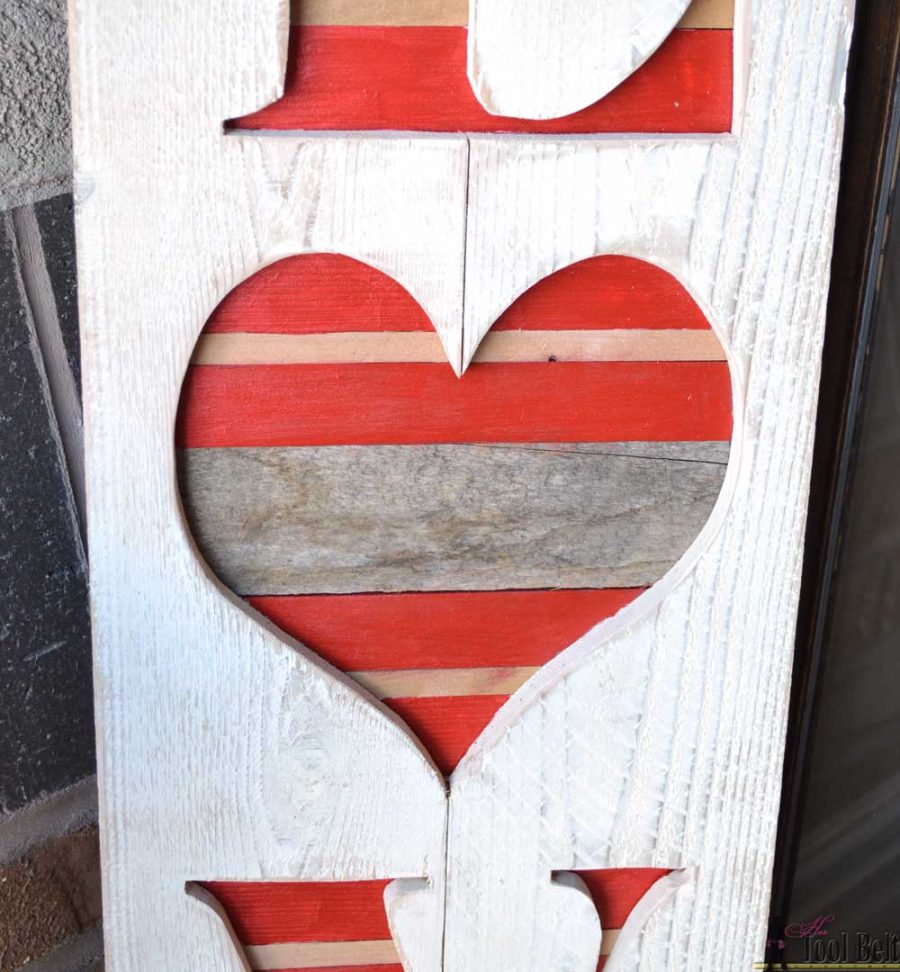
LOVE all cut out. (if any small pieces break off like in the V, just glue them on)
Step 4
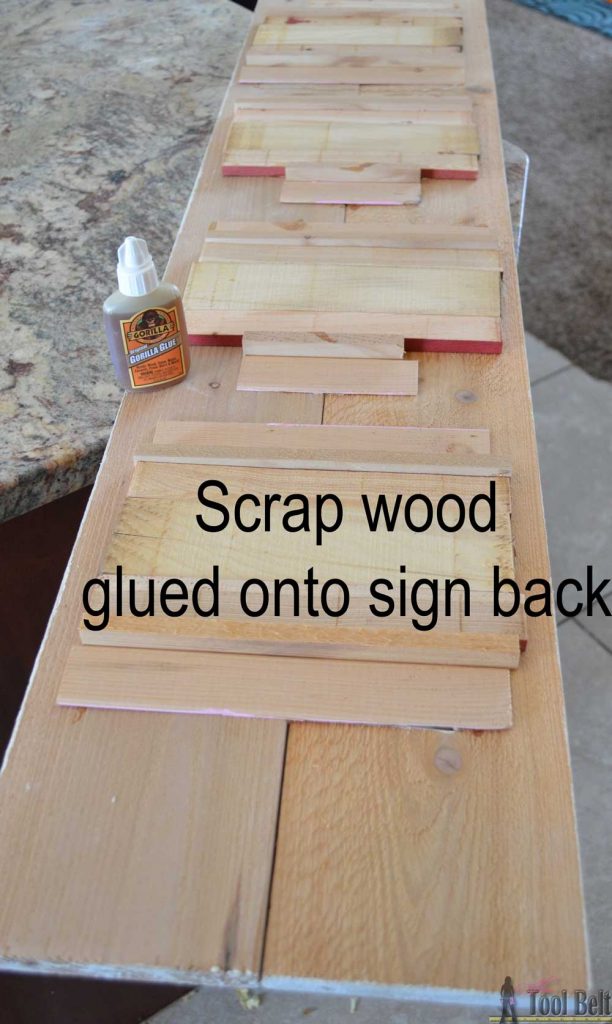
I applied a coat of white milk paint to the cedar pickets and let that dry. The milk paint dries quickly and is easy to distress with sandpaper. While the paint is drying I cut scrap wood about 9″ long. For each letter you’ll need at least 8 3/4″ worth of scrap, paint the scrap wood if desired.
Turn the Love sign over and glue the scrap wood to the back of the sign.
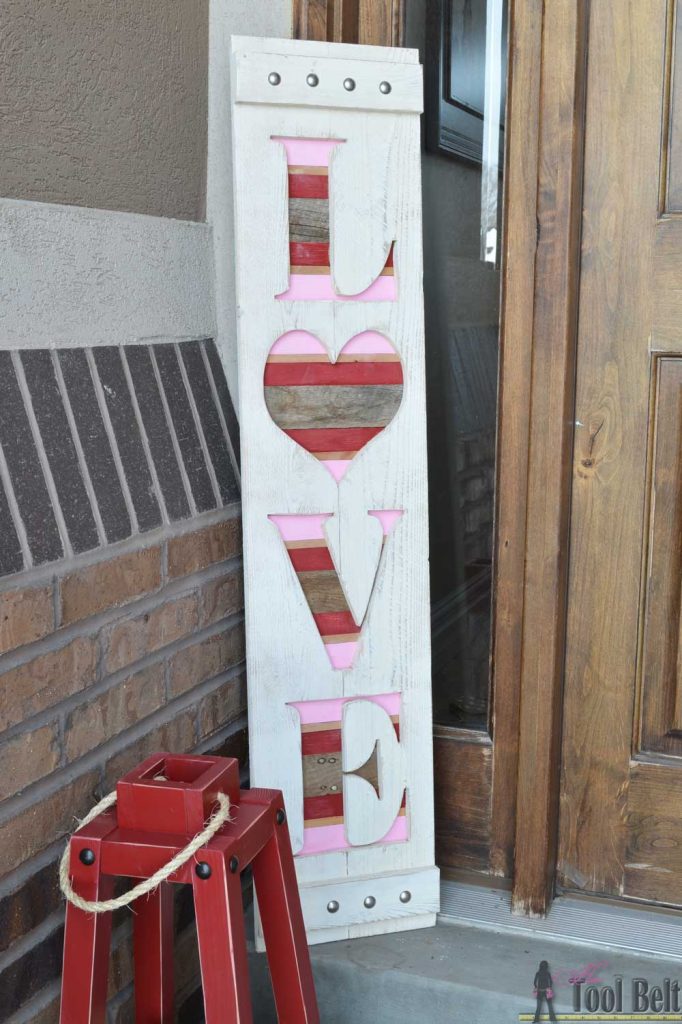
I originally painted some of the scrap pink and some red.
I wasn’t sure if it was my favorite, so I painted the pink red. How would you paint your sign?
Either way I kind of LOVE it!
Download the instructions –>here <–
Check out 40+ handmade Valentine ideas
 Loading InLinkz ...


This turned out so cute!
Thank you
I love how this sign turned out! Can’t wait to share it!
I seriously love everything you do! This LOVE sign is so fun for Valentine’s day!
Such a fun sign! Thank you for sharing as part of the blog hop.
You didn’t put any glue between the longer pickets? Just on the crossbars?
Yes just the crossbars.