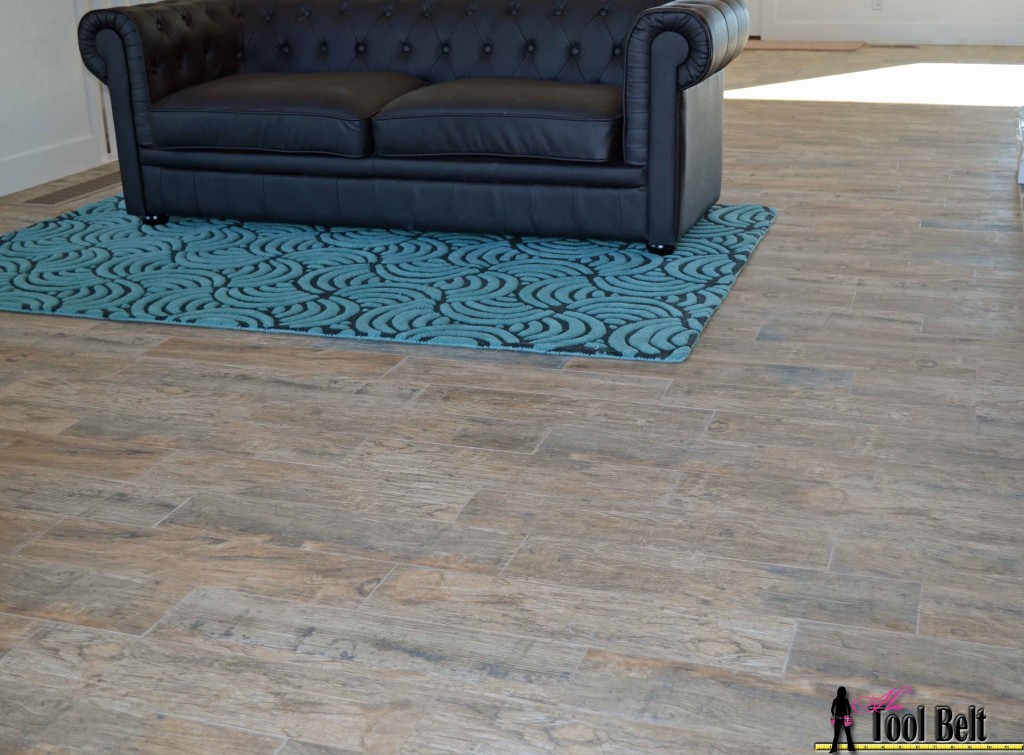
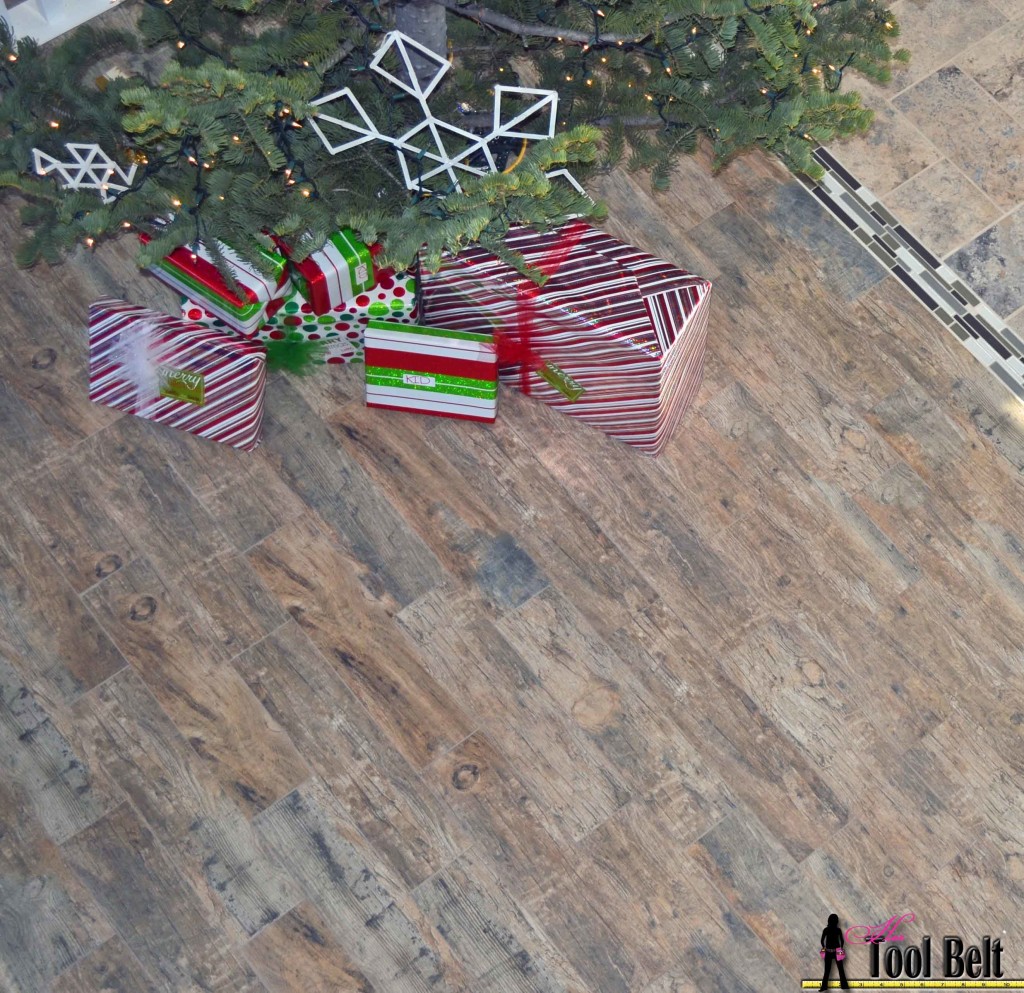
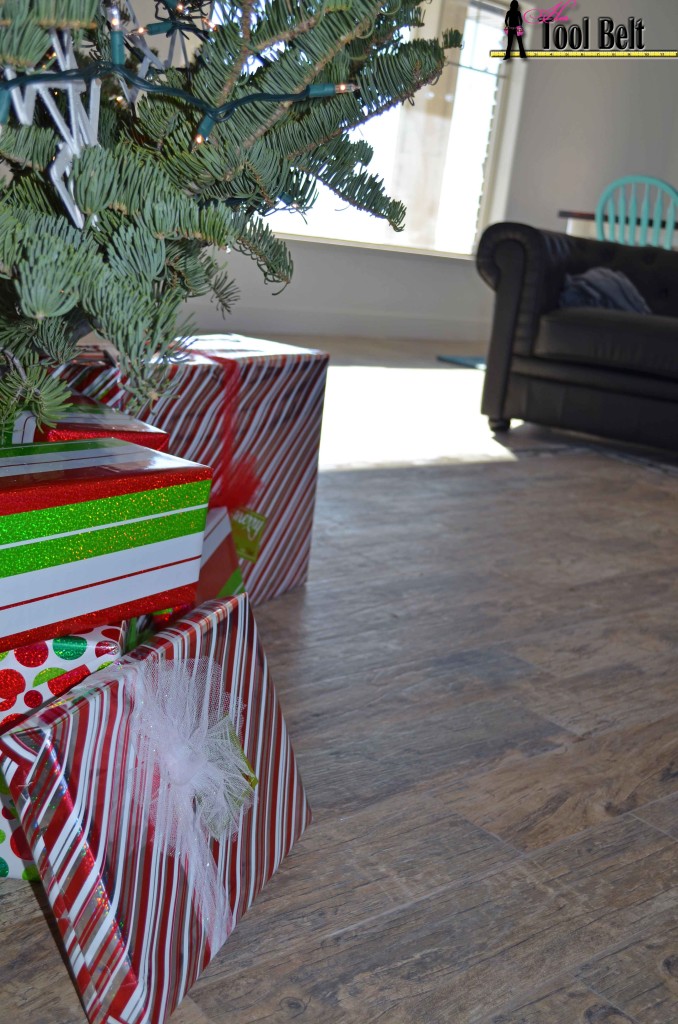
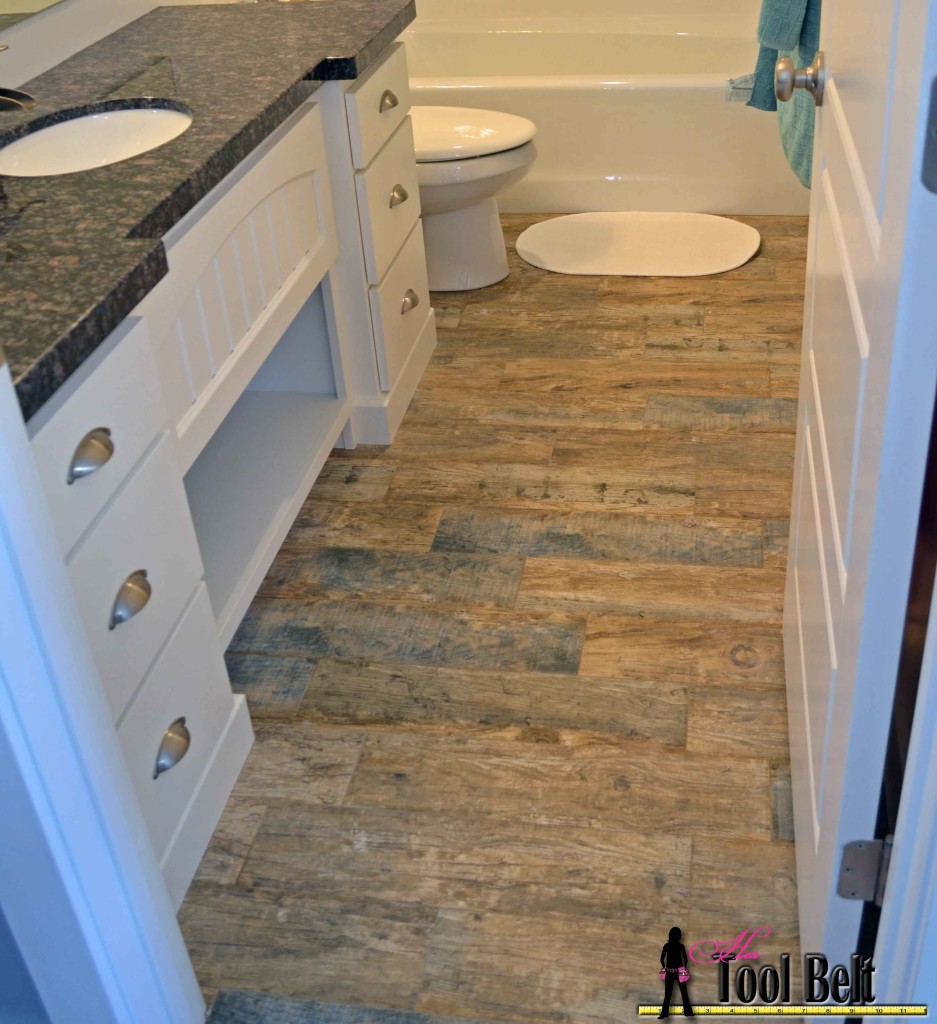
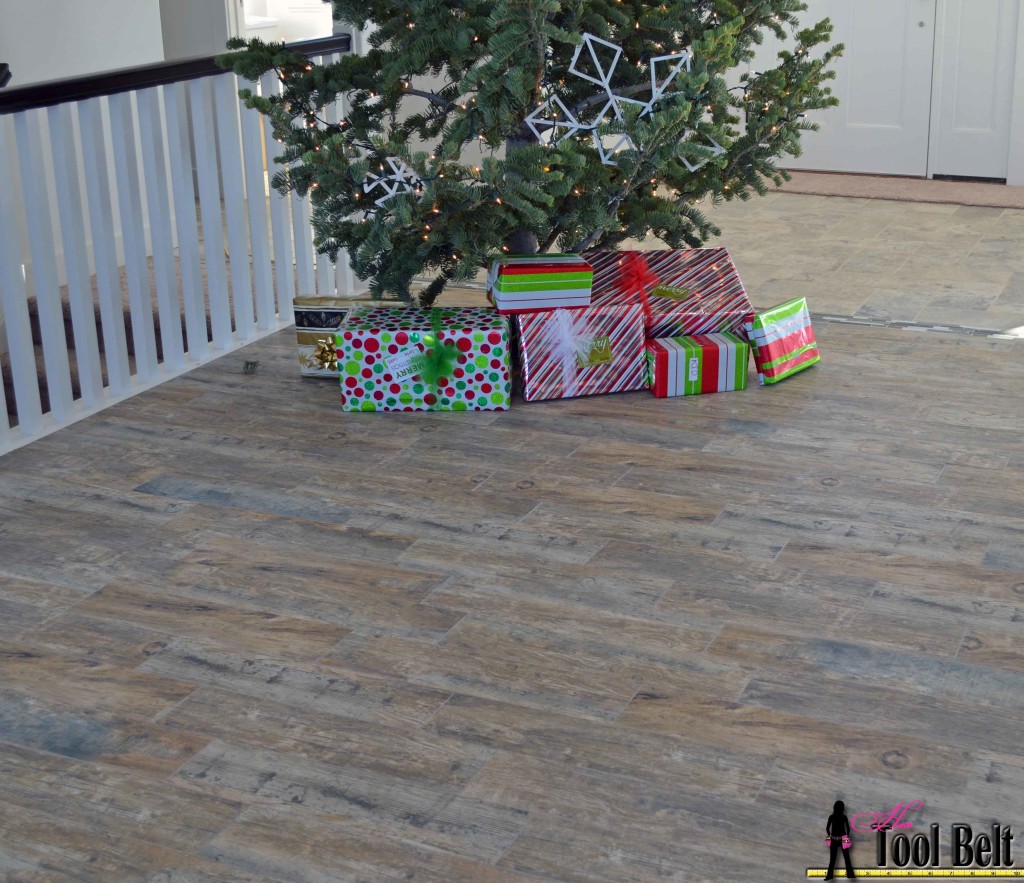
When my sister was deciding on flooring in her house, she wanted the look of wood but was nervous about the maintenance with kids and being out on a ranch (lots of dirt). She fell in love with this Natural Redwood Series porcelain tile (affiliate link) it comes in 6″ x 24″ pieces. This tile looks so great on the floor. She has a lot of cool tile in her house, but the floor that everyone always comments on is this Natural redwood tile, the common question is ‘what is this? wood?’. It looks that great. I love the coloring of the tile, it has a nice mix of browns and grays with a touch of blue. The other wonderful feature about this tile is that during the manufacturing process unlike most tiles, these tiles are cut after the kiln process, so they are actually square and true. That means you can use super tight grout lines and you don’t have to pull out your hair to do so. I installed her floor with 1/16″ grout lines and it was so smooth, hands down the easiest tile that I’ve installed. Well lets get laying.
How to install wood tile: First item of business – determine square footage (sq ft)
You need to measure the square footage of the area that you are laying tile. Area is measured by Lengh x Width = Area. If your room is a funny shape try and visually break it up into squares and add your area squares together. When dealing with tile, we mostly use square foot. Here are some helpful equations:
lengh in inches x width in inches = area in square inches divide that by 144 to get square feet.
When buying your tile, you’ll want to order about 15% extra to account for cracked tiles, edge pieces, etc. Multiply the square footage of your room by 1.15 to get the amount of tile that you should buy.
Materials needed:
- Tile (room sq-ft x 1.15)
- thinset (between tile and backerboard)
- Backerboard (room sq-ft)
- 1 1/4″ Rock-on cement board screws (drilled in every 8″)
- Thinset (between backerboard and plywood)
- Tile saw
- trowel (1/4″x1/4″x1/4″)
- trowel (1/4″x3/8″x1/4″)
- no notch margin trowel (spatula)
- 5 gal bucket
- thinset mixing paddle
- 1/2 hp drill
- knee pads!!!
- grout (light smoke non-sanded is a beautiful grout with this tile, available from Home Depot)
- rubber grout float
- extra large orange grout sponge
- level
- 1/16″ tile spacers
- grout sealer
- chalk line
- measuring tape
- 2″ backerboard seam tape
- impact drill
- Backerboard scoring knife
- straight edge
- optional: grinder with a tile blade
You can pick most of these items up at Lowe’s or Home Depot. You don’t need a fancy tile saw, although it would probably be easier, I have a cheap ($80ish) saw that I’ve used for years and it has done the job. If your saw blade gets dull, it is easy to switch out.
An important part of any tile floor is the cement bed, under the tile. There are a number of different products out there for the cement bed. For my sister’s floor we went with 1/4″ Hardiebacker cement board (wonderboard is a little cheaper, but Hardiebacker is easier to cut and has the 8″ screw pre-marked). Cement board is a fairly easy to use product for the DIY-er. A note: 1/2″ cement board is usually used for walls where you are installing tile.
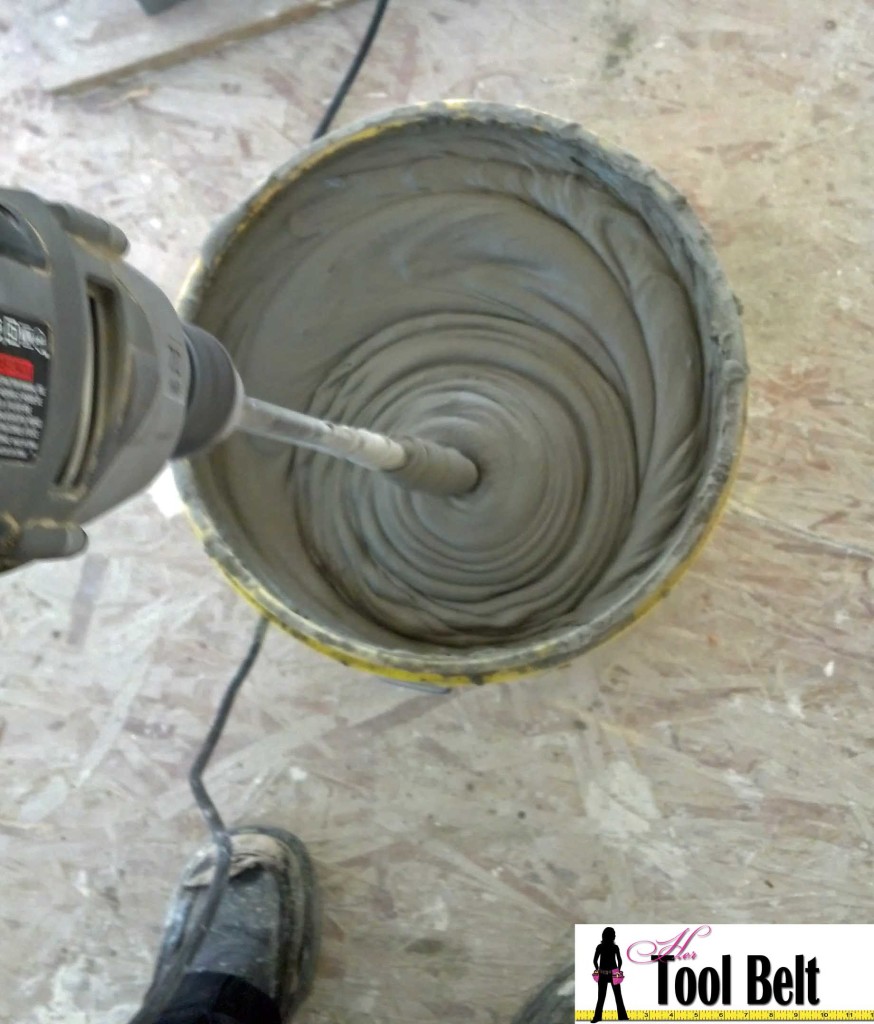
Before laying the cement board, scrape your floors removing high spots, and leftover plaster from the drywall guys, sweep and clean the floor as best you can. For the thinset between the plywood floor and cement board, I use the cheapest thinset I can buy at the hardware store. Mix the thinset in a 5-gal bucket according to the directions on the bag.
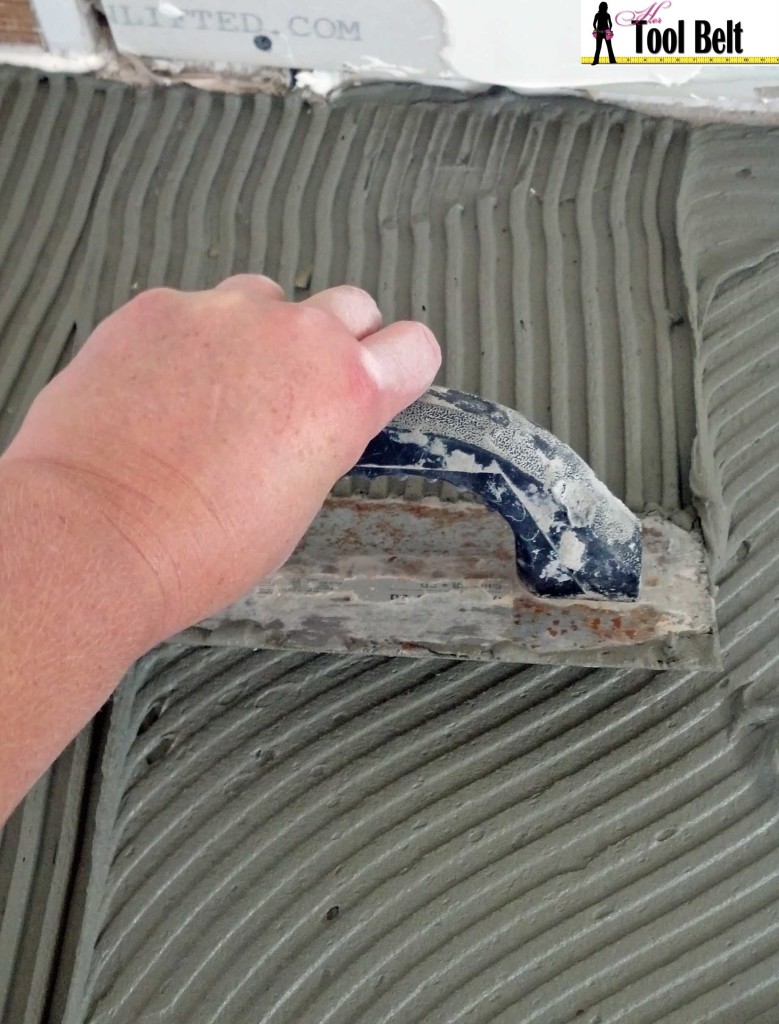
Use the 1/4″x1/4″x1/4″ trowel and spread the thinset out. Hold the trowel at a 45 deg angle on the last pass. Set a piece of hardiebacker on the thinset.
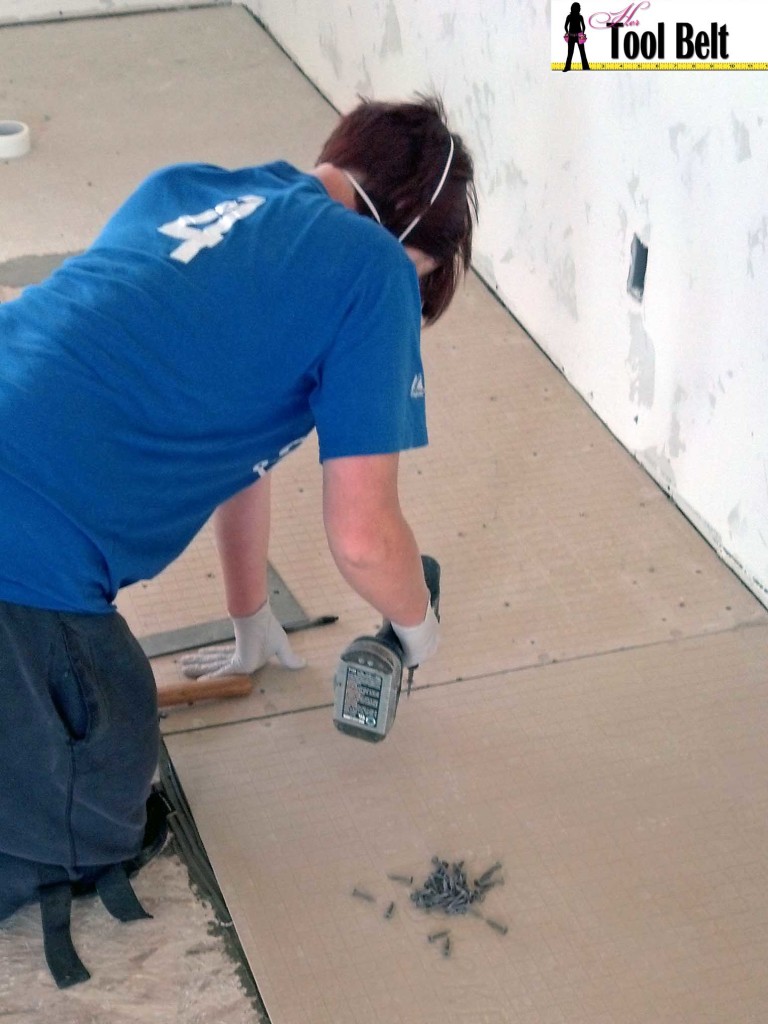
It helps to have a second person for this part. Screw in Rock-on cement screws every 8″, trying to get the screw heads flush with the cement board. I’ve done this with a regular drill, but it is 100% easier with an impact drill. I love the Ryobi’s with the lithium ion batteries from Home Depot.
You need to stagger the cement boards when laying them. You should never have 4 corners meet, and never lay a seam of cement board on a seam in the plywood. If this is going to happen, cut your cement board to miss the plywood seam. Leave an 1/8″ or so gap between cement boards and between wall edges.
Continue spreading the thinset, laying cement board and screwing it down until you cover the whole area that will be tiled. The thinset needs to cure for 24 hrs until you start laying tile.
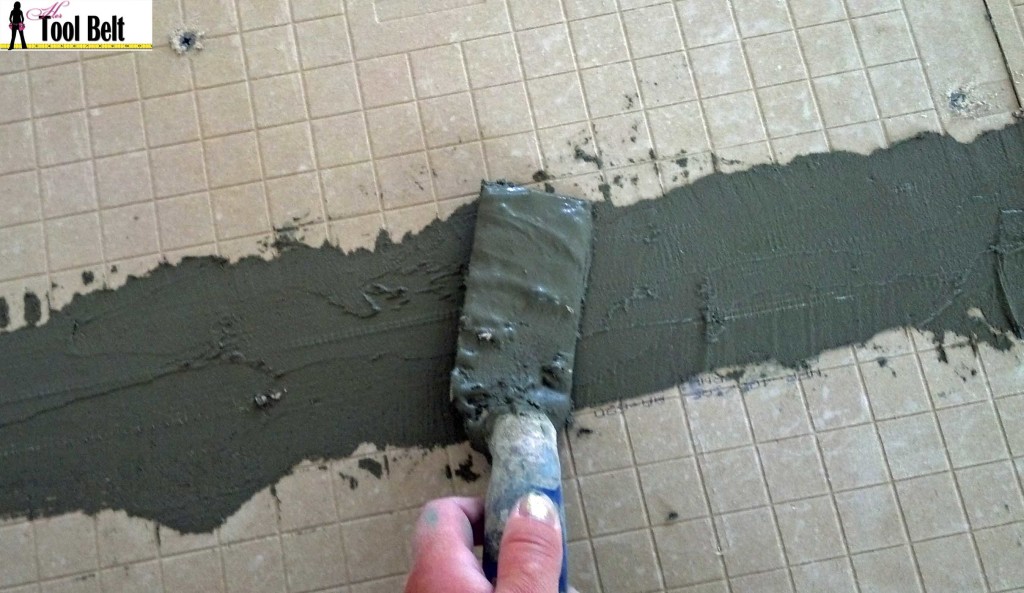
Fill the cement board gaps with thinset, then apply the 2″ glass seam tape over the joint.
Cover the seam tape with thinset, and smooth the joint. Try not to leave high points. For more info about hardiebacker consult the installation guide.
Next determine how you want the tile to be laid out in your room. In my sister’s room there were 2 exposed edges that we wanted perfectly flush, the other edges were by walls, and would be covered by molding. So I placed a straight edge (pieces of wood or backer board screwed into the floor) to make a temporary line to butt the tiles to. And that’s where we will start laying the tiles. It is also handy to make guide markings with a chalk line to keep you laying straight.
Generally wood floors are laid so the butt joints of the wood planks are randomly spaced. We’ll do the same with these tiles. Usually you can take the cut-off end of the last tile piece on a row and use that to start the next row. If you see a pattern emerging, change it up with a randomly cut piece or a whole tile piece.
Now to the fun, Mix a batch of thinset according to the instructions on the bag. I like to use the Mapei brand of thinset. They sell it at Lowe’s and many tile supply stores.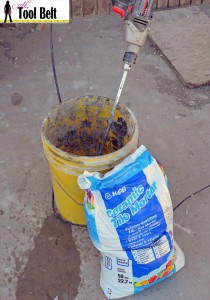
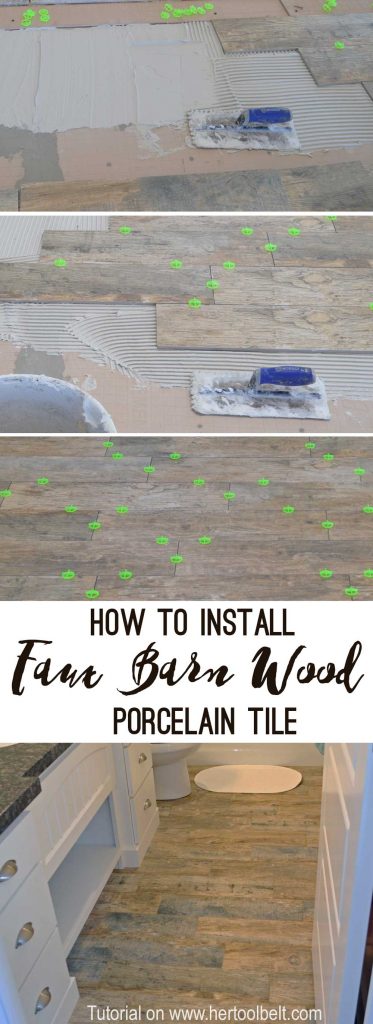
Spread the thinset with a 1/4″x3/8″x1/4″ trowel at about a 45 deg angle.
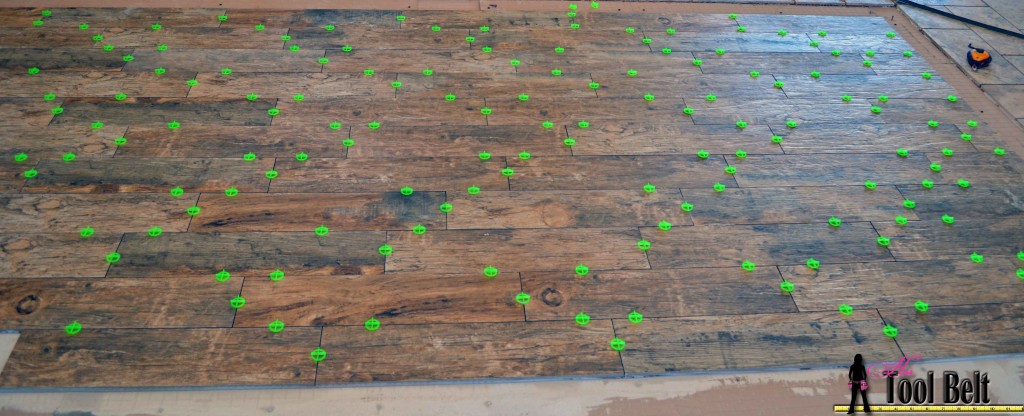
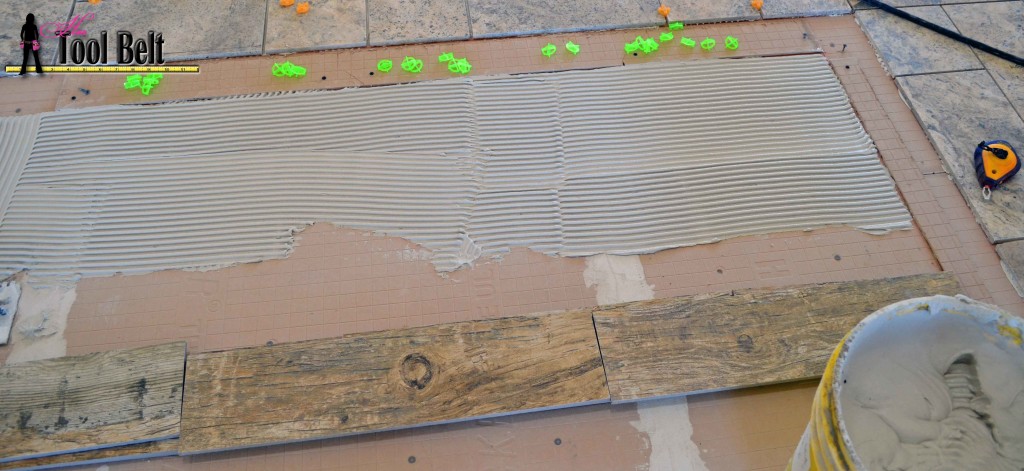 Check to make sure your tiles are level and even.
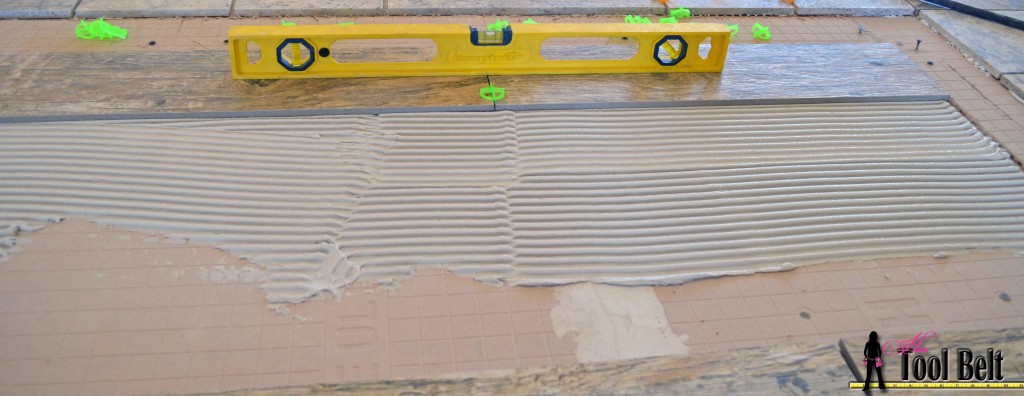 It is easiest to lay a few rows at a time. Insert spacers as you go along, one or two in the butt joint and one or two along the length of the tile.
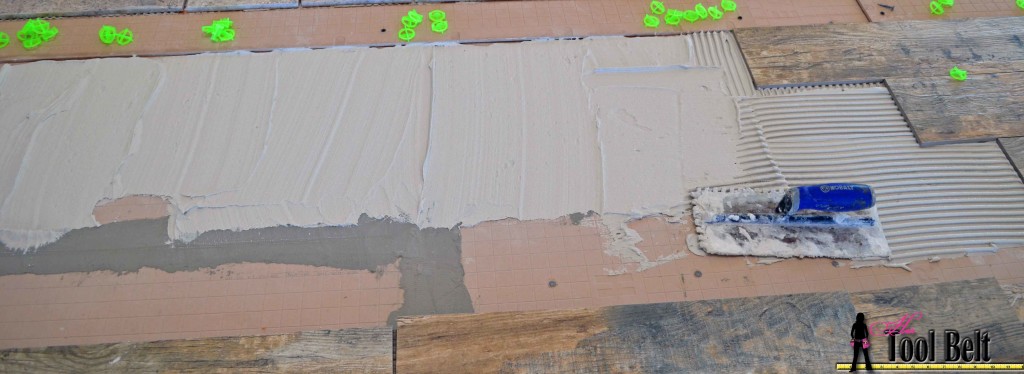
Use the tile pieces that are cut off to start the next row.
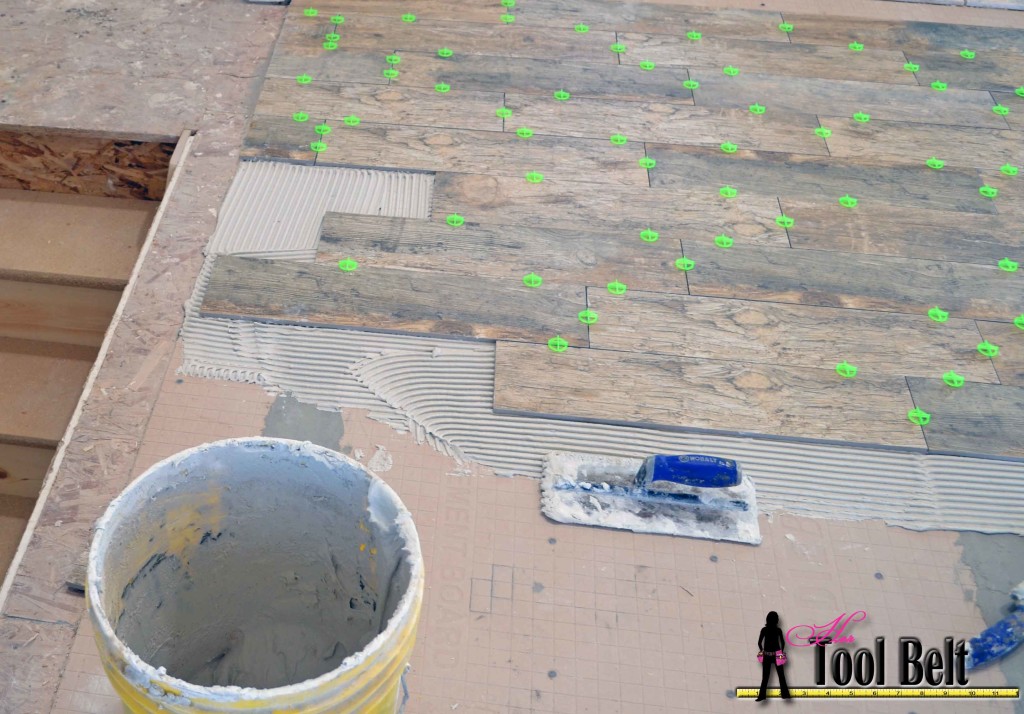 It’s looking good! As you move along, make sure to check your tile levelness and that the tops of the tiles are even. If you have a dipping edge that you can’t get level, sometimes you can lift the edge with your spatula and put a glob of thinset on it, and lay the tile back down and level it. As you lay the tiles, your thinset may start getting dry. The thinset it too dry when you lay the tile on the troweled thinset and lift it up, if the thinset doesn’t leave lines and adhere to the tile bottom don’t continue to use it. Make a new batch.
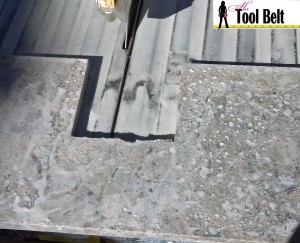
When you are ready to cut holes for vents/toilets etc, there are a few ways to get’er done. If you don’t have to cut the hole inside of a whole tile, you can make multiple cuts (fingers) within the area that needs to be cutout. (this is for 1/2 of a vent hole)
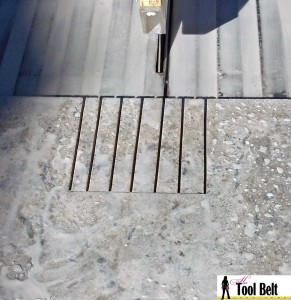 Knock the ‘fingers’ off and they will generally break at the line that each of the cut stopped at. File down the rough edges.
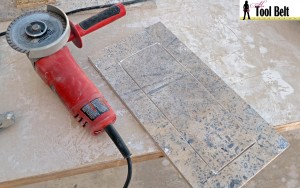
Another option to make a hole cut is with a hand-held grinder and a tile saw blade. Make sure you are wearing safety glasses. This method generally will make nice clean edges.
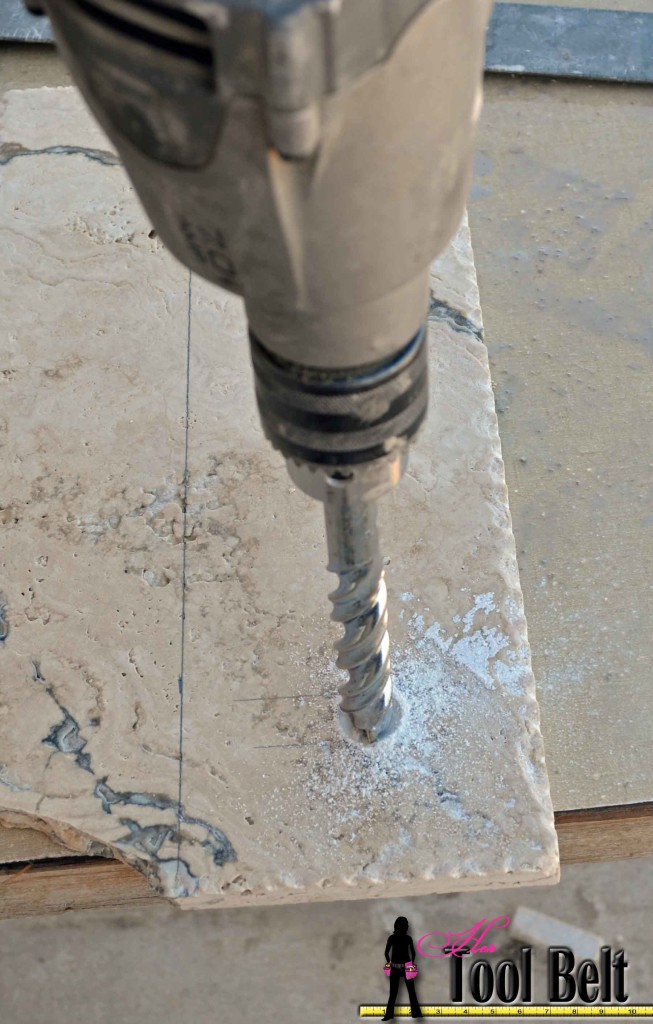
 If you’re laying tile in a bathroom and have a water pipe coming thru the floor a very clean looking option is to drill a hole with a 3/4″ masonry bit. Try and mark the exact location, so you don’t have to make the hole multiple time 🙂
Let the tiles dry/cure for 2 days. Then it’s time to grout.
Grouting is fairly simple. We used Polyblend Light Smoke non-sanded grout from Home Depot. The general rule of thumb for grout is lines larger than 1/8″ use sanded grout and lines 1/8″ and smaller use unsanded grout. Mix the grout according to the instructions on the bag. However I like to do smaller batches of grout, like 1/4 of the bag at a time. When mixed the grout is a pasty texture. Use your spatula or a rubber float and pack the grout into your grout lines between the tiles. The grout bag shows smearing the grout over the whole tile. I don’t do that on big tiles, because it just wastes the grout. Fill the grout line very full of grout. Let the grout lines dry for a while 30 min to 1 hr. Then with your extra large orange grout sponge and a bucket or large bowl of clean water, wipe up the excess grout. Keep wiping until the grout is at the height that you prefer, generally just below the top of the tile. Change your water often and wipe all of the residue from the grout off of the tile. Let the tiles dry for a couple of days. Clean the tiles again really well with water and a sponge. Let the water dry and a grout sealer according to the instructions on the bottle. I like to use the grout sealer with a little brush applicator on the top, it is really simple to apply.
Once your base molding, cabinets, toilets, etc have been installed. Run a bead of caulking around the room wherever anything permanent (molding, cabinets, etc) is to give is a finished look. The caulking also keeps dirt, mop water, etc out of places that you don’t want it to go.
Now you can spend hours admiring the gorgeous floor that YOU laid and saved thousands of dollars DIY’ing.
Thanks for pinning
thank you so much and i’m very happy to subscribe! i’ve done 4 tile jobs – 1 mural backs plash, a vertical fire wall for a wood-burning stove, a small bathroom floor and a free-standing platform for another wood-burning stove. the one BIG take-away i got from this article for my next project is to start where there is an exposed edge! thanks for that tip in particular.
i do have one question. my next project is to do our entryway, dining room and kitchen in the same tile (it’s now 2 different tiles and 1 carpet – yuke!) i plan to more or less gut the kitchen, rearranging the counter cabinets. do you suggest the added expense of tiling all the way to the walls even though i know the cabinets are going to be sitting on those areas? or would you place the cabinets and tile up to them?
Hi Gwen, good luck on your big project!!! It really is up to you. I’ve done 1 kitchen where I tiled around the cabinets, and 3 kitchens that I tiled the entire floor to the wall before cabinets. For me it is so much easier to do the whole floor and waste a little money than breaking up the pattern (especially where the island goes). You do need to tile under the fridge, oven and dish washer though. Best of luck.
I LOVE that tile! We are in the planning stages of a kitchen remodel and would love to see that tile in person. The embedded link takes me to Amazon that says that paper is no longer available. Do you happen to know the manufacturer’s name by chance? Thanks so much! Great, great article!
Hi Tracy,
Good luck on the kitchen remodel! I believe they started selling that tile at the Home Depot Natural Redwood Tile MS International