I’m excited to participate in this years annual Handmade Holidays Blog Hop hosted by Smart Fun DIY.
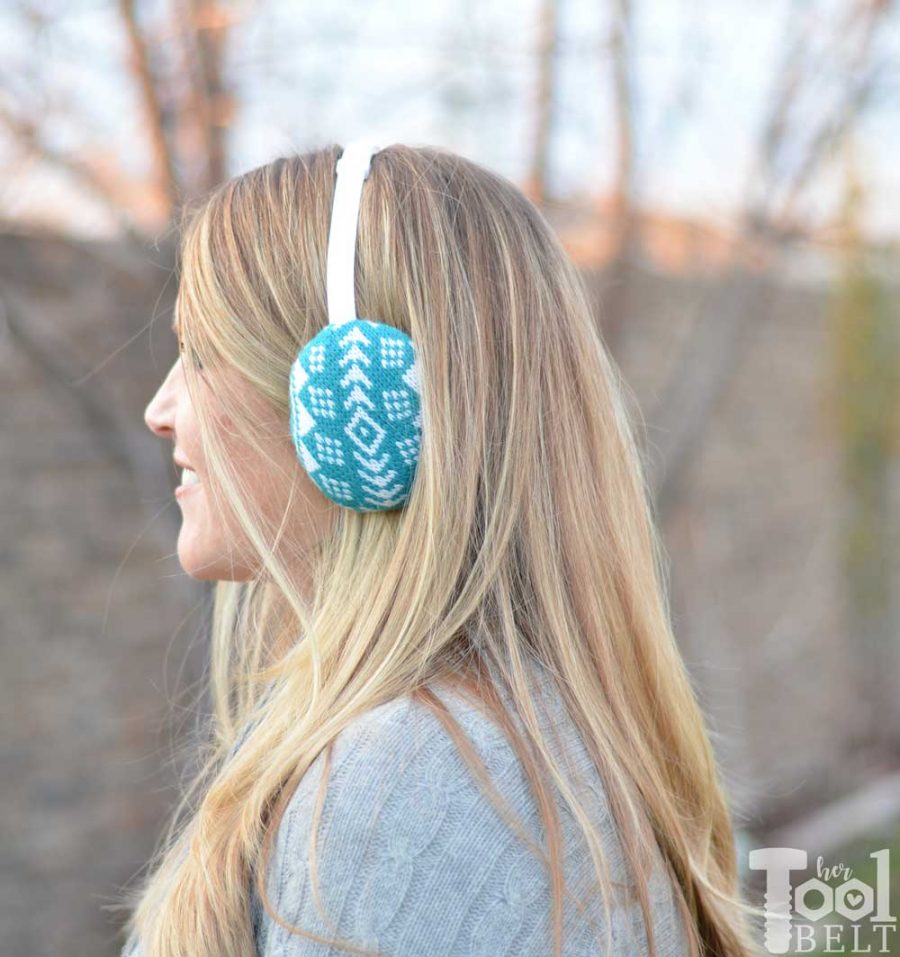
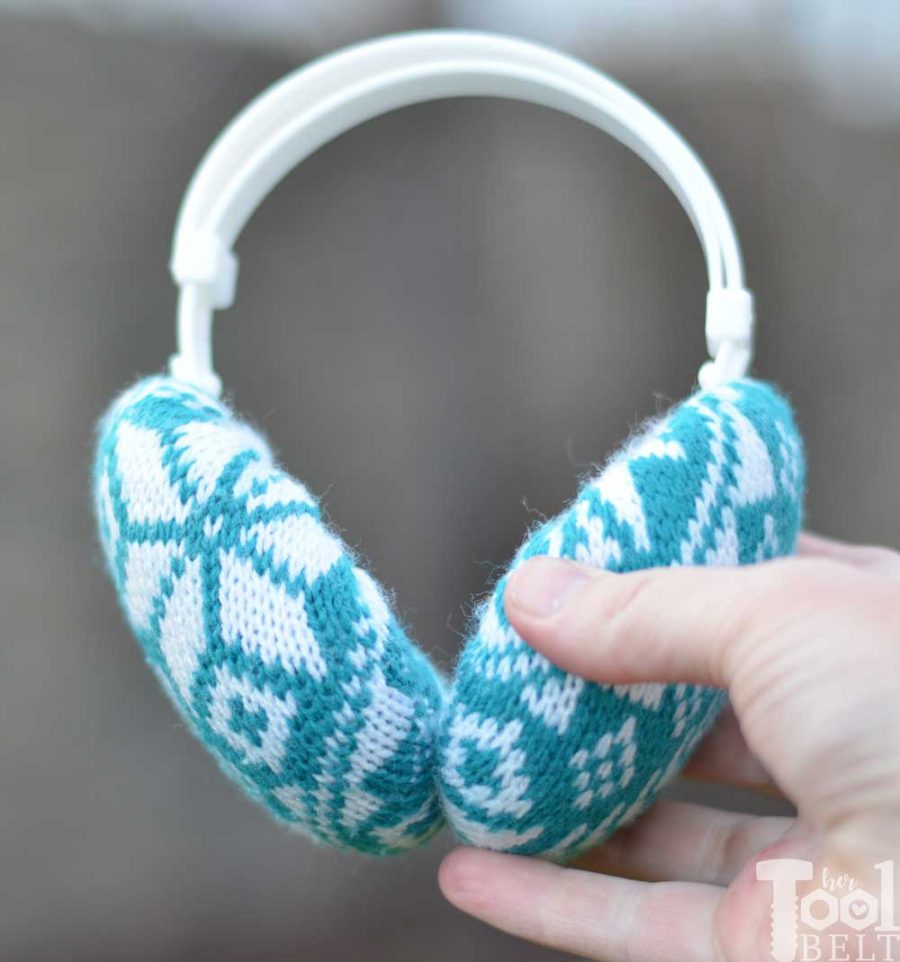
I love handmade gifts that are cute, thoughtful and functional. My good friend Jenny used to make fun gifts made from old wool sweaters like mittens. She’s also made lots of darling and unique earmuffs from old sweaters in her shop.
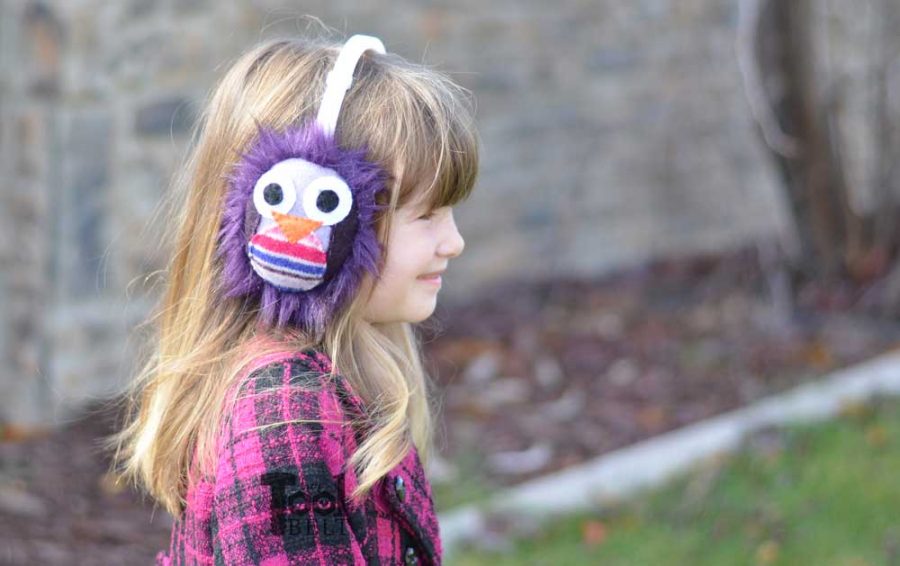
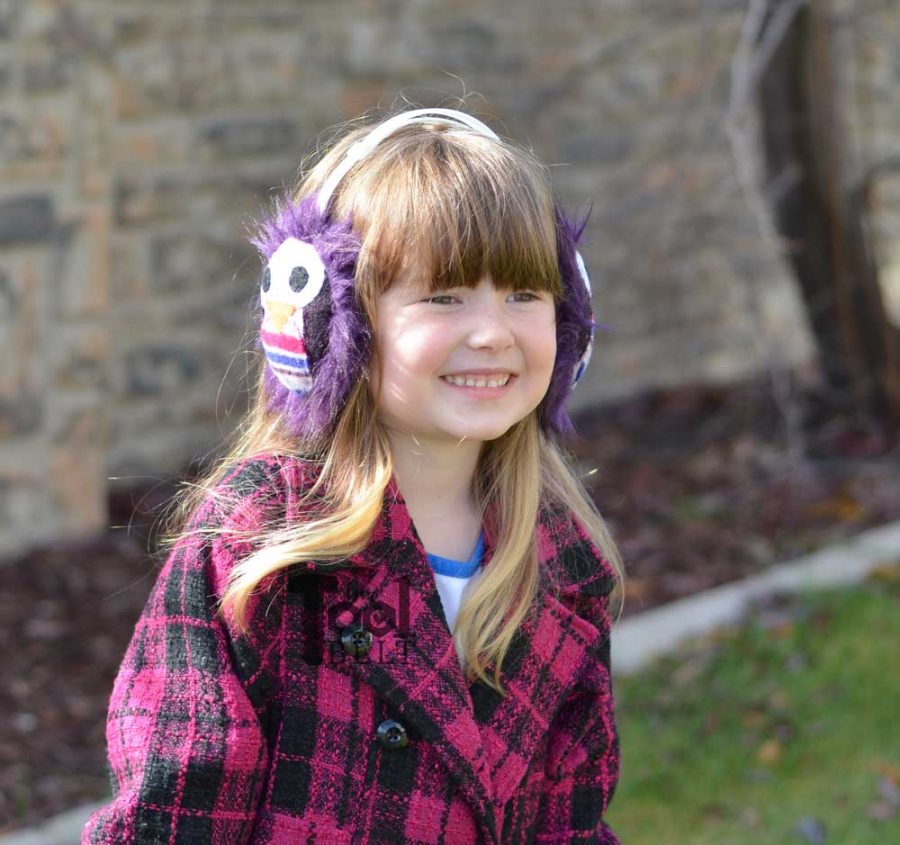
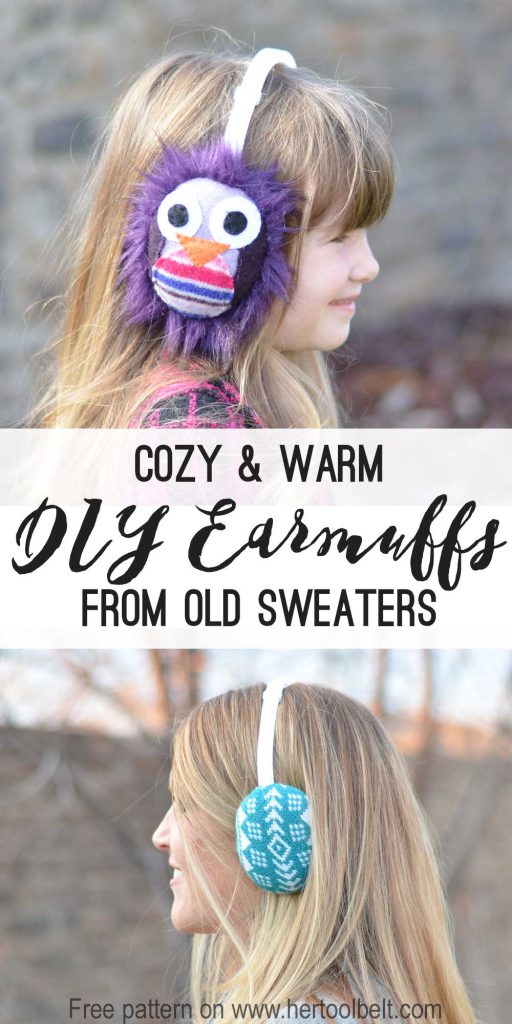
I used to give her a hand with some of the animal themed earmuffs. My daughter LOVES her purple owl earmuffs!!! We put a little faux fur on the inside to make them extra soft and super duper toasty.
She’s here to share with us how she makes these awesome sweater earmuffs.
This post contains some affiliate links for your convenience. Click here to read my full disclosure policy.
Materials
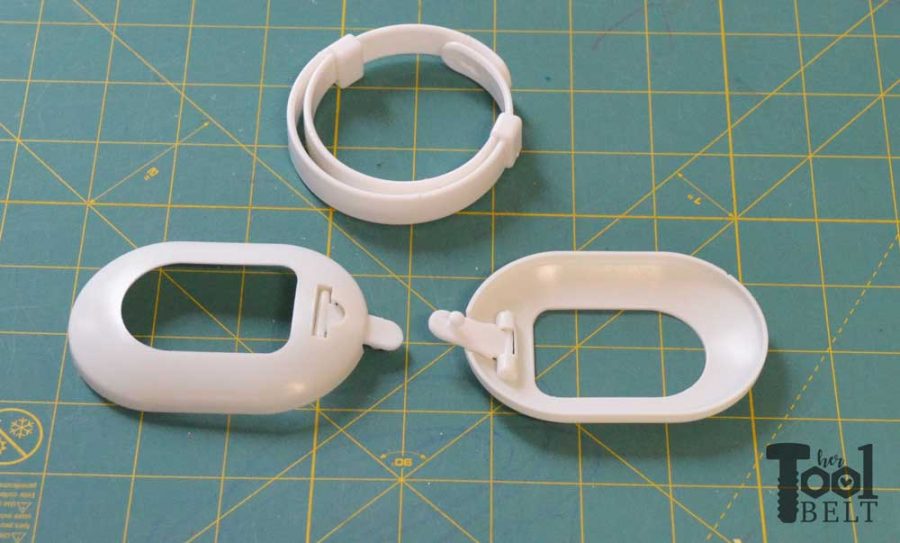
- Earmuff Frames
- 1/2″ dense foam – available by the yard at fabric stores like JoAnn
- Plush felt (for close to ear) – available by the yard at fabric stores like JoAnn
- Sweater material for earmuff cover
- alternate materials: fleece, knit or any material with a little stretch
- 1/2″ braided elastic
- Hot glue
- Thread
- Sweater Earmuff Pattern – download and print
- marker
- scissors
- sewing machine
Choosing a sweater
The felted wool sweaters are really great for this project. Make sure your sweater is 60% wool or more. To felt your old wool sweater, wash on the hot/cold cycle and dry in the dryer on high heat with a few tennis balls. The sweater doesn’t have to be felted wool, but avoid sweaters that will unravel easily.
Cut List
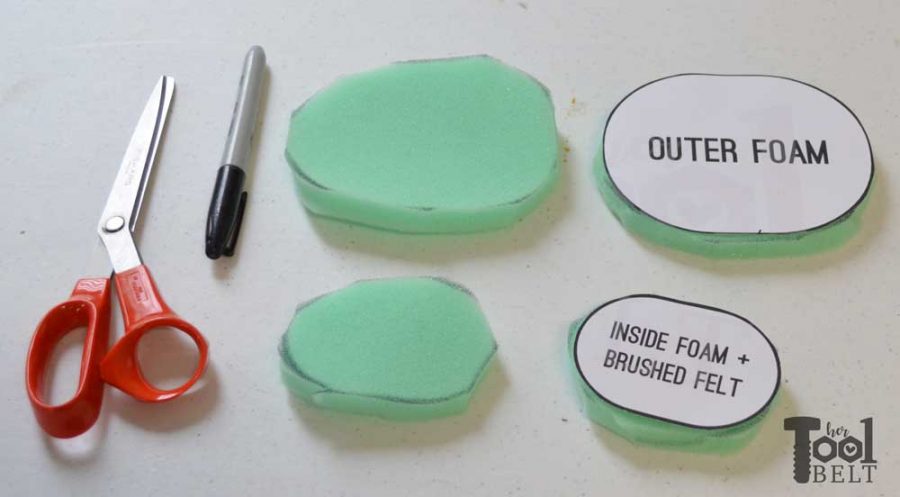
- From the 1/2″ dense foam, cut out 2 outer foam pieces and 2 inside foam pieces. You don’t have to be very careful cutting out the foam, close enough is good.
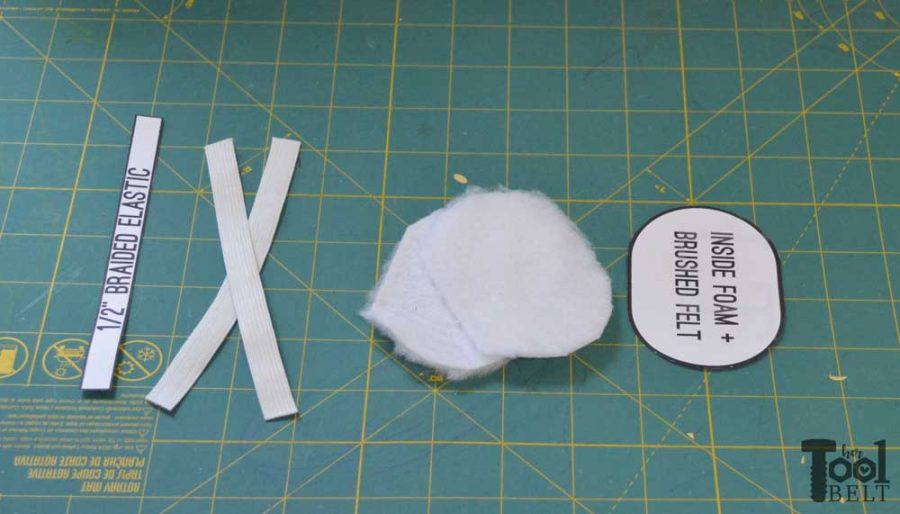
- Cut 2 pieces of 1/2″ braided elastic to the same length as in the pattern. To make sure the elastic doesn’t fray, you can singe the ends with a lighter or match.
- Cut 2 pieces of brushed felt
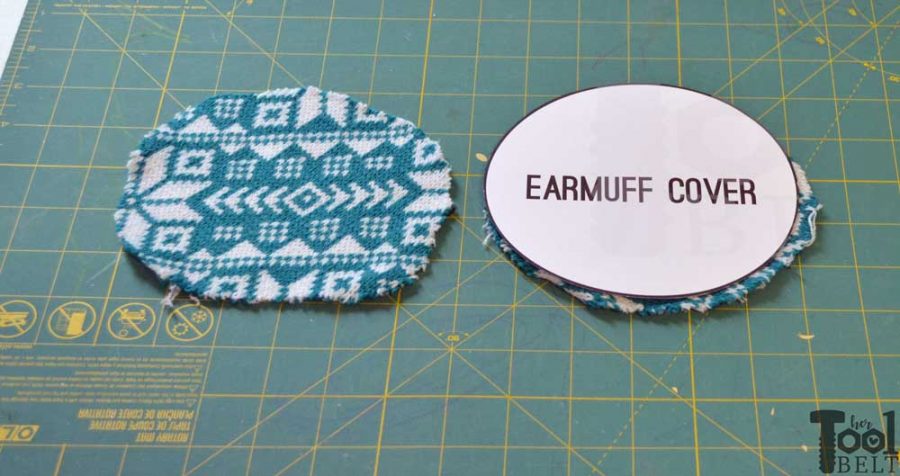
- Cut 2 earmuff covers from your favorite old sweater! Try and center the pattern with an interesting feature in the sweater material.
- If you decide to add faux fur, cut 2 faux furs using outer foam pattern piece.
Sewing Earmuff Cover
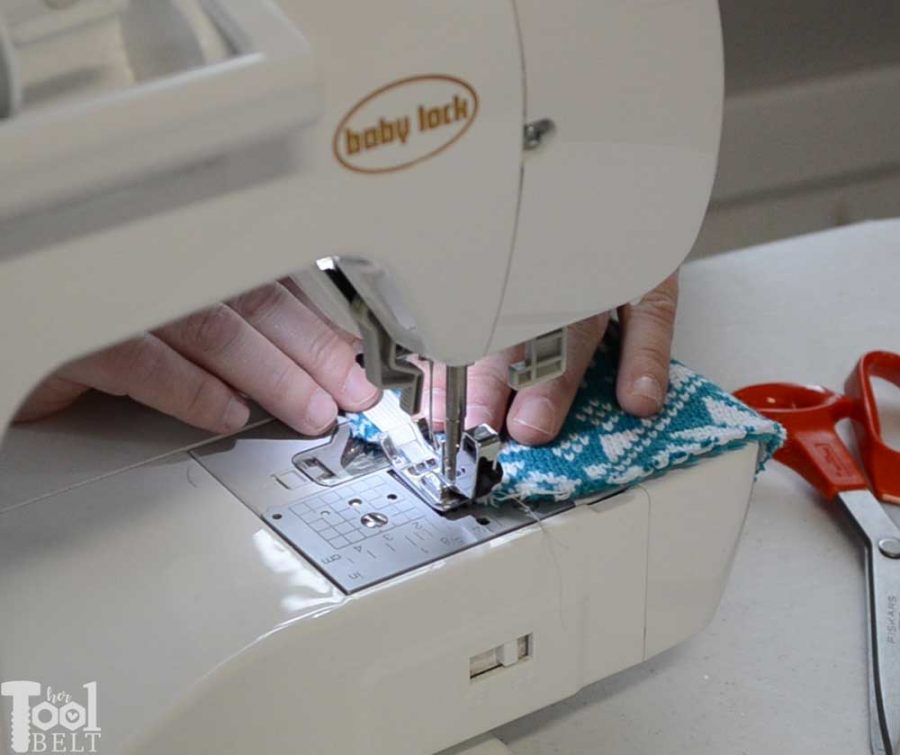
• Place the elastic on the ‘right’ side of the earmuff cover material.
• Sew the elastic to the earmuff cover with an 1/8th inch fold (1/8″ sweater showing on the edge).
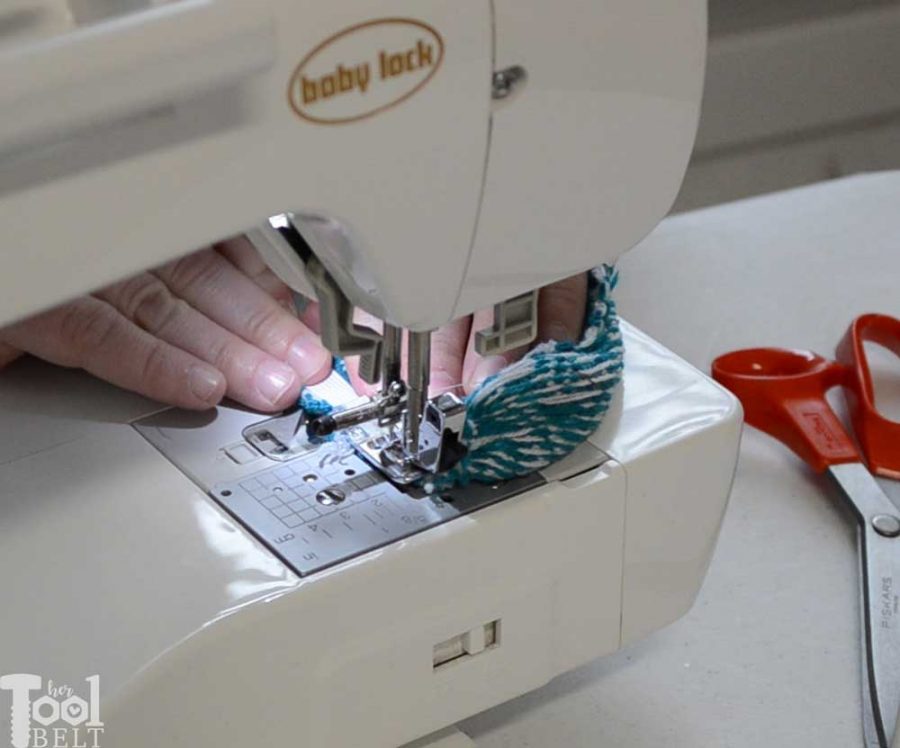
• Follow edge of earmuff cover closely, pulling elastic taut while leaving earmuff cover unstretched.
Every few inches, stretch elastic and ‘scrunch’ up fabric. Make sure to back stitch at the end.
Earmuff Assembly
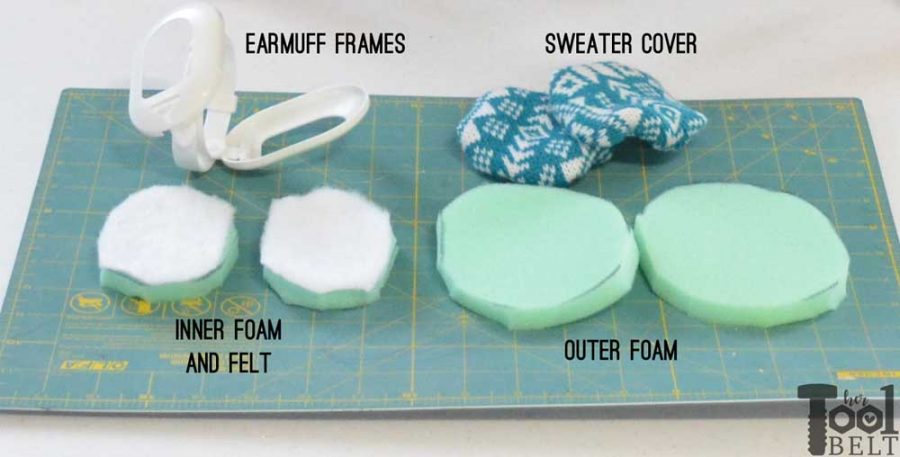
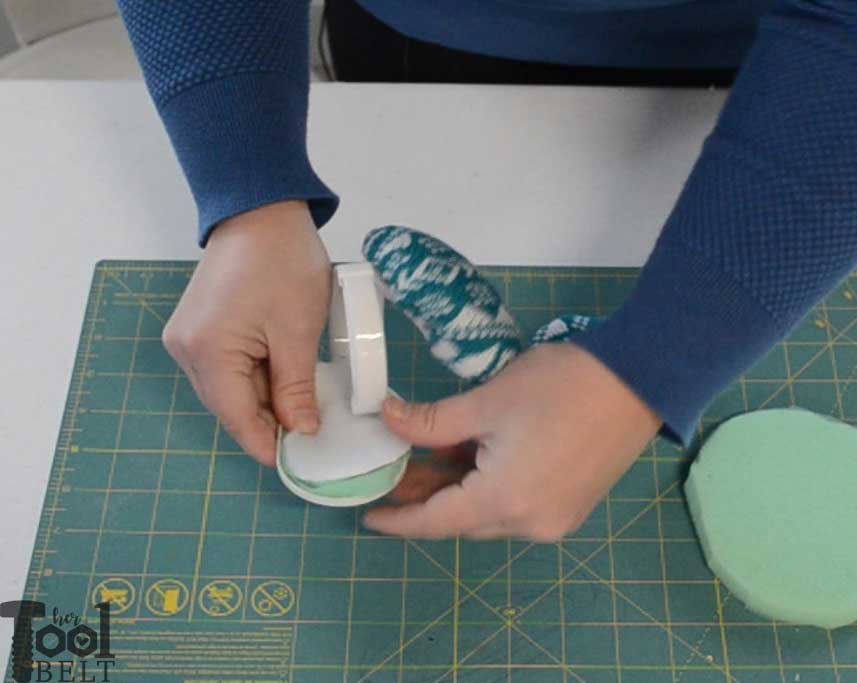
Glue the brushed felt to the inner foam pieces with a small amount of hot glue.
Assemble the earmuff frames if needed. Make sure the little connector knob is on the inside of the earmuff cup, as shown. Attach the ear pieces to the headband now, or after the material is added. The little knob is inserted into the headband hole and pulled down to lock into position.
Place the inner foam/felt inside the cup of the ear piece, the felt will show out.
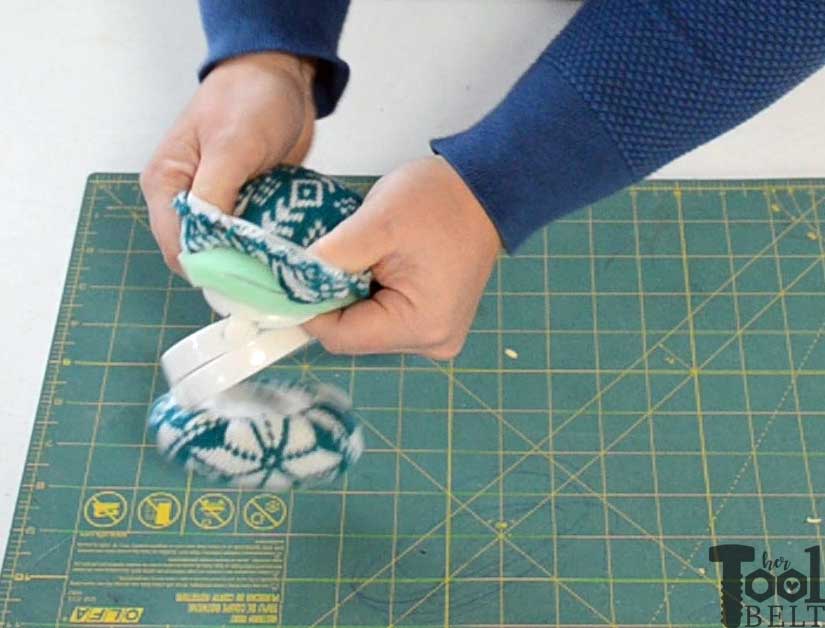
Place the outer foam around the outside ’round’ part of the ear piece, then stretch the sweater cover over the outer foam and ear piece. Where the elastic ends meet should go at the top by the earmuff connector. The elastic of the cover will end up covering some of the brushed felt. Adjust the cover as necessary.
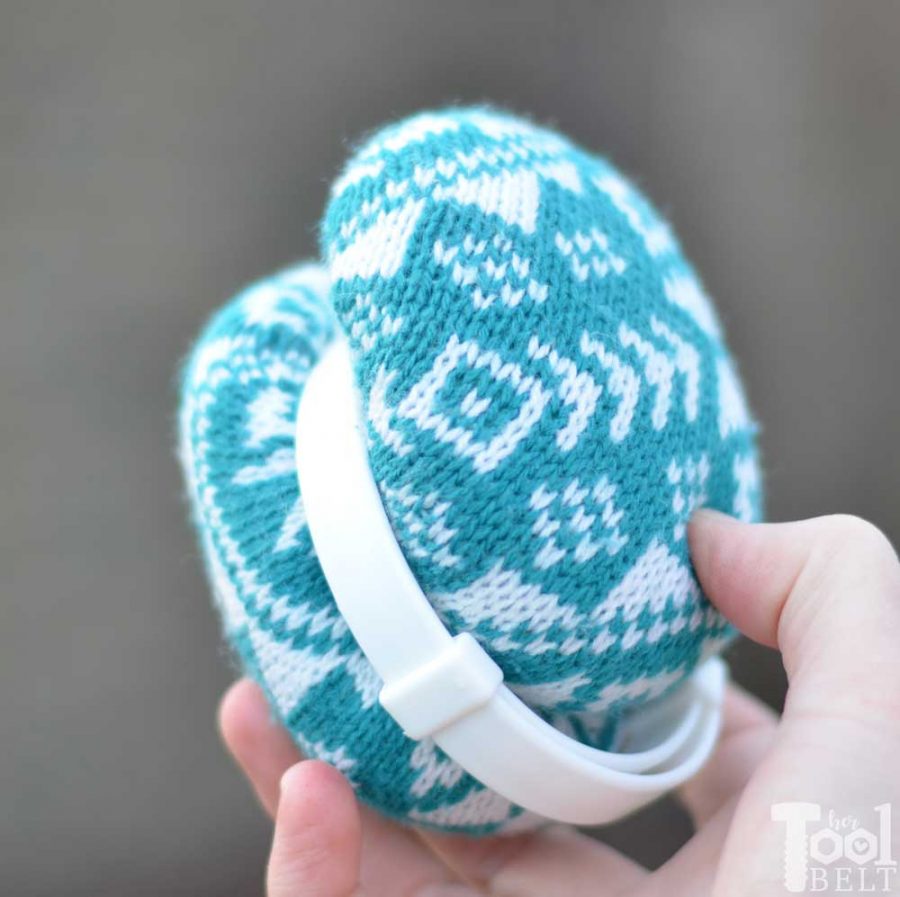
Repeat for other ear piece and you’re done! These earmuff frames are great because they are compact,
and adjustable. They will fit kids and adults.
Tighten the band for kids.
Loosen the band for adults.
Customize the sweater earmuff to the recipient’s style!
How would your customize your sweater earmuffs?
Be sure to check out all of the fun handmade gift ideas.
Ready to win supplies for your handmade gifts? Enter the giveaway using the rafflecopter widget below.
Thanks so much to this years handmade holiday sponsors!





So cute and fun! Wish we had more opportunities to wear ear muffs in Arizona. Pinned. Visiting from Handmade Holidays.