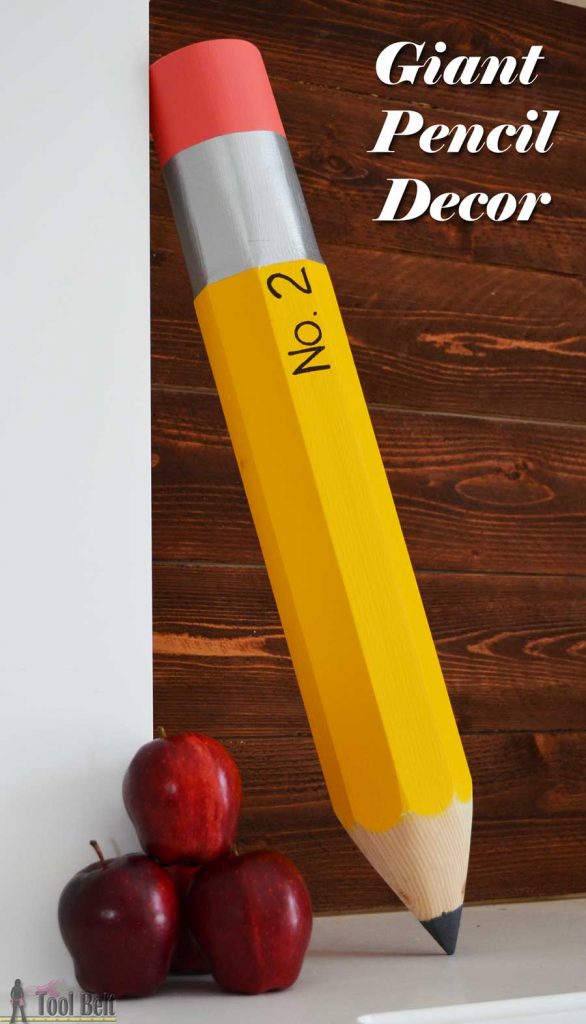
I have a teacher friend that is moving to a brand new school. She is so excited to get her new classroom ‘Pinterest’ ready before school starts in a few weeks! One of the items on her list is a giant pencil decoration to place on a ledge along her wall. She wants the pencil 2′ long.
This post contains affiliate links noted by*.
How to Make a Giant Pencil Decoration
Materials
- 1 – 4″ x 4″ x 8′ cut to 24″ long (actual dimensions 3 1/2″ x 3 1/2″)
- sand paper
- Paint primer
- Yellow paint (Sunny Side Up-Behr)
- Pink Paint (China Pink-Ralph Lauren)
- Silver Paint (Modern Masters Silver Metallic*)
- Charcoal Paint (Americana Decor chalky finish relic*)
- Black paint or sharpie
I cut the pencil from a piece of 4×4 lumber.
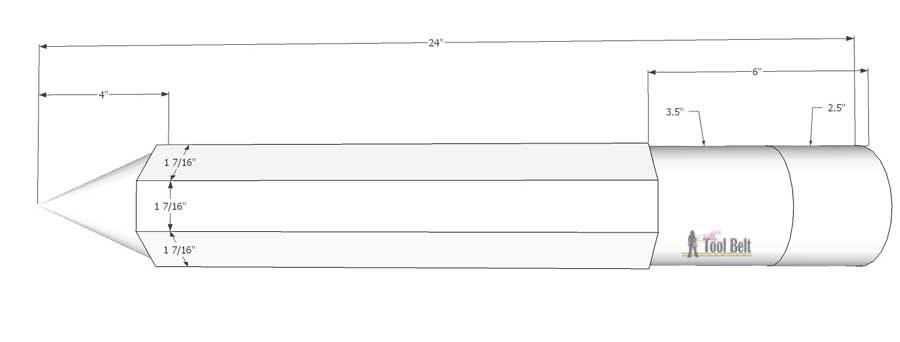
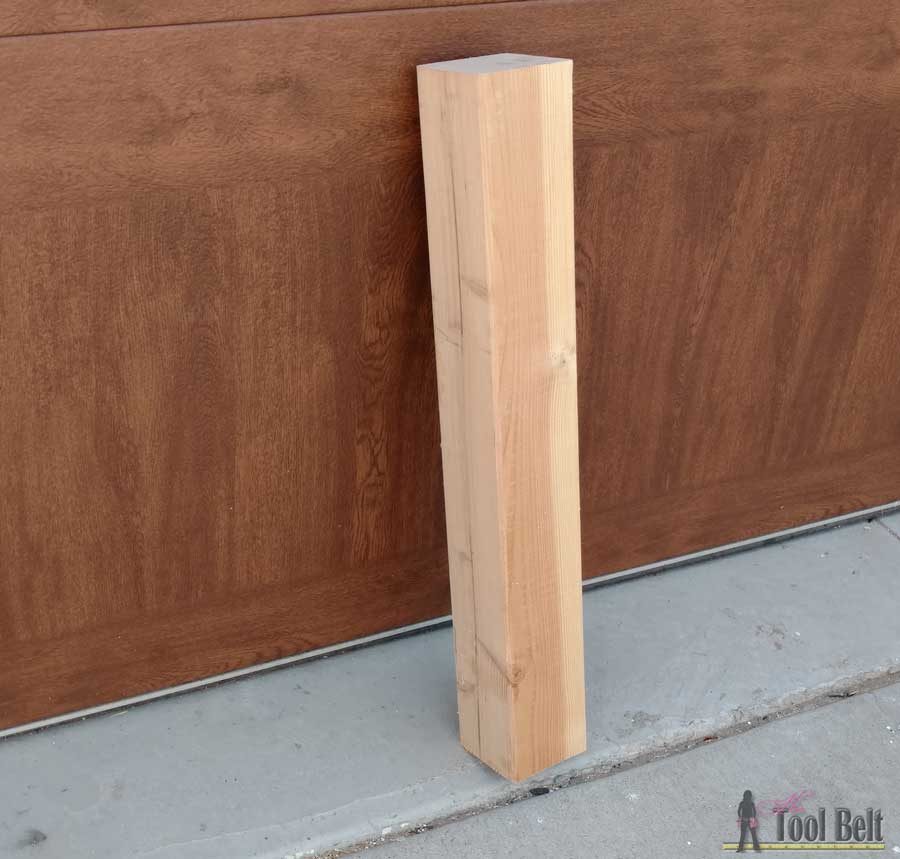 This pencil measures 3 1/2″ tall x 3 1/2″ wide x 24″ long, you can easily change the length for your needs.
However if your hardware supply store carries ’round tree stakes’ or pointed fence posts that are already pointed or sharpened 🙂 that will save you a big step. You’ll end up with a round pencil, but it’ll still look great.
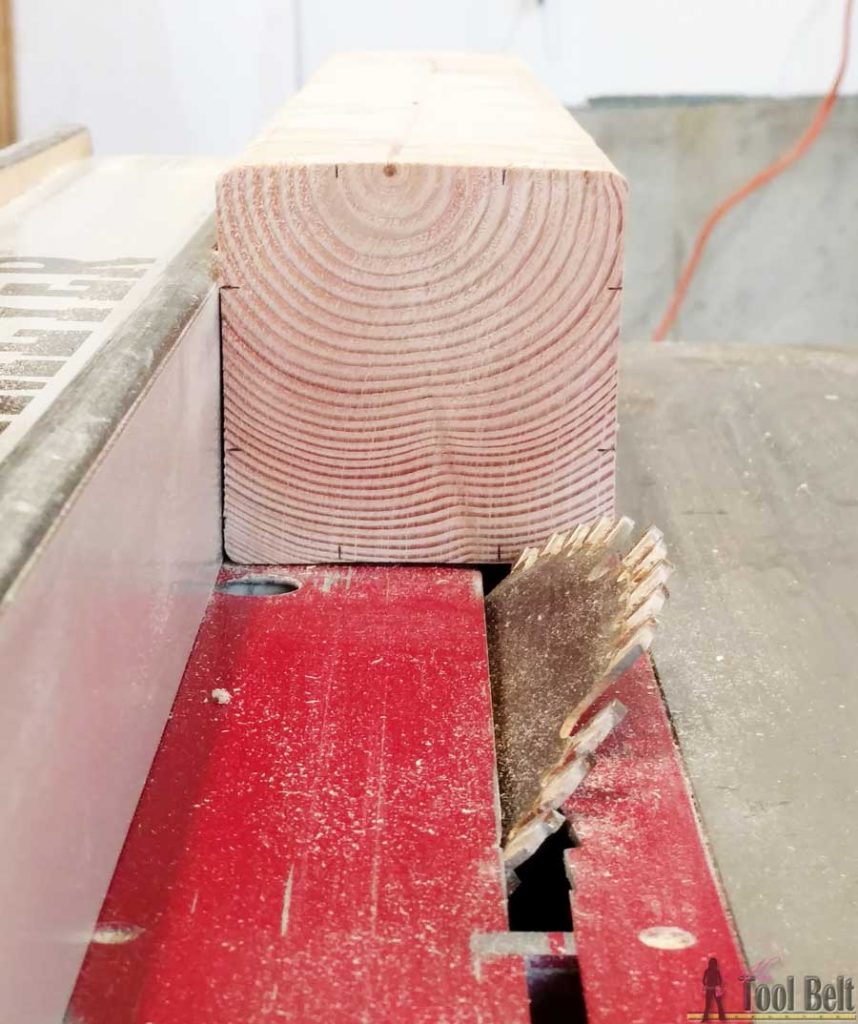
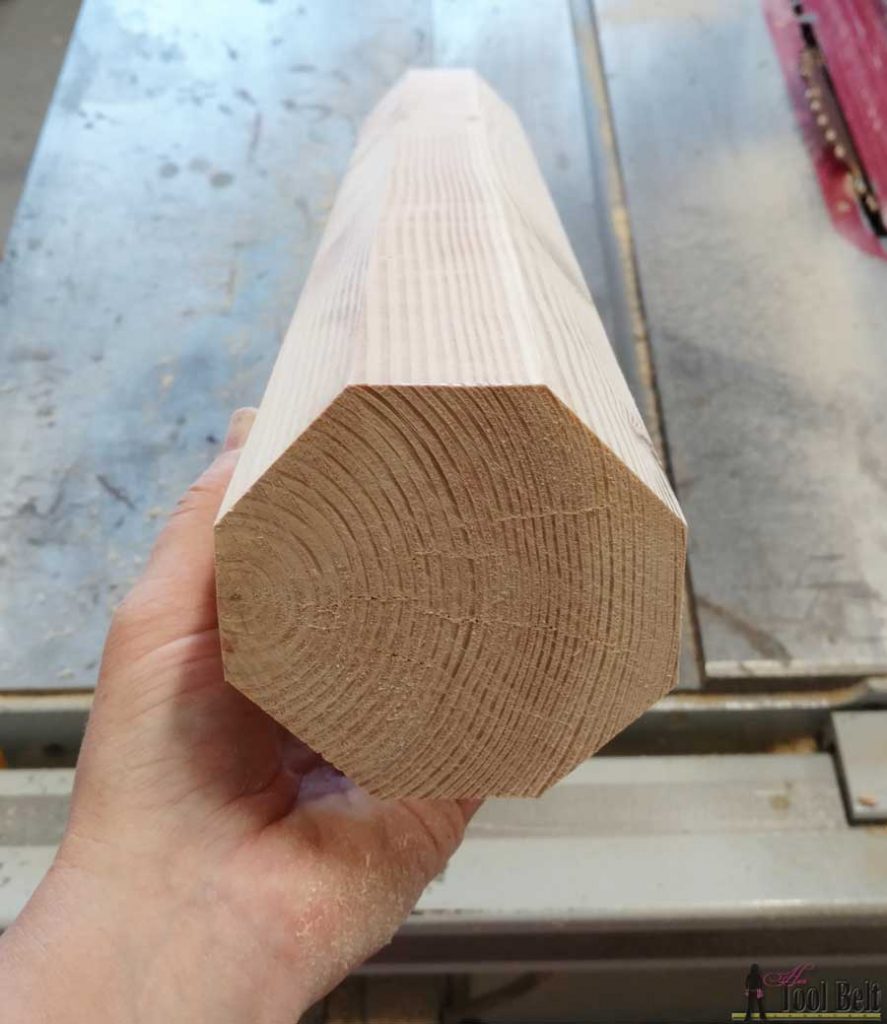
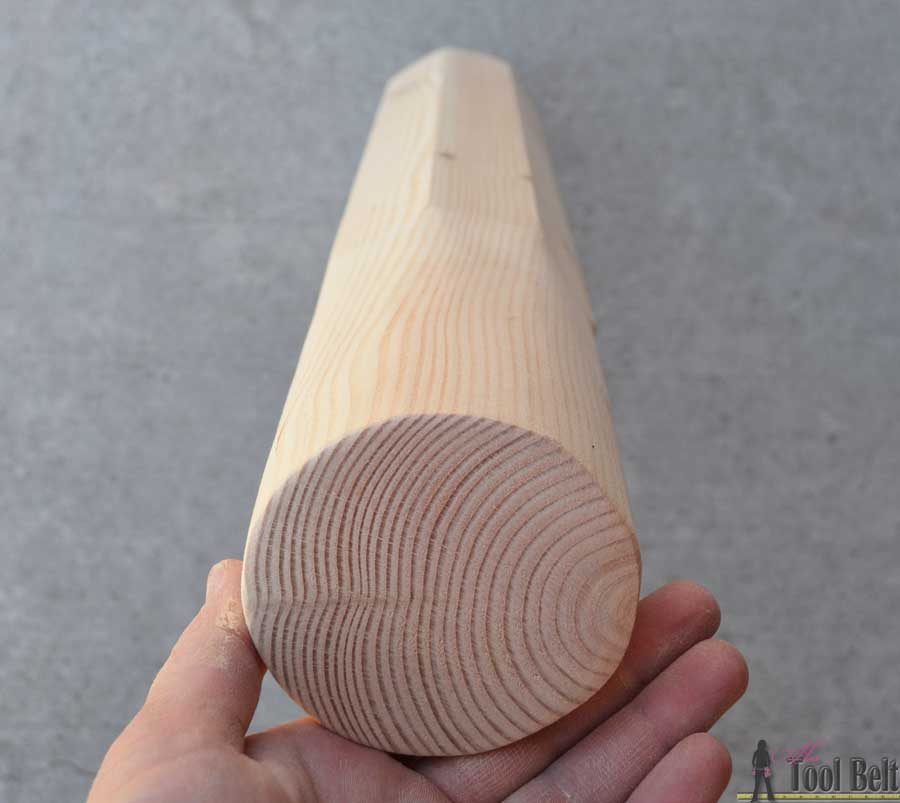
To start off, I cut the octagon shape of the pencil on the table saw. The blade is set at 45 deg. I set the fence over about 2 3/8″ from the bottom of the blade and very carefully cut the corners off.
The finished product is a octagon shaped piece of wood.
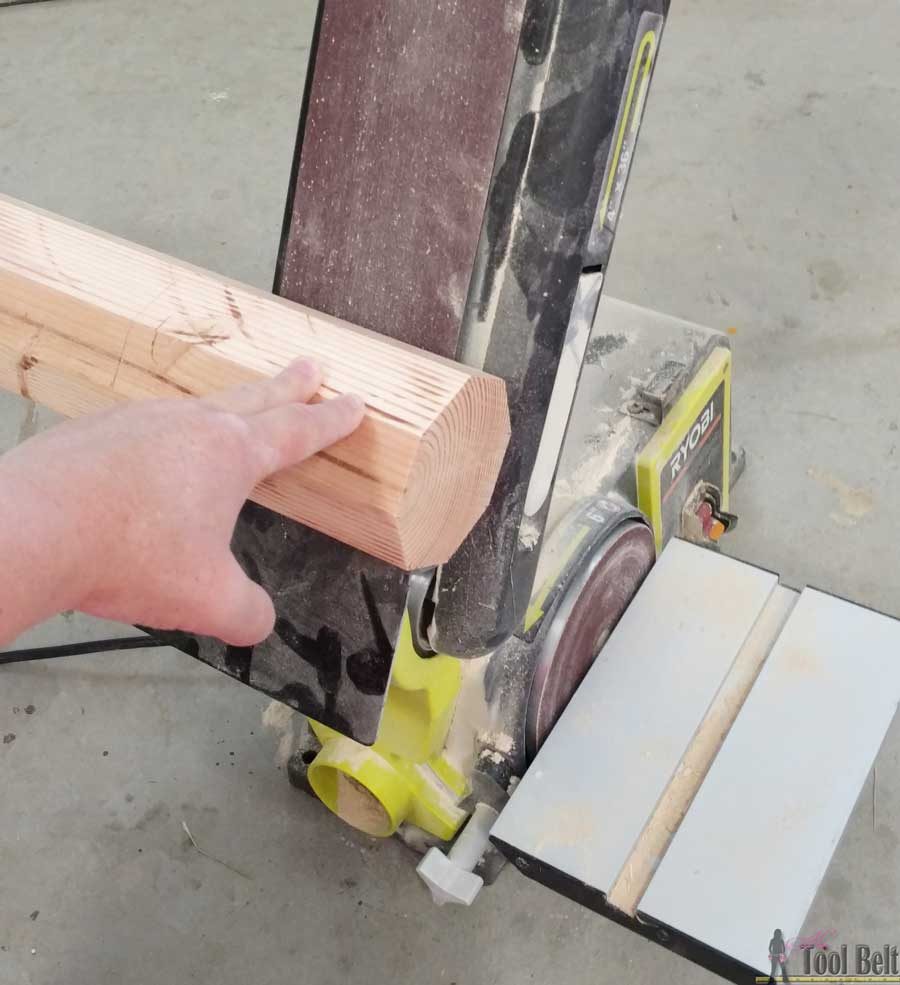
I marked down about 6″ from one end for the metal band and eraser. Then used a belt sander to smooth the edges round.
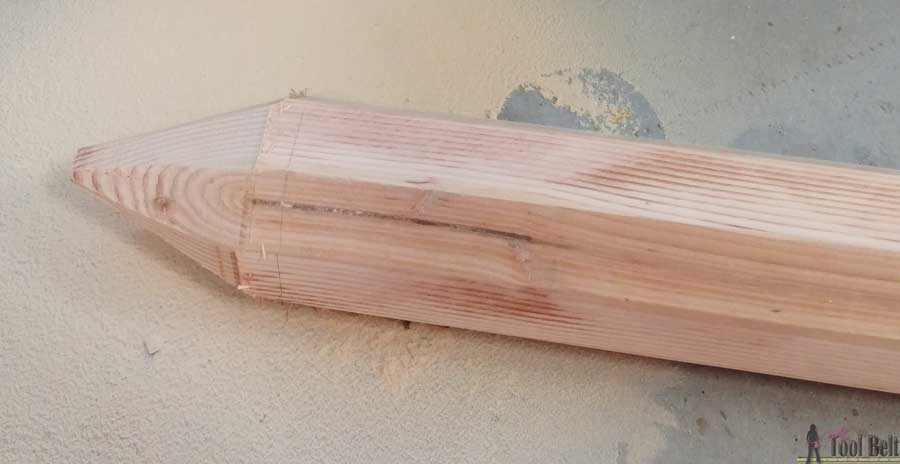
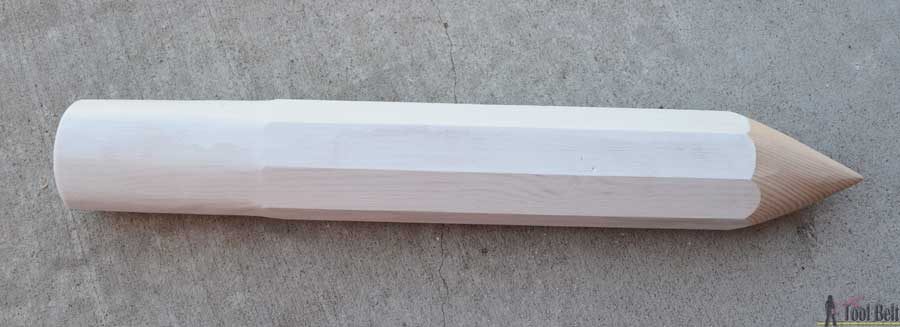
For the pencil tip I marked 4″ from the other end. I started ‘sharpening’ the pencil with the sander, but decided it would take forever. I made some rough cuts with the band saw to remove the bulk of the wood.
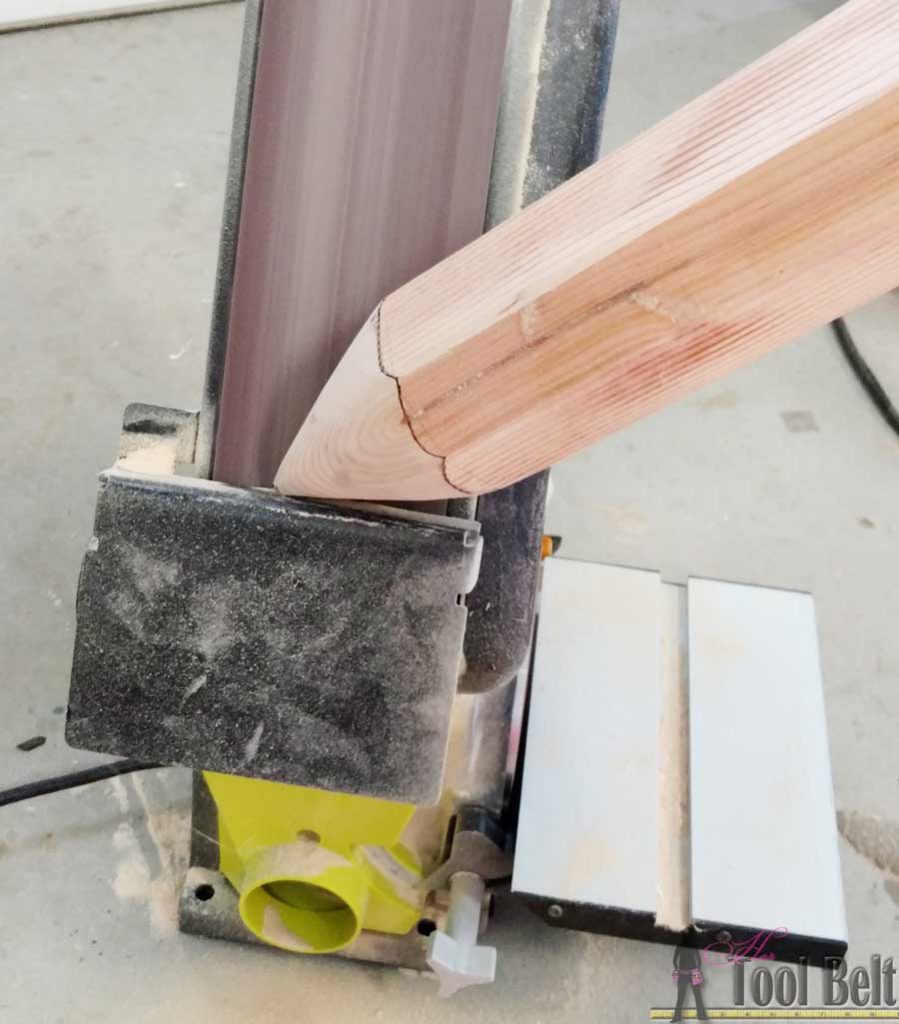
Then I sharpened the pencil with the belt sander.
Once the pencil shape was made, I sanded off all of the rough edges.
I primed all of the pencil except the sharpened end and let that dry.
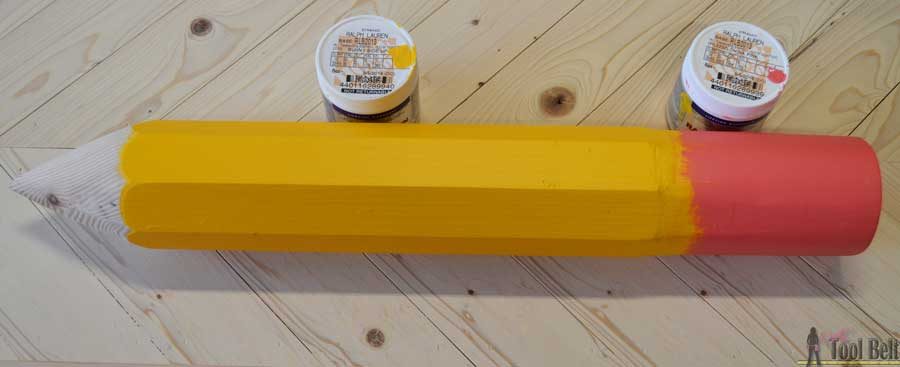
I picked up a couple of sample paint colors. The Ralph Lauren samples were the cheapest at my store at $1.98 each. The yellow – sunny side up is actually a behr color, but the paint associate transferred it for me. The main body of the pencil is yellow and the eraser is ‘china pink’.
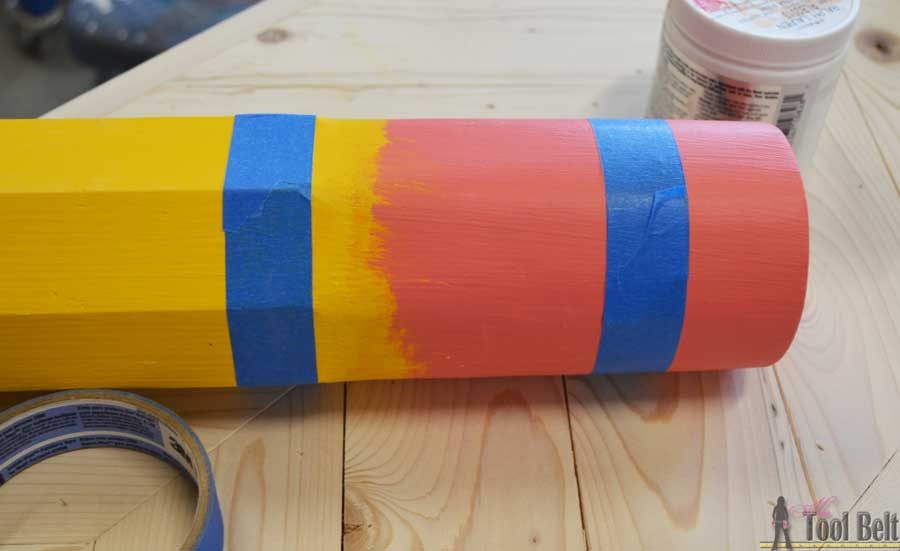
After the yellow and pink paint dried, I taped off for the metal band. I left about 2 1/2″ for the eraser. Then painted the metal band with Modern Masters silver metallic, left over from my Star Wars room. I also dipped the pencil tip in charcoal grey.
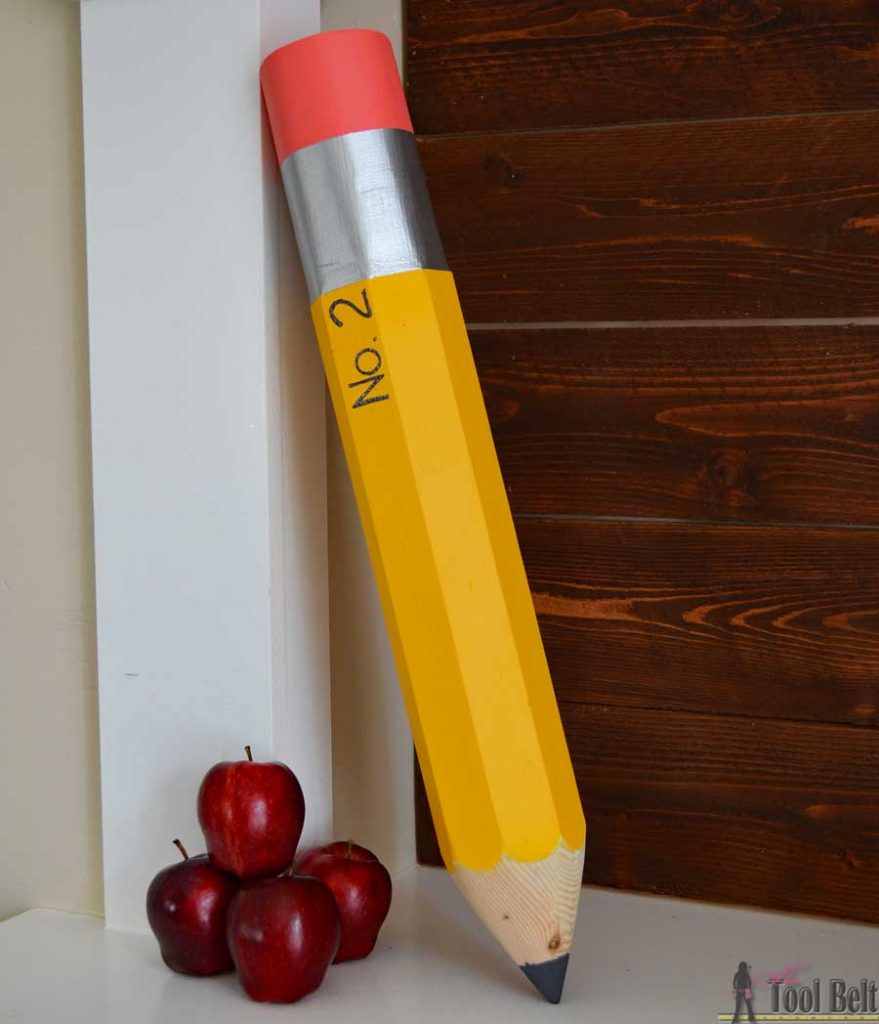
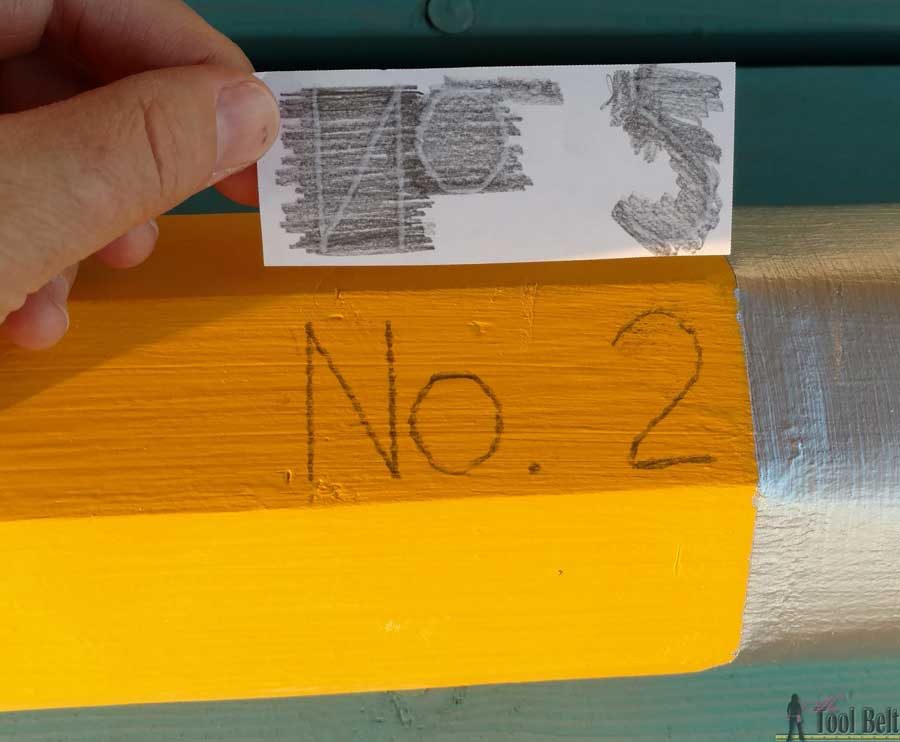
If you want to add writing on the pencil, I found a font that is similar to the traditional No. 2 pencils. The ‘No. 2’ font is DJB Number 2 Pencil in 90 pt. I printed out the words and scribbled a little pencil on the back to trace it onto the yellow paint. I wish I would’ve scooted the words a little farther from the metal band.
Then I went over the tracing with a black sharpie.
It kind of turned out fun, don’t you think?
Thanks for pinning.
Linked to my favorite link parties, remodelaholic, savvy southern style
Just brilliant! This idea would also make great birthday candles to decorate your front porch with! You did a LOT of work, but the results are fantastic!
Thanks Shelly,
Oh candles would be awesome!
This is so fun, Amy! I bet it looks great in your friends classroom.
Genius!!! Now I’m going to need a bandsaw…..
Yes you do, just because they are so fun 🙂