It’s demo day and there’s no going back now…hopefully I’ve made the right choice ha ha.
I am participating in a Spring Renovation Challenge hosted by Jeffrey Court Tile <– Check out all the DIY’ers and Designers

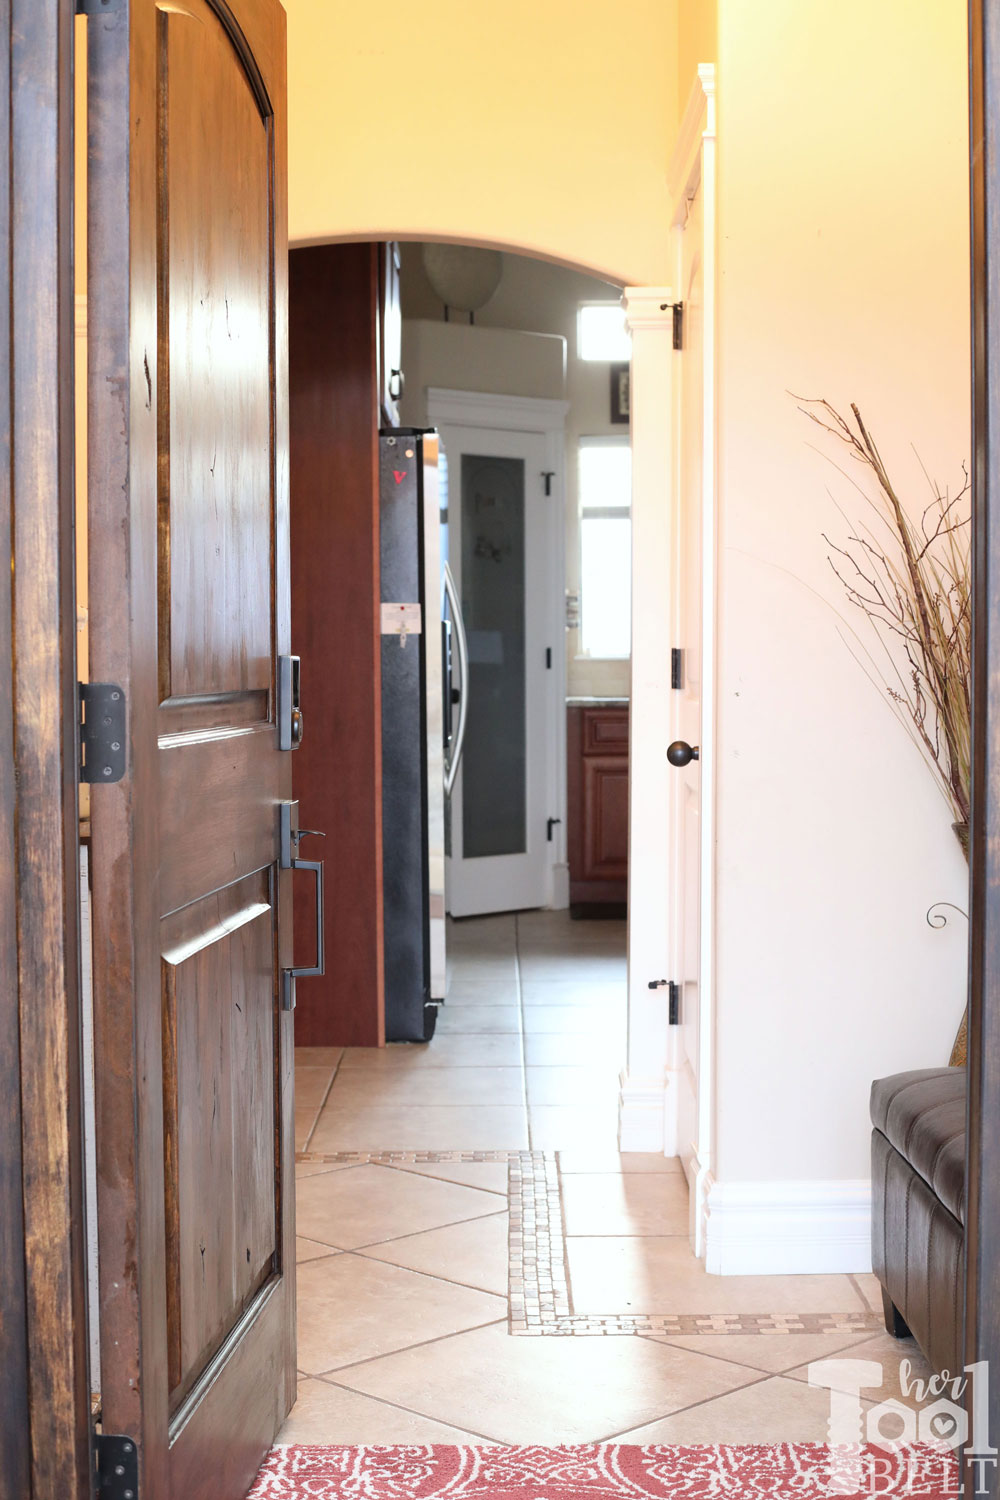
As a reminder, this is what it looked like before…
You can check out more before pics and the plan here.
And now…
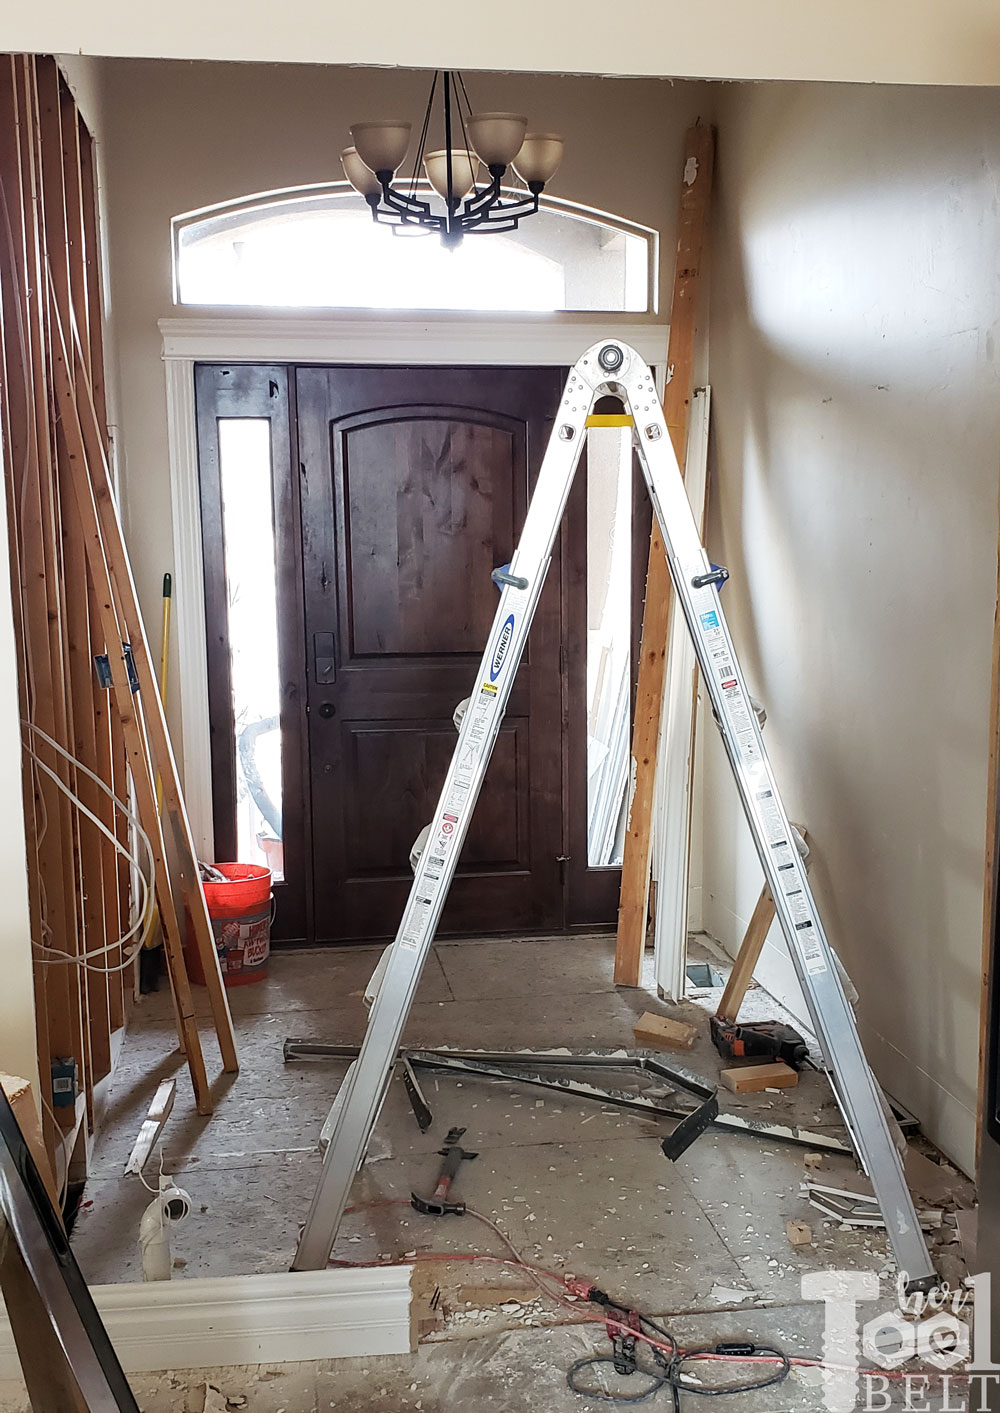
I started the demo by removing anything that I wanted to save like the door and moldings.
This post contains some affiliate links for your convenience. Click here to read my full disclosure policy.
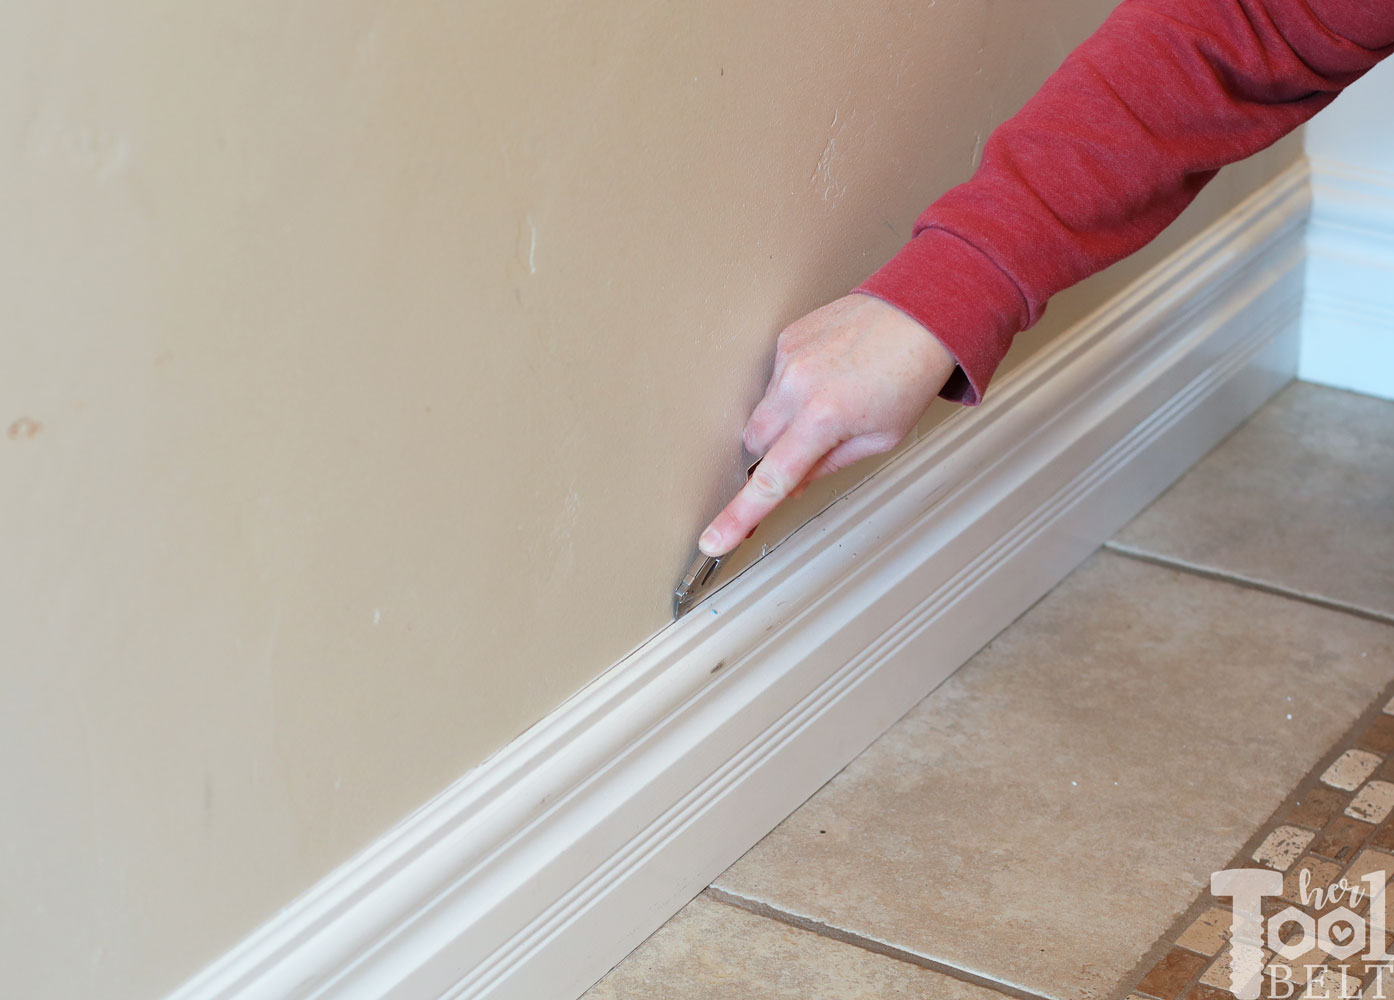
Removing baseboards and molding
Tools Used
I want to save and reuse as much molding and baseboards as possible, hopefully I won’t need to buy any more. First you want to break the caulk bead between the wall/floor and molding. This should help to not rip up drywall when pulling the molding off. A sharp utility knife works great for this job.
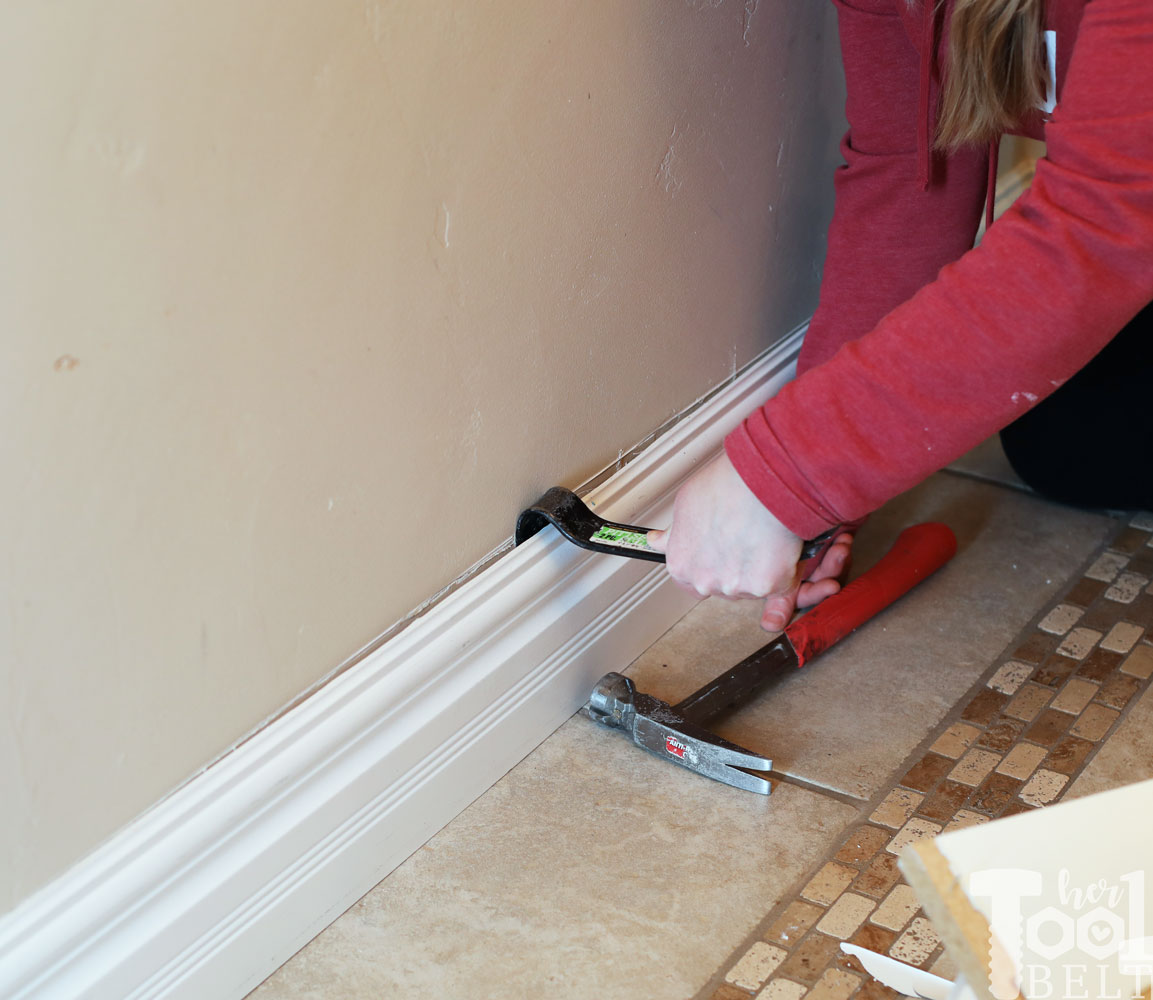
Then lightly tap a wonder bar (prybar) between the molding and wall then pry back sliding along the molding until it comes off of the wall.
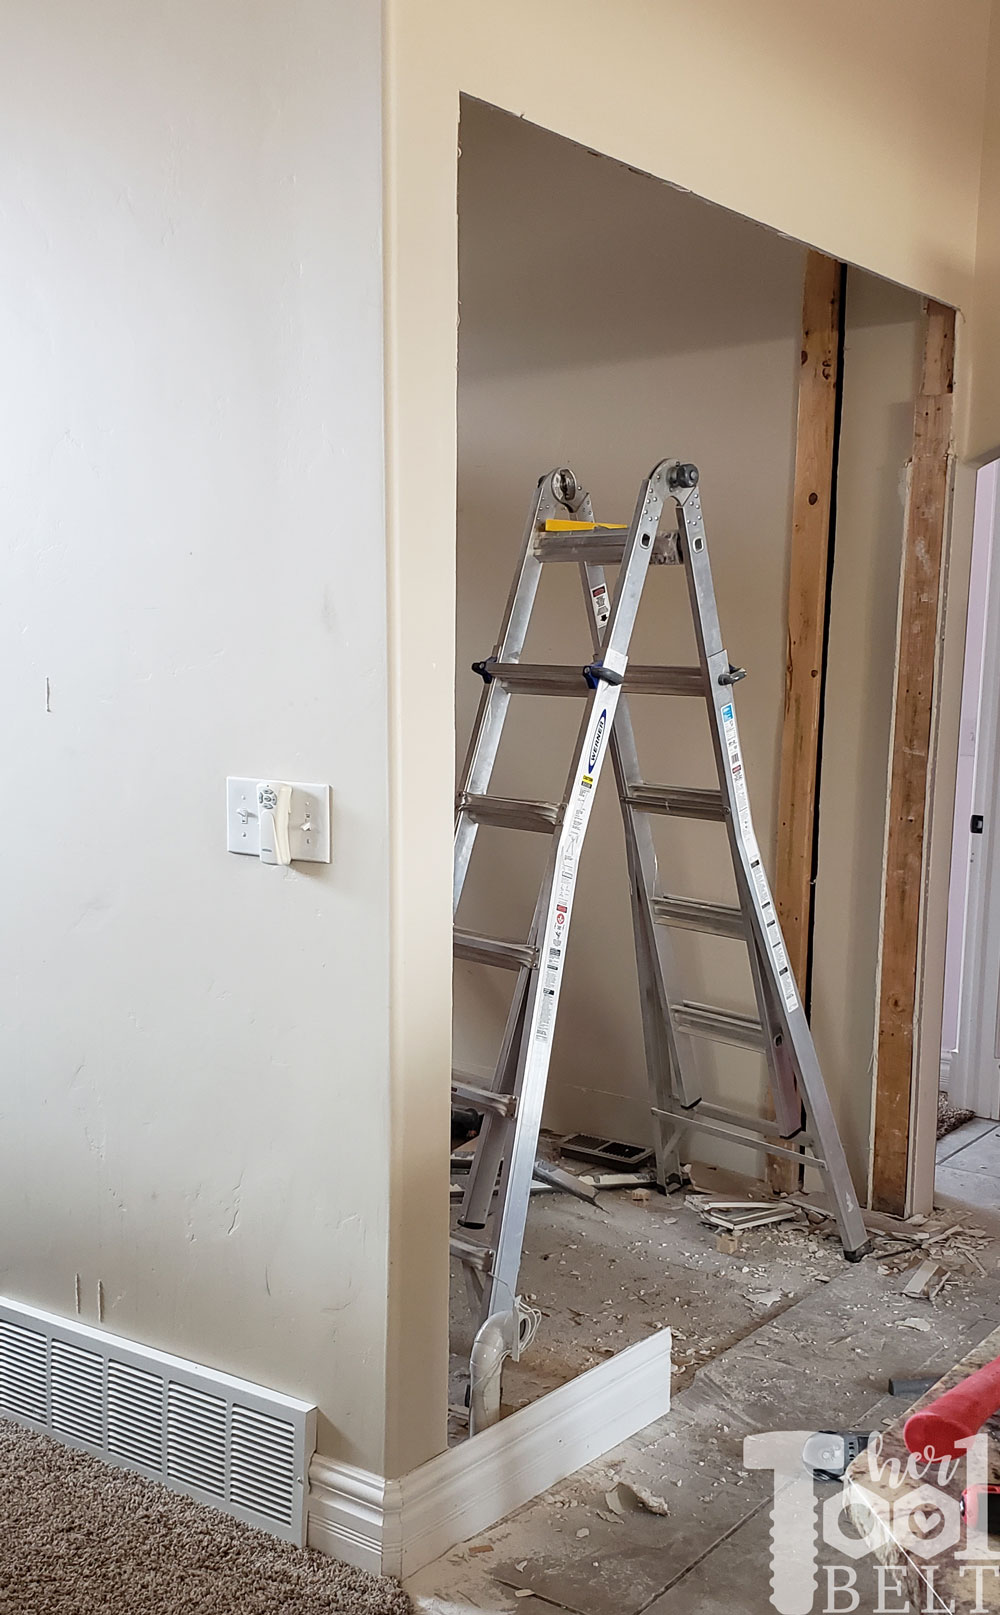
Next is removing unwanted walls
Bye Bye closet…
I cut into the drywall with an oscillating tool to see what was there. Then used a reciprocating saw to cut things loose from the main walls.
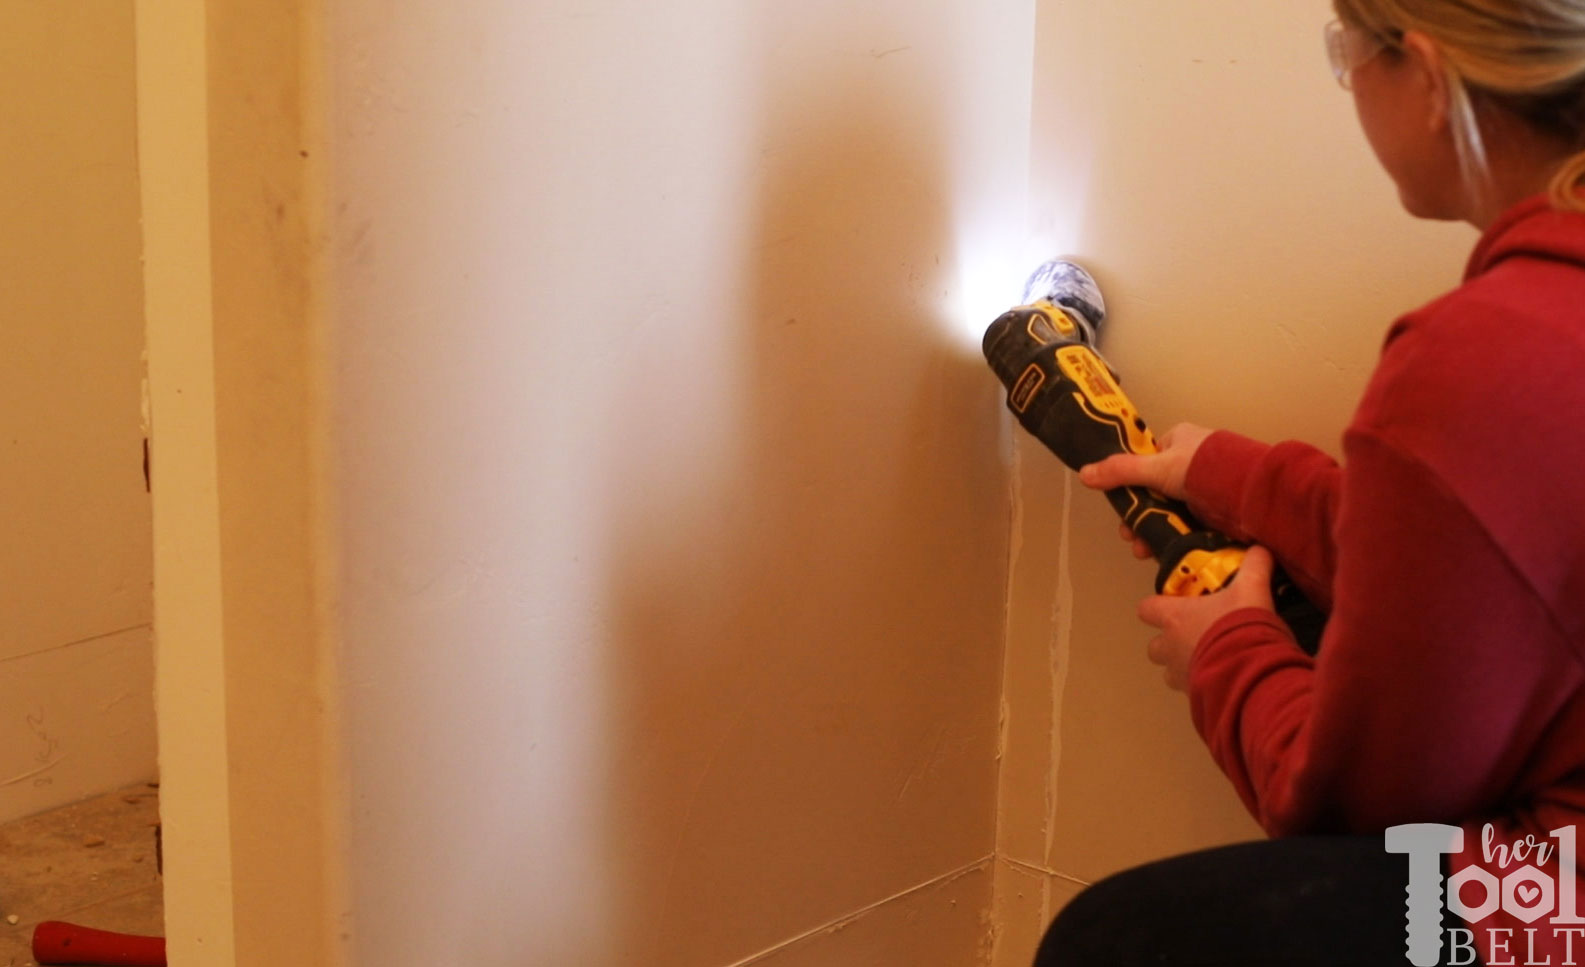
The closet wall actually came off pretty easily and I was able to remove almost the whole thing in one section.
I measured and removed drywall only where the door opening would go to eliminate extra work. Once the walls were open it was time to move around some electrical.
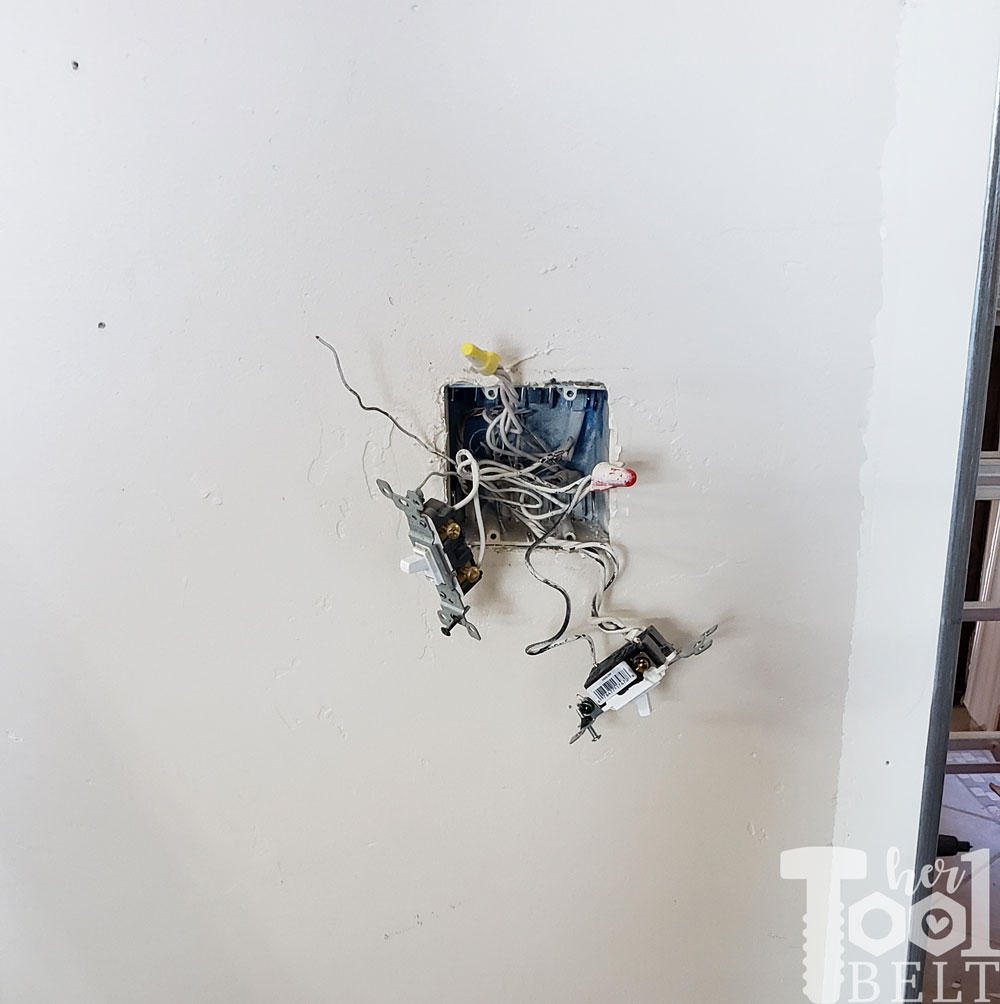
Moving the Electrical Wires
I have quite a bit of electrical experience from working on the farm, so moving electrical wires doesn’t scare me. However I was dealing with 3 ways, junctions and remote switches. They can boggle your mind :-). To keep things straight, I used different colored markers and marked the wires and the location on the switches. This really helped me keep things straight and wire things in the correct spot on the first try.
I basically combined two 2-gang boxes into one 4-gang box onto the wall that was staying.
Old 2 gang
 backside (the wall on the left side it going).

New 4 gang
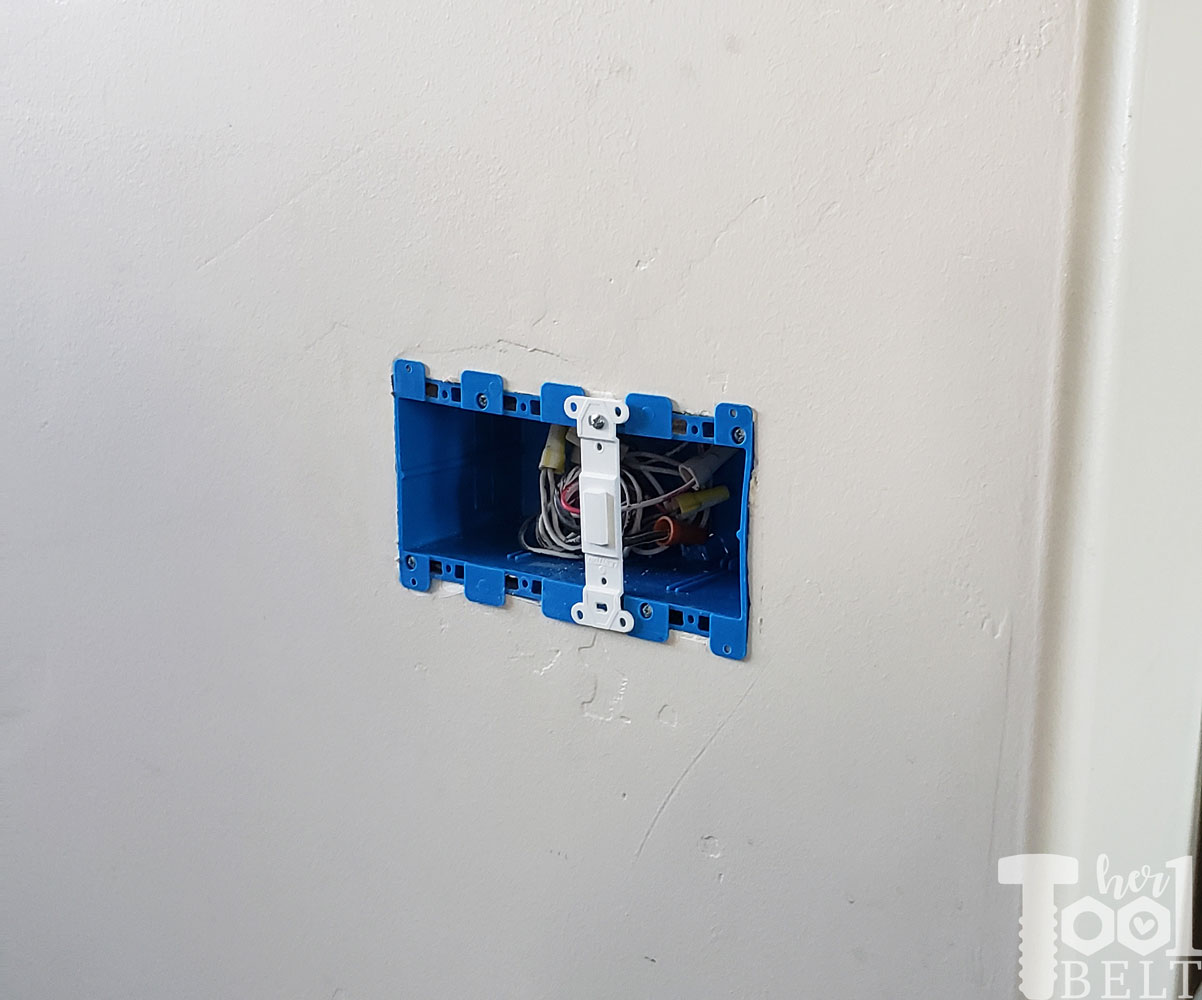
I also had to run wires up and over the new entryway door. Can someone please invent a wire stretcher, ha ha J/K.
Removing Tile
Tools Used
- Ridgid Rotary Hammer
- SDS Tile Chisel
- Gloves
- Safety Glasses
- Knee Pads
- Pliers to remove staples, if you have cement board you will probably need a drill to remove screws.
Removing the old tile would’ve been a very bad job if it wasn’t for this Ridgid rotary hammer and tile chisel. It wasn’t a particularly fun job with the rotary hammer, but it made the job go much much faster. I was able to remove about 60 sqft of tile in a few hours.
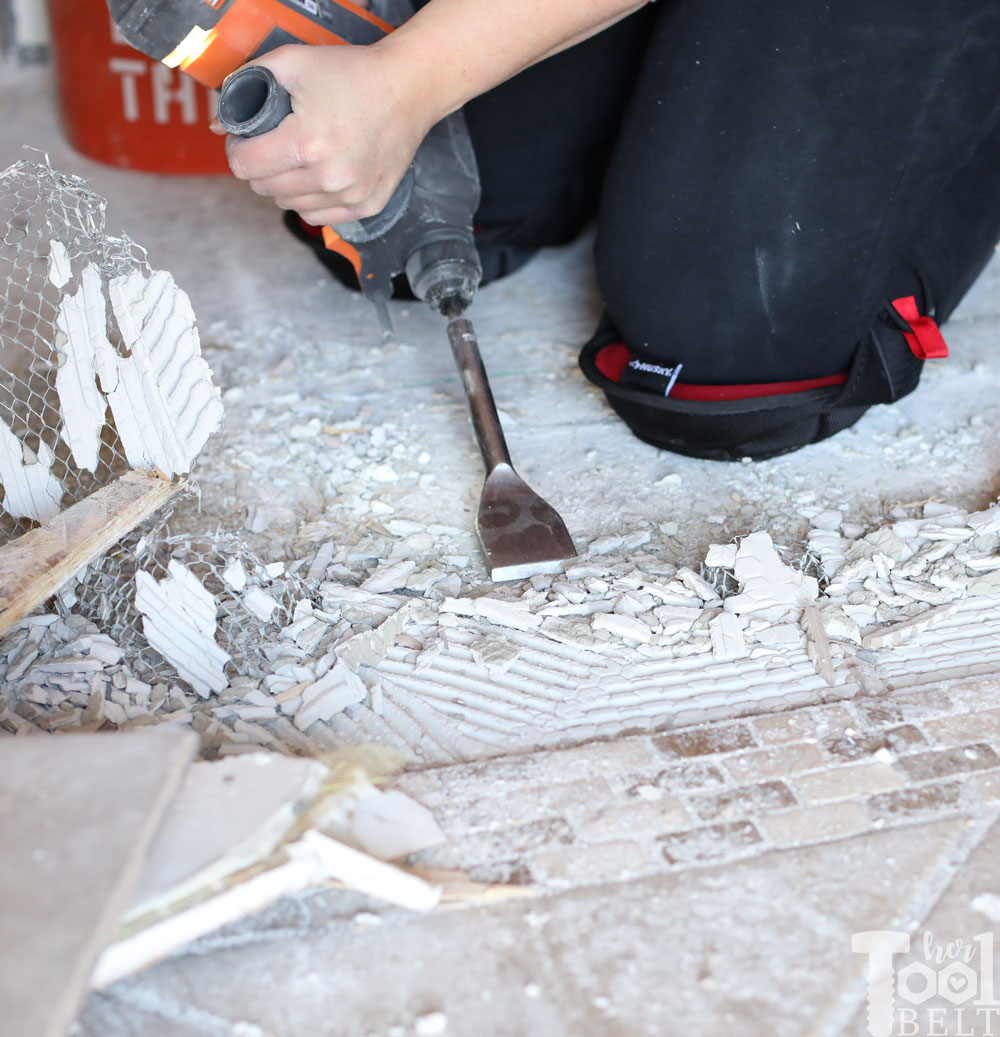
The Ridgid rotary hammer has 3 modes hammer, drill and chisel mode. Hammer and drill modes rotate like you would think a drill would. Chisel mode oscillates back and forth, that’s the mode you need. It was a little tricky getting the chisel angle just right, but once you got under the cement bed at the right angle it was golden. In some places it was easier to chisel up the tile first then the mesh cement bed. In other places it seemed easier to get the mesh and tile at once.
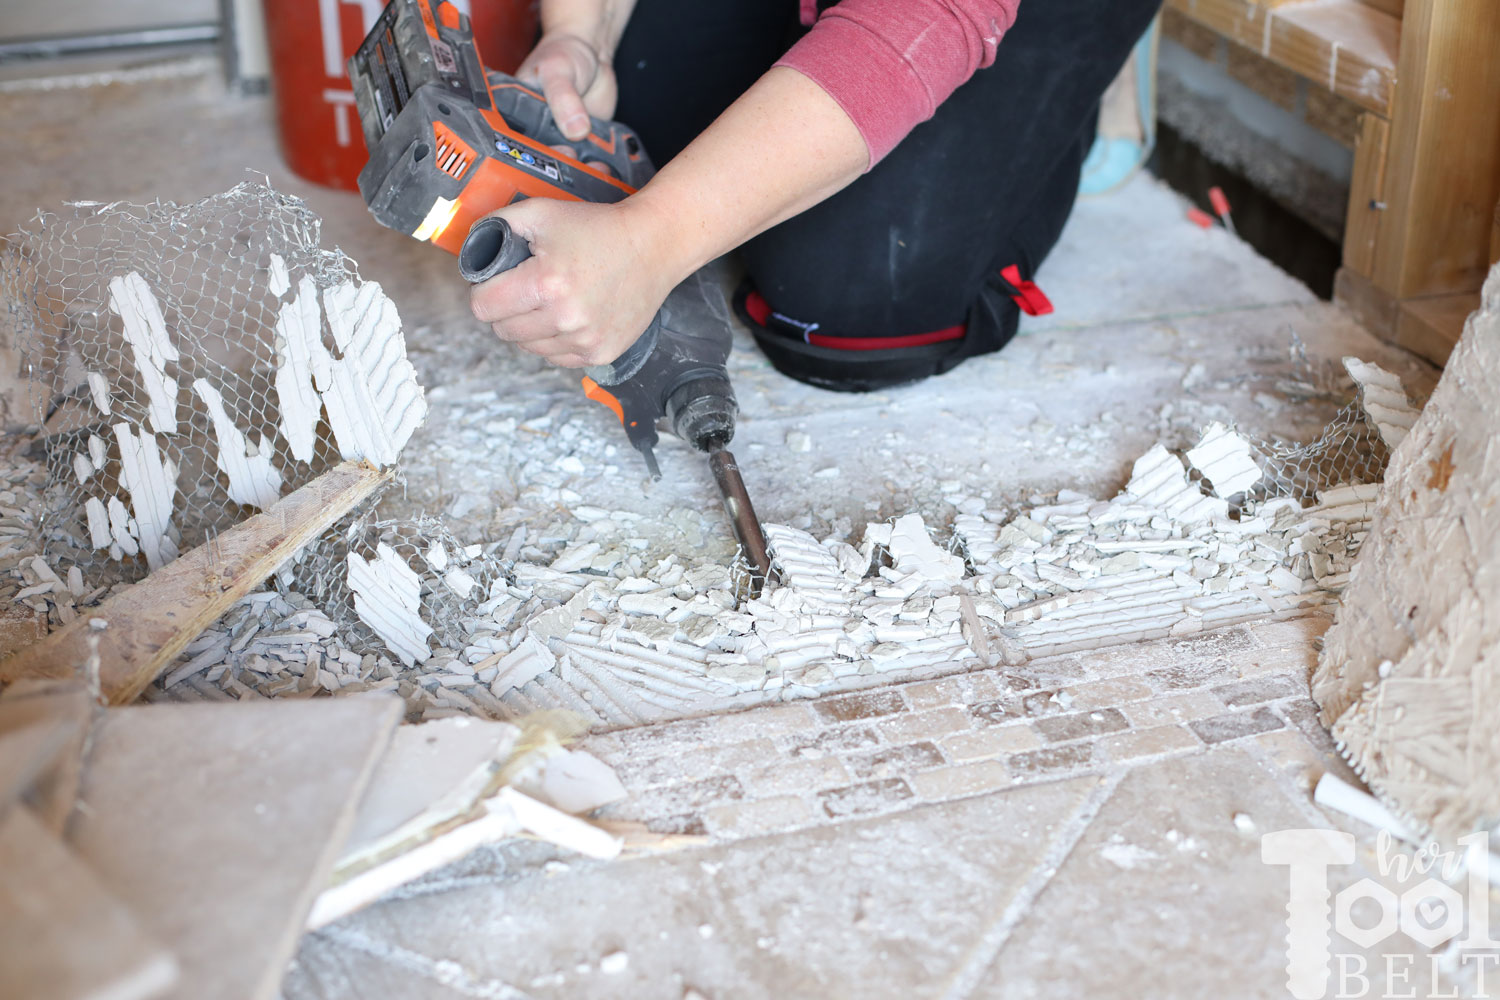
Gloves were a must for pulling up the metal mesh, and there were about a billion staples that held the mesh down.
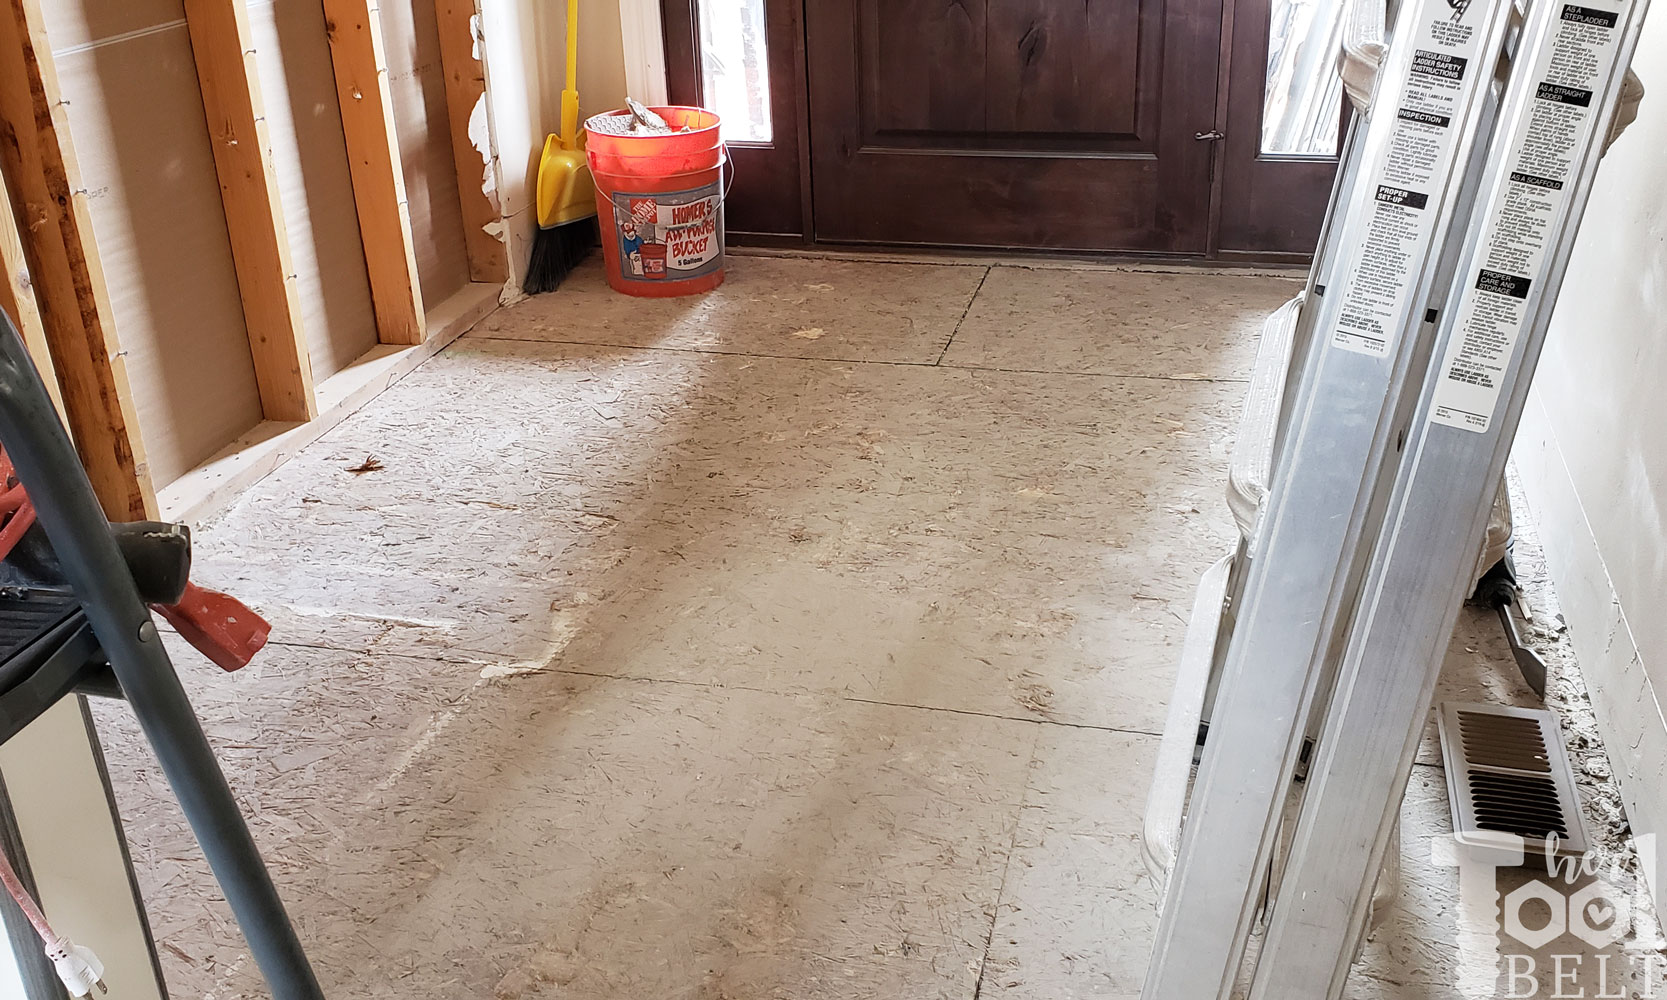
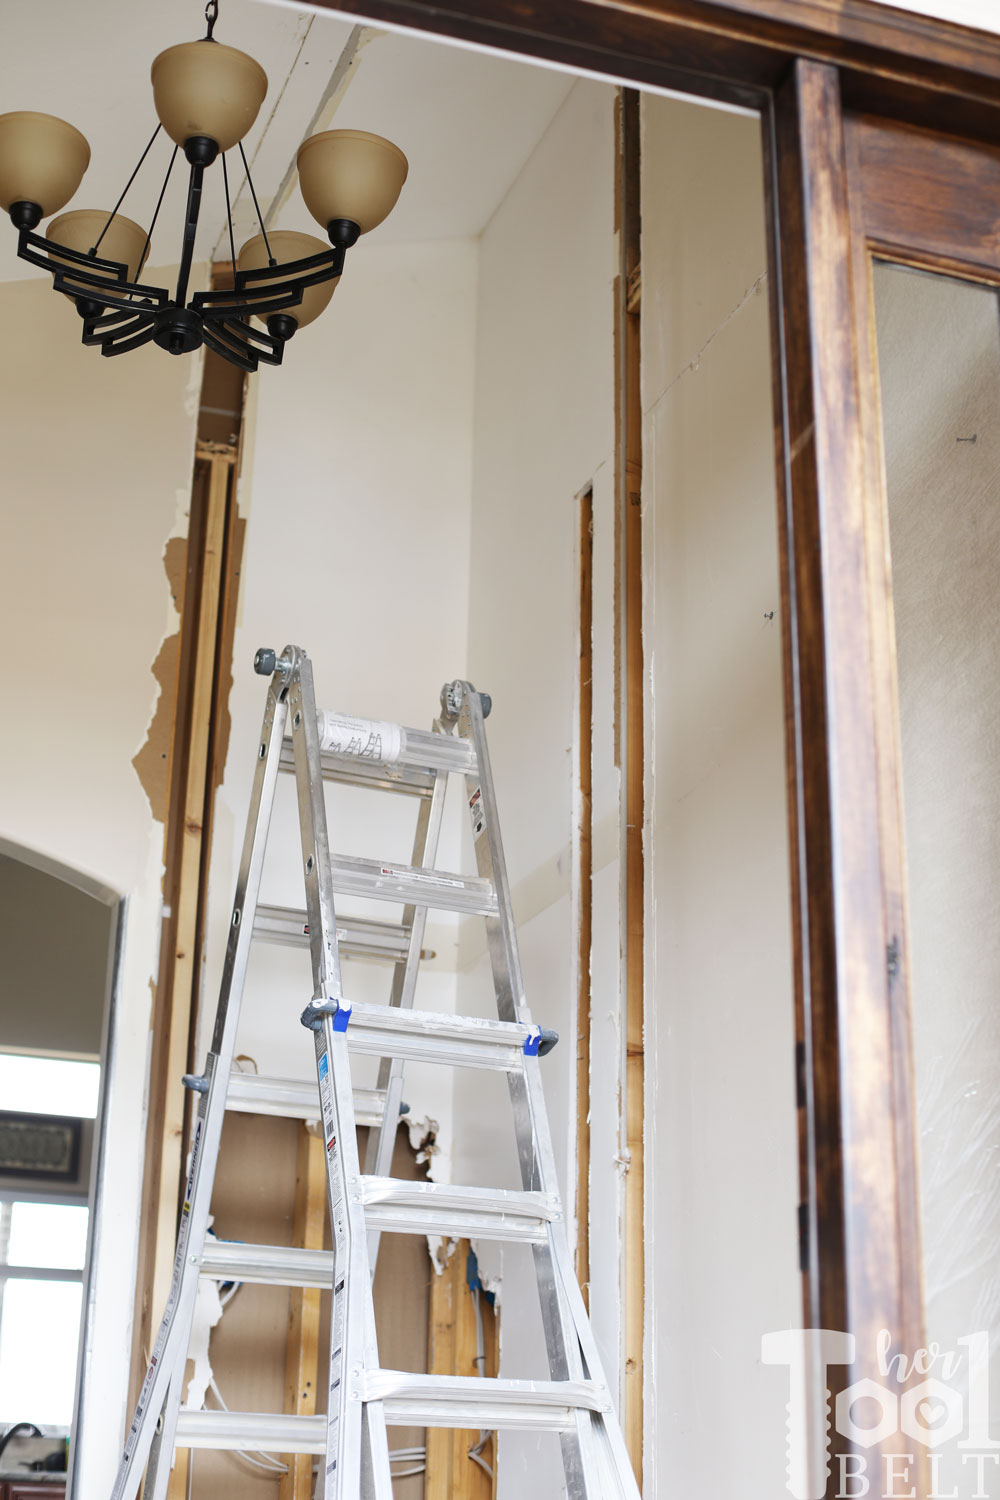
Now I’m on to the exciting part, putting the room back together! Also I’m super excited for all that cabinet space (where the ladder is.)
Here is a break down of the work:
Remove the closet and tile- Cut a hole in the wall
- Frame new doorway
- Add transom windows in doorway
- Frame new wall
Move around some electrical- Build the wall cabinets on the kitchen side
- Tile the floor
- Tile the new wall
- Add beams to the ceiling
- Replace chandelier shades
- Paint the walls
- Make a coat rack
- Build a console table
Some progress done! Woot woot!
Leave a Reply