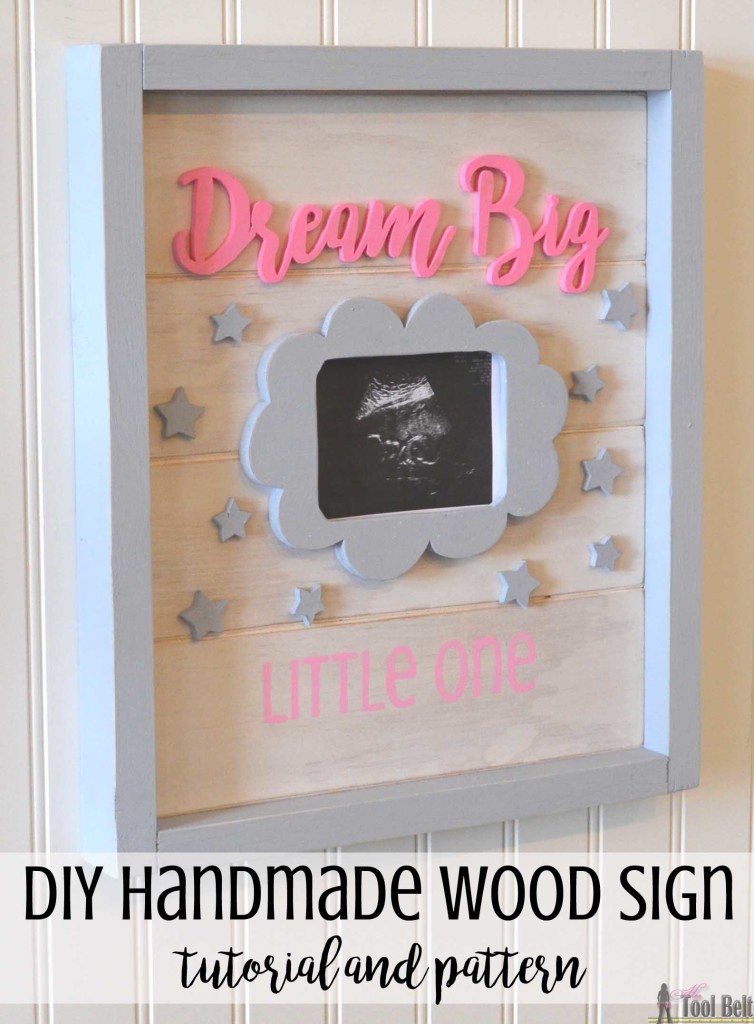
I adore the wood signs made by Salty Bison and Fynes Designs. So I decided to make something similar for a friends baby shower celebrating her soon to be little girl. Her nursery colors are pink and gray and has a very cute ultrasound picture of the baby (not shown in picture, that one is just a copy of one).
I’ll be the first to admit that I struggle with the design portion of cute home decor projects, but I can do the work :-).
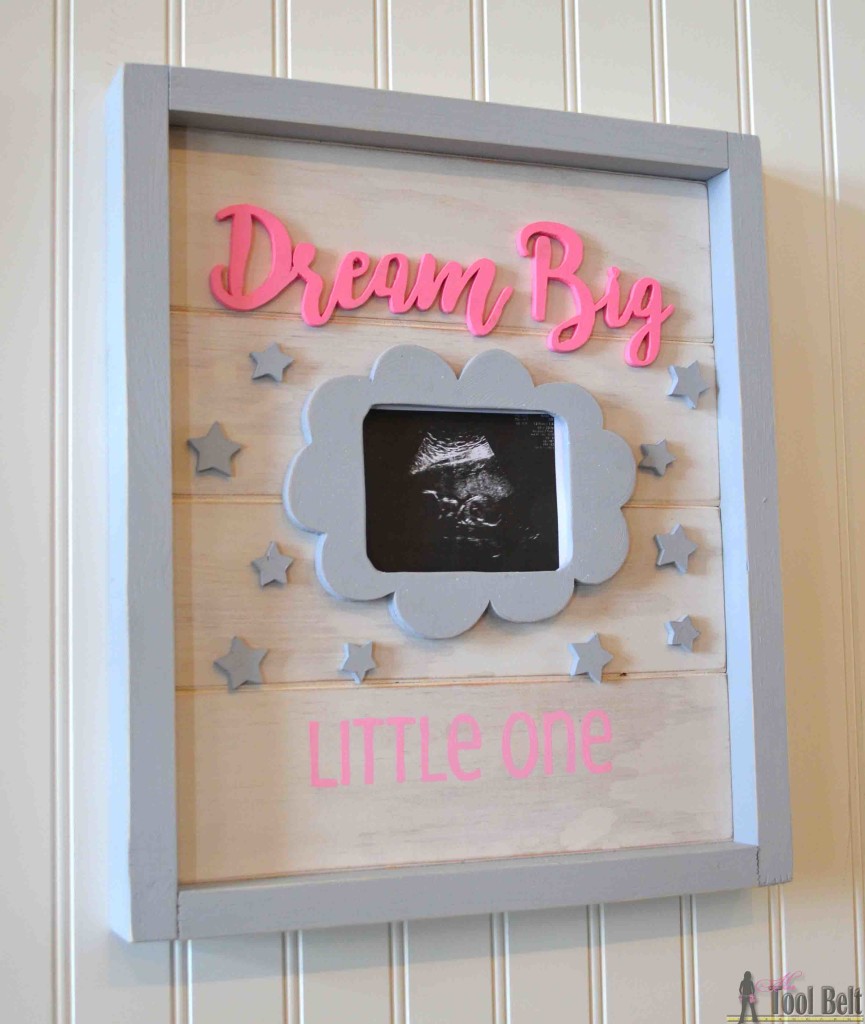
The little cloud frame is a perfect place to display an ultrasound picture. You can easily remove pictures to replace with new photos.
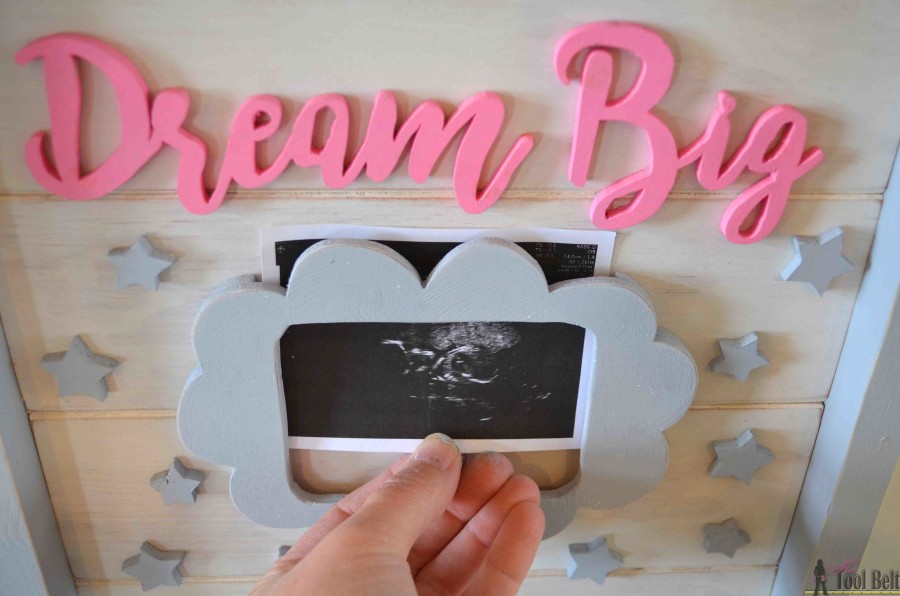
One benefit of making these signs is that with all of the little pieces, it’s a great way to use up some of your scrap wood stash!
How to Make a Dream Big Little One Sign
Materials
- 1 – 1″ x 4″ x 8′ board
- 1 – 1″ x 2″ x 8′ board
- small piece of 1/4″ plywood or MDF
- 1 1/4″ pocket hole screws
- wood glue
- sandpaper
- spray adhesive – optional
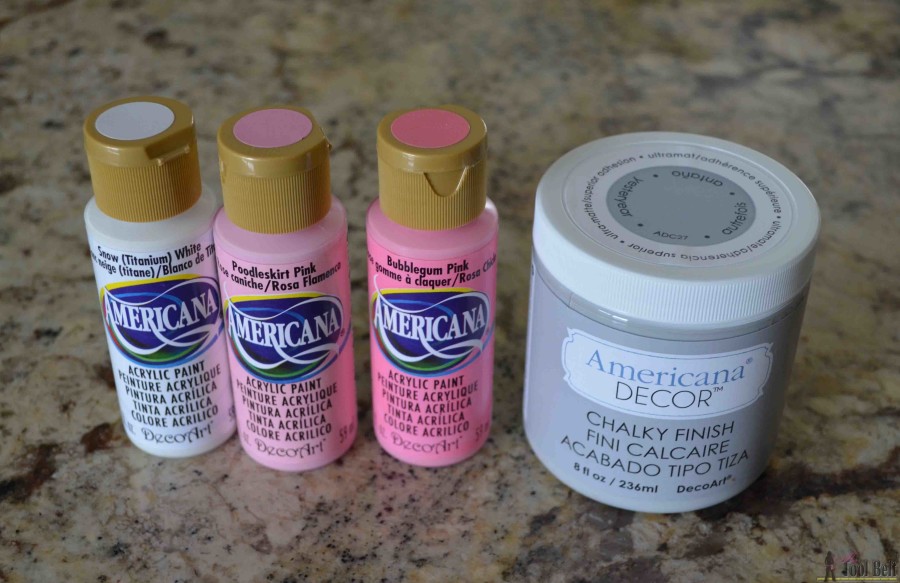
- paint
- Americana Bubblegum Pink acrylic paint
- Americana Poodleskirt Pink acrylic paint
- Americana Snow White acrylic paint
- Americana Decor Chalky Finish Yesteryear paint
Tools
- Scroll Saw
- Miter Saw
- Sander (optional)
- Drill
- Pocket hole jig
Building the frame
Cut List
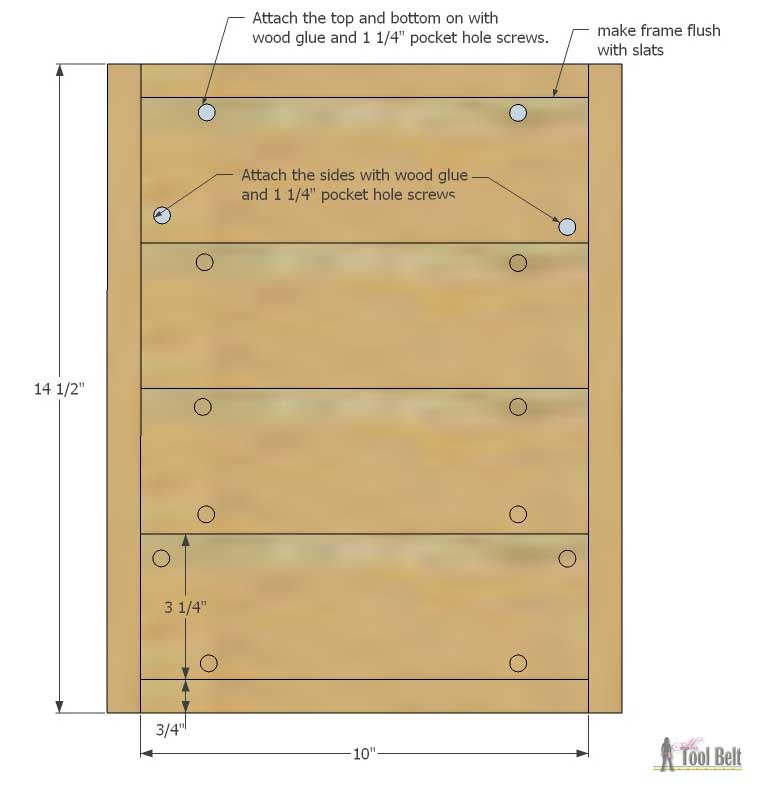
- 4 – 3/4″ x 3 1/4″-3 1/2″ x 10″ slats (widths of 1×4 boards will vary between 3 1/4″ and 3 1/2″, you can either trim the widths down to 3 1/4″ or adjust the frame side piece length to fit the sign)
- 2 – 3/4″ x 1 1/2″ x 10″ frame top and bottom
- 2 – 3/4″ x 1 1/2″ x 14 1/2″ frame sides (you may need to adjust the lengths of these)
You may want to consider painting all of the pieces before putting it all together, but whatever you prefer.
Use a pocket hole jig and drill pocket holes for 3/4″ material in the back of the slat pieces. You’ll want to also drill pocket holes to attach the frame top, bottom and side pieces on. Use wood glue and 1 1/4″ pocket hole screws to attach the slats together.
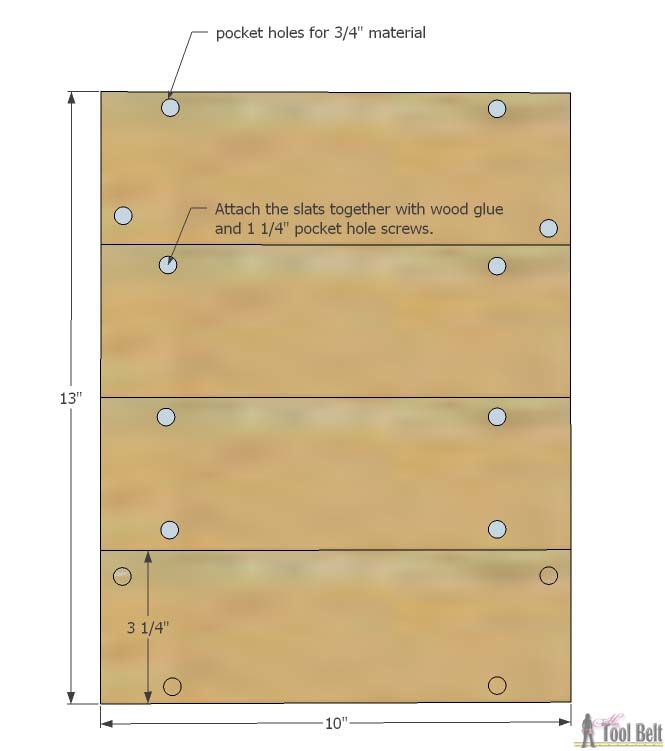
Use wood glue and 1 1/4″ pocket hole screws to attach the frame top and bottom to the slats. Make the back of the frame flush with back of the slats.
Measure how long the frame side pieces need to be and cut to fit. Use wood glue and 1 1/4″ pocket hole screws to attach the frame sides to the slats.
Cutting out the elements
I cut all of the words and shapes out of 1/4″ plywood, except for ‘little one’ which I hand painted onto the slats.
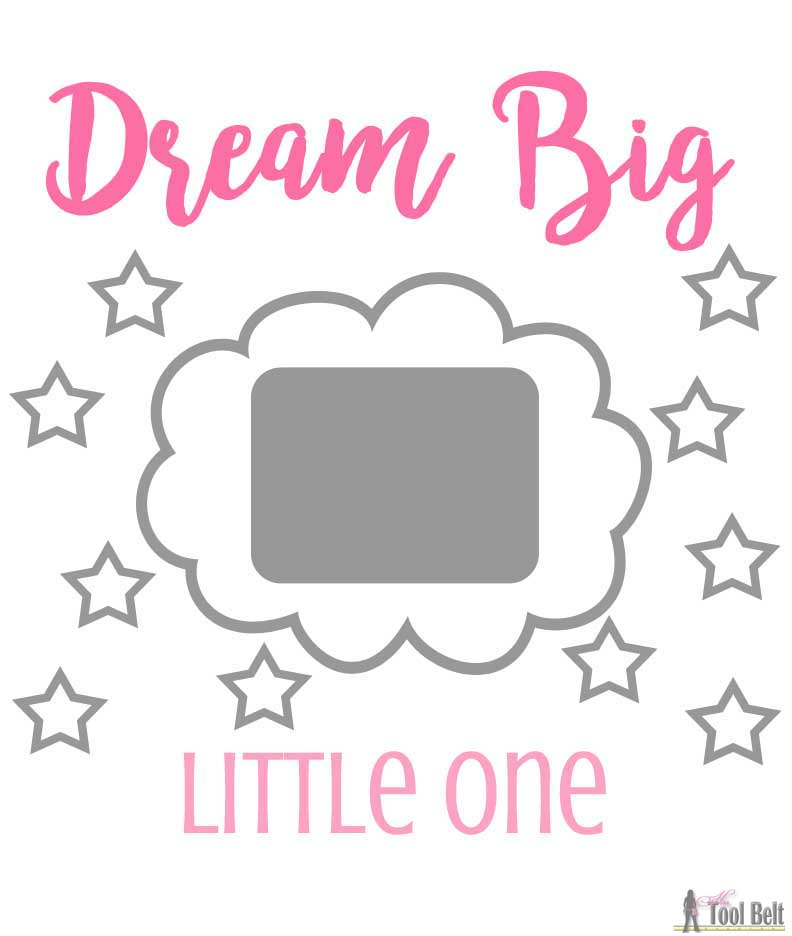
Print out the pattern for the lettering and shapes. Dream big little one pattern, make sure your printer is on 100% and not ‘fit to page’. You can trace the words and shapes onto some 1/4″ plywood/mdf or you can lightly spray the back of the paper with spray adhesive and temporarily stick the patterns to the plywood/mdf.
A few tips for cutting with the scroll saw:
Drill holes in the inner areas that need to be cut out and cut them first, if possible. Follow the lines to cut out the patterns.
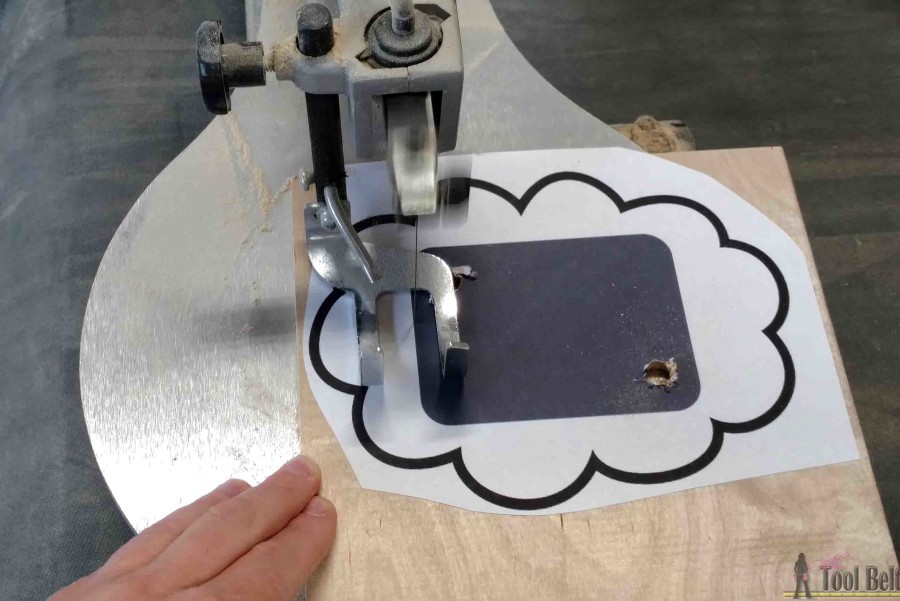
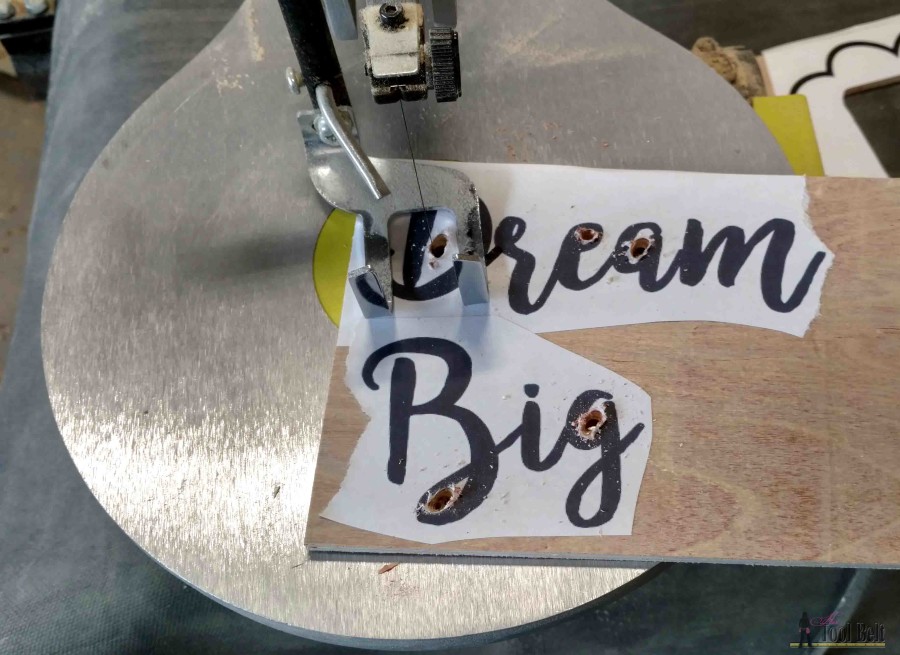 Then cut around the outer pattern lines. When using a scroll saw or band saw you want to make ‘relief cuts’ so your blade doesn’t get stuck in an area with tight turns or get the blade to hot. For these words and the cloud, I first made straight cuts (relief cuts) down into each ‘canyon’ area. Then I followed the pattern and removed the excess wood as I went.
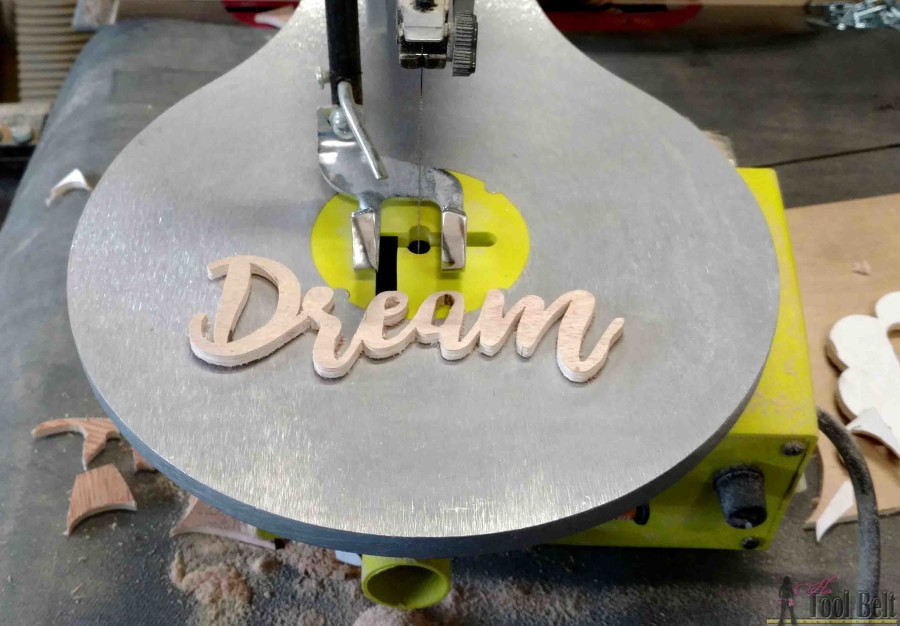
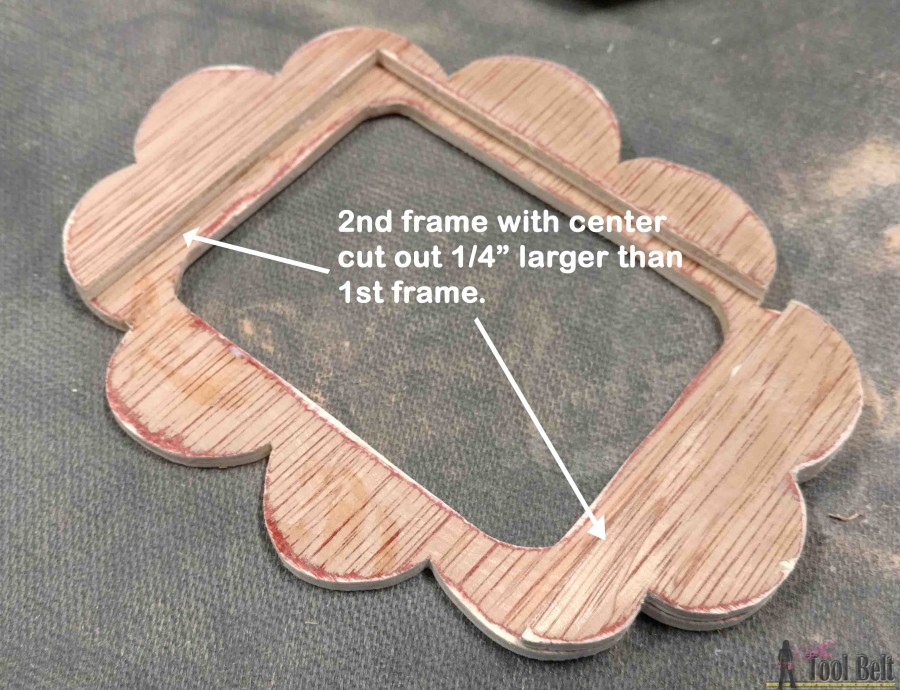
Lightly sand the cut outs. For the cloud frame, cut out two clouds and follow the window pattern for the first, and the larger cut out for the second (see pattern). Glue the two frames together.
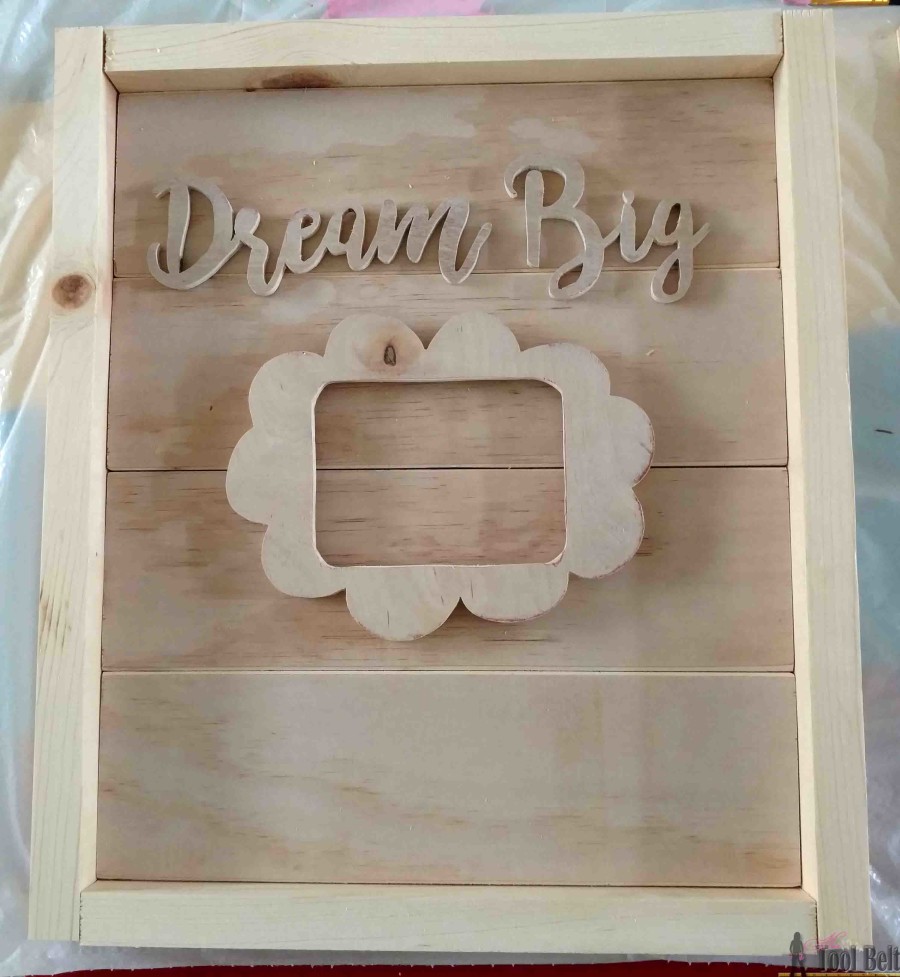
Here’s a look at the pieces on the unfinished frame.
Painting
- On the slats (sign background), I wanted a whitewashed look to let a little of the wood grain peak through. In a small bowl, I mixed a small amount of snow white paint with an equal amount of water. I lightly brushed it onto the slats with a chip brush.
- The frame, cloud and stars were painted in light gray chalky finish paint, yesteryear.
- ‘Dream Big’ was painted with bubblegum pink.
- I painted ‘little one’ with poodle skirt pink. I used That’s My Letters technique for hand painting onto wood, it helps to give nice lines while hand painting.
After all of the paint dried, I assembled the frame. I used wood glue to attach the elements to the slat background. Finally I added a hanger to the back of the frame.
linked to link parties, savvy southern style
This is soooo adorable Amy!! Such a thoughtful gift! Man, I need to bust out my scroll saw! Love it!