This post is sponsored by The Home Depot. I have been compensated for my time and provided with product. All ideas and opinions are my own. This post contains some affiliate links for your convenience. Click here to read my full disclosure policy.
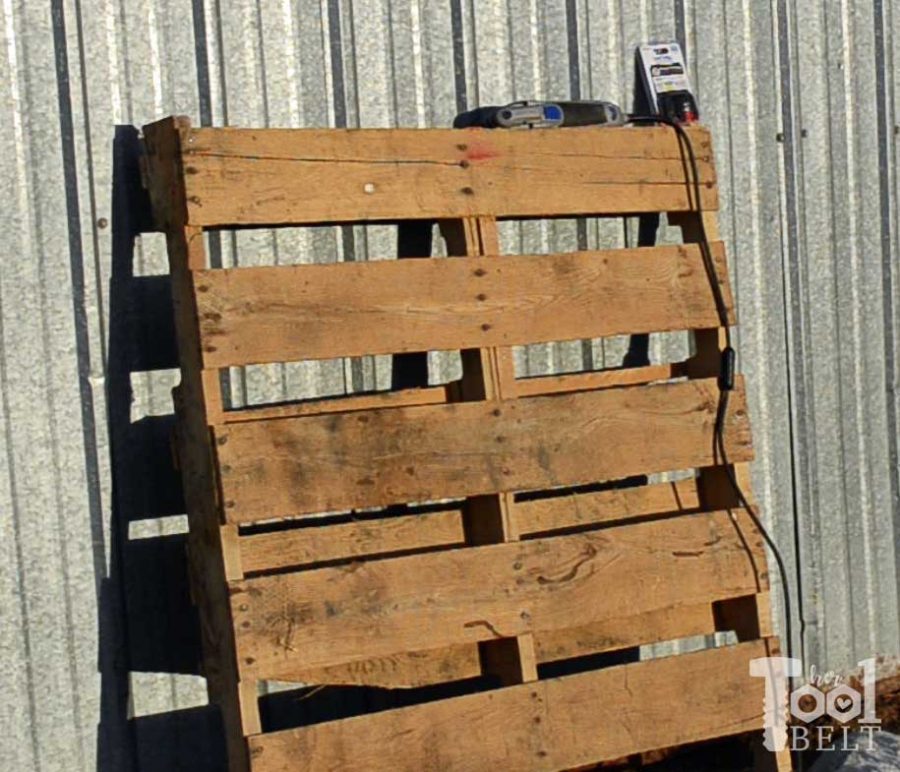
The cheapskate in me sure does love a good deal and even better FREE!!! My Dad has been doing a number of improvement projects at his farm and the new equipment comes on pallets. Some of the pallets are too good to let go to waste. A lot of them are the hardwood pallets (like oak), nut just pine. This one has cool wide planks!
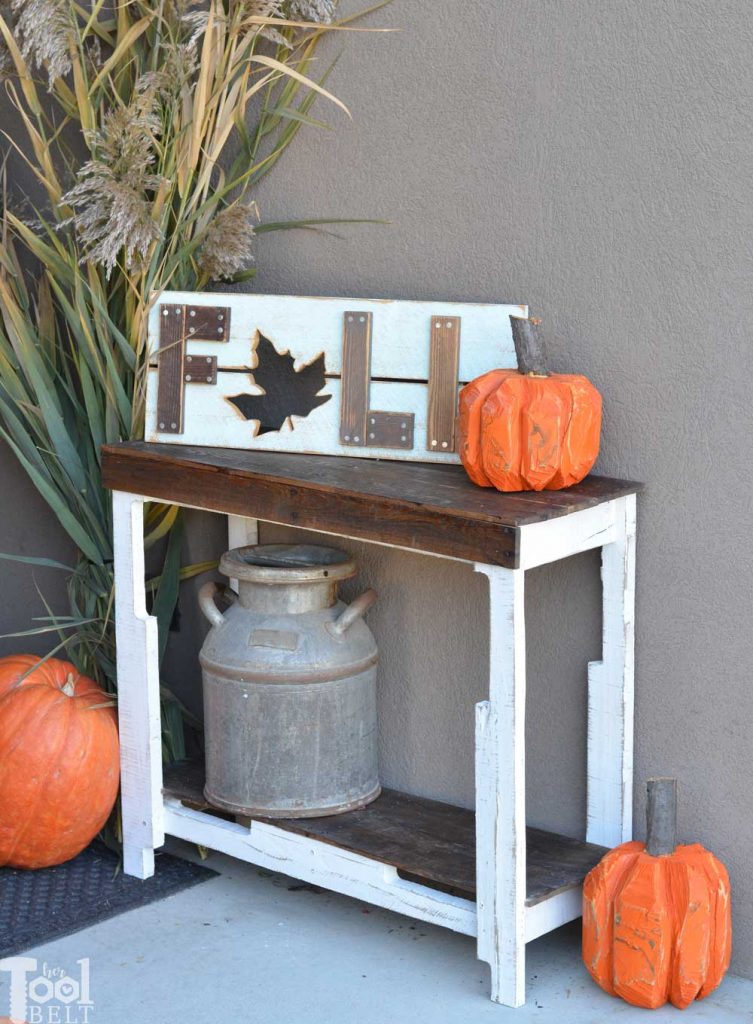
I’ve been wanting to put a porch table out by the front door for holiday decorations, and these free pallets are priced just right.
How to Build a Free Pallet Table for the Porch
Materials
- 2 – Pallets (hardwood like oak will work best)
- 2 1/2″ screws
- 1 1/4″ screws
- 1 1/4″ brad nails (or screws are fine)
- sandpaper
- paint – I used Behr Ultra Pure White
- stain – I used Minwax Aged Oak
Tools
- Dremel Multi Max Oscillating Tool
- Dremel Oscillating Tool Universal Flush Cut Blades
- Jigsaw – optional
- Drill or Impact Driver
- Drill bits and drivers
- Tape Measure
- Carpenter’s Square – optional
- Brad Nailer – optional
Cut List
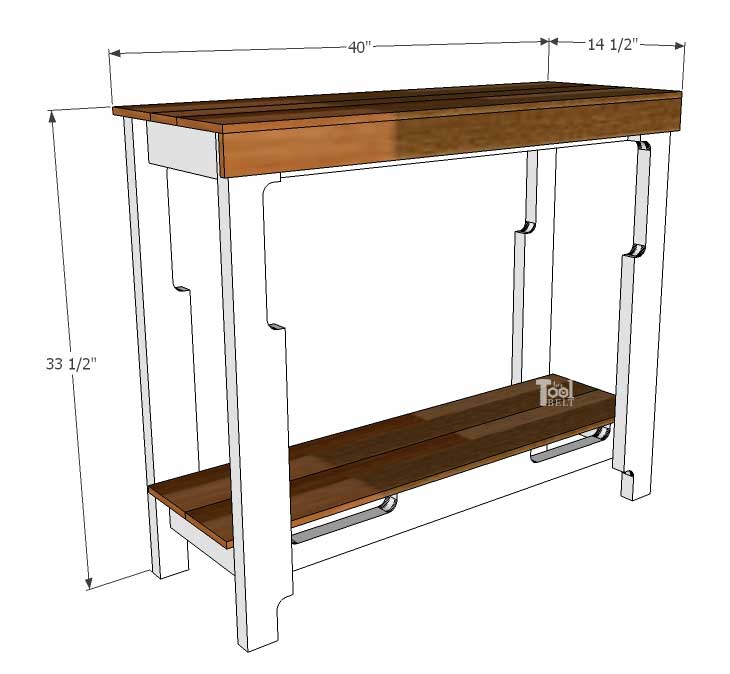
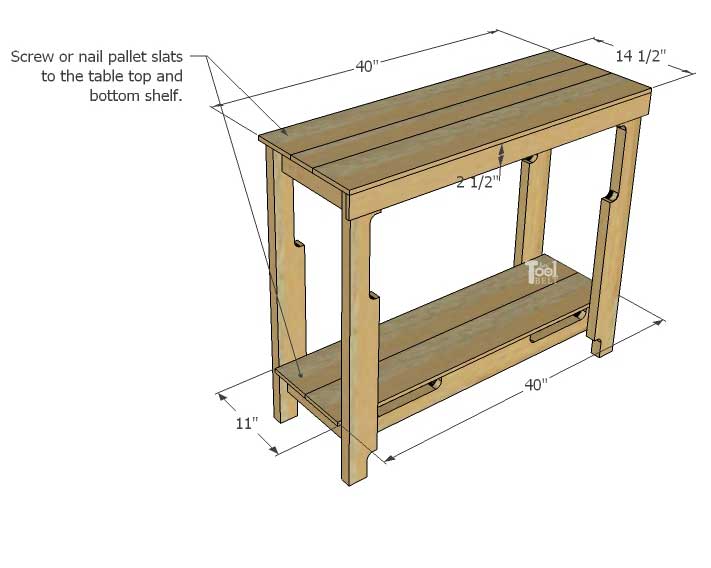
- 4 – stringers 33″ long – Legs
- 4 – stringers 35 1/2″ long – top and bottom frame
- 2 – stringers 8 1/2″ long – center support
- 4 – stringer or slats 11″ long – ends
- 5-6 slats 40″ long
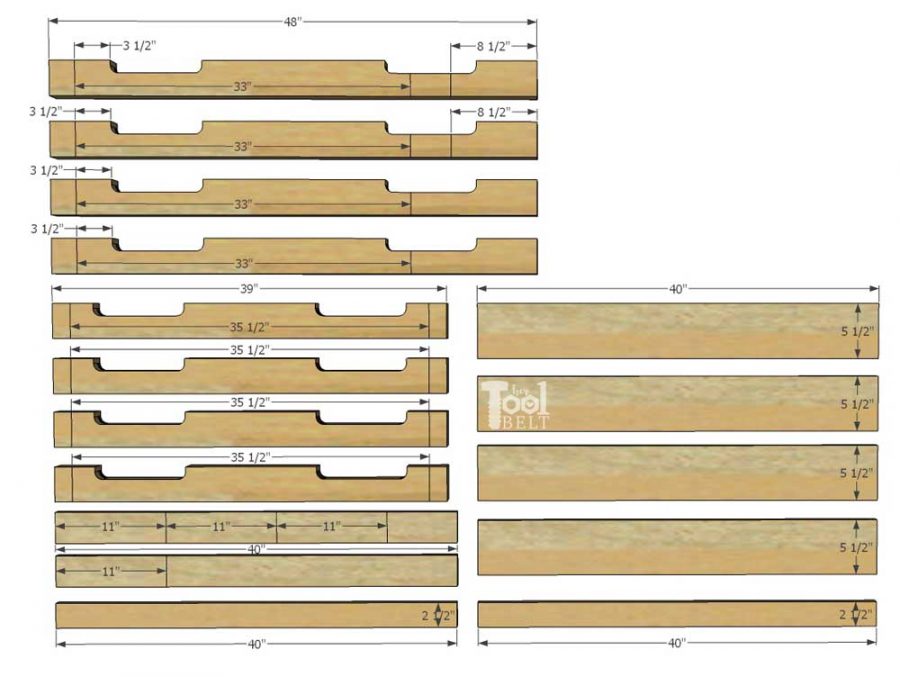
Cut Diagram
I dismantled 2 pallets and ended up with 4 stringers that are 48″ long, 4 stringers that are 39″ long and a bunch of slats that are 40″ long at various width. You can adapt the plans to the sizes of boards that you have.
Dismantling Pallets & Cutting the Wood
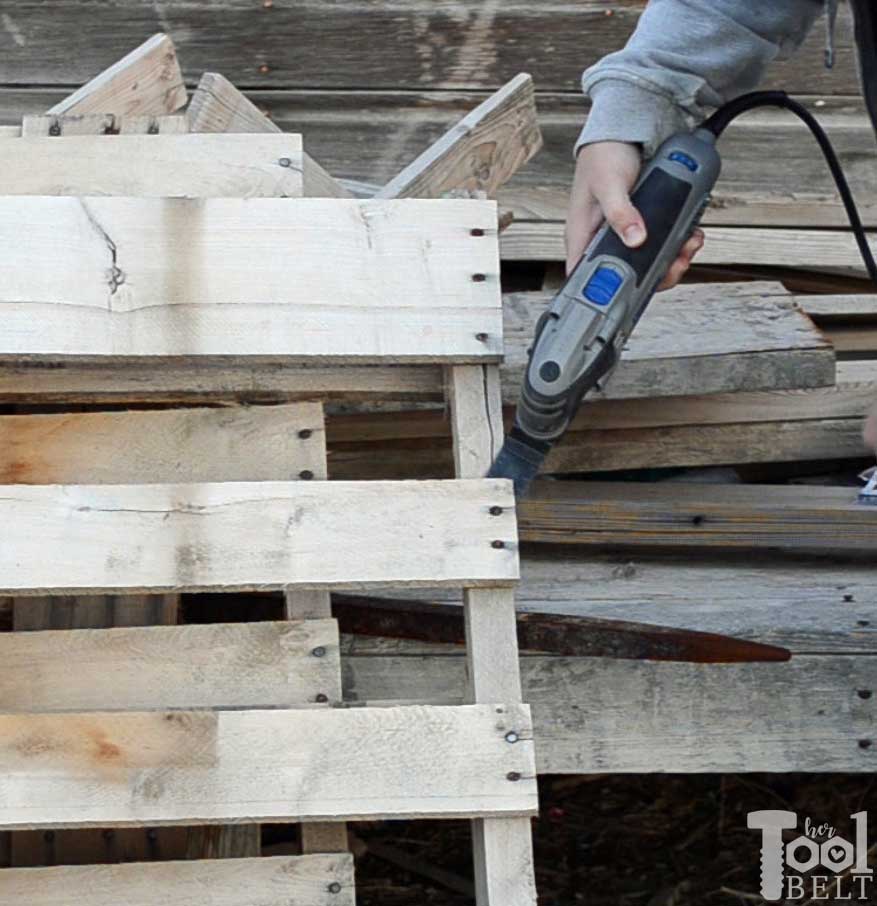
I have been using the Oscillating Tool with the carbide flush cut blade to dismantle pallets. I love this combo because it is super easy to use and doesn’t ruin the pallet wood. Just slide the blade in between the slat and stringer and cut the nails.
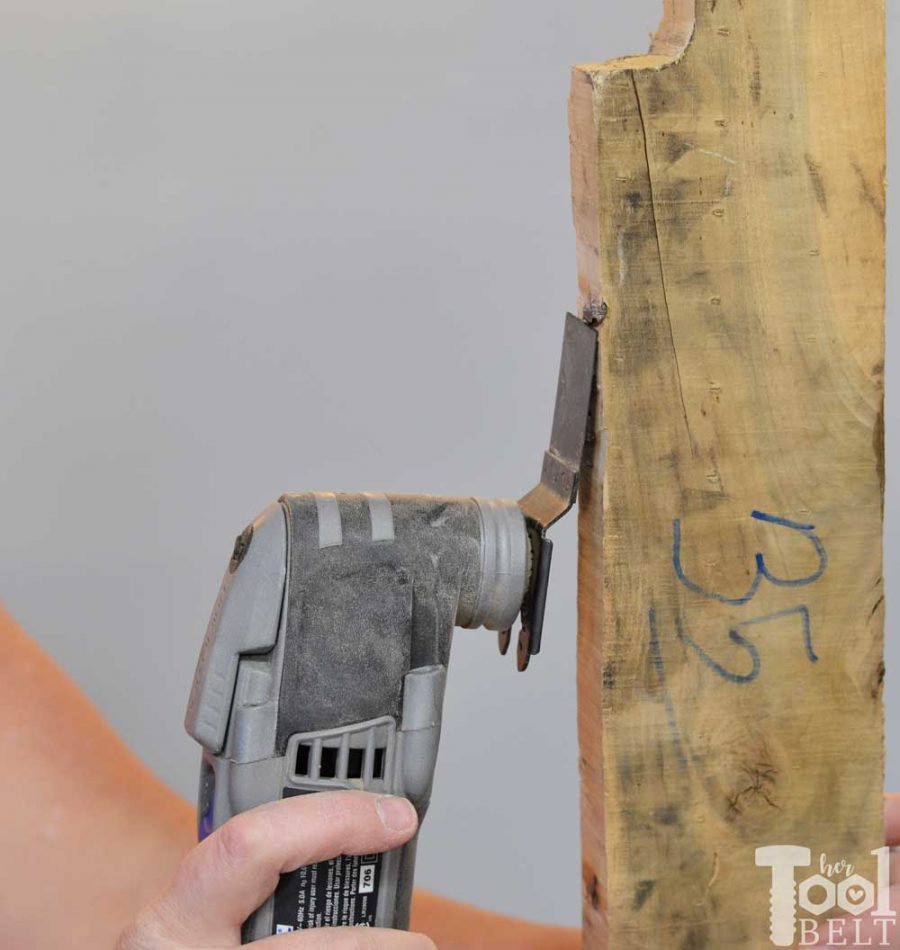
You can use the metal blade to remove any rogue nails sticking out of the stringer.
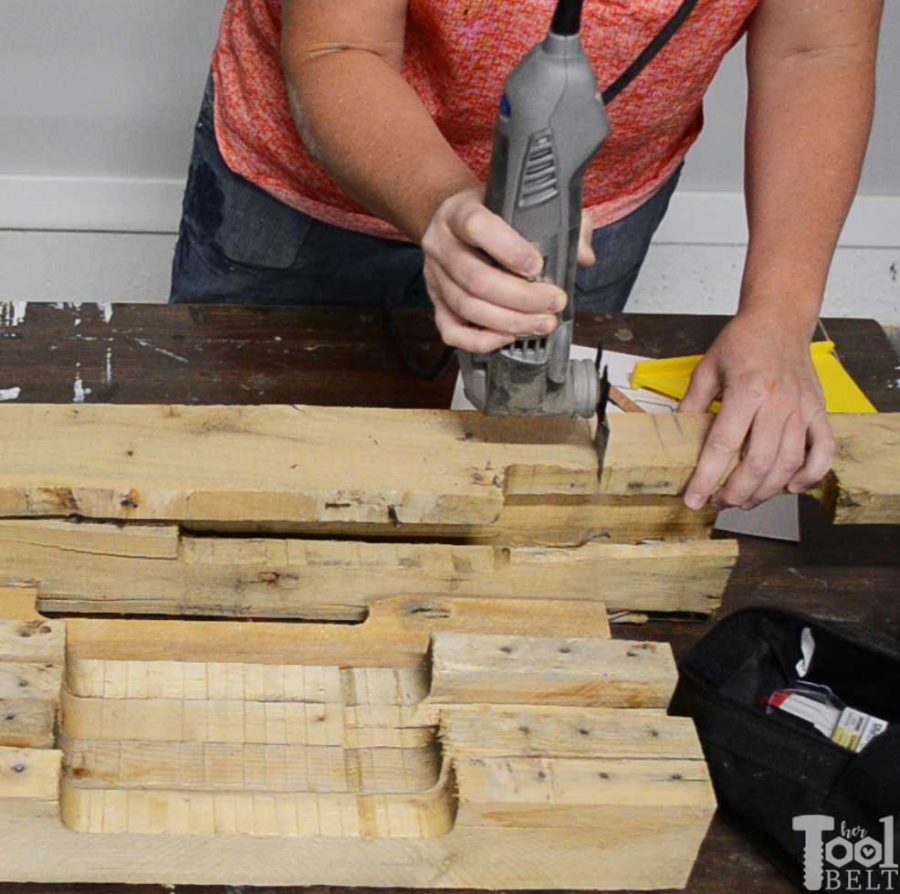
You can even use the wood blade to cut the stringers for the table.
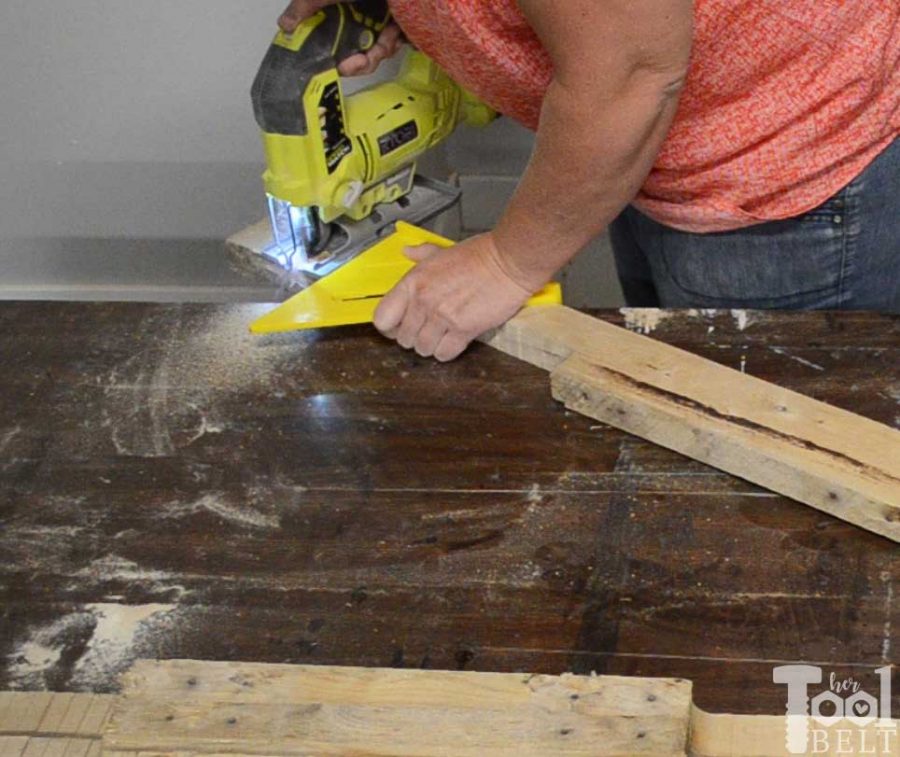
But it is a little slower than using another saw, like a jigsaw. Whatever you use to cut the pallet wood, just watch out for the nails, they may ruin your saw blade. Jigsaw blades are cheap so I don’t mind if I accidentally ruin one.
Step 1
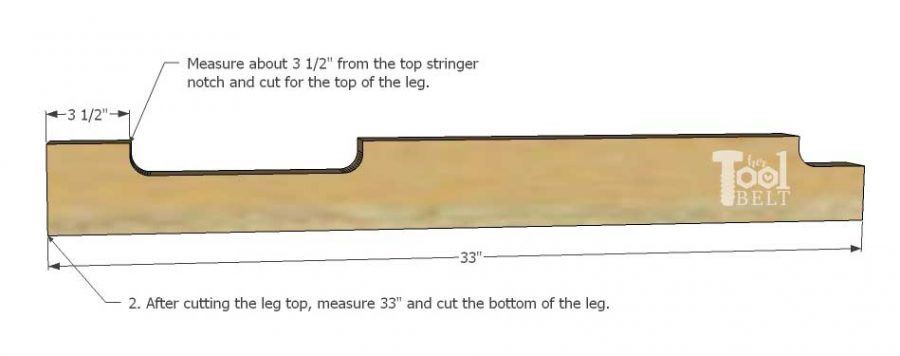
Take the 48″ stringers and measure up 3 1/2″ from the top notch, this will be the top of the leg. Measure down 33″ from the new cut, this will be the bottom of the leg. Make the rest of the cuts according to the cut list and diagram.
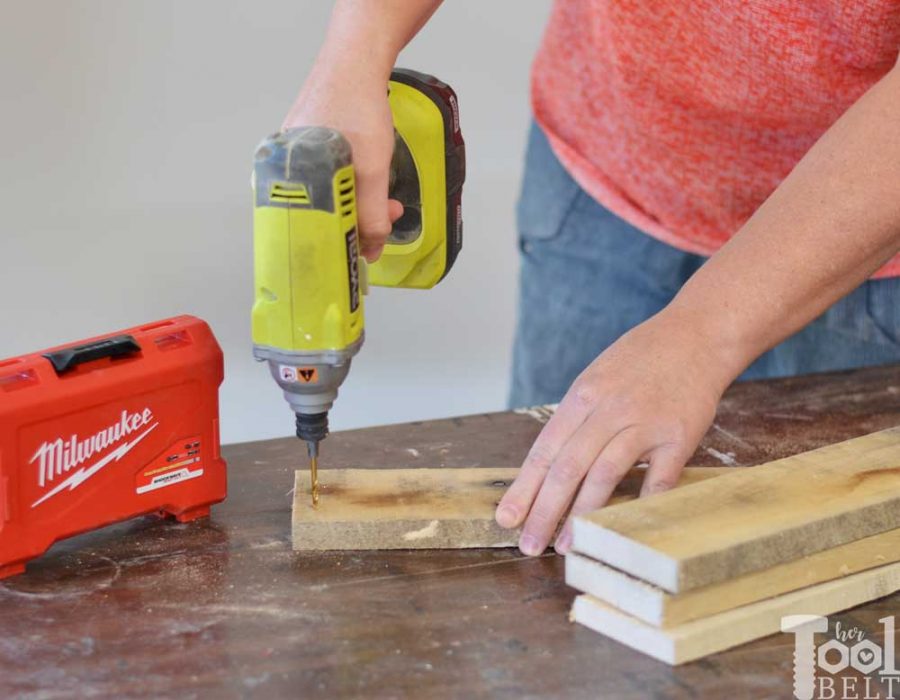
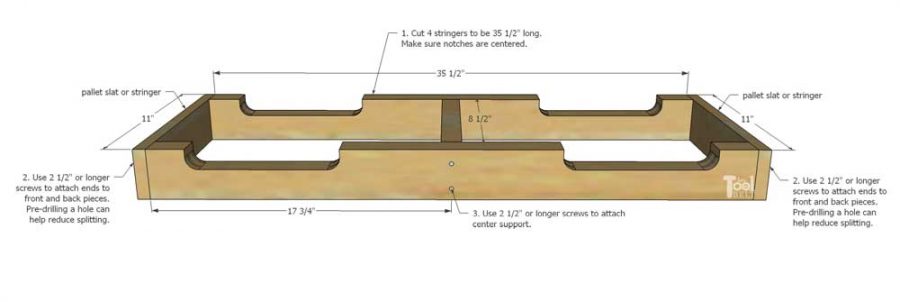
To reduce wood splitting when screwing the boards together, pre-drill holes in the boards that the screw goes in first (ie the ends of the 11″ end boards, center of the top and bottom 35 1/2″ boards).
Use 2 1/2″ or longer screws to attach the 11″ ends to the ends of the front and back pieces (2 screws in each end). Place the 8 1/2″ center support in the middle of the 35 1/2″ boards and secure with 2 1/2″ screws. Repeat to make a second frame.
Step 2
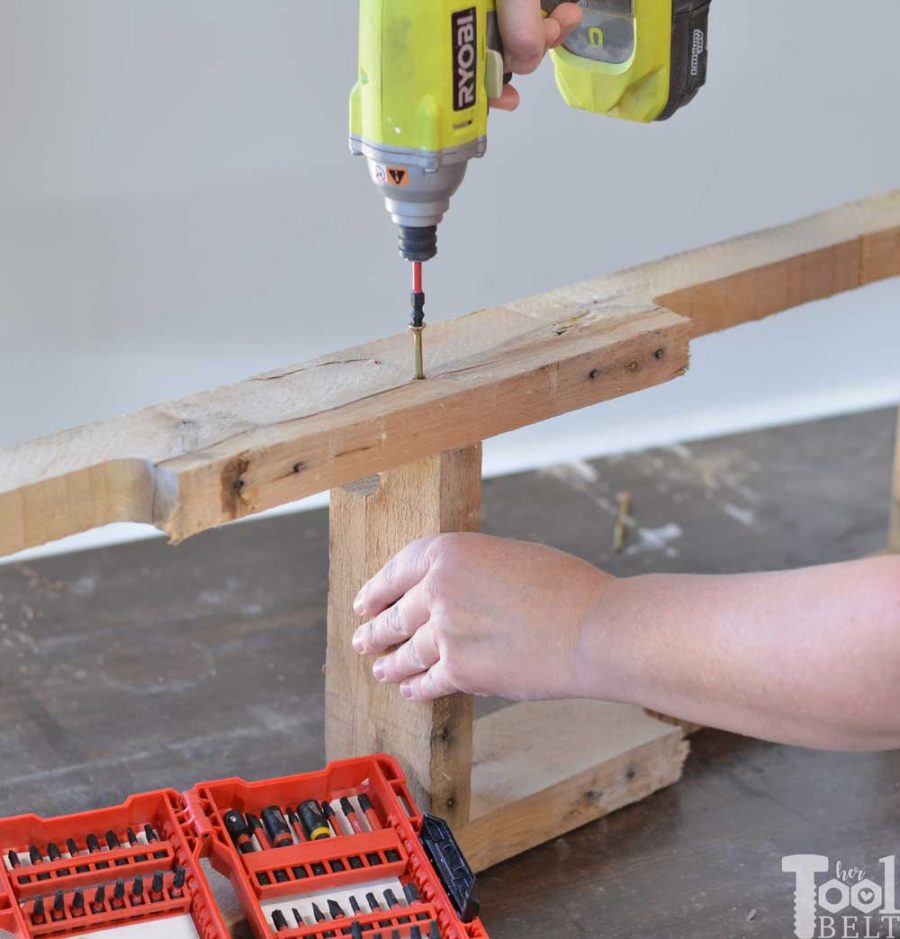
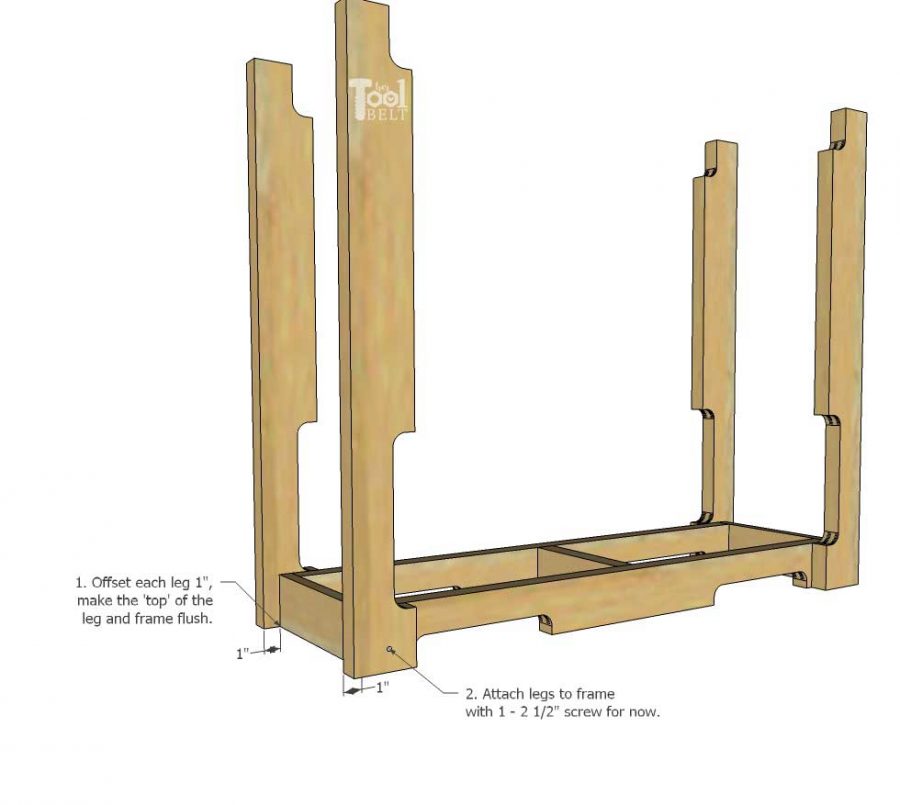
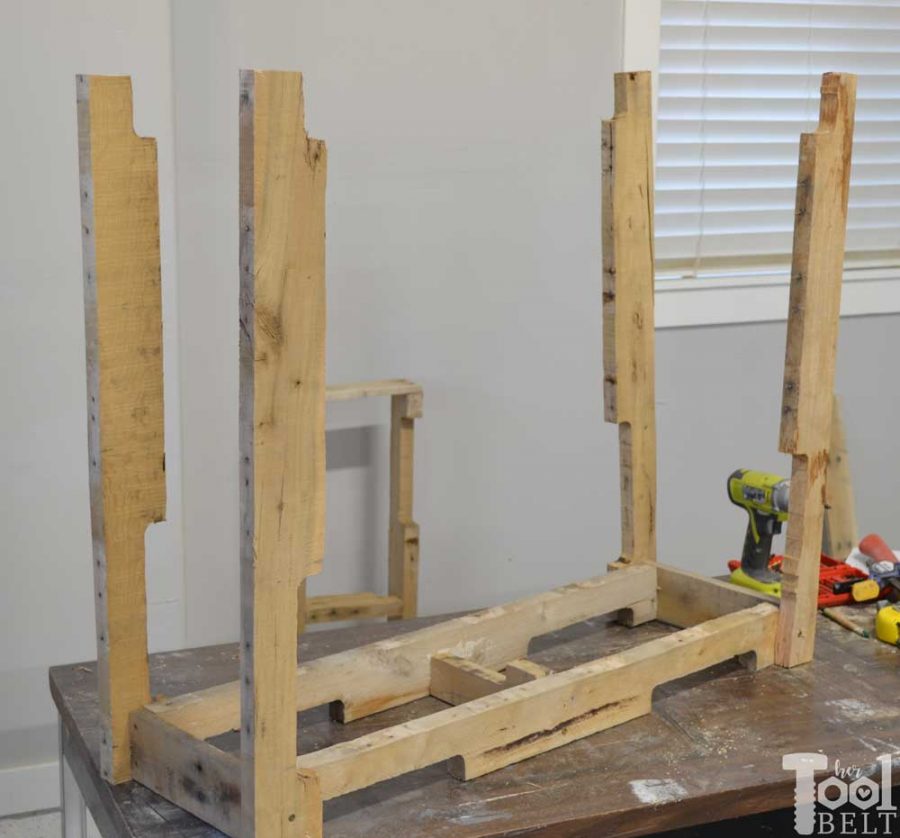
Since the pallet wood is probably not straight, just put one screw in each leg. We will straighten the table out in a later step.
Place the top frame with the notches down on a flat surface. On the straight side of each leg, mark 1″ in. Pre-drill a hole in each leg. Line up the 1″ inset mark with the frame end and secure each leg to the frame with 1 – 2 1/2″ screw in each leg.
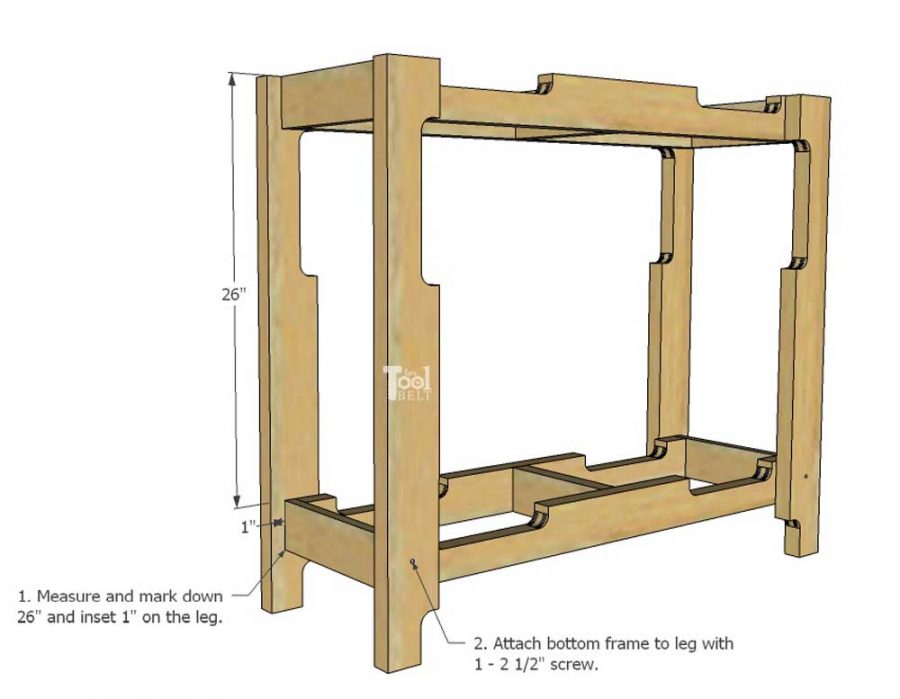
Turn the table over and measure down 26″ from the top of the legs, and 1″ in from the straight side of the legs. Pre-drill a hole to attach the bottom frame to each leg. Line up the bottom frame with the 26″ mark and 1″ inset and secure with a 2 1/2″ screw in each leg.
Step 3
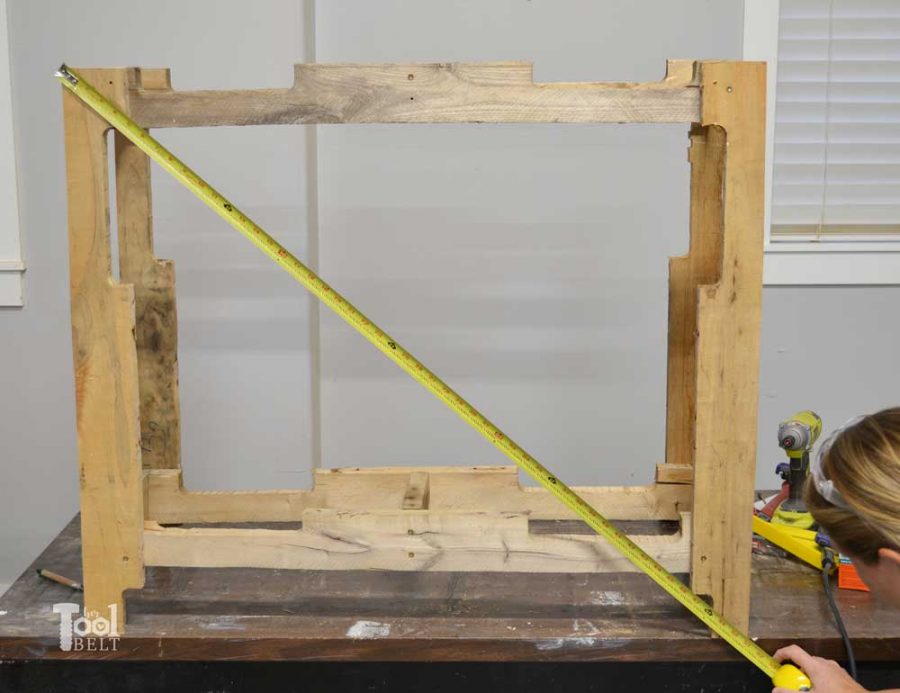
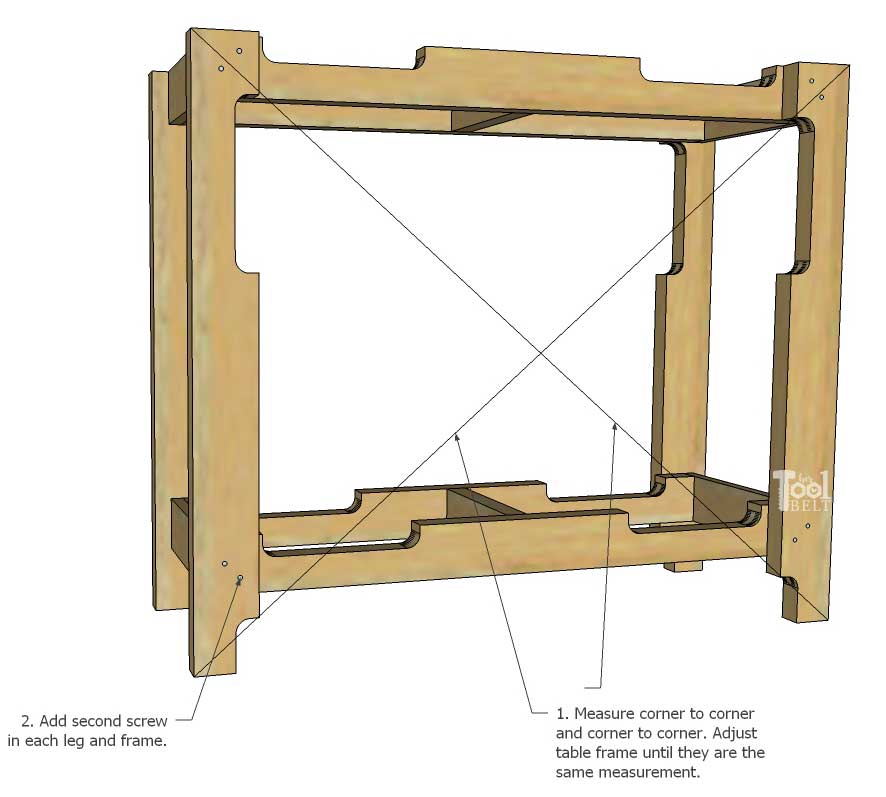
Grab the tape measure and measure from corner to corner on the table.
Now measure from the other corner to corner and compare the numbers. They should read the same measurement if the table is square. If it isn’t push on one side and check the measurement, repeat until the table is square.
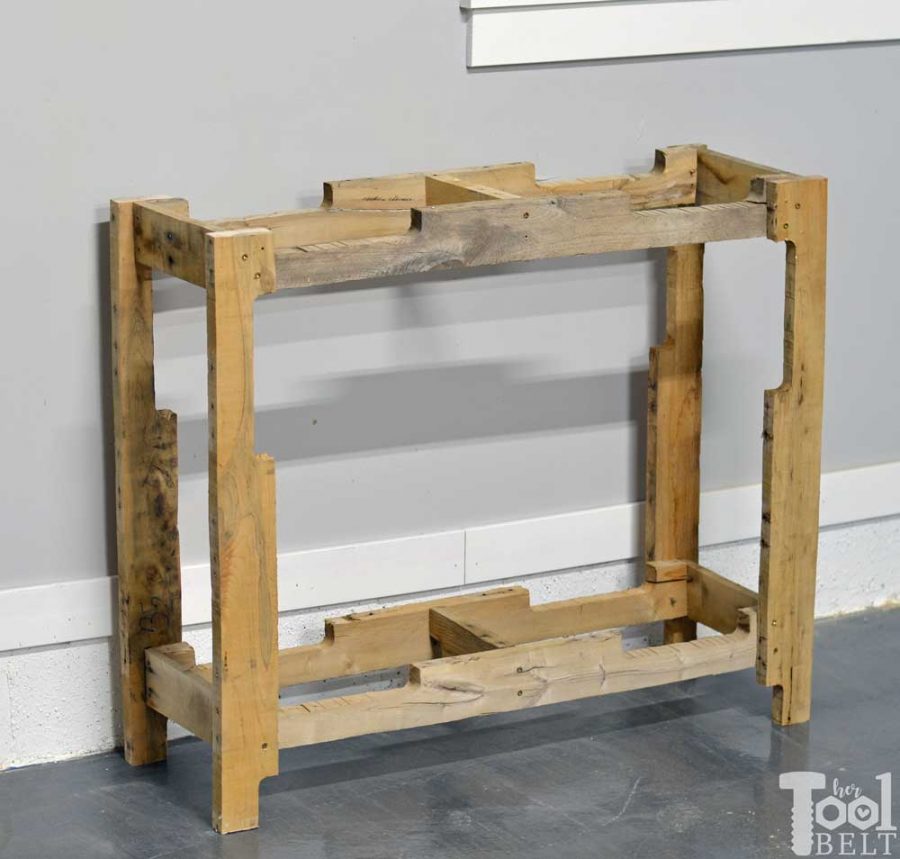
Add a second screw in each leg, and this will secure the table. Repeat for the backside of the table.
At this point I was not impressed with the look, I kind of felt like it was a lost cause! Very ugly 🙂
Step 4
Choose pallet slats to fit on the top and bottom. You can notch the bottom slats around the legs if needed. I waited to secure the slats to the table until after I painted and stained the pieces. I used my brad nailer with 1 1/4″ nails to secure the slats to the table, 1 1/4″ screws will work as well.
Step 5 – The Finish
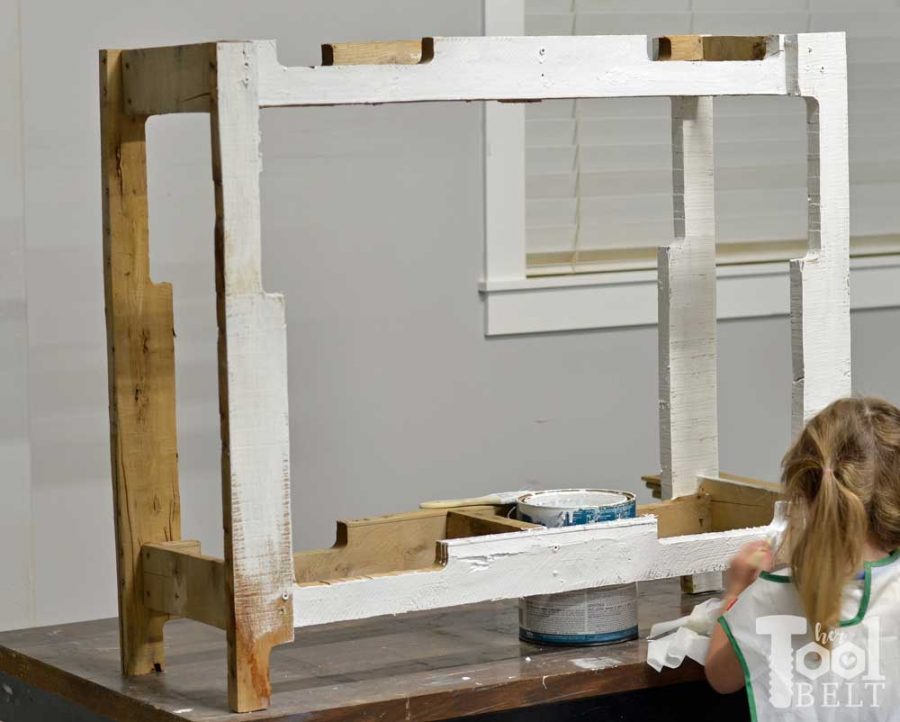
I really wasn’t excited how the table was looking unfinished, but I decided I would just finish it and see how it turned out. I called out the helpers and we put a light coat of white paint on the table base.
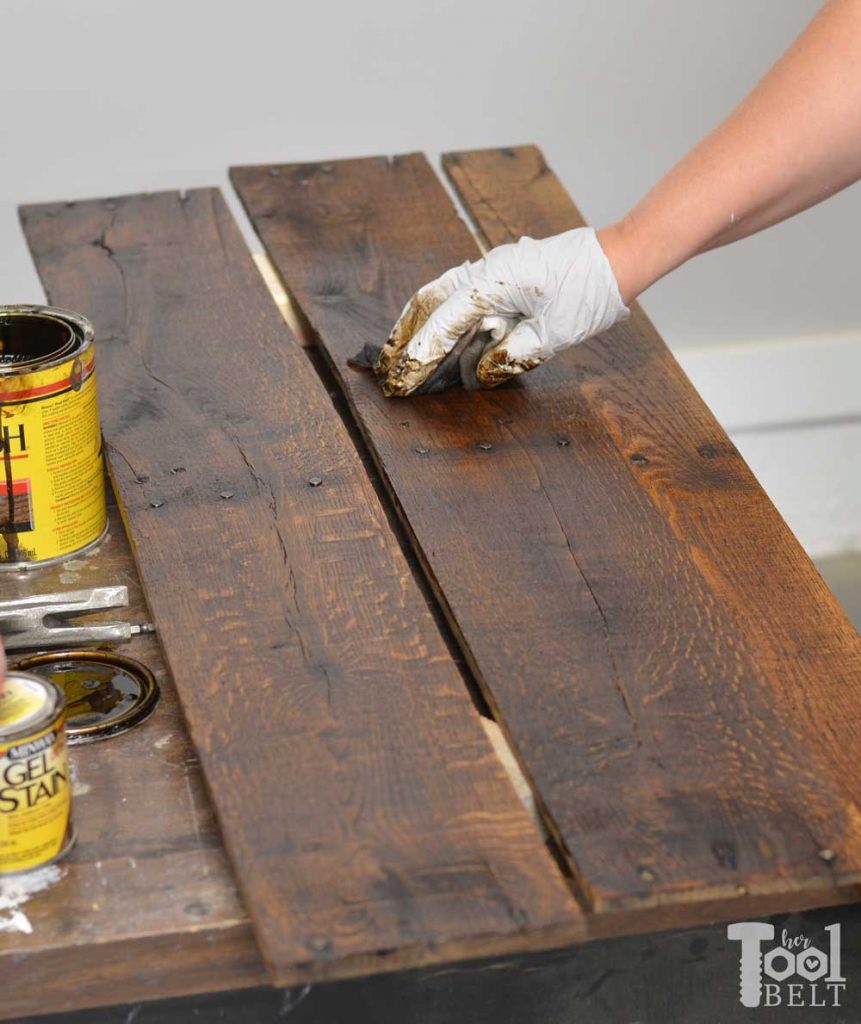
After lightly sanding the pallet slats, I stained the slats aged oak.
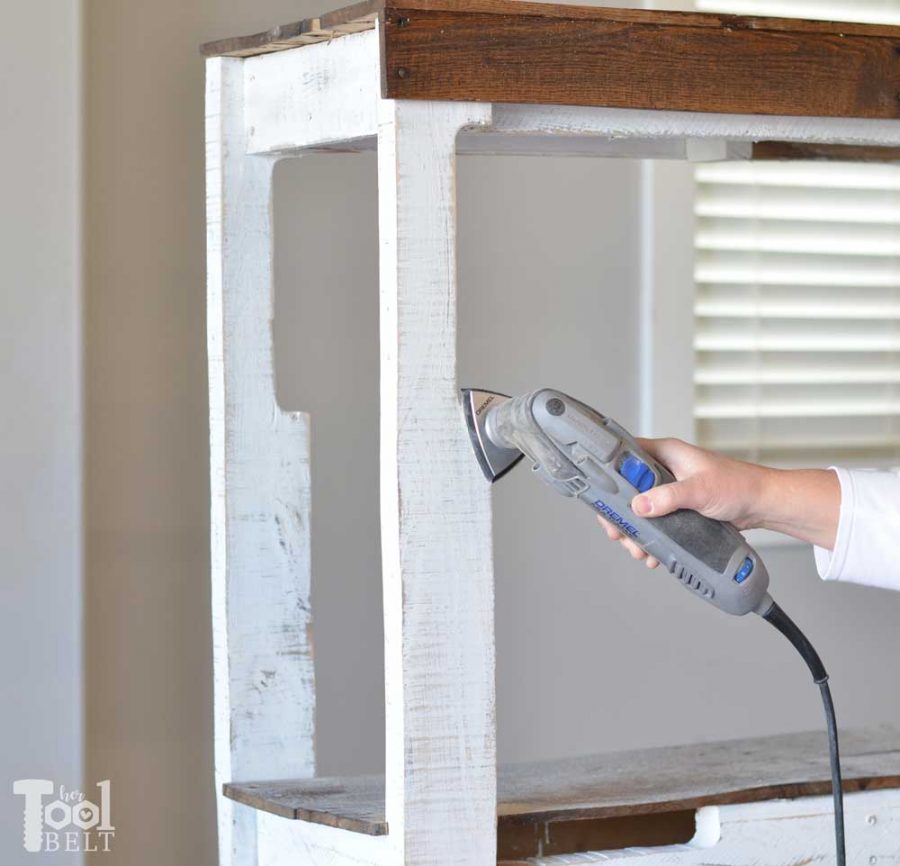
After the paint fully dried (overnight), I put the corner sander accessory on the Dremel oscillating tool to distress the paint. This tool is great for distressing!
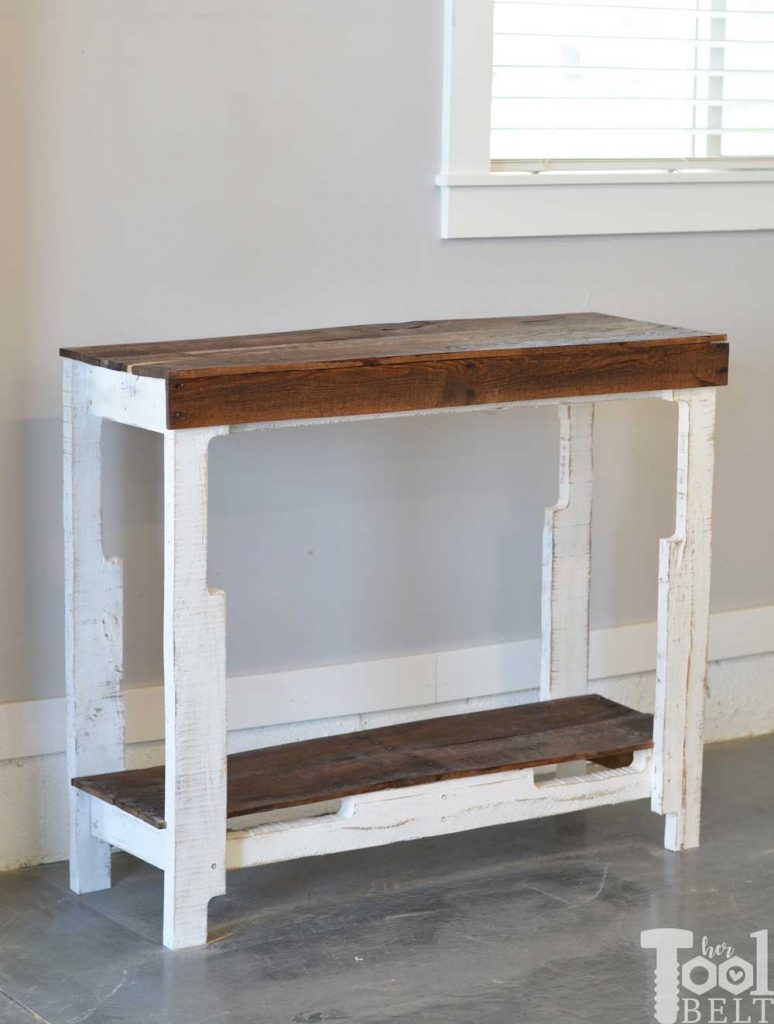
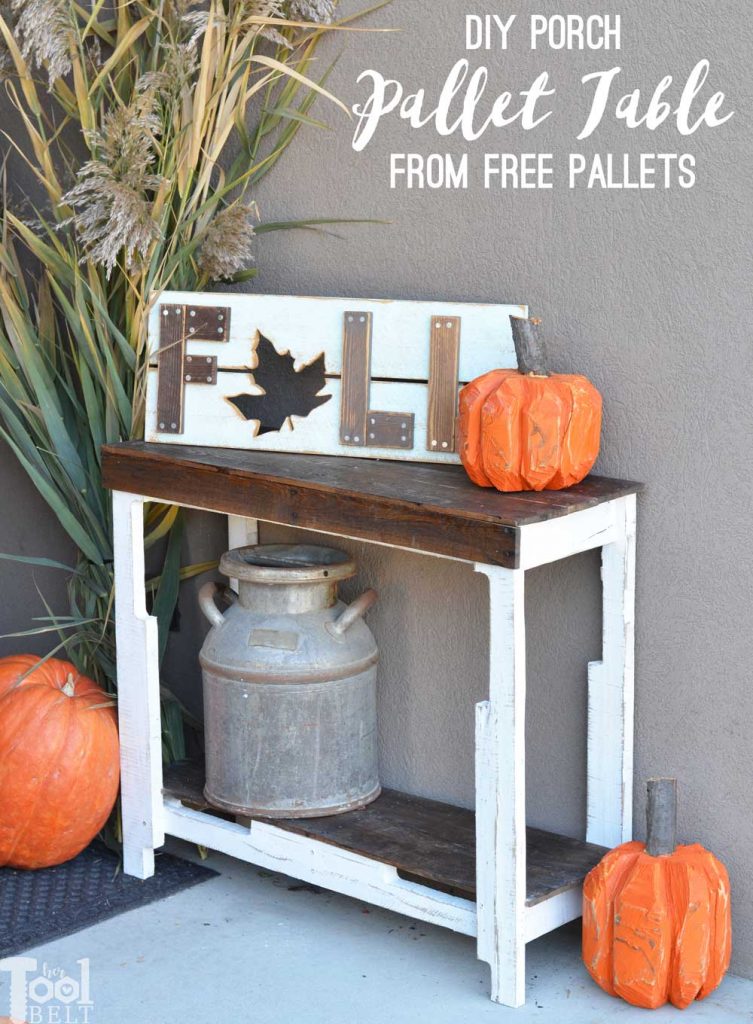
I am pleasantly surprised with the outcome, it’s kind of cute, right?
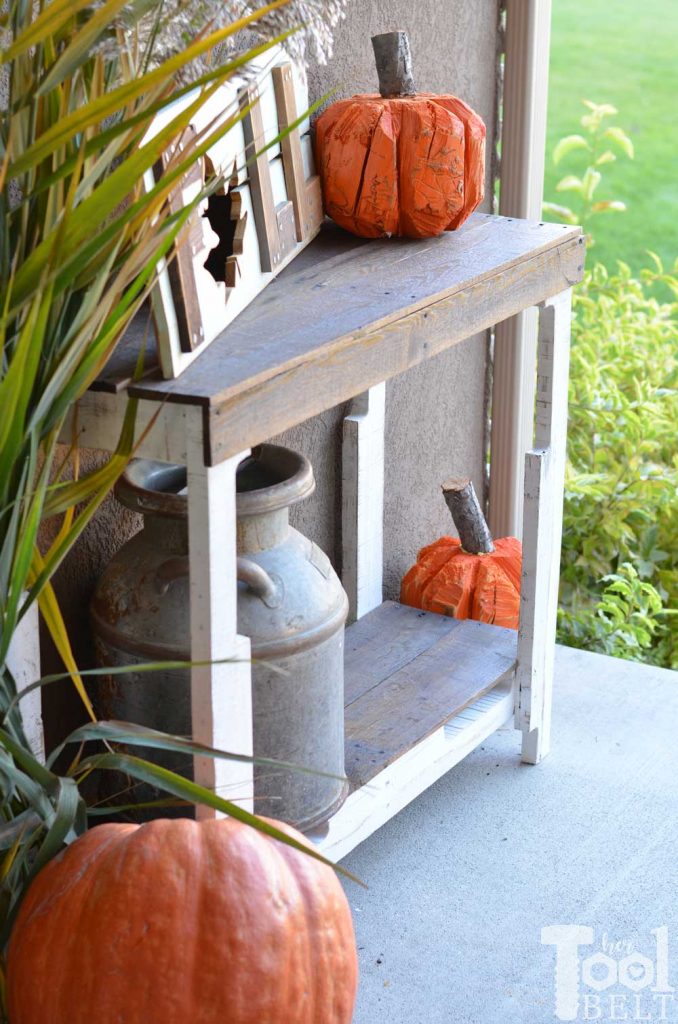
The notches in the pallet stringers give the table some fun character.
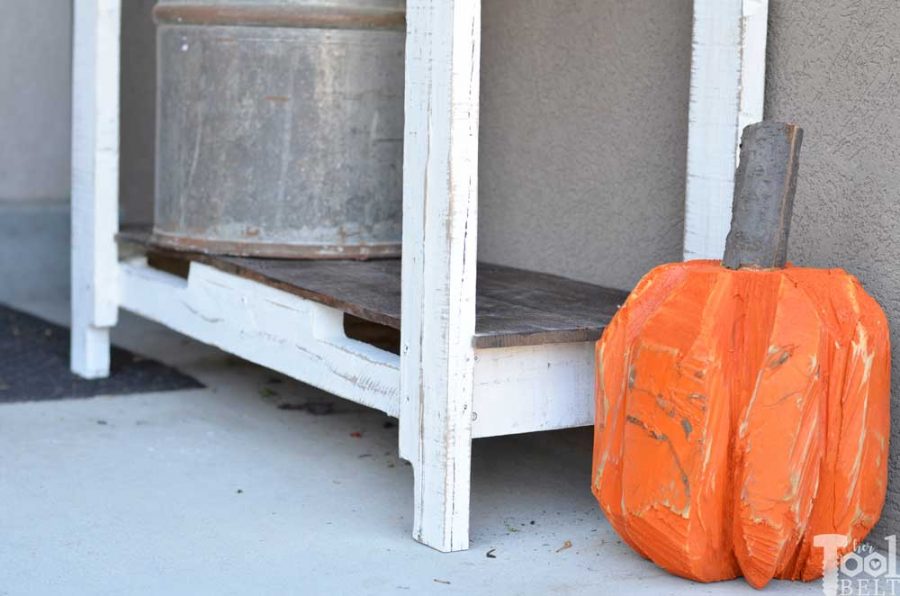
It fits perfectly on my small front porch and I’m not worried about it getting weathered because it already is.
Print the Free Plans
–> Click Here for PDF Plans <–
I have a tutorial for those stump pumpkins here and make your own Fall sign here (or buy a Fall Sign).
Thanks for pinning!
“I acknowledge that The Home Depot is partnering with me to participate in the Tool Review Program. As a part of the Program, I am receiving compensation in the form of products and services, for the purpose of promoting The Home Depot. All expressed opinions and experiences are my own words. My post complies with the Word Of Mouth Marketing Association (WOMMA) Ethics Code and applicable Federal Trade Commission guidelines.”

Leave a Reply