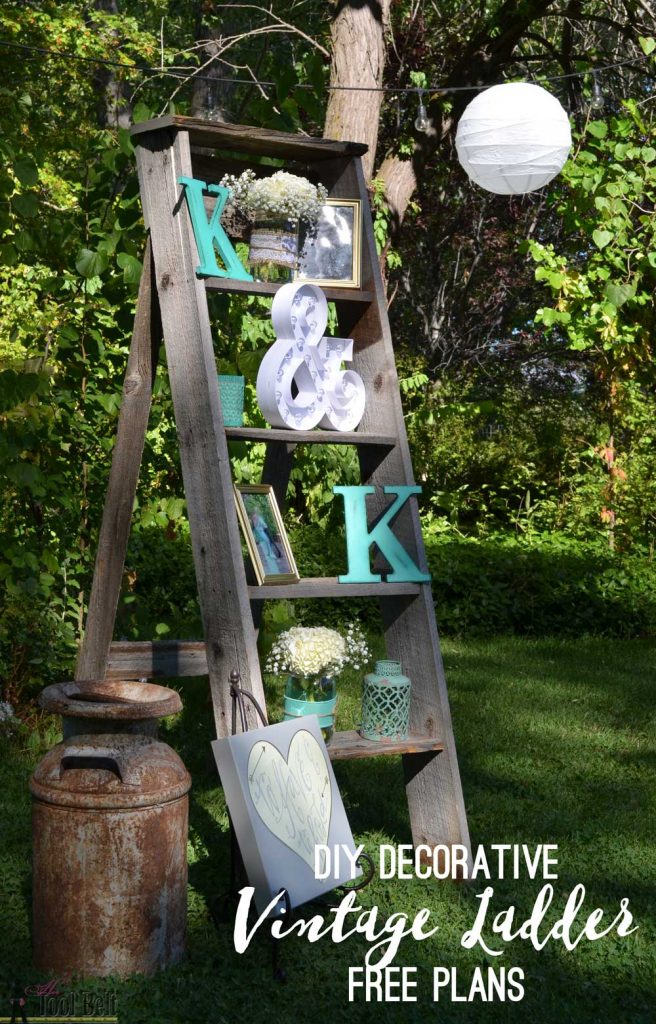
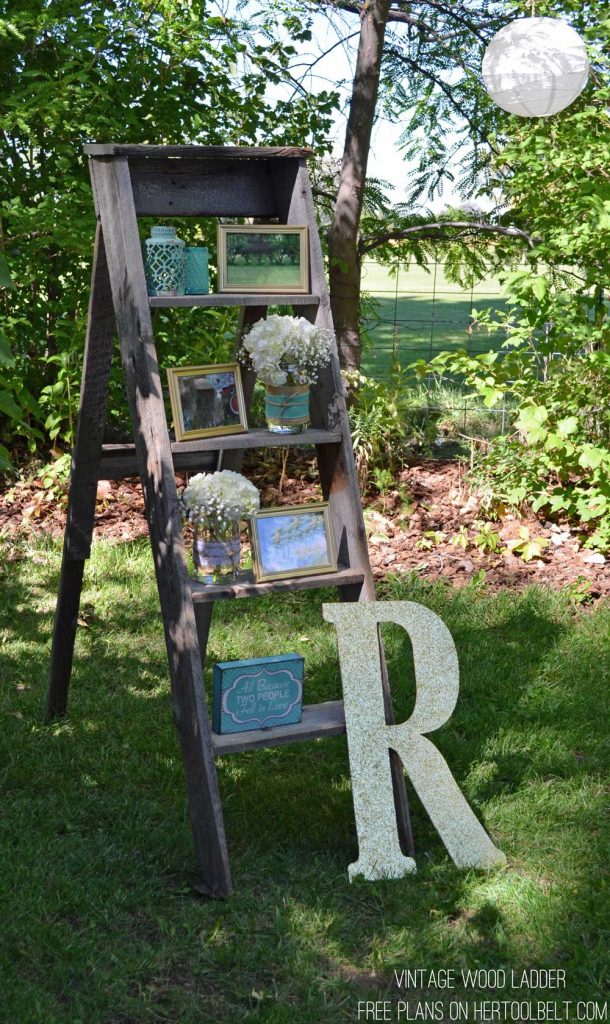
Last fall I helped my good friend with a few DIY wedding decor projects for her step-daughter’s wedding. The wedding turned out so beautiful. It was held at a venue with a large open grass field and a unique old barn as the backdrop. The colors for the wedding were mint, gray, white and champagne and all of the decor had a rustic flare to tie in with the barn. One of the DIY wedding decor projects was for a vintage wood ladder inspired by this one. I made the ladder rails and steps a little bit wider than the inspiration ladder to make it easier to place decorations on the steps.
This post contains some affiliate links for your convenience. Click here to read my full disclosure policy.
*** Warning – This ladder is for decorative purposes only, do not use for climbing. ***
How to Build a Decorative Vintage Wood Ladder
Materials
- 3 – 1″ x 6″ x 8′ boards (this is the size I used, but the plan will work for whatever board width you’d like.)
- 2 – 1″ x 3″ x 8′ boards
- 1 1/2″ minimum length screws (I used 1 5/8″ deck screws leftover from another project)
- 4 – 1 1/4″ screws
- 2 – 2″ hinges
- rope or twine – optional
- staples – optional
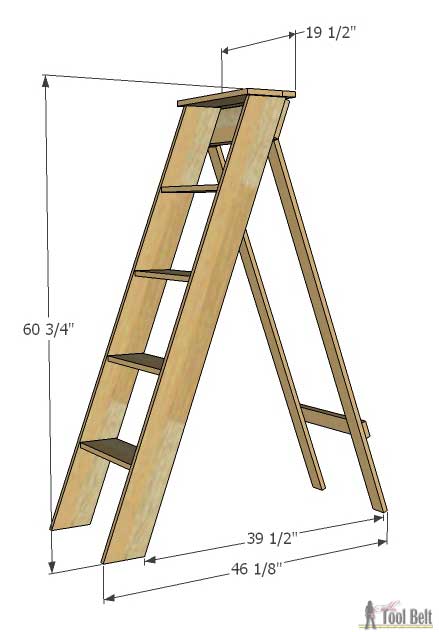
Cut List
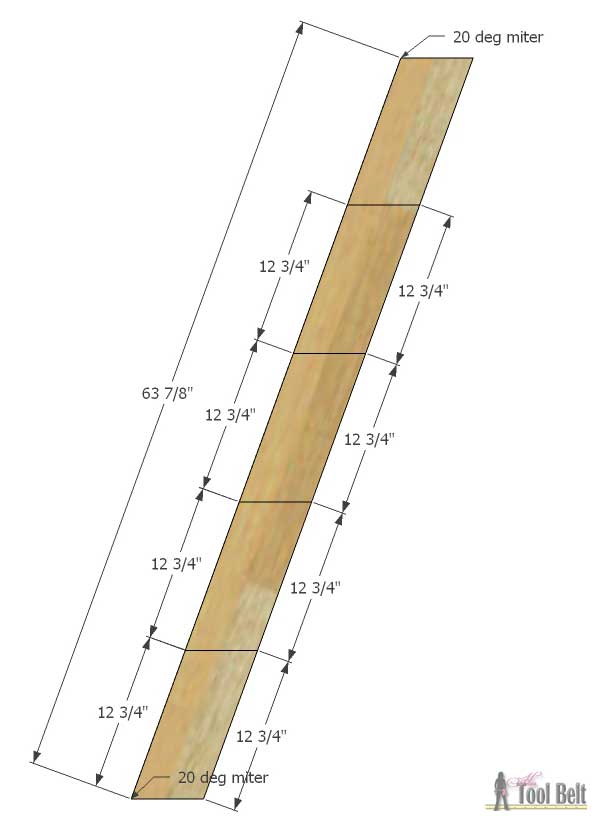
- 2 – 3/4″ x 5 1/2″ x 63 7/8″ with 20 deg miter cuts on both ends, see cut diagram – front rails
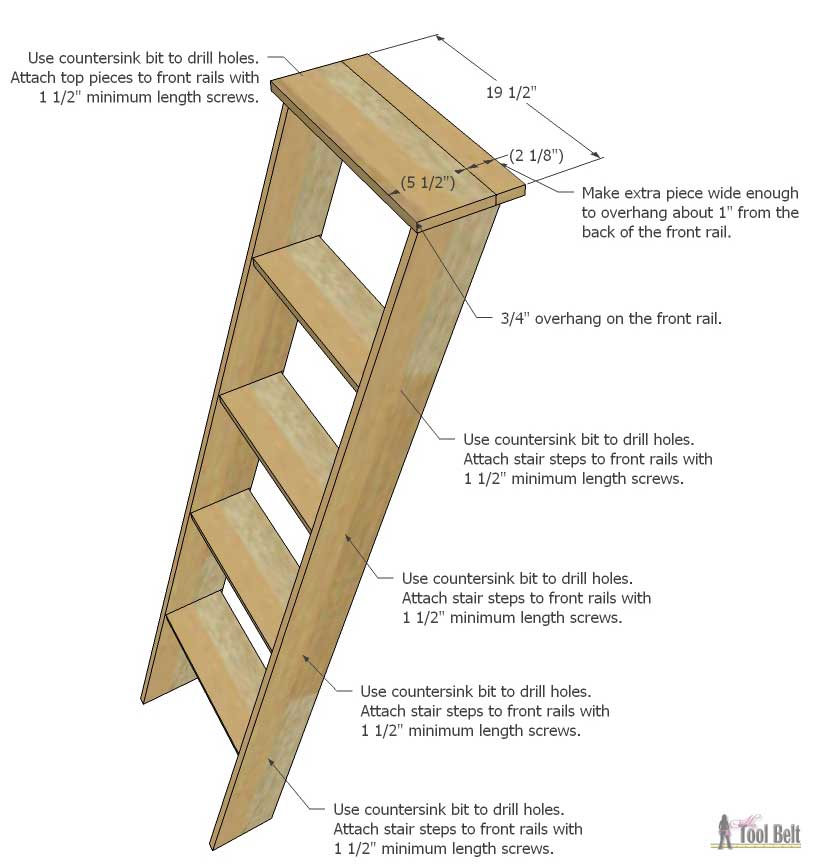
- 1 – 3/4″ x 5 1/2″ x 19 1/2″ – top
- 1 – 3/4″ x 5 1/2″ x 18″ – back board
- 4 – 3/4″ x 5 1/2″ x 16 1/2″ – steps
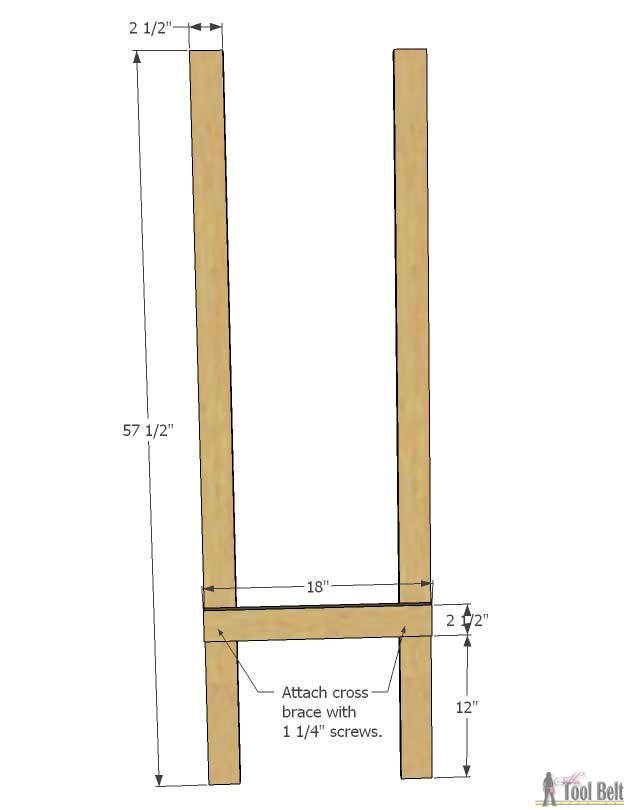
- 2 – 3/4″ x 2 1/2″ x 57 1/2″ – back rails
- 1 – 3/4″ x 2 1/2″ x 19 1/2″ – top extra
- 1 – 3/4″ x 2 1/2″ x 18″ – cross brace
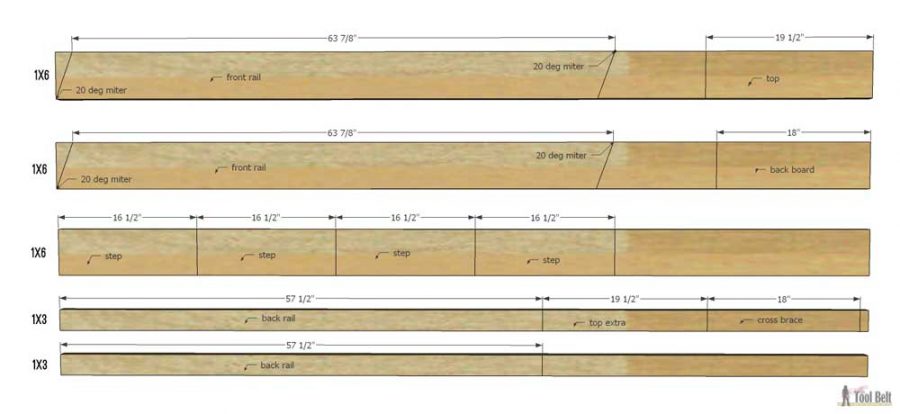
Cut Diagram
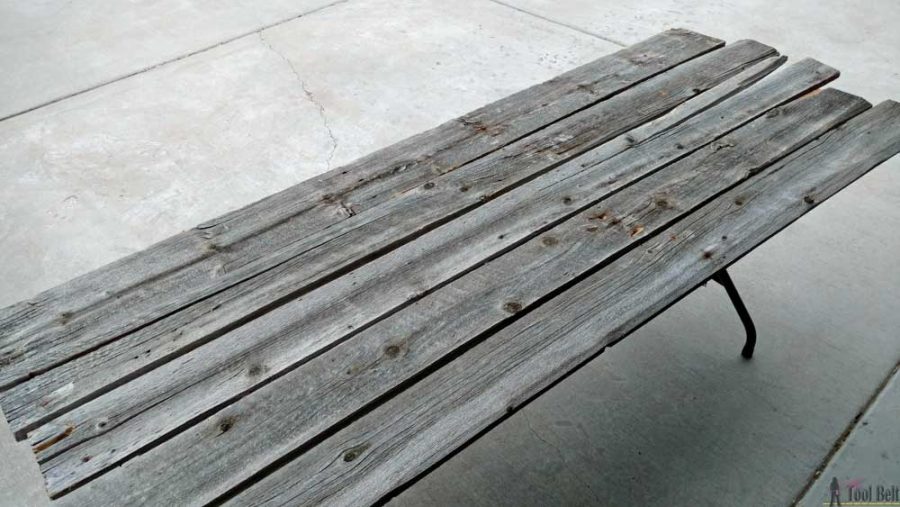
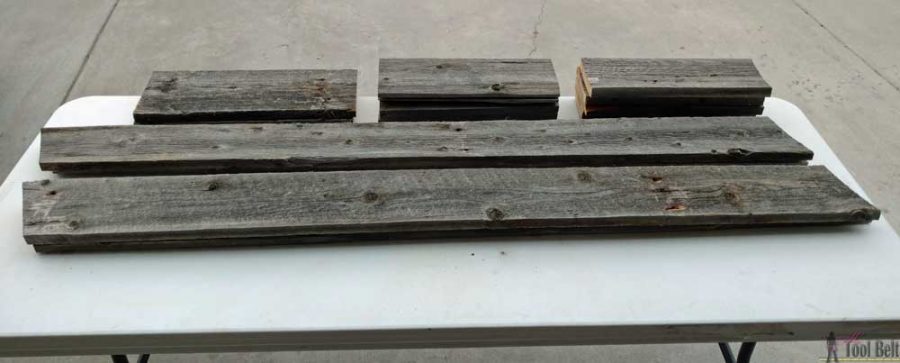
I made two vintage wood ladders. I started out with these reclaimed wood boards from an old barn that I salvaged.
I cut the boards up according to the cut list (these are only the 1×6 size boards).
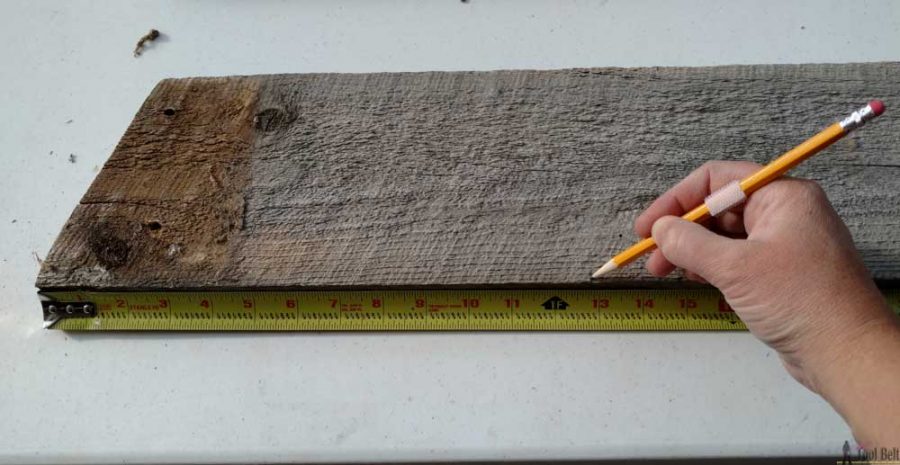
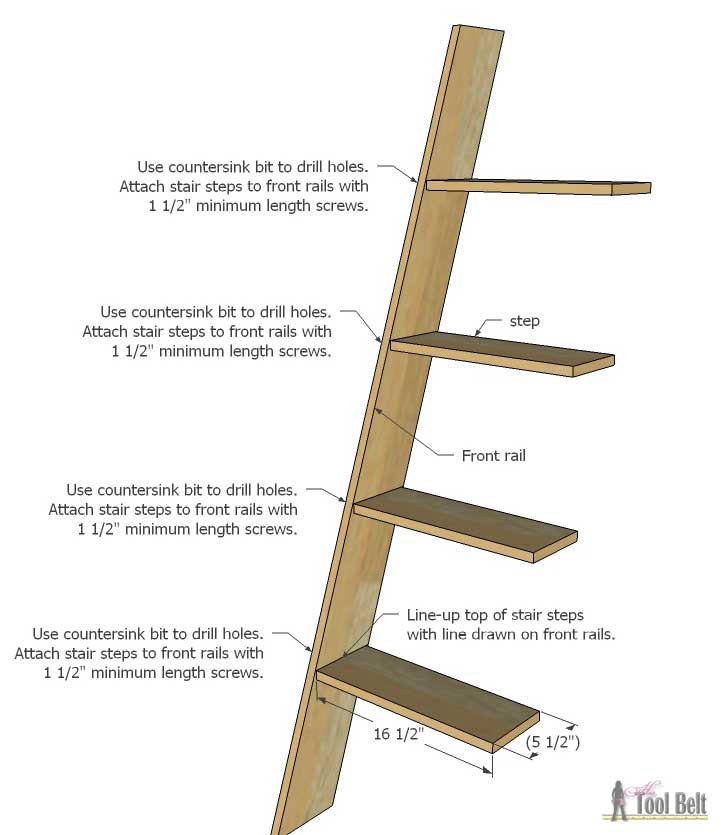
On the inside face of the front rail boards, I marked 12 3/4″ up from the bottom 4X (12 3/4″, 25 1/2″, 38 1/4″, 51″), marking both the front and back edges.
Marking front edge, repeat for back edge.
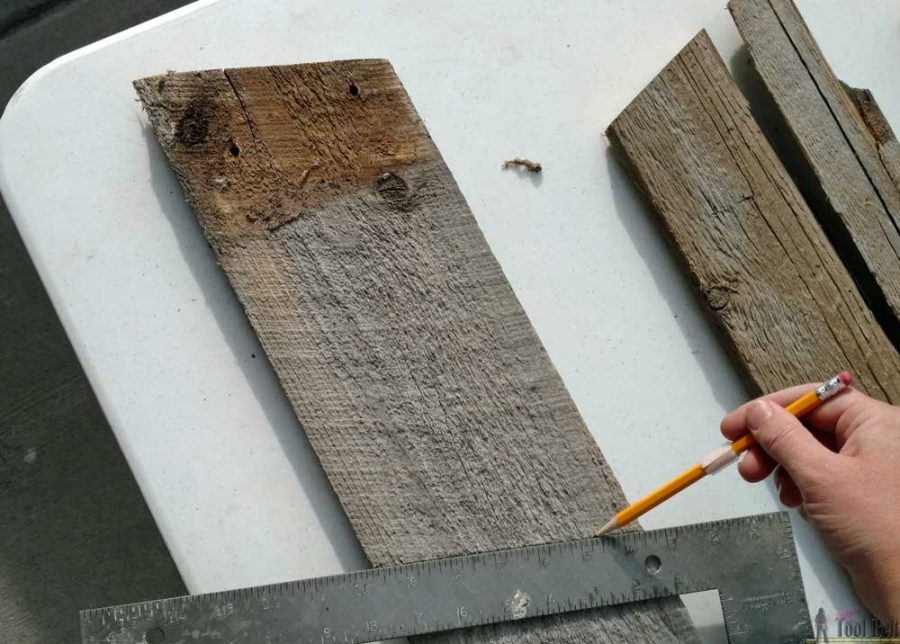
I used a straight edge to connect the marks. This line will be the top of the ladder step.
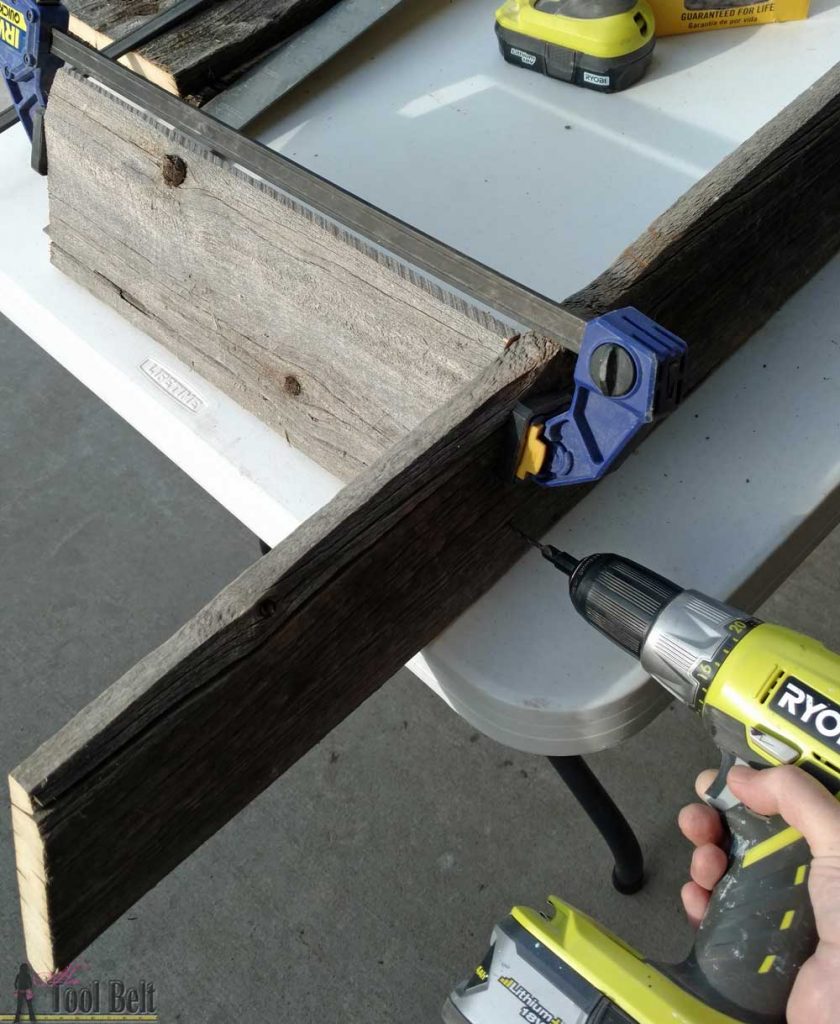
Drill countersink holes in the front rails, where the steps attach, 2 holes for each side of the step. Line-up the top of stair step with the line drawn on front rails. I used 1 5/8″ screws to attach the step to the front rails.
I used a clamp to assist while attaching the steps to the rail.
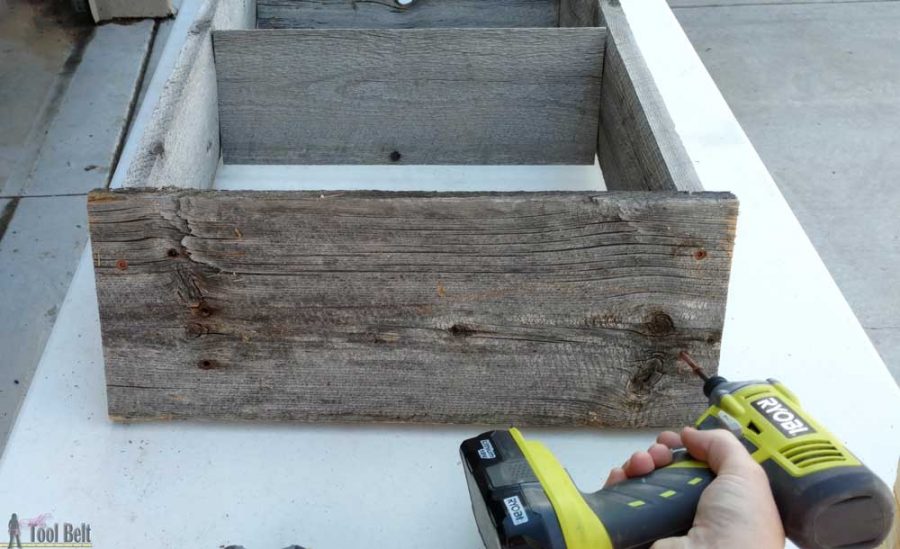
Repeat the same process to attach the front rail on the other side of the steps. Overhang the top board about 3/4″ in the front and center it side to side. Drill countersink holes and attach it to the top of the front rails with screws. Add the extra top piece the same way, the amount of hangover on the back of the extra top piece doesn’t really matter.
Attaching the top board with screws.
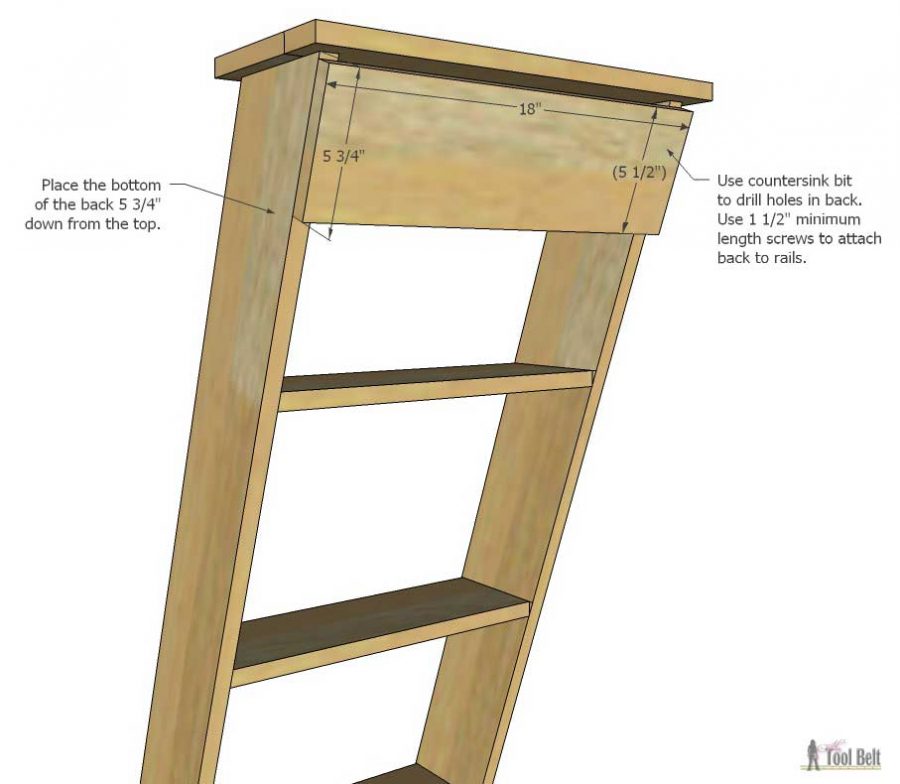
I marked 5 3/4″ down from the top of the front rail (back side). I drilled countersink holes and attached the back board with screws.
On the 2 back rail boards, mark 12″ up from the bottom. Spread the back rails so they are 18″ apart (outside edges). Attach the 18″ cross brace to the back rails at the 12″ mark using 1 1/4″ screws.
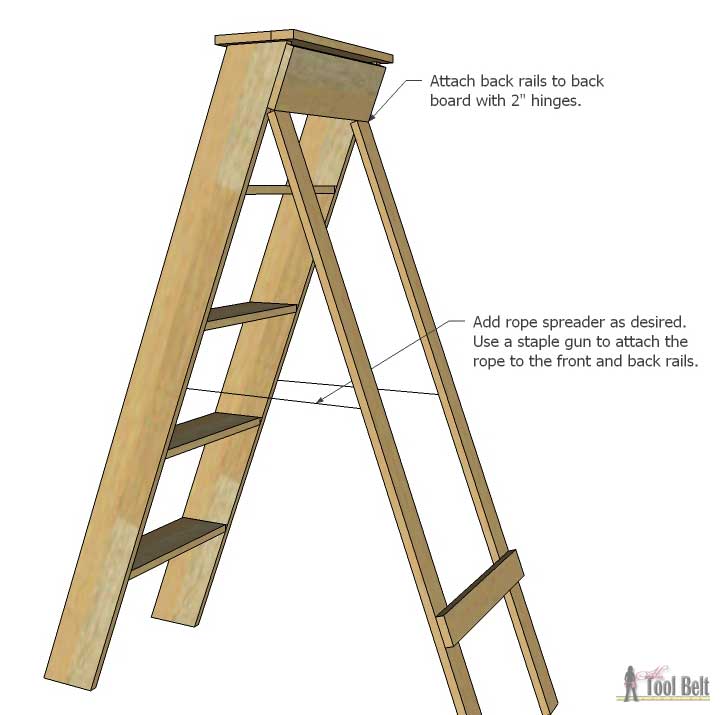
To mount the hinges, I laid the ladder down with the backside up. Then I placed the back rails on the ladder and marked the holes for the hinge screws. If needed drill a pilot hole for the hinge screws. I attached the hinges to the back board and back rails.
If you want to make sure the ladder legs don’t spread to far, you can add rope or twine between the front and back rails. I usually just tie a knot in the twine and staple it to the wood just above the knot.
Download the free Vintage Wood Ladder plans —> HERE
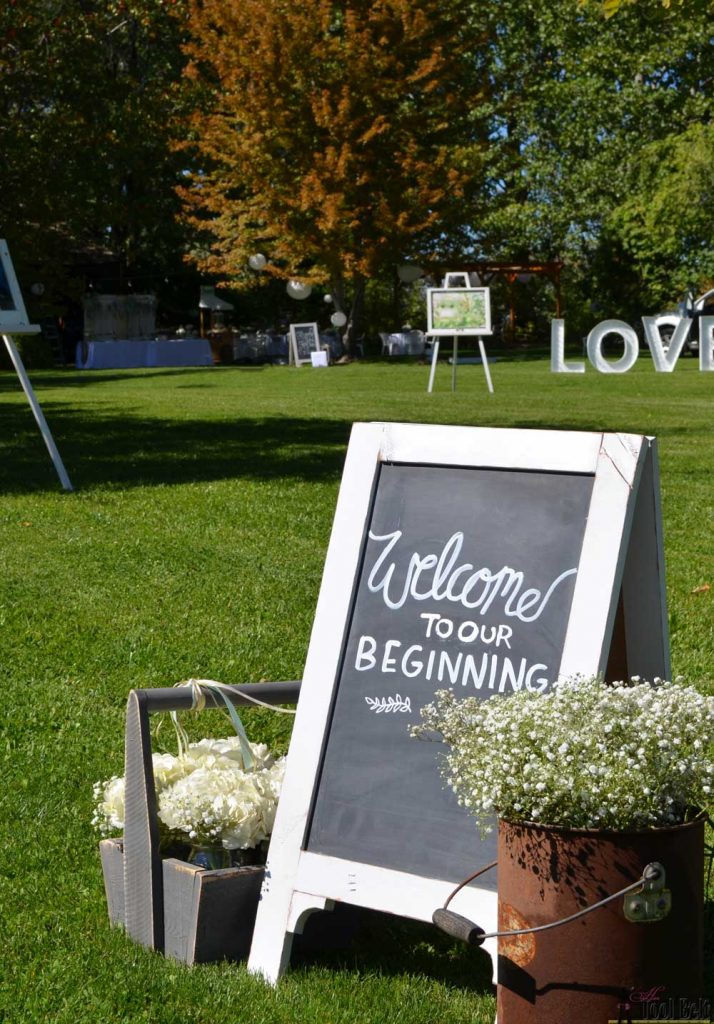
Here’s a few more pictures from the wedding set up, my friend did lots of fun DIY projects. Here is the wedding entrance with a cute saying on a DIY chalkboard easel.
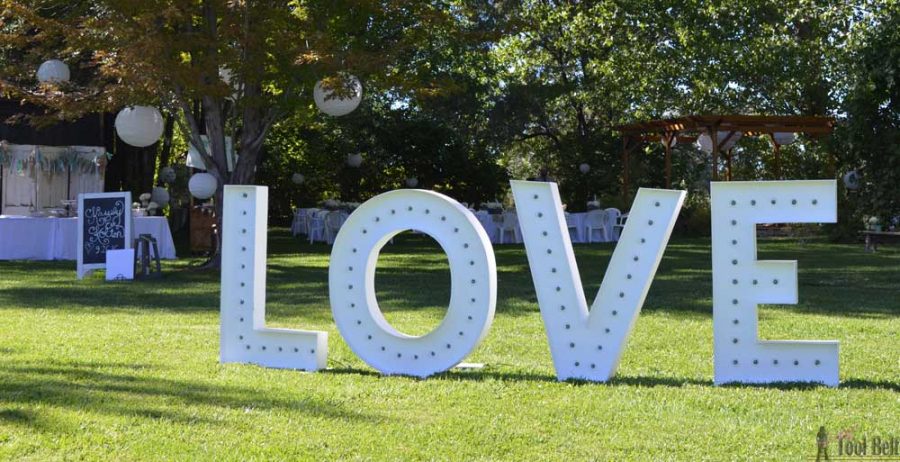
The LOVE marquee sign makes a fun statement piece.
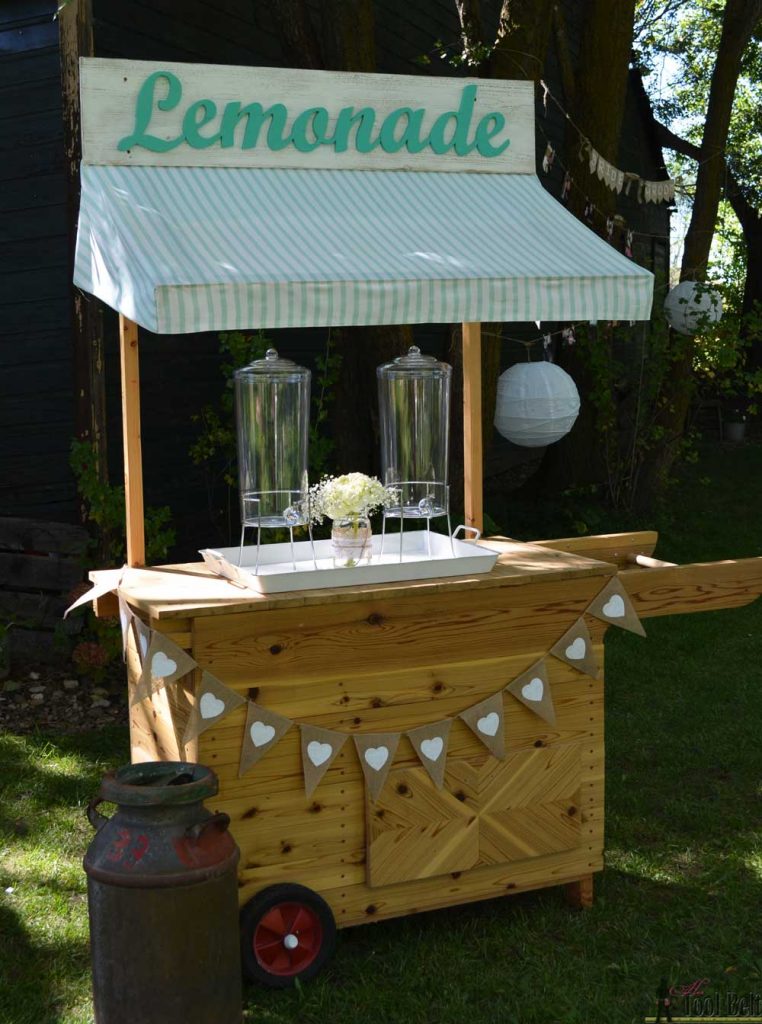
The lemonade stand got a new look, it’s pretty in mint! 🙂
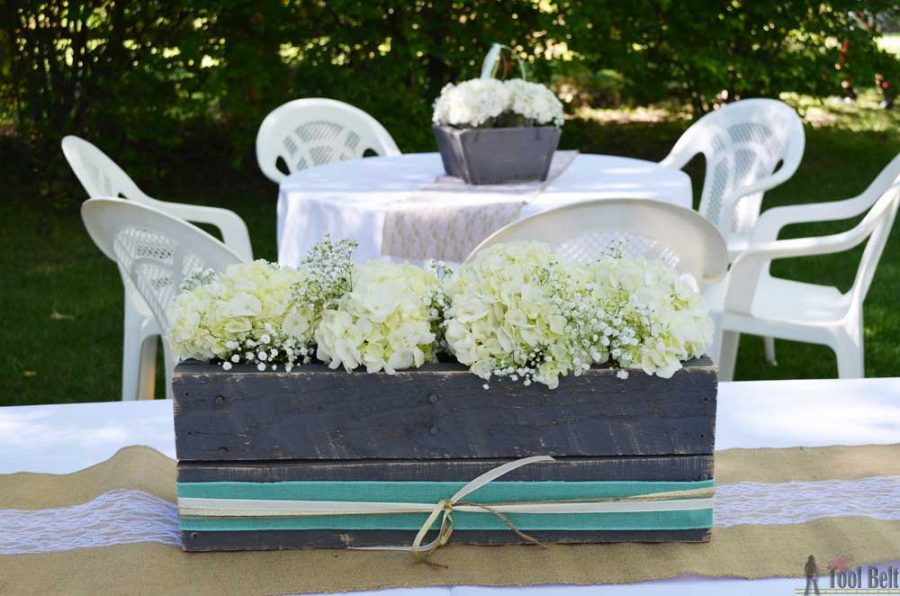
My friend made a bunch of these super cute gray planter boxes for the centerpieces. The boxes are made from free pallets! I love them, and they are darling filled with hydrangeas and baby’s breath.
Thanks for stopping by.
Linked to Link parties, Remodelaholic
This is so beautiful!
I love your post on ways to use vintage wood ladders….Thank you for all the great ideas!!! Beautifully done!