**This post is sponsored by The Home Depot**
Hi and welcome to the Home Depot DIY Workshop (Do It Yourself) Virtual Party. This month’s workshop project is for a fun bottle opener game for Dad to play while he’s chilling and watching his favorite team.
Bottle Opener Game – June Home Depot DIY Workshop Project
The Home Depot is offering a DIY (Do-It-Yourself) workshop to teach you how to make this fun bottle opener game and will help you become comfortable with the power tools needed to create it.
About the workshops:
- The Home Depot offers Workshops at all of their locations for do-it-yourselfers of all ages and experience levels.
- There are three types of Workshops offered – Do-It Yourself (DIY), Do-It-Herself (DIH) and Kids.
- Customers can learn how to build décor projects, how to make easy home repairs and how to operate tools through demonstrations and step-by-step instructions.
- Visit http://workshops.homedepot.com to learn more.
- The Home Depot would love to hear about your workshop experience – give your feedback Workshop Feedback Survey
Grab a friend and Register for the Workshop – Saturday, June 10 at 10 am at your local Home Depot
Make sure to get registered to attend the free workshop at your local Home Depot on Saturday, June 10 at 10 am! Share your project creations with hashtag #DIYWorkshop
Today I’m participating in a virtual party with 9 bloggers to show how we customized the Bottle Opener Game. We love flavored soda pops around here, there are so many delicious concoctions especially anything coconut ie “dirty”. This is a fun way to mix it up and try new combos.
Here’s how it works:
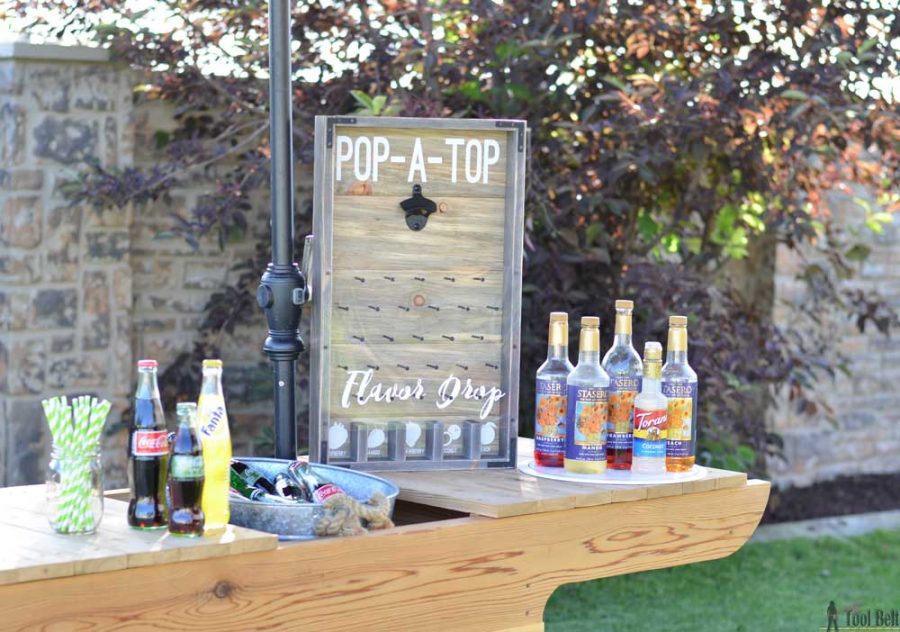
- POP-A-TOP off of your favorite cold soda
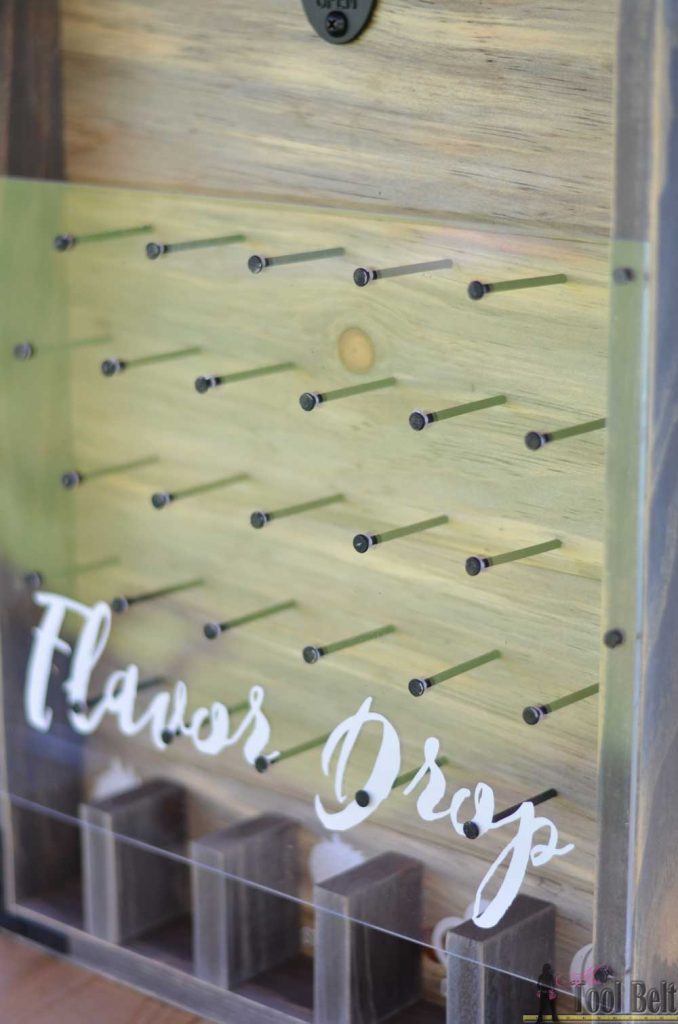
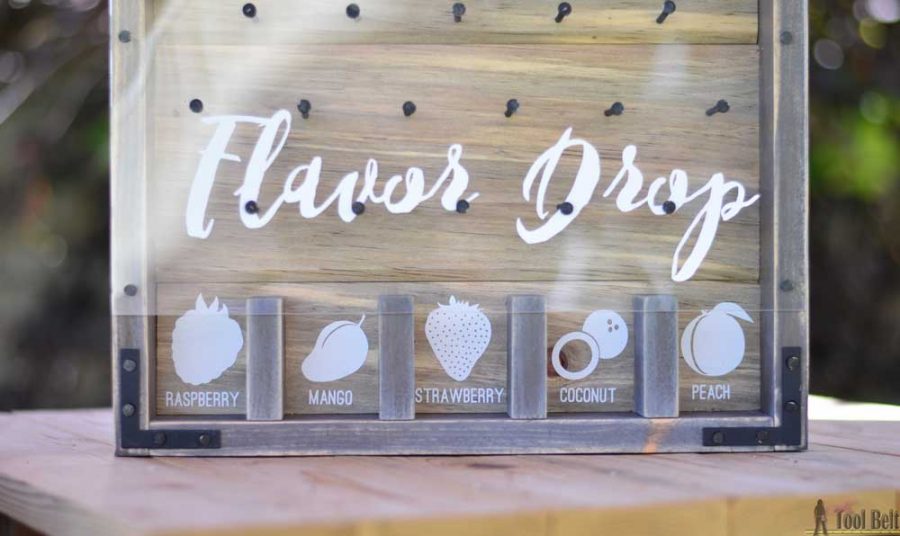
- Let your bottle cap DROP through the nail maze into one of the FLAVOR slots
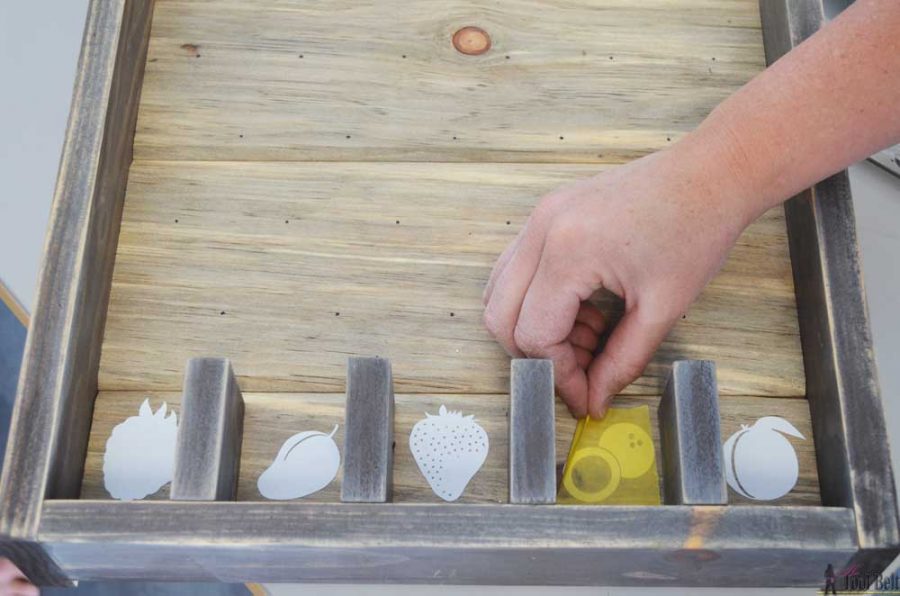
- Raspberry, Mango, Strawberry, Coconut, Peach
- Add flavored syrup to your soda
- Enjoy!
Check out all of the other great bottle opener game versions
- House of Wood
- That’s My Letter
- All Things Thrifty
- Thistlewood Farms
- The Rustic Life
- Her Toolbelt
- Lolly Jane
- Toolbox Divas
- Build Basic
- Refresh Restyle
Here’s how I made my Pop-A-Top Flavor Drop bottle opener game
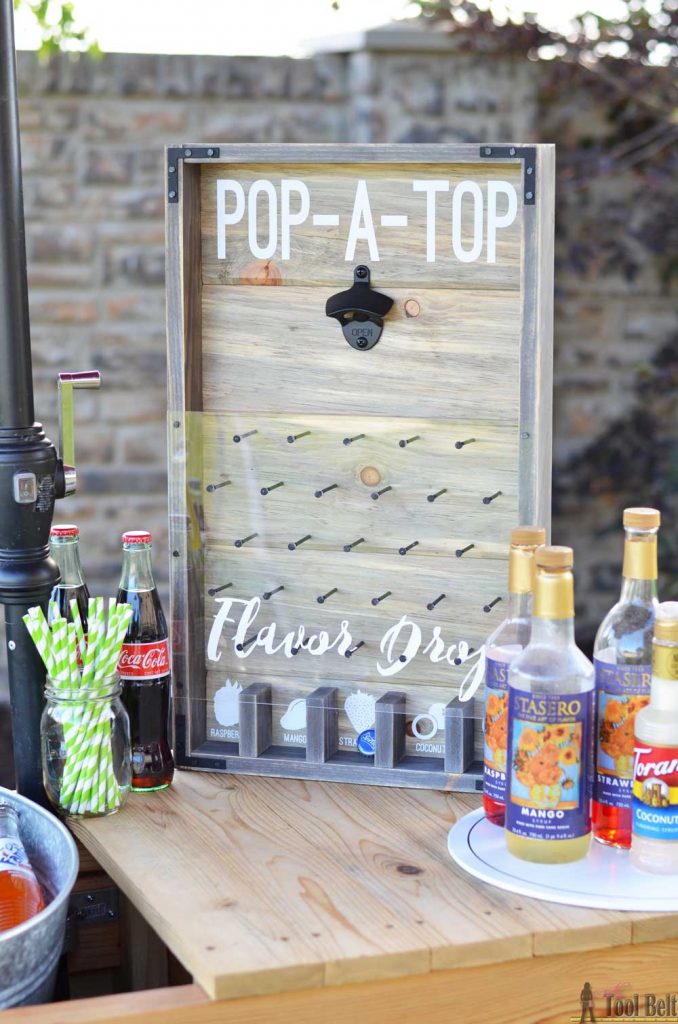
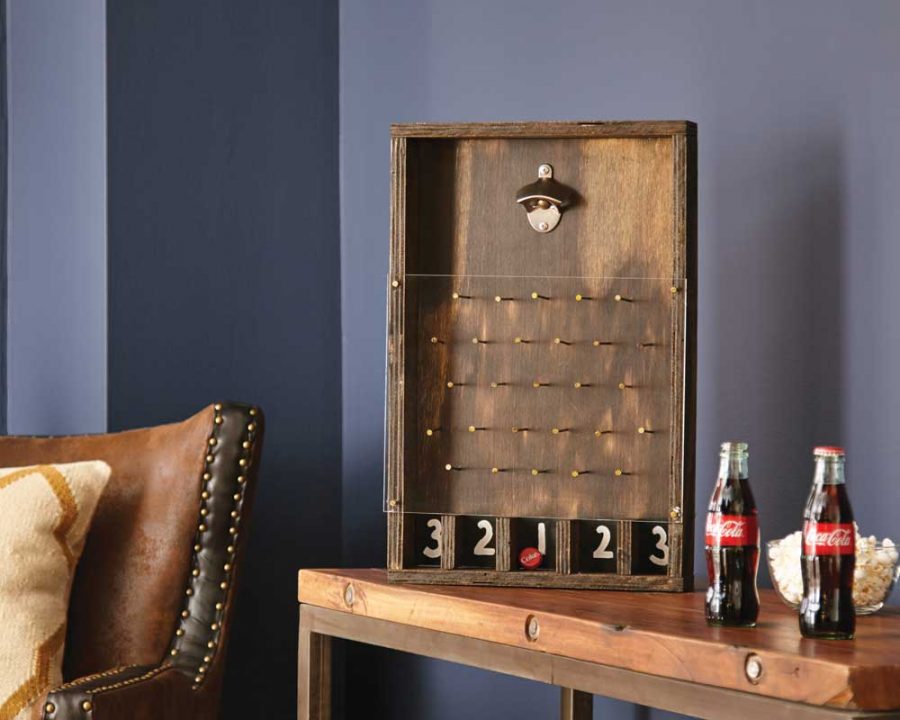
When you go to the workshop, they’ll give you the plans to make your own bottle opener game. I’ve made a few adjustments from the plans that I’ll note in the instructions.
Materials
-
- 1 – 1″ x 6″ x 8′ tongue and groove Blue Stain Pine
- 1 – 1″ x 3″ x 8′ pine board
- bottle opener
- 11″ x 14″ acrylic sheet
- wood glue
- stain
- 1 – 2 in. Satin Brass Flat Corner Brace (4-Pack)- spray painted black
- 1 box 2 1/2″ nails
- carpet tack nails
- 1 1/4″ brad nails
- sandpaper
- black spray paint
- Vinyl – you can download my Silhouette cut file here
Everytime I walk by the blue stained pine at Home Depot I stop and stare for a while, trying to think of a project to make with it and finally found a winner. It makes a nice rustic background for my bottle opener.
Build the Frame
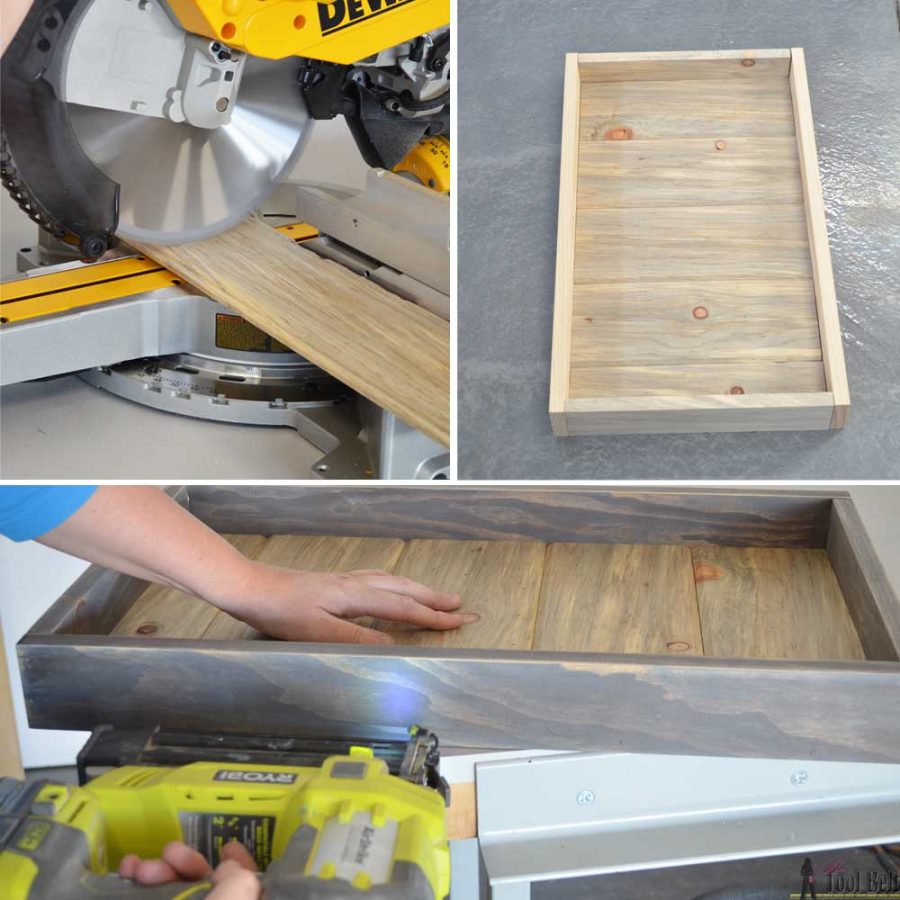
I started off by cutting the wood and creating the main frame shape. The tongue is cut off the top piece and groove cut off the bottom to make it flat for the frame. I added a little extra height to the frame for the ‘Pop-A-Top’ lettering (the back panel is 12 3/4″ x 22 1/2″). Before assembling the frame, I put a clear coat on the back panel tongue and groove and stained the side pieces weathered gray. The gray wasn’t quite right with the blue pine so I did a light follow up coat of Kona. Once the finish dried, I used wood glue and brad nails to assemble the frame together and secure the back panel to the frame.
Prep for Nails
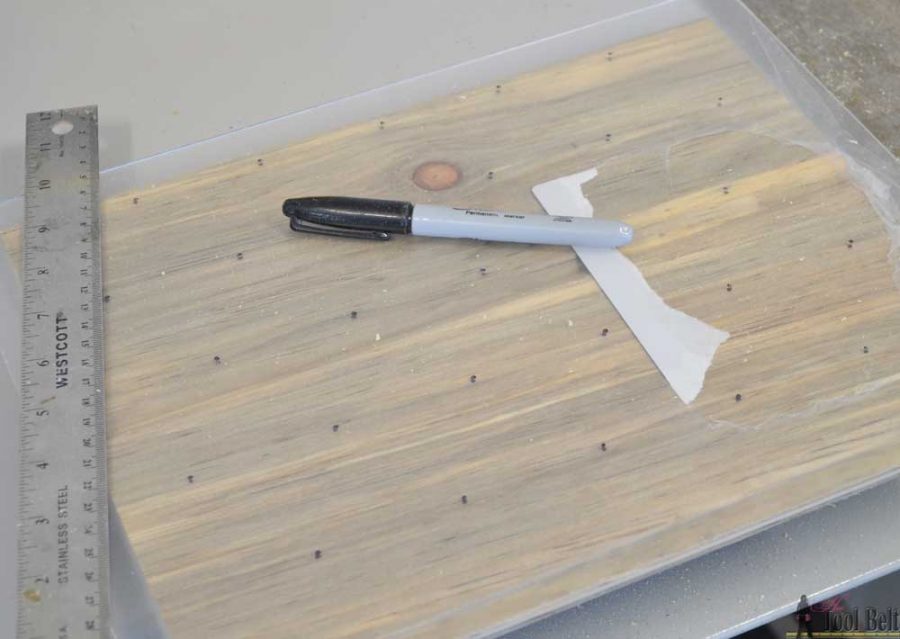
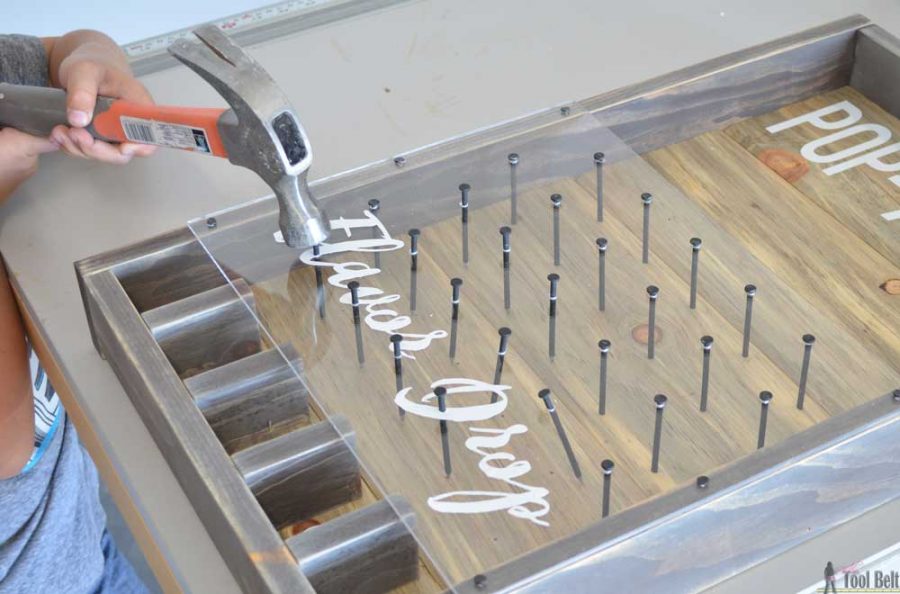
To make sure the nails went in straight (because I know my own weaknesses), I decided to mark the nail locations on the back panel and on the acrylic with a sharpie (I did this before assembling the frame). Then I drilled holes on all of the marks in the acrylic big enough for the nail shaft to fit through easily.
Add the Details
Before putting the acrylic in place, I glued and nailed the divider slot wood pieces in place and added my vinyl fruit (free Silhouette cut file). The fruit and lettering can easily be painted on instead of using vinyl.
I drilled small holes in the corners of the acrylic big enough for the carpet tack nails and secured the acrylic in place, lining up the big nail holes with the marks on the panel. The big nails (painted black) slid through the acrylic sheet holes and lined up with the mark on the back panel.
Yay for straight nails!
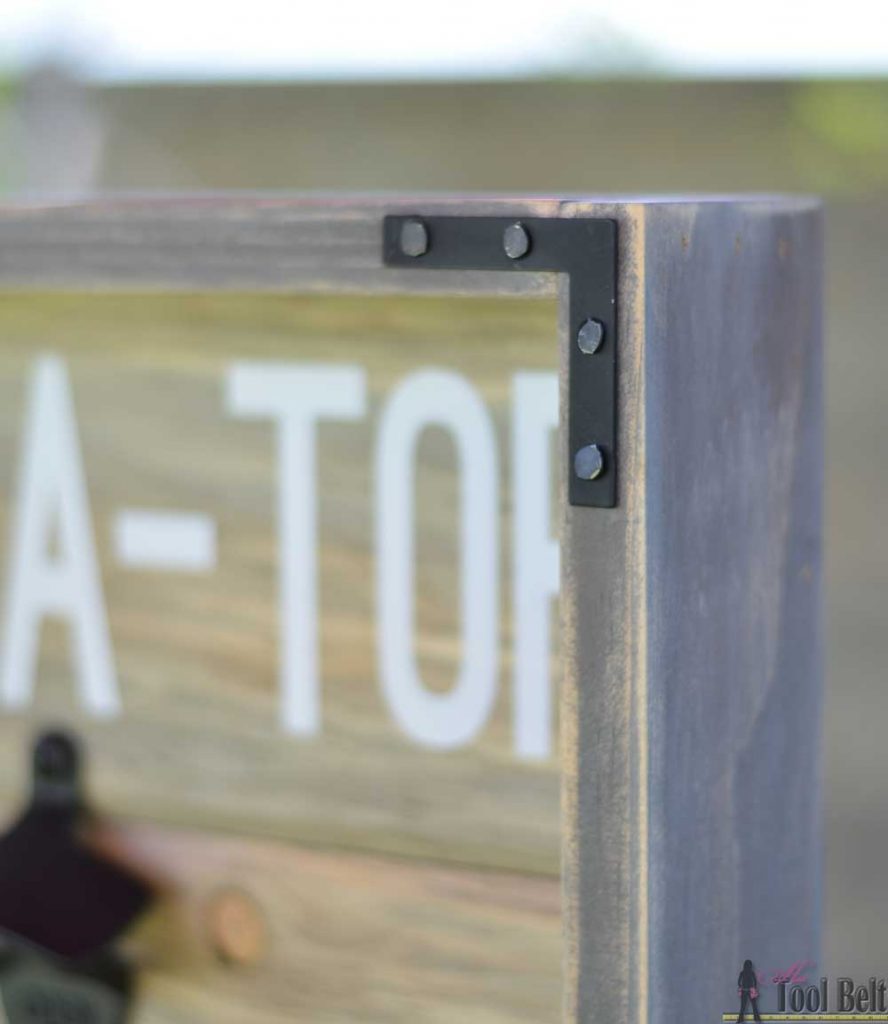
Finally I added the bottle opener and flat corner braces (painted black) for a little detail!
The flavor options can easily be switched out for something else.
Now the only thing missing is a big plate of Swig sugar cookies! Tell me what your favorite flavored soda concoctions are, we love to try new things (Ok well my husband does 🙂 ).
* I acknowledge that The Home Depot is partnering with me to participate in this Workshops Program. As a part of the Program, I am receiving compensation in the form of products and services, for the purpose of promoting The Home Depot. All expressed opinions and experiences are my own words. My post complies with the Word Of Mouth Marketing Association (WOMMA) Ethics Code and applicable Federal Trade Commission guidelines.


Super smart with the nails through the plexi. Love me a straight nail!
I LOVE this idea! My outdoor bar needs one of these. Pinned to share and show the hubs.
That’s a very creative idea! I wonder if it would be easier with a piece of (painted) plywood for the back? I would love to use a longer board to help it stand up on its own. I also have a few old pinball bumpers that would be perfect for something like this. Thank you for sharing!