The round side table plan and Ridgid battery starter, hammer drill and jigsaw tool review is sponsored by The Home Depot. I have been compensated for my time and provided with product (tools). All ideas and opinions are my own. This post contains some affiliate links for your convenience. Click here to read my full disclosure policy.
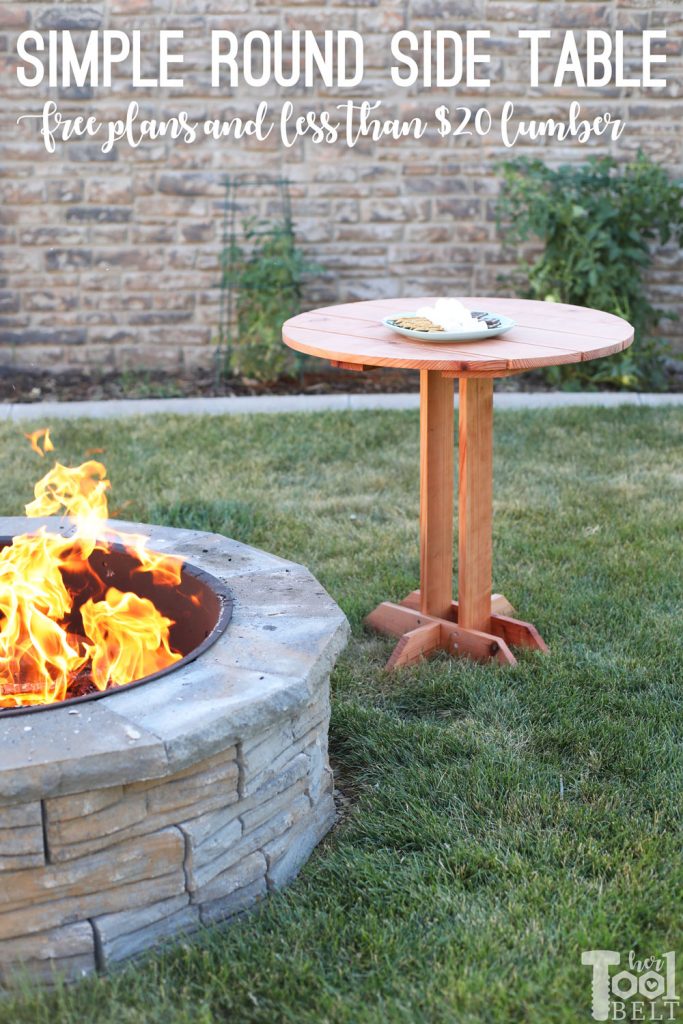
This summer I have been chipping away at projects in my backyard. In the spring I built this beautiful Redwood Pergola that we love, and recently put in a much needed fire pit. My kids love roasting marshmallows and making S’mores. I like to cook dutch oven dinners and make the occasional hobo tinfoil dinner. Quickly I realized that I would like a little outdoor side table for cooking supplies. I had some redwood left over from building the pergola and decided to use that since I’ll leave this table outside. One of these days I need to buckle down and do a paver patio! One of these days…
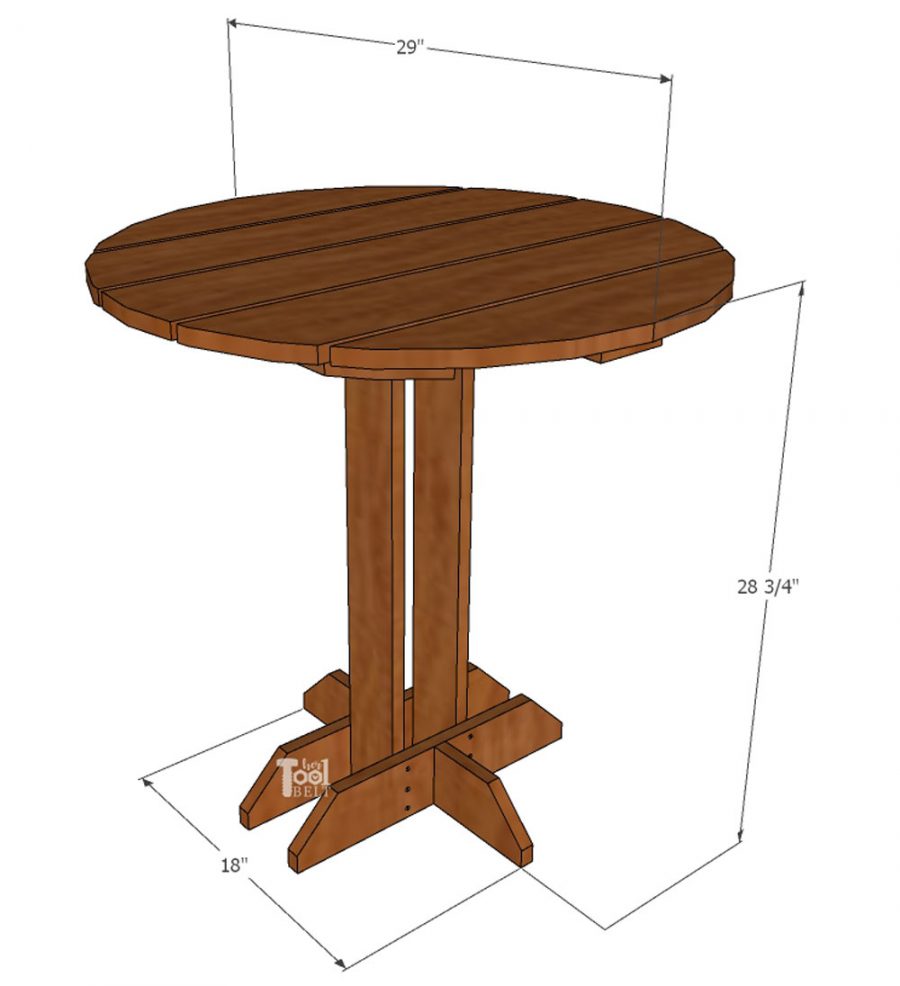
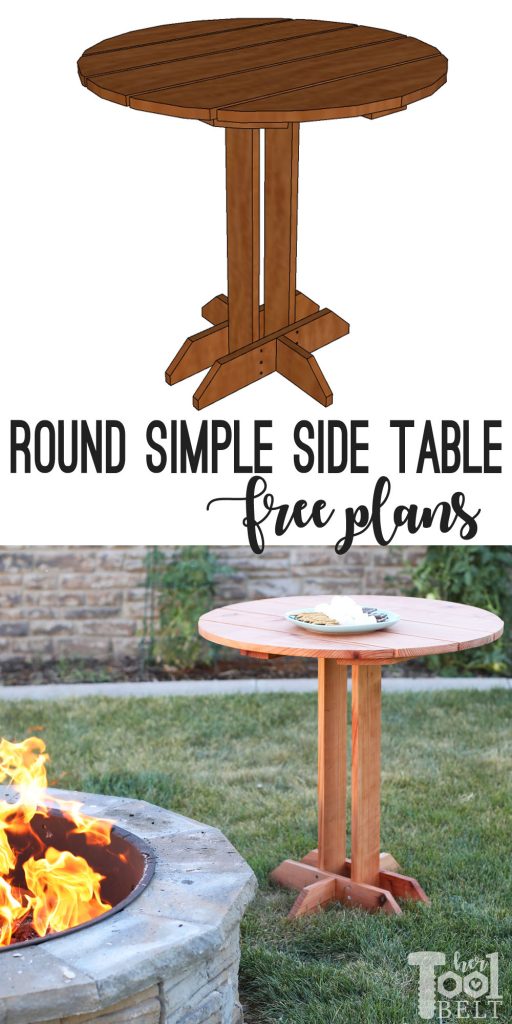
This simple round table is inspired by a table that my Mom’s good friend Connie had in her sun room for years. I love the simple, yet cool style of the legs. The legs and feet make for a really easy, quick and affordable build. The table top height can be easily adjusted by making the legs longer or shorter. I made the table just under the standard table top height of 30″.
You can make this simple round side table with as few as 2 power tools! I used a Jigsaw and a Drill!
How to Build a Simple Round Side Table
I used left over Redwood for this round side table since I’ll keep it outside. But this table can be built from whatever wood you’d prefer.
Materials
- 2 – 1 x 6 x 8′ boards (actual dimensions 3/4″ x 1 1/2″)
- 2 – 1 x 4 x 8′ boards (actual dimensions 3/4″ x 3 1/2″)
- 24 – 1 5/8″ screws (or 1 1/2″ screws)
- 38 – 1 1/4″ screws
- finish – I used Varathane natural and top coat
- string
- pencil
Approximate price of pine lumber is – $20
Tools Used
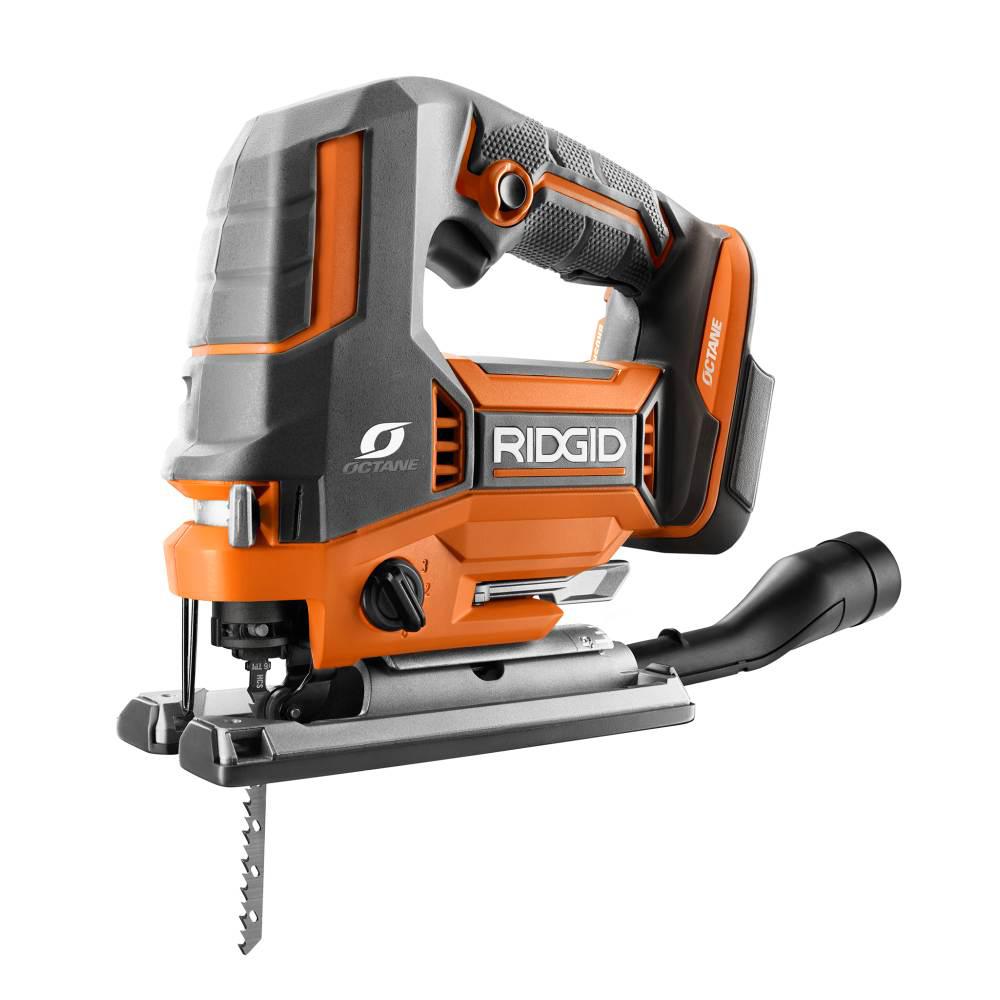
- Ridgid Jigsaw and battery starter pack (jigsaw is free with purchase of battery starter pack thru 8/5/19)
- Ridgid Drill
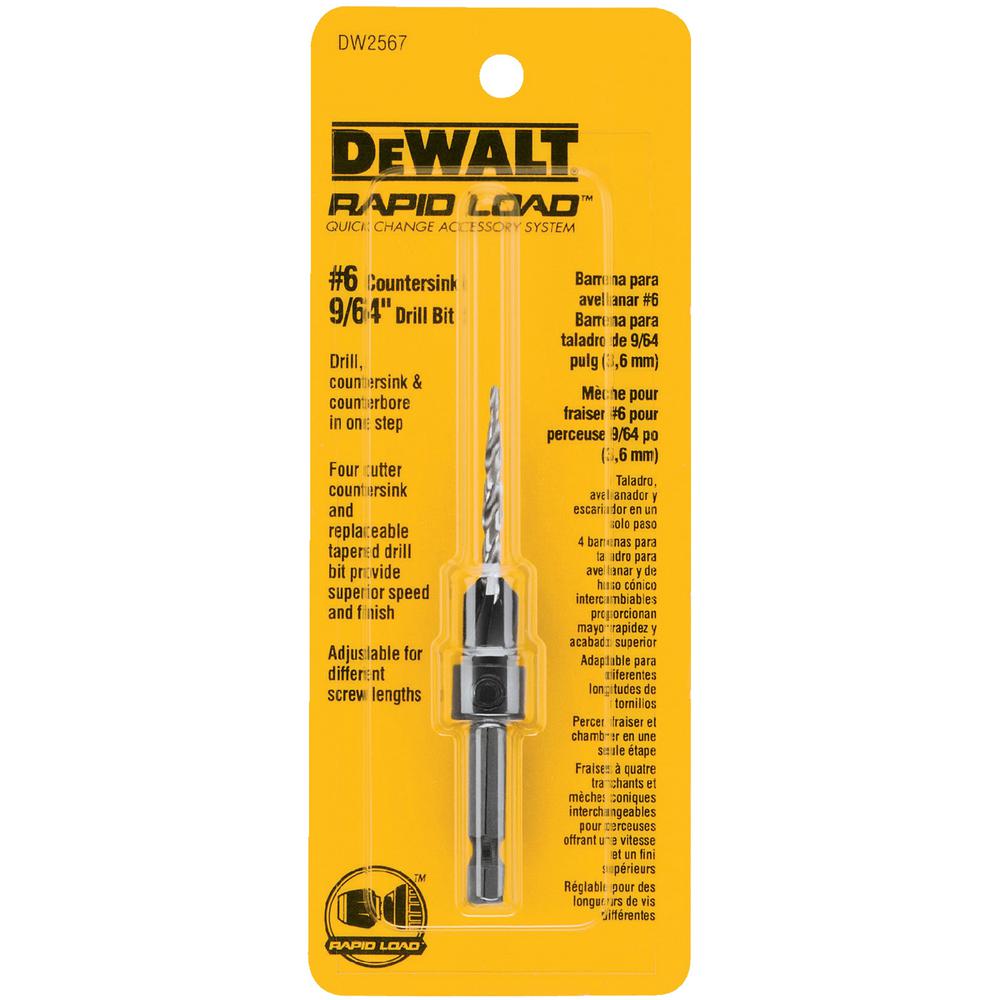
- Countersink bit
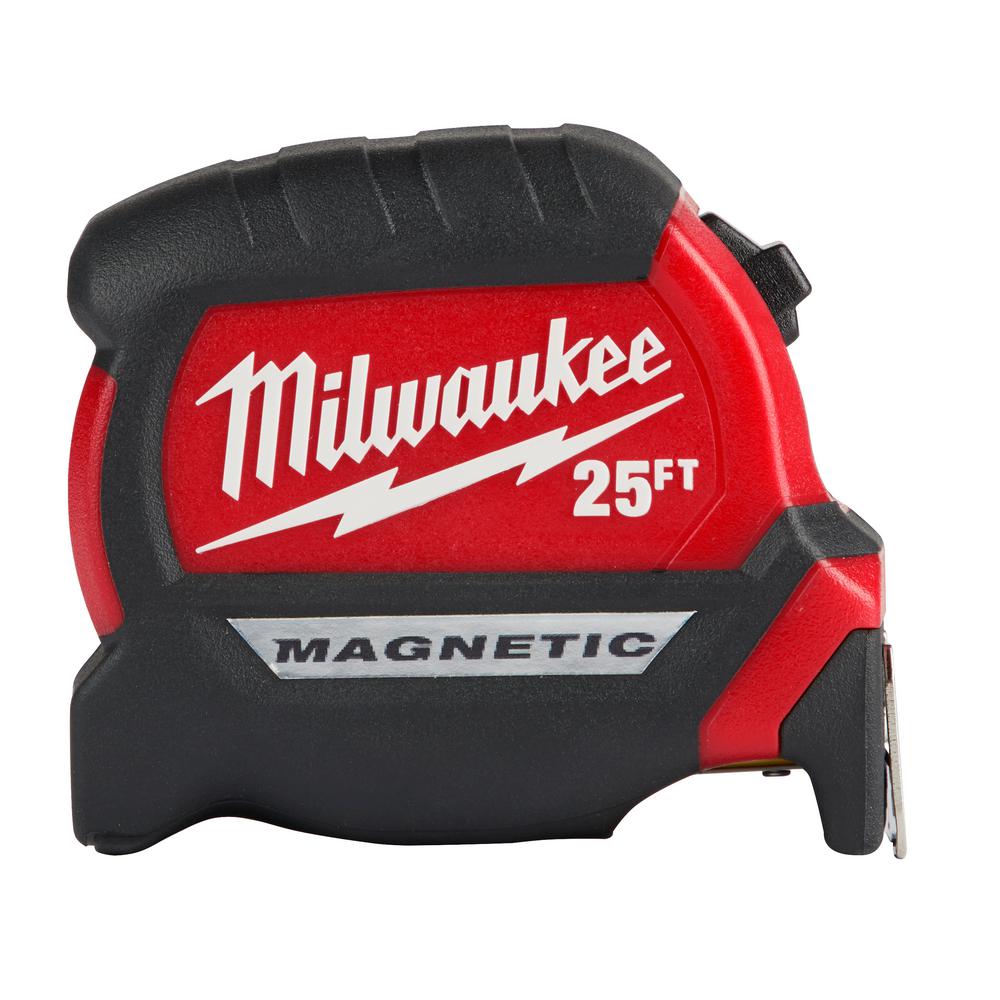
- Tape Measure
- Square
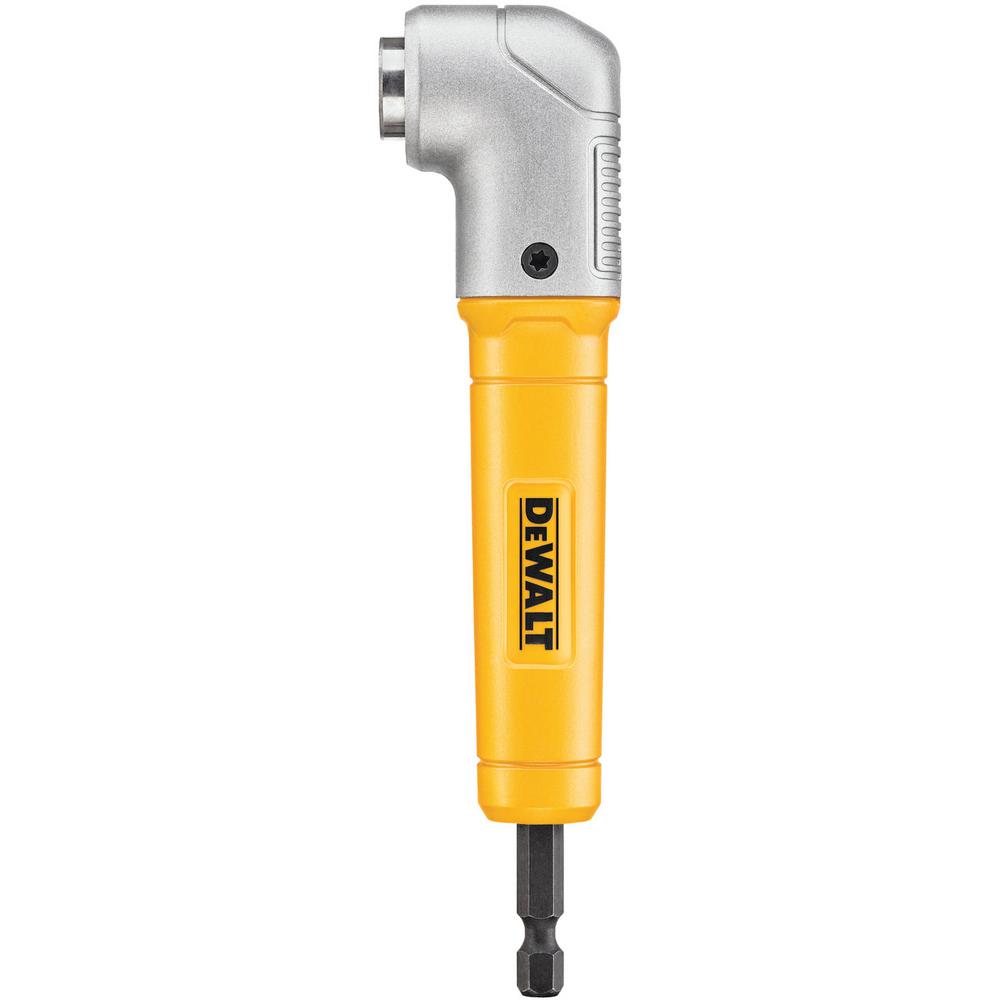
- Right Angle Attachment – I got ahead of myself, so I used this super handy attachment to help attach the top support to the legs.
 |
 |
 |
 |
 |
 |
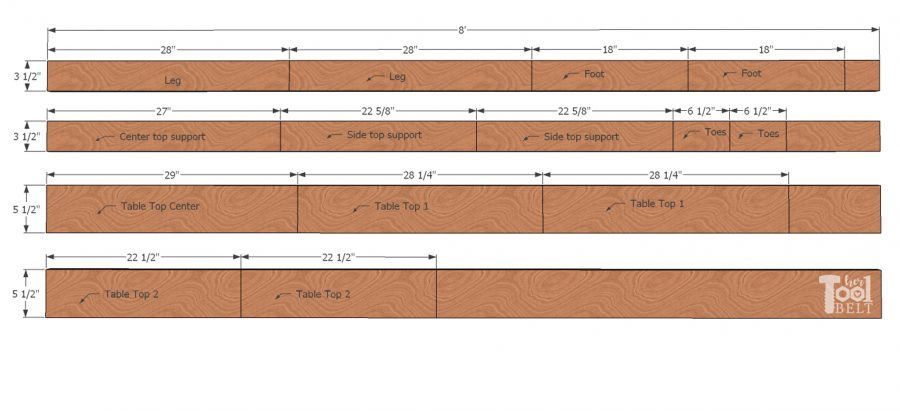
Cut List
- 2 – 3/4″ x 3 1/2″ x 28″ (legs – 1×4)
- 2 – 3/4″ x 3 1/2″ x 18″ (foot – 1×4)
- 1 – 3/4″ x 3 1/2″ x 27″ (center top support – 1×4)
- 2 – 3/4″ x 3 1/2″ x 22 5/8″ (side top support – 1×4)
- 2 – 3/4″ x 3 1/2″ x 6 1/2″ (toes – 1×4)
- 1 – 3/4″ x 5 1/2″ x 29″ (table top center – 1×6)
- 2 – 3/4″ x 5 1/2″ x 28 1/4″ (table top 1 – 1×6)
- 2 – 3/4″ x 5 1/2″ x 22 1/2″ (table top 2 – 1×6)
Cut Diagram
Step 1 – Make the Cuts
Cut the boards according to the lengths in the cut list/diagram.
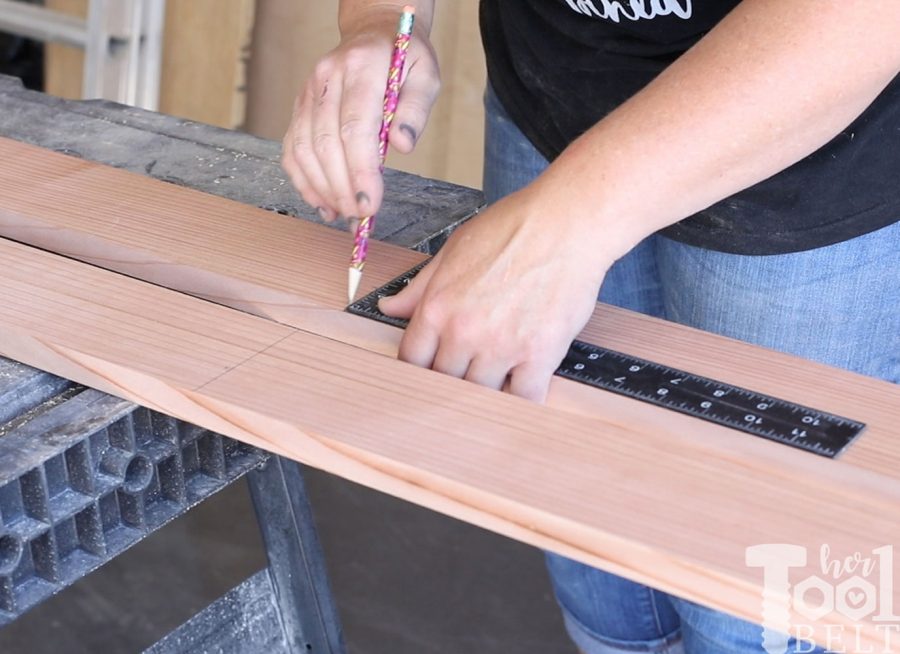
To make cutting with the jigsaw easier, I measured and marked a straight line with the square.
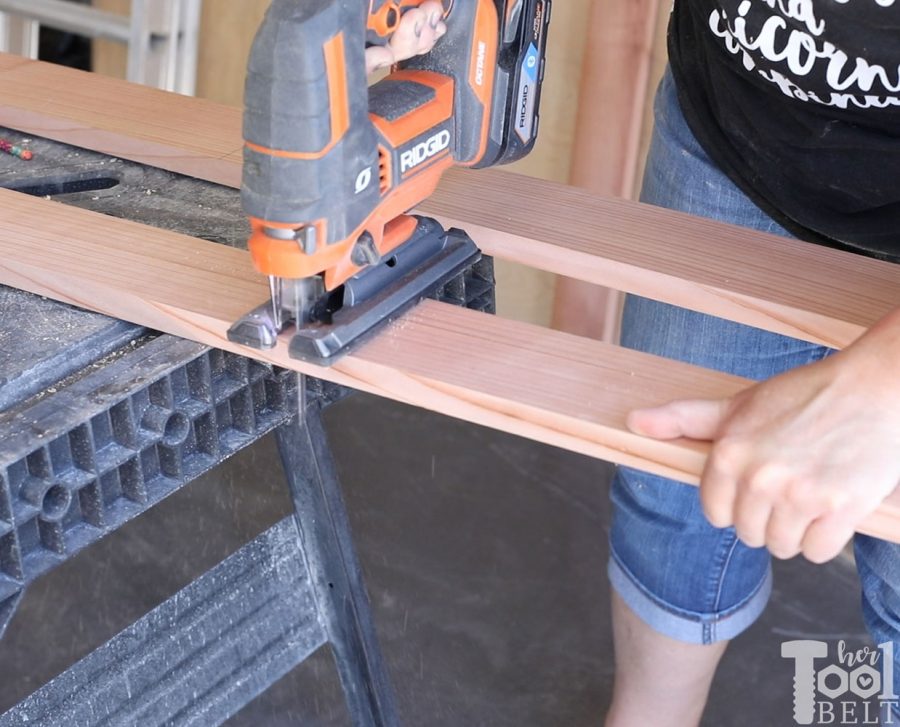
Then cut a long the line with the jigsaw.
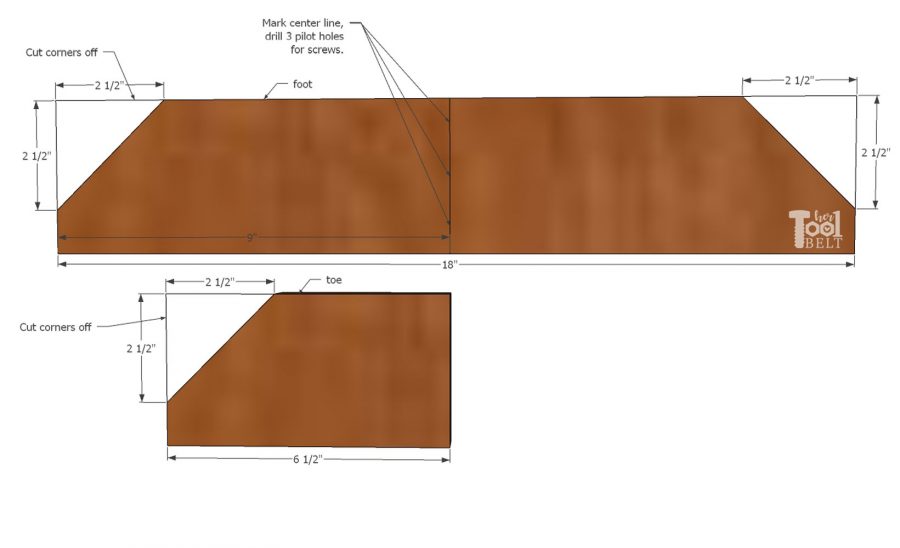
Cut the angles on the foot and toe pieces.
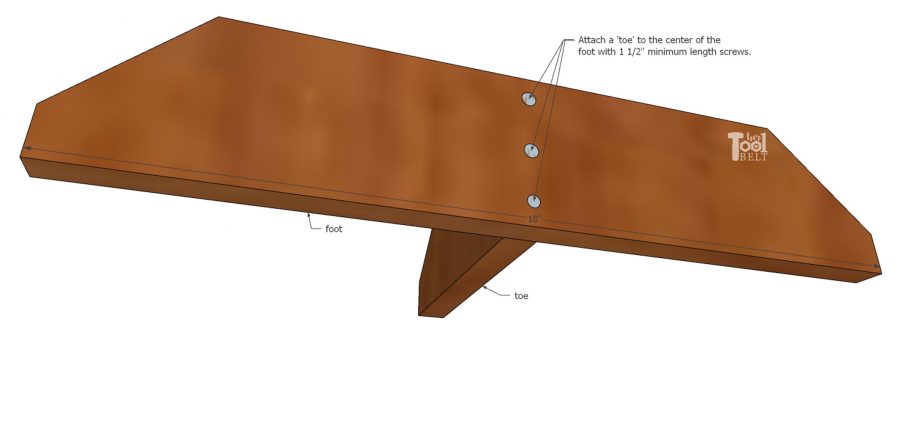
I cut a little 45 deg dog ear off of both ends of the foot boards and one end of the toe boards. Measure over 2 1/2″ and mark and down 2 1/2″ and mark, draw a line between the mark and cut off the dog ear.
In preparation to assemble the foot and toe boards together, I marked the center line of the foot (about 9″). Then I drilled 3 pilot holes with the countersink bit. Repeat for other foot board.
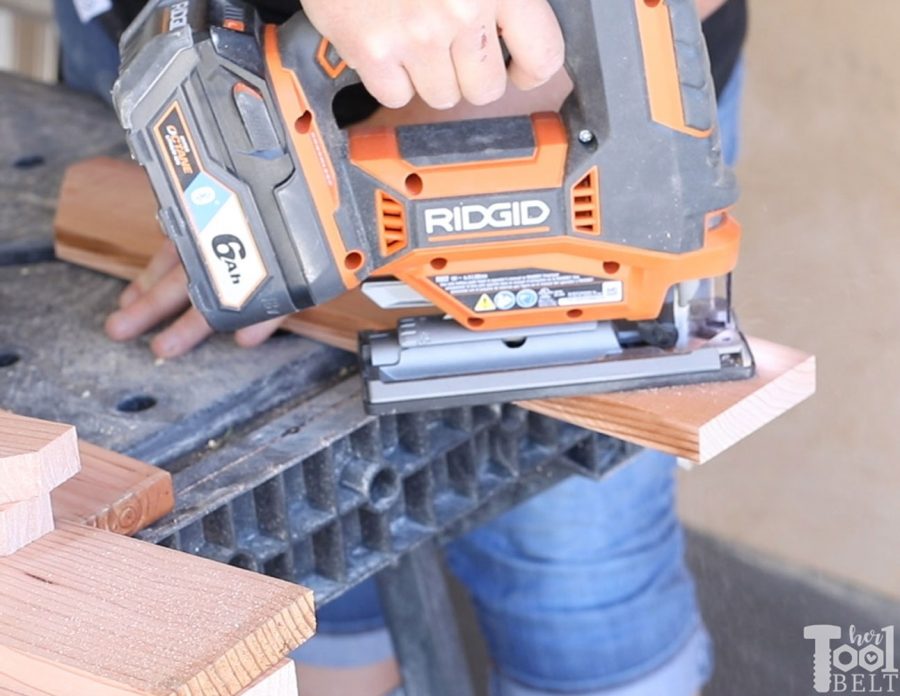
 I’ve been testing out this Ridgid jigsaw and it is a solid saw. The stock blade that comes with it is surprisingly awesome. It is part of the Octane line and work best with Octane batteries…so they can talk to each other. 🙂 It seems to cut nice and straight up and down (which is a big deal), has variable speed and an attachment to connect to a vacuum. So far I’m really liking the results!
Step 2 – Assemble the Table Base
Attach a toe board to the center of a foot board with 3 – 1 1/2″ min screws. Make sure to keep the bottom of the foot and toe boards flush. Repeat for other set of foot/toe.
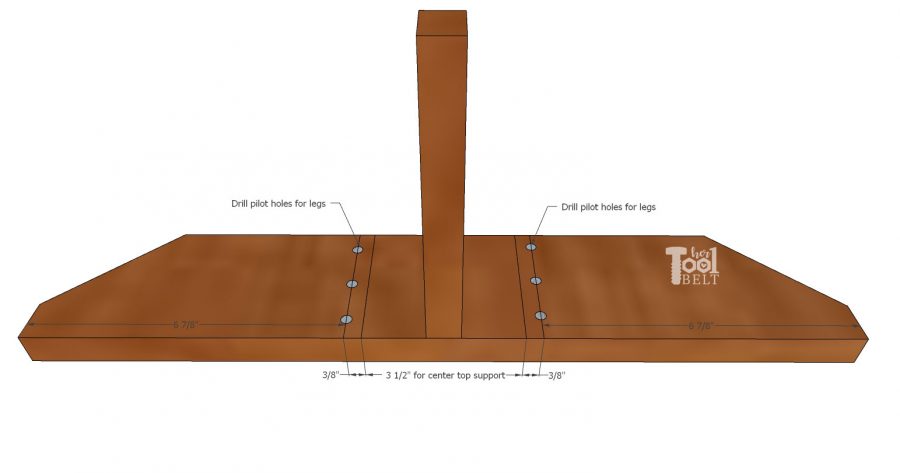
Mark over about 6 7/8″ from the ends and drill 3 pilot holes in the foot to attach the legs. (The inside of the 2 legs will be 3 1/2″ apart.) Repeat for the other foot.
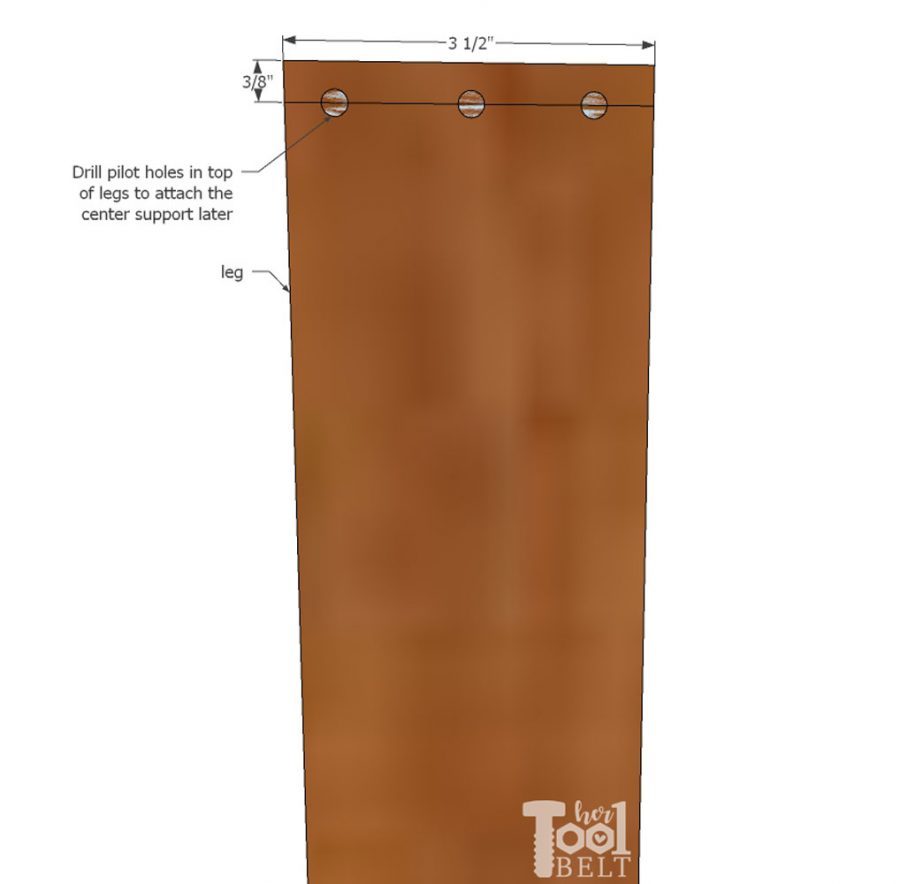
On the leg boards, drill 3 pilot holes about 3/8″ from the top.
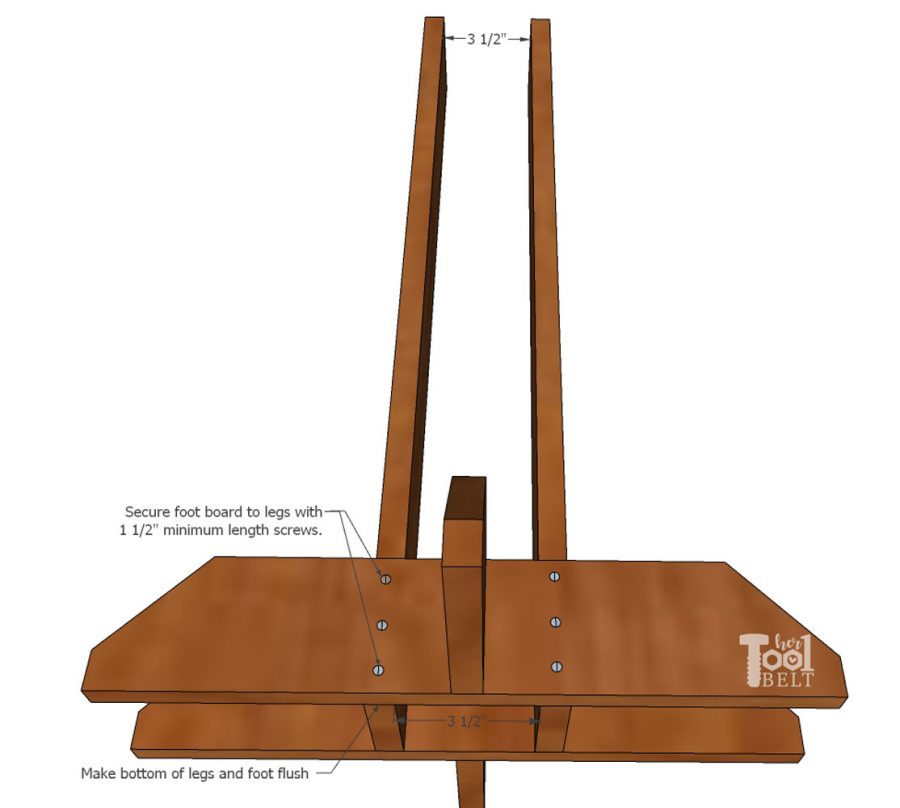
Place the 2 legs sitting on the sides about 3 1/2″ apart. Place a foot board flush with the bottom of the legs. Secure the foot board to the legs with 1 1/2″ min screws. Repeat on the other side with the other foot.
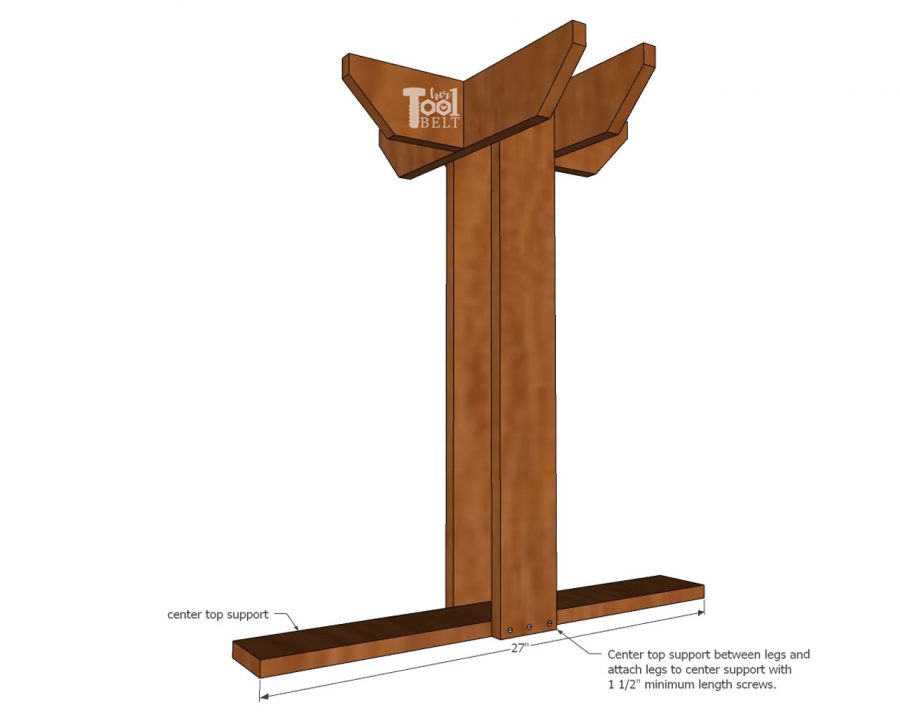
Center the center top support between the legs. Make the top of the legs flush with the top of the center top support board and secure with 1 1/2″ min screws.
Step 3 – Round Top
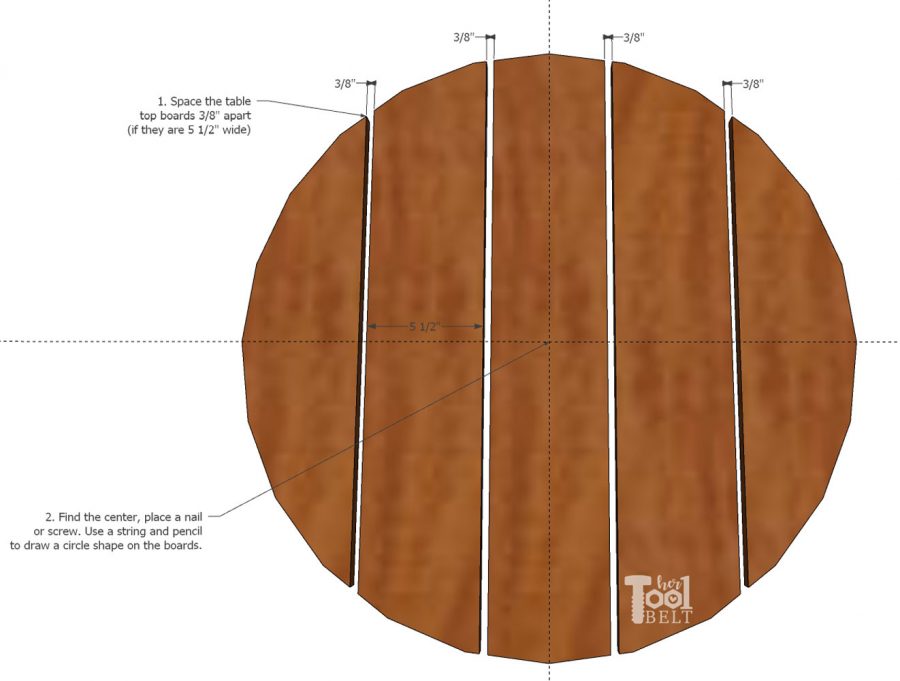
Set out the table top boards (bad side up), they go 22 1/2″, 28 1/4″, 29″, 28 1/4″, 22 1/2″. Space the top boards about 3/8″ apart. Find the center of the middle board and put a screw partially into the center mark. Tie a string around the screw and around a pencil that reaches the edge of the middle board. Mark a circle around the table top boards, remove the screw. Use the jigsaw to cut out the circle shape.
Note: you can also do a similar thing to the side support boards if you want them to make a round shape, totally optional.
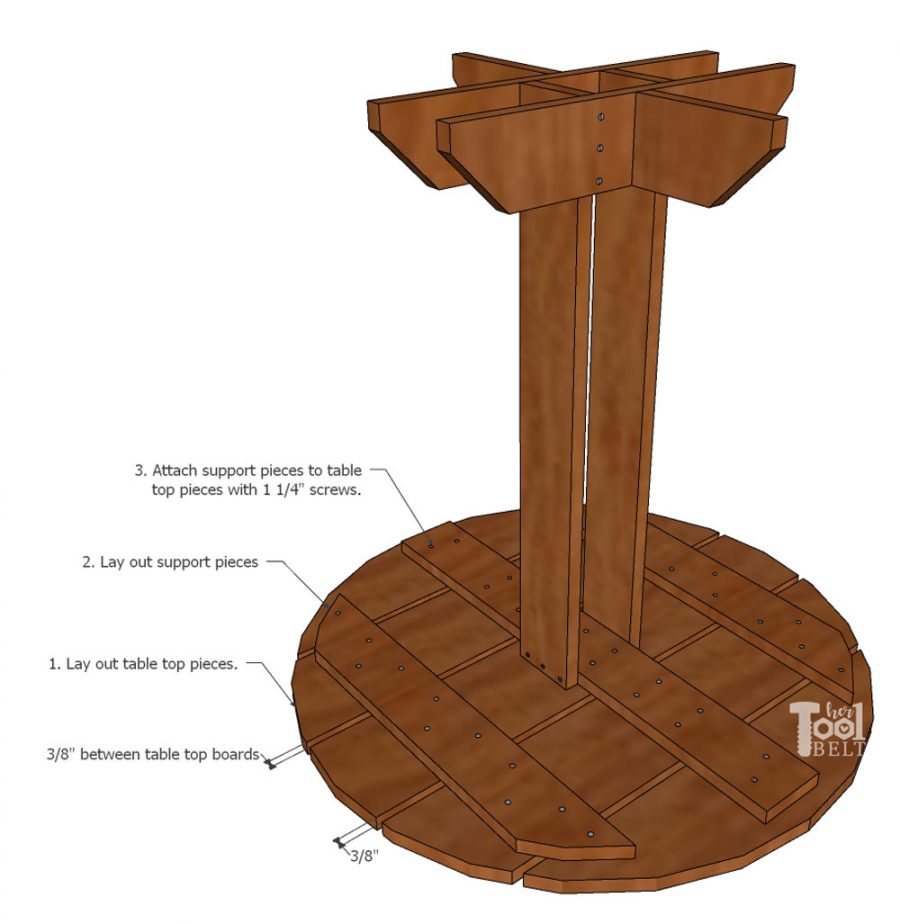
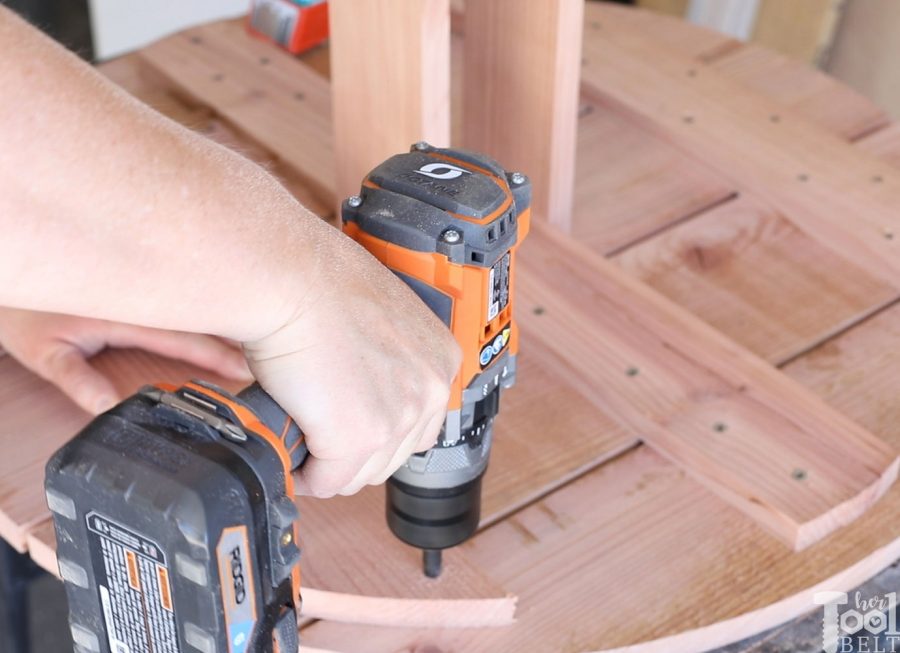
Lay out the support boards across the underside of the table top boards. The center support board should be right in the center of the circle. Drill pilot holes and secure the support boards to the table top boards with 1 1/4″ screws.
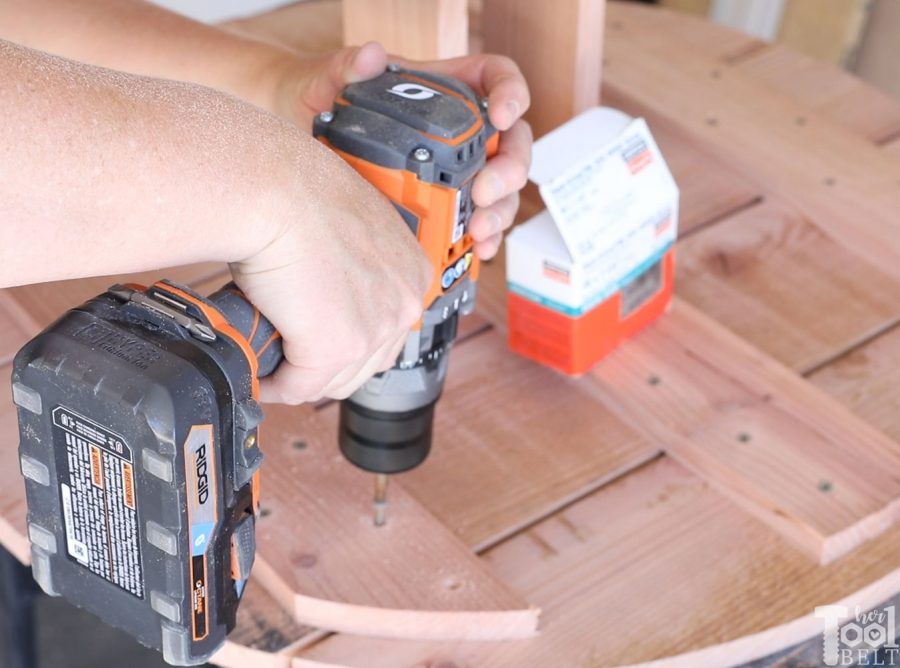
Secure with screws.
I’ve also been testing out the Ridgid hammer drill and impact combo. It has a lot of power and a ton of features. The hammer drill can produce up to 1,300 in/lbs of torque and the impact driver can produce 2,400 in-lbs of torque. With that much capability, it has a micro clutch with 100 settings for finesse, that is a great feature to get your screw heads surface level every time. The impact driver has 6 modes and an auto-stop mode that shuts down the tool after impacting to prevent over-tightening. Definitely a solid set and comes with free parts and service for life with registration.
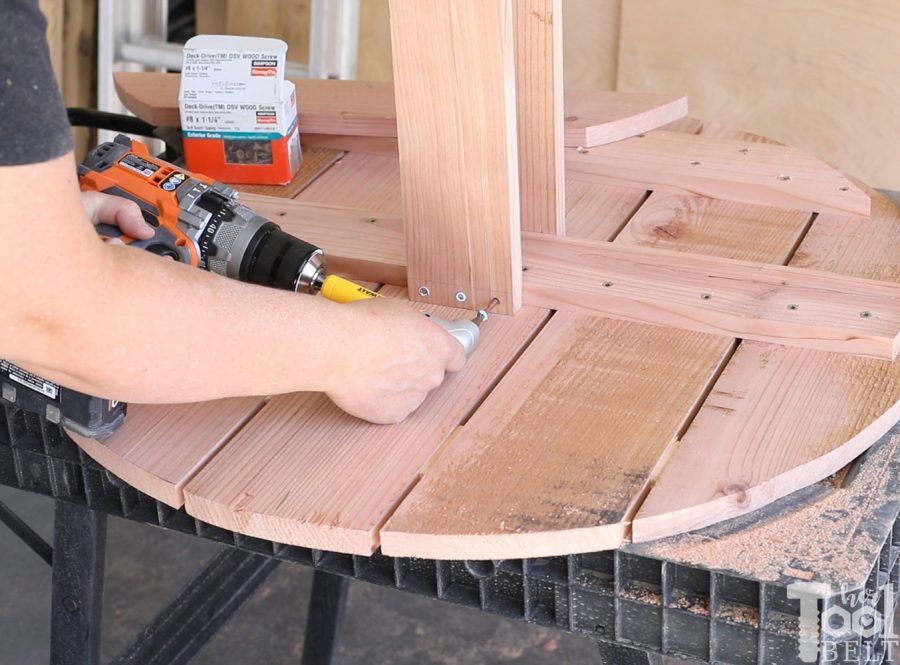
I got ahead of myself in the build and forgot to put the legs on the center support board before attaching it to the table top. I used this super handy 90 deg drill attachment to tighten those screws. It is such a handy little tool to have in those tight spots, only 1 1/2″ deep. It can attach to either a drill or impact driver and it’s magnetic!!!
Step 4 – Finish
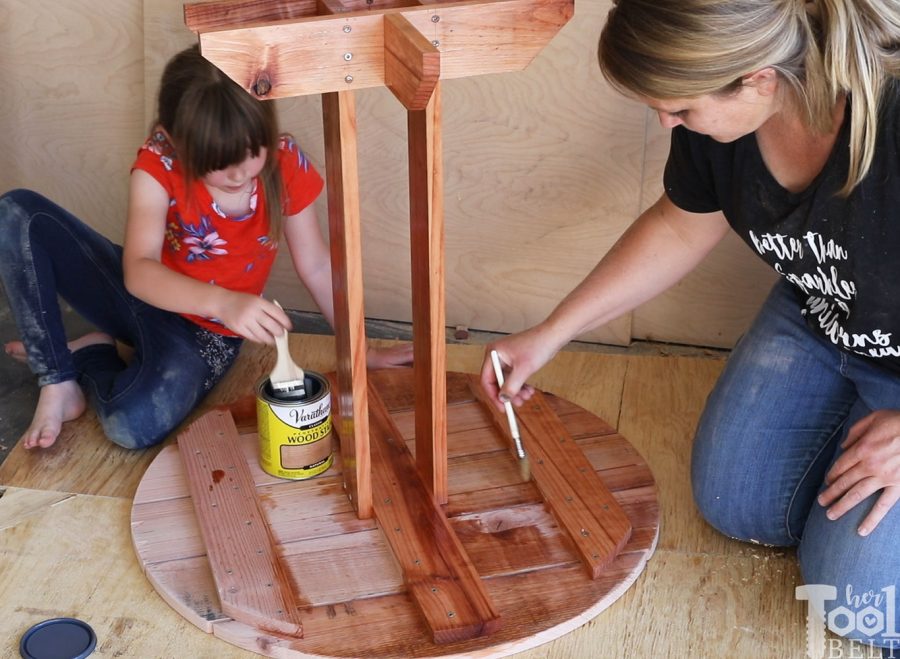
My daughter loves helping me ‘paint’ projects, I don’t know how many times she asked if I was ready yet! 🙂
Because I used redwood, I stained and sealed the wood with a natural color.
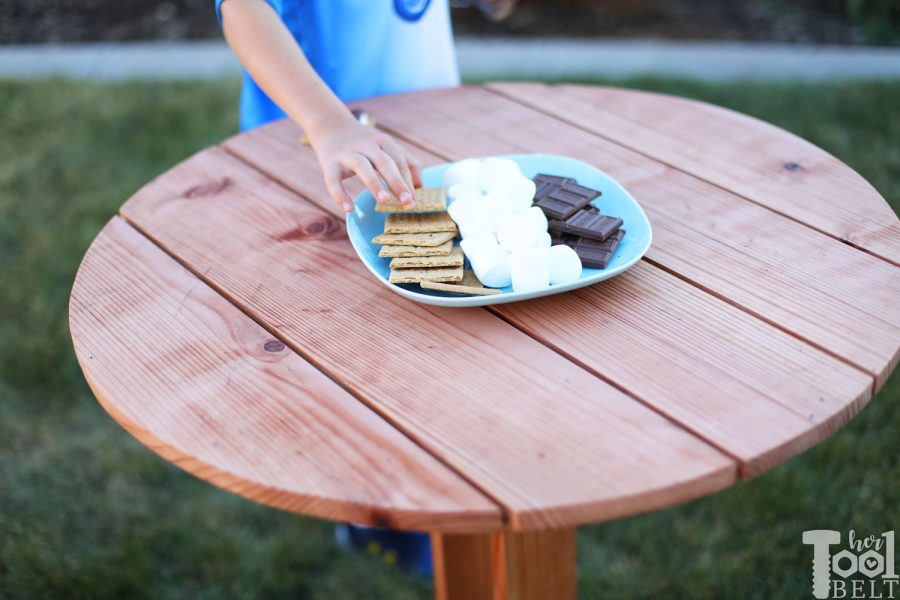
Time for S’mores.
Thanks for pinning!
“I acknowledge that The Home Depot is partnering with me to participate in the Tool Review Program. As a part of the Program, I am receiving compensation in the form of products and services, for the purpose of promoting The Home Depot. All expressed opinions and experiences are my own words. My post complies with the Word Of Mouth Marketing Association (WOMMA) Ethics Code and applicable Federal Trade Commission guidelines.”
Leave a Reply