I often think back to 10 years ago, I was moving into my first apartment after college to start my engineering career. I fit everything that I needed in my old VW Passat, including a twin mattress. 10 years, a husband and 2 kids later, We have amassed a lot of ‘stuff’! Especially since having kids. I’m continually searching for great ways to store their stuff and mine. We really enjoy Continue reading
Posted in Home Decor
Geometric Wall – Taping it Modern
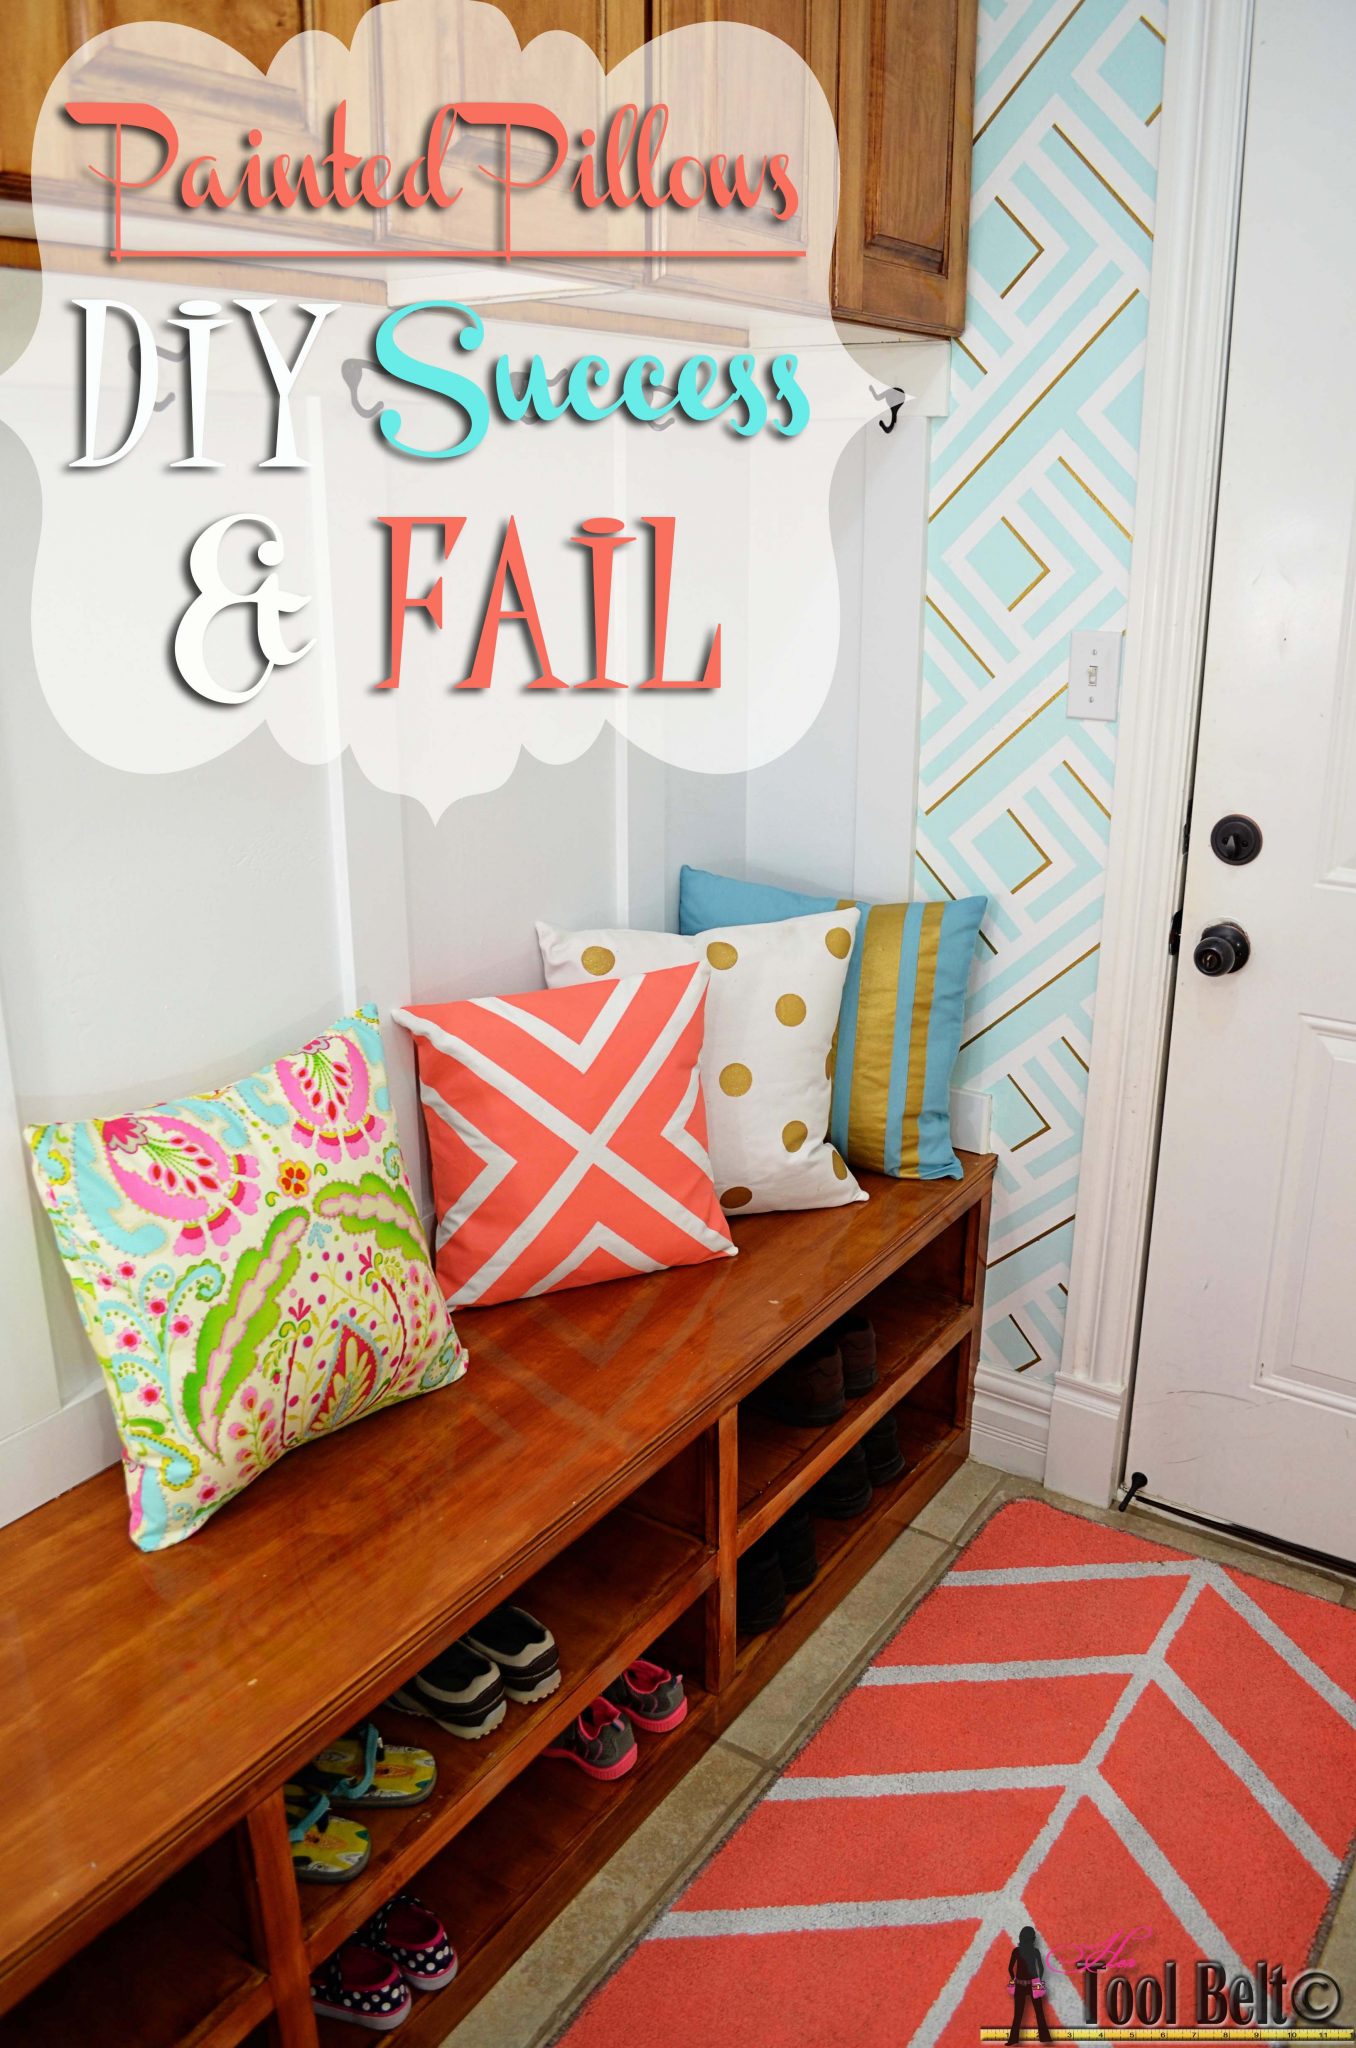
A couple of years ago, I wanted to redo my mudroom and make it more functional and a little fun. The mudroom is hidden from the main part of the house, so I wasn’t worried about the decor matching.
I built a shoe shelf bench and cabinets. Stripes on wall were really big then, so I decided to go bold and paint turquoise stripes!
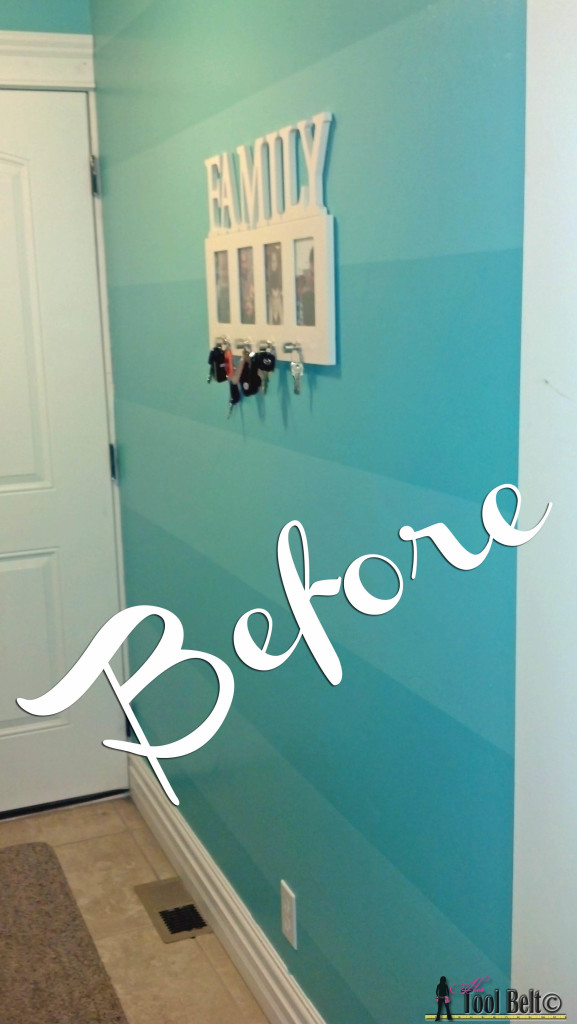
Well the only thing missing in that space was the fish…because my small mudroom felt like an aquarium!
Painted Pillows and Fabric
Update: So I’m a little embarrassed that I posted about my FAIL before I figured out what I did wrong. Thanks to Stacy at NotJustahousewife.net, I’ve corrected my ways. The tutorial updates are in RED.
I am way outside of my norm with this project. I rarely venture into the textiles arena. I’m not much of a sewer, but I do like hand embroidery, go figure! So if I can do this project, ANYONE can do this project.
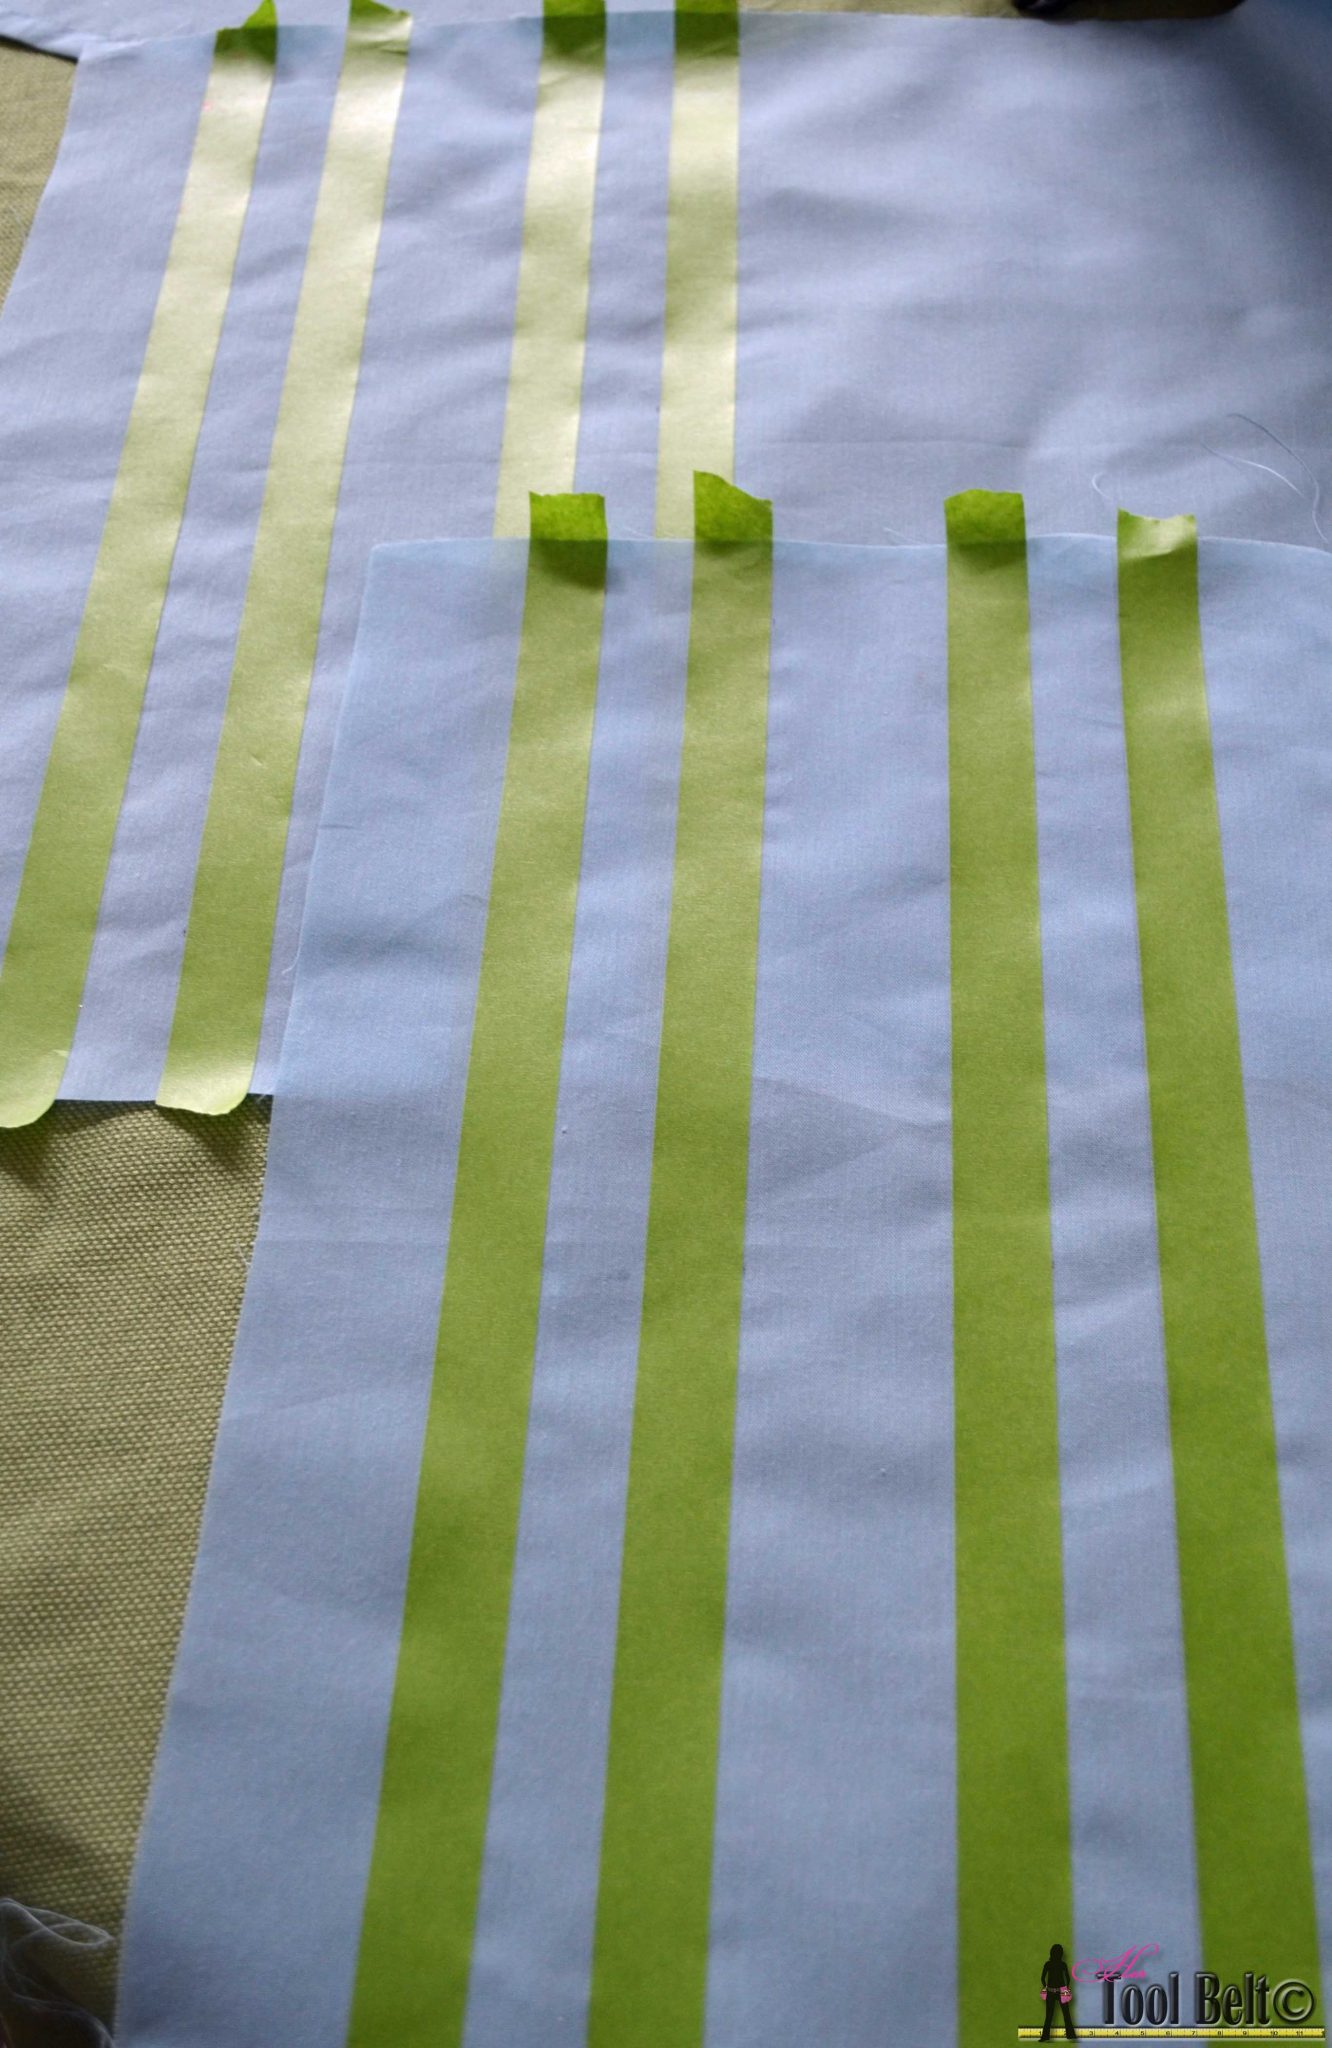
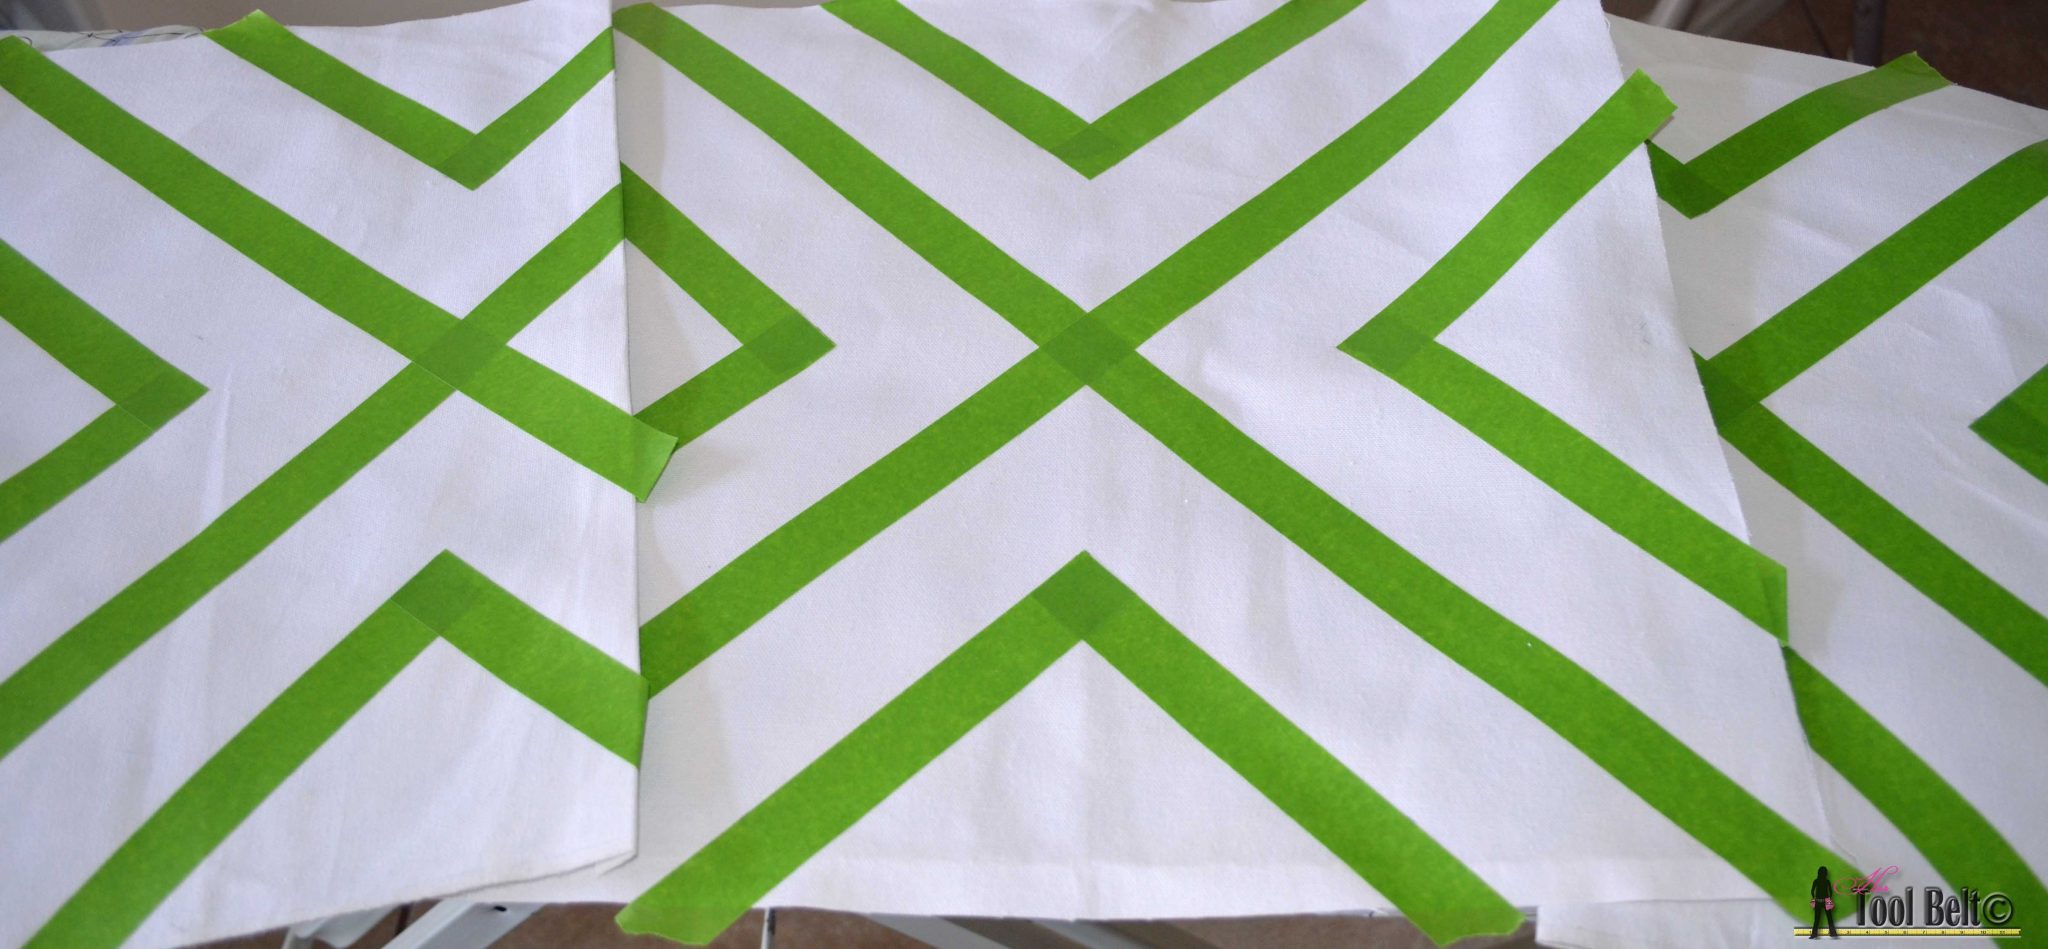
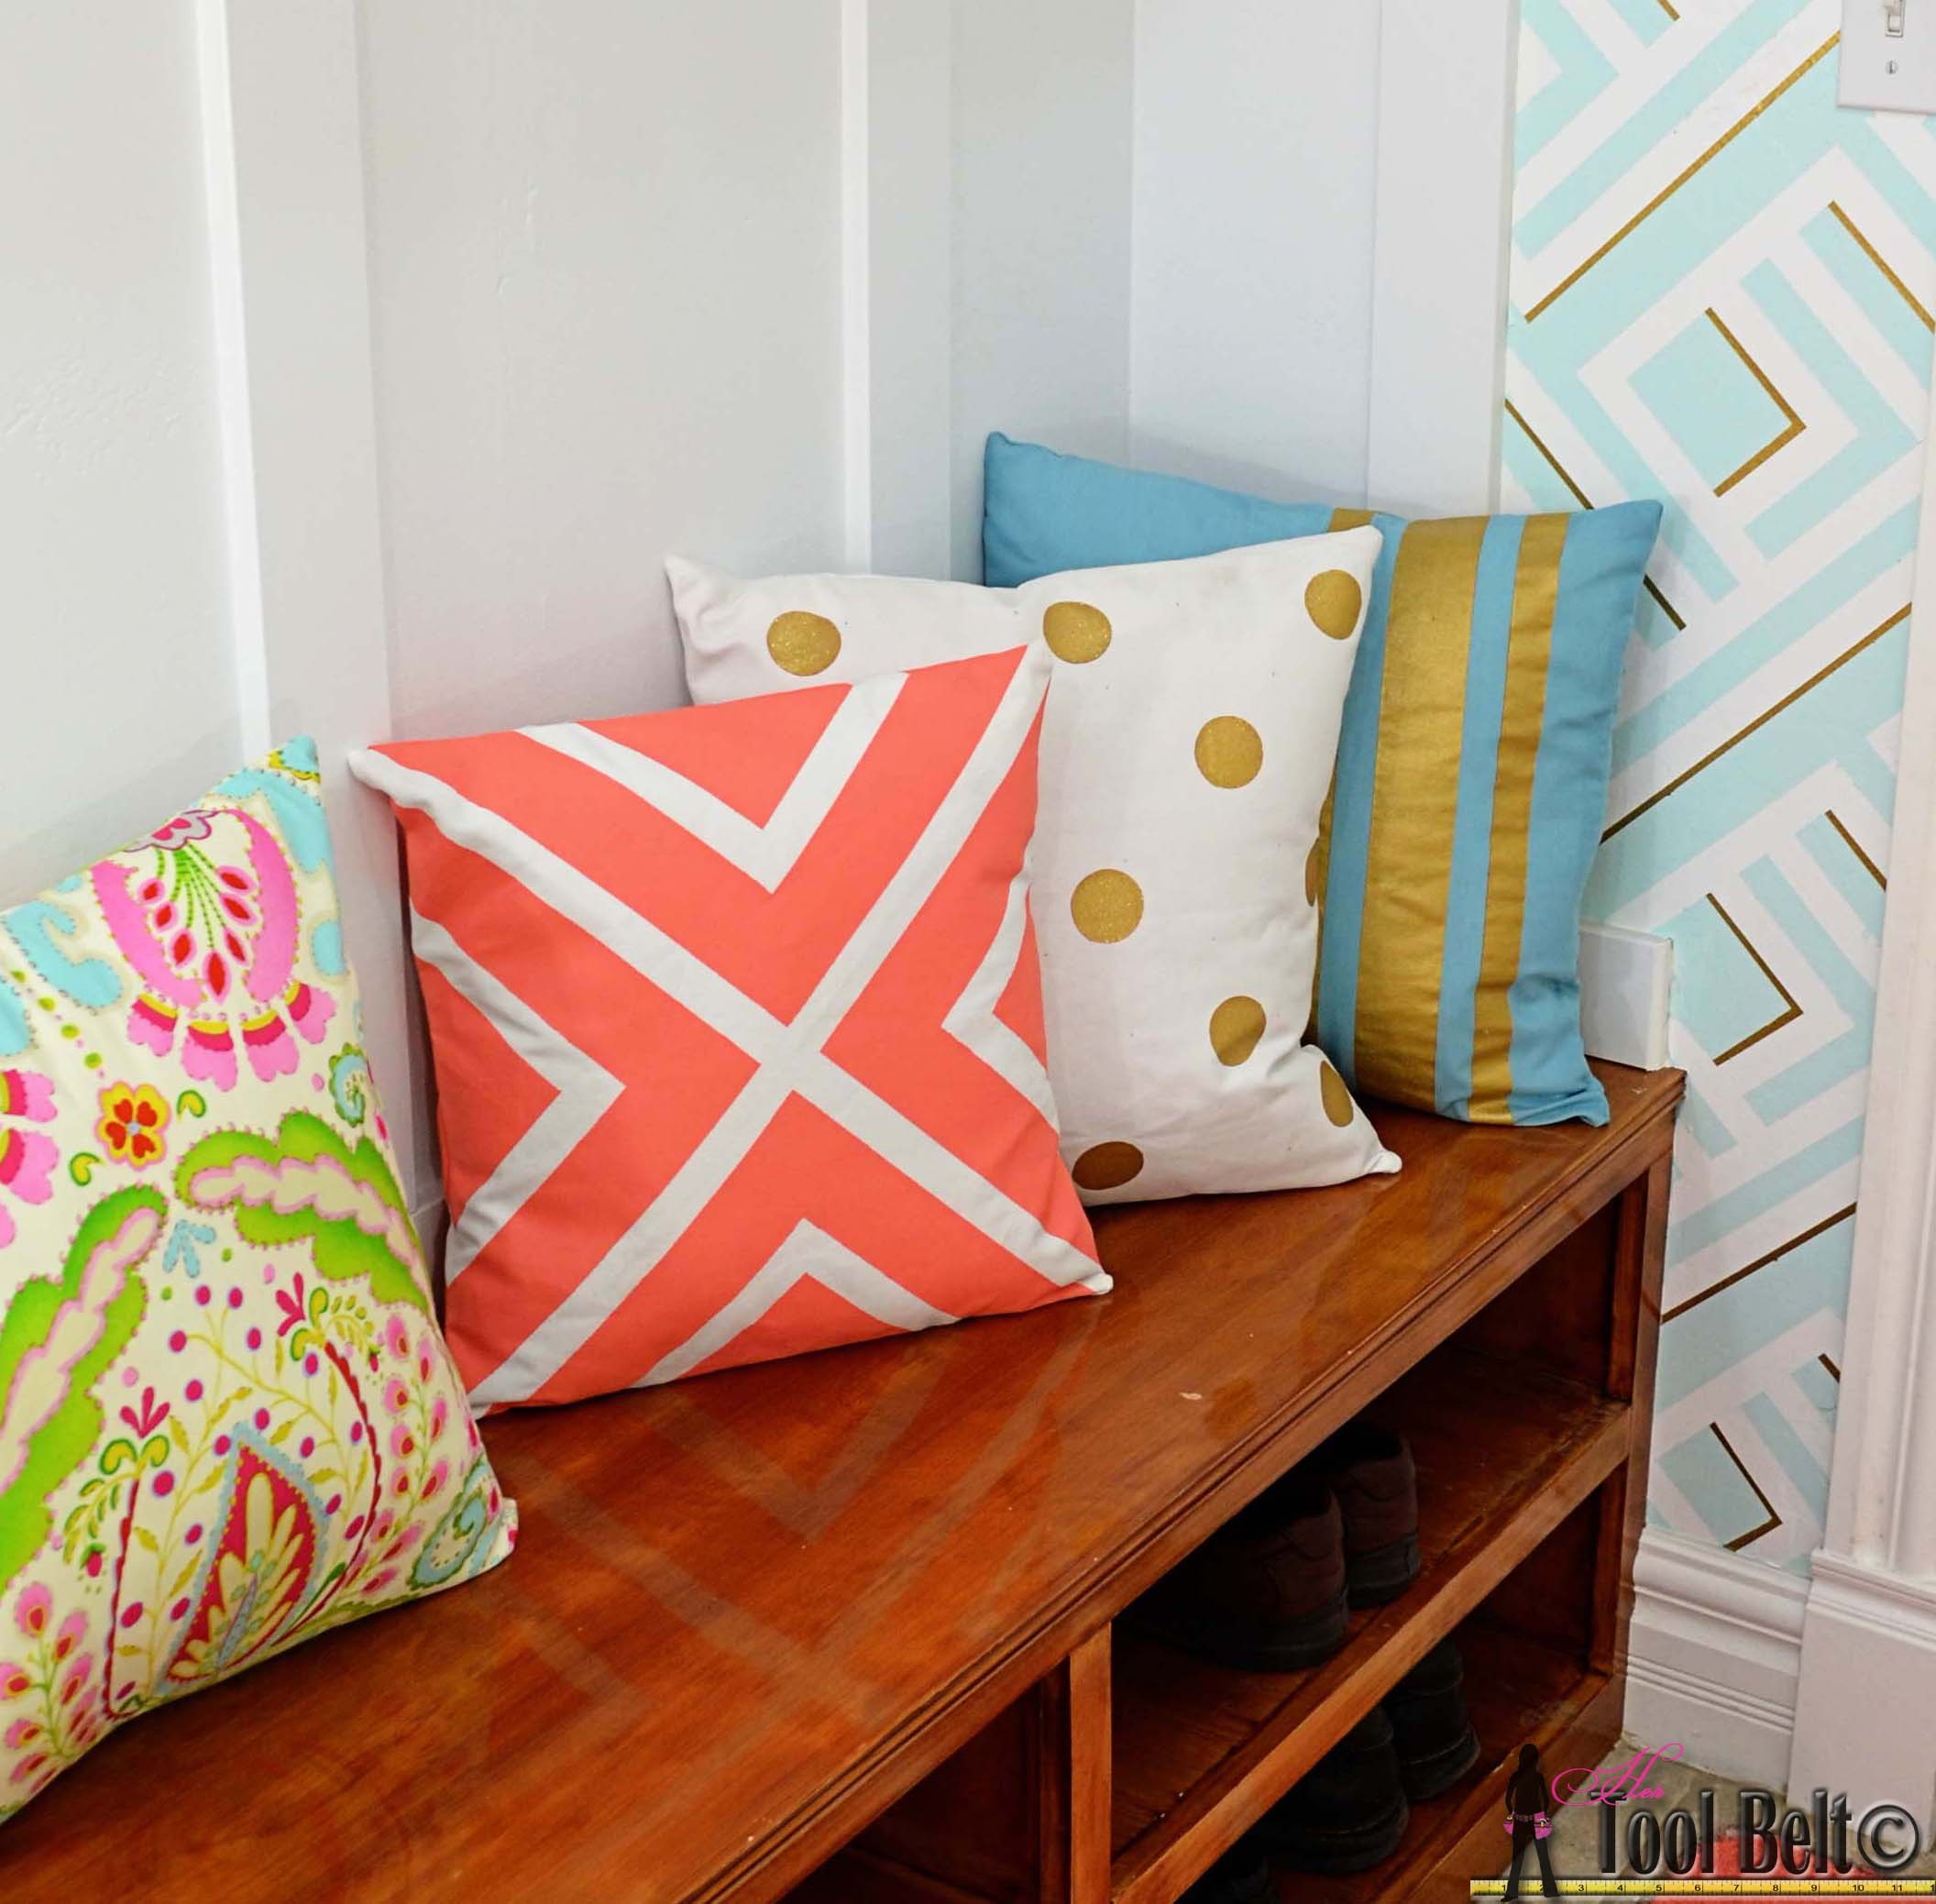
I am updating my mudroom and wanted to add pillows on the bench. Pillows can be so expensive. I’ve seen painted curtains and pillows on Pinterest and thought I would try it out.
First off was the matter of pillow forms. I bought a couple really cheap ones at JoAnn’s at 50% off. I also had an old pillow that wasn’t worthy of sleeping on any more. I tried to separate the filling, then I cut the pillow in half and sewed the opening before too much filling could escape. This worked out really well for 2 DIY pillow forms.
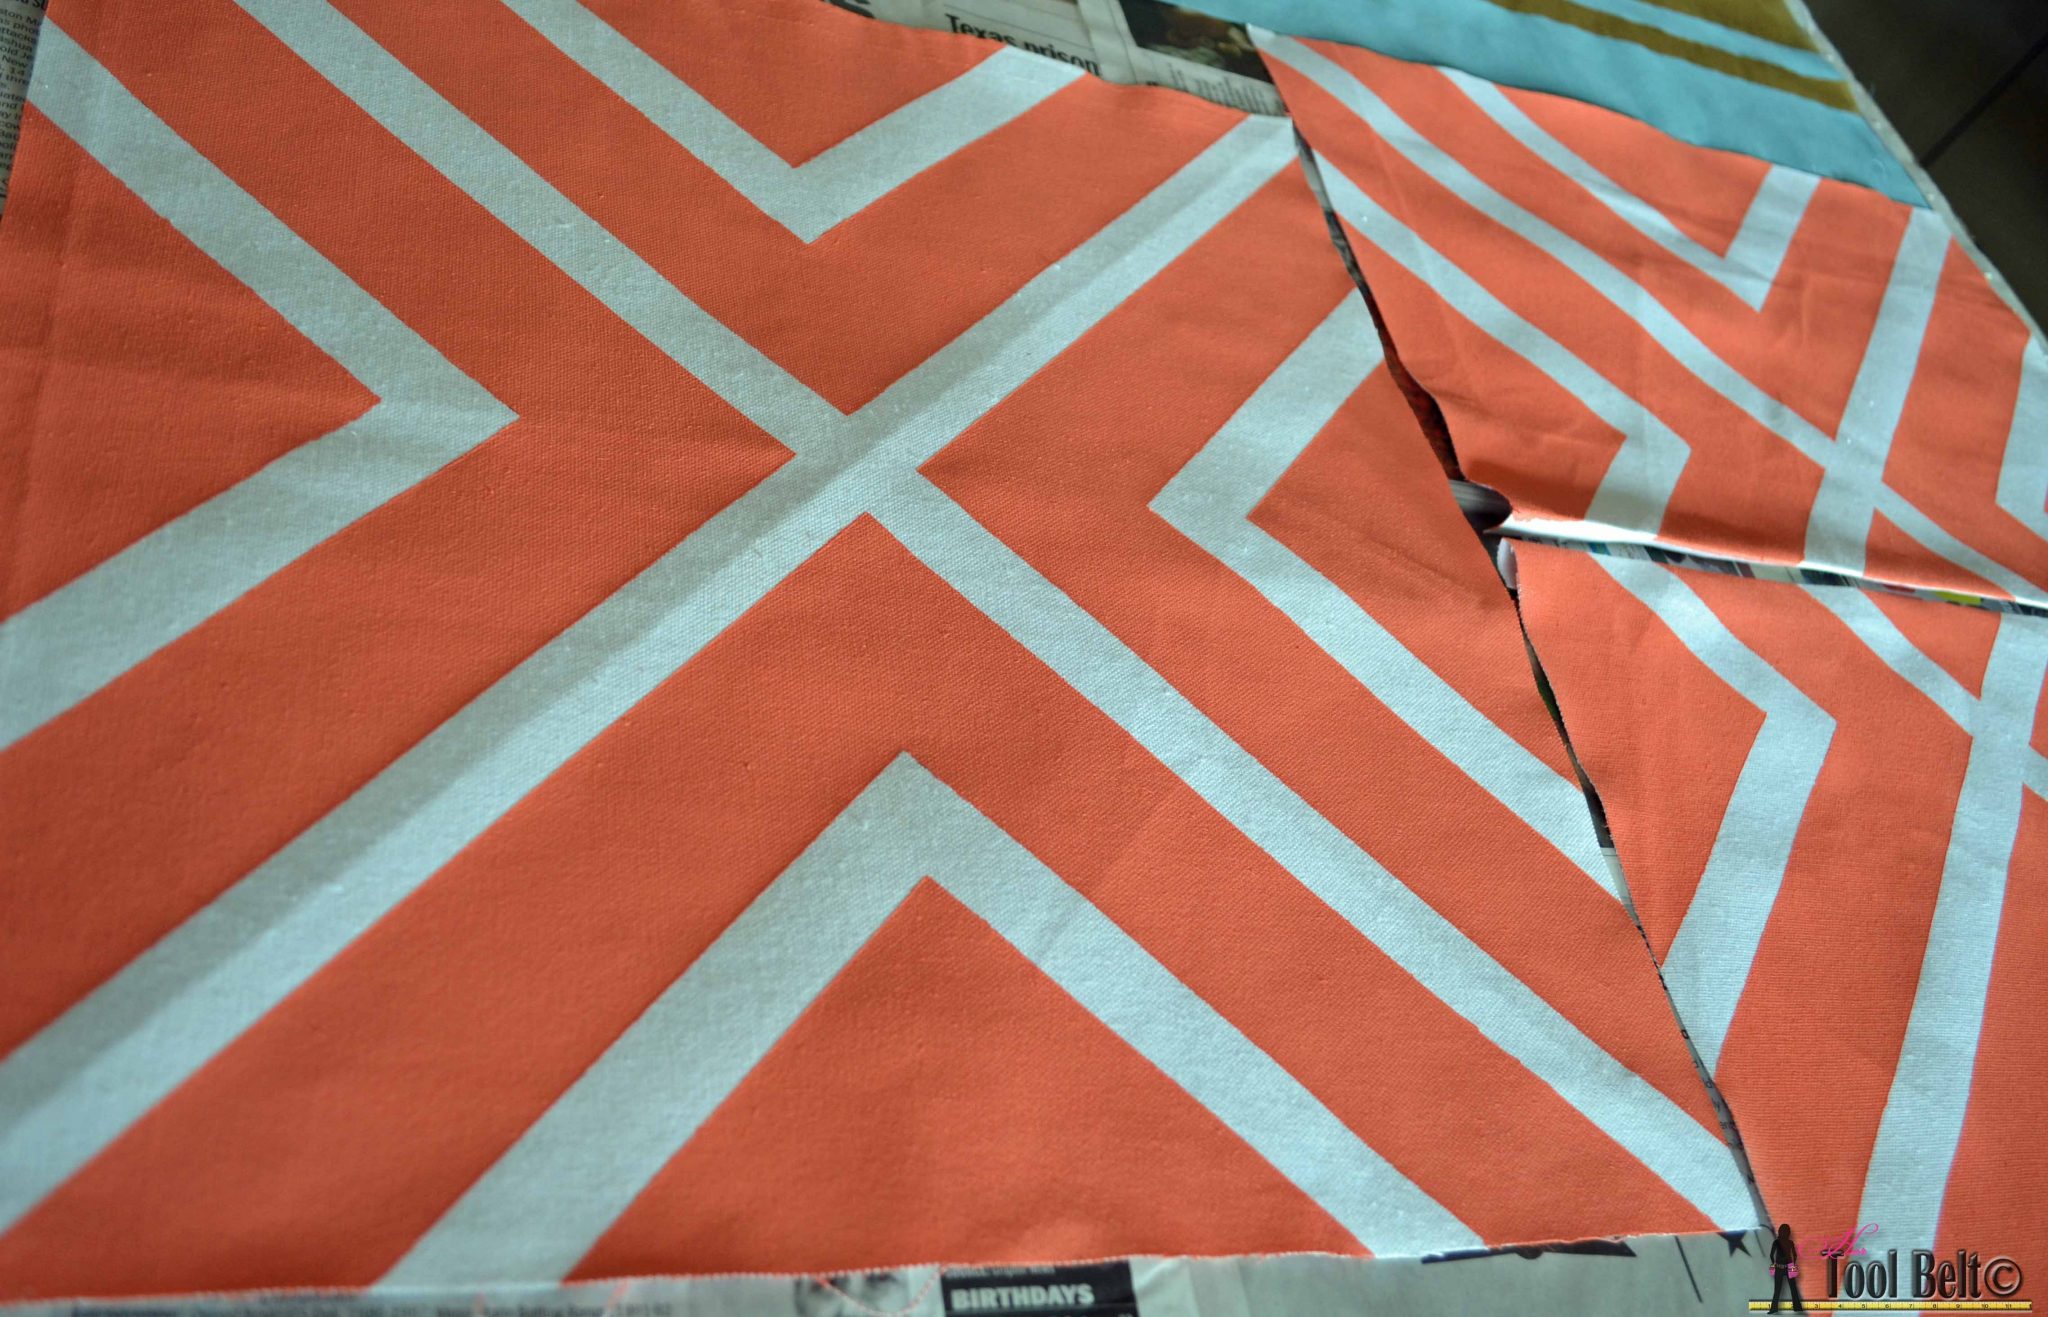
For the pillow material, I had some white canvas material sitting around and I found a blue polyester curtain panel at IKEA clearance for $3. This way if this painted pillow experiment was a flop, I wouldn’t be out much money. I prewashed the fabric. I followed this tutorial for 18″ envelope pillows, I adjusted the numbers for 16″ too.
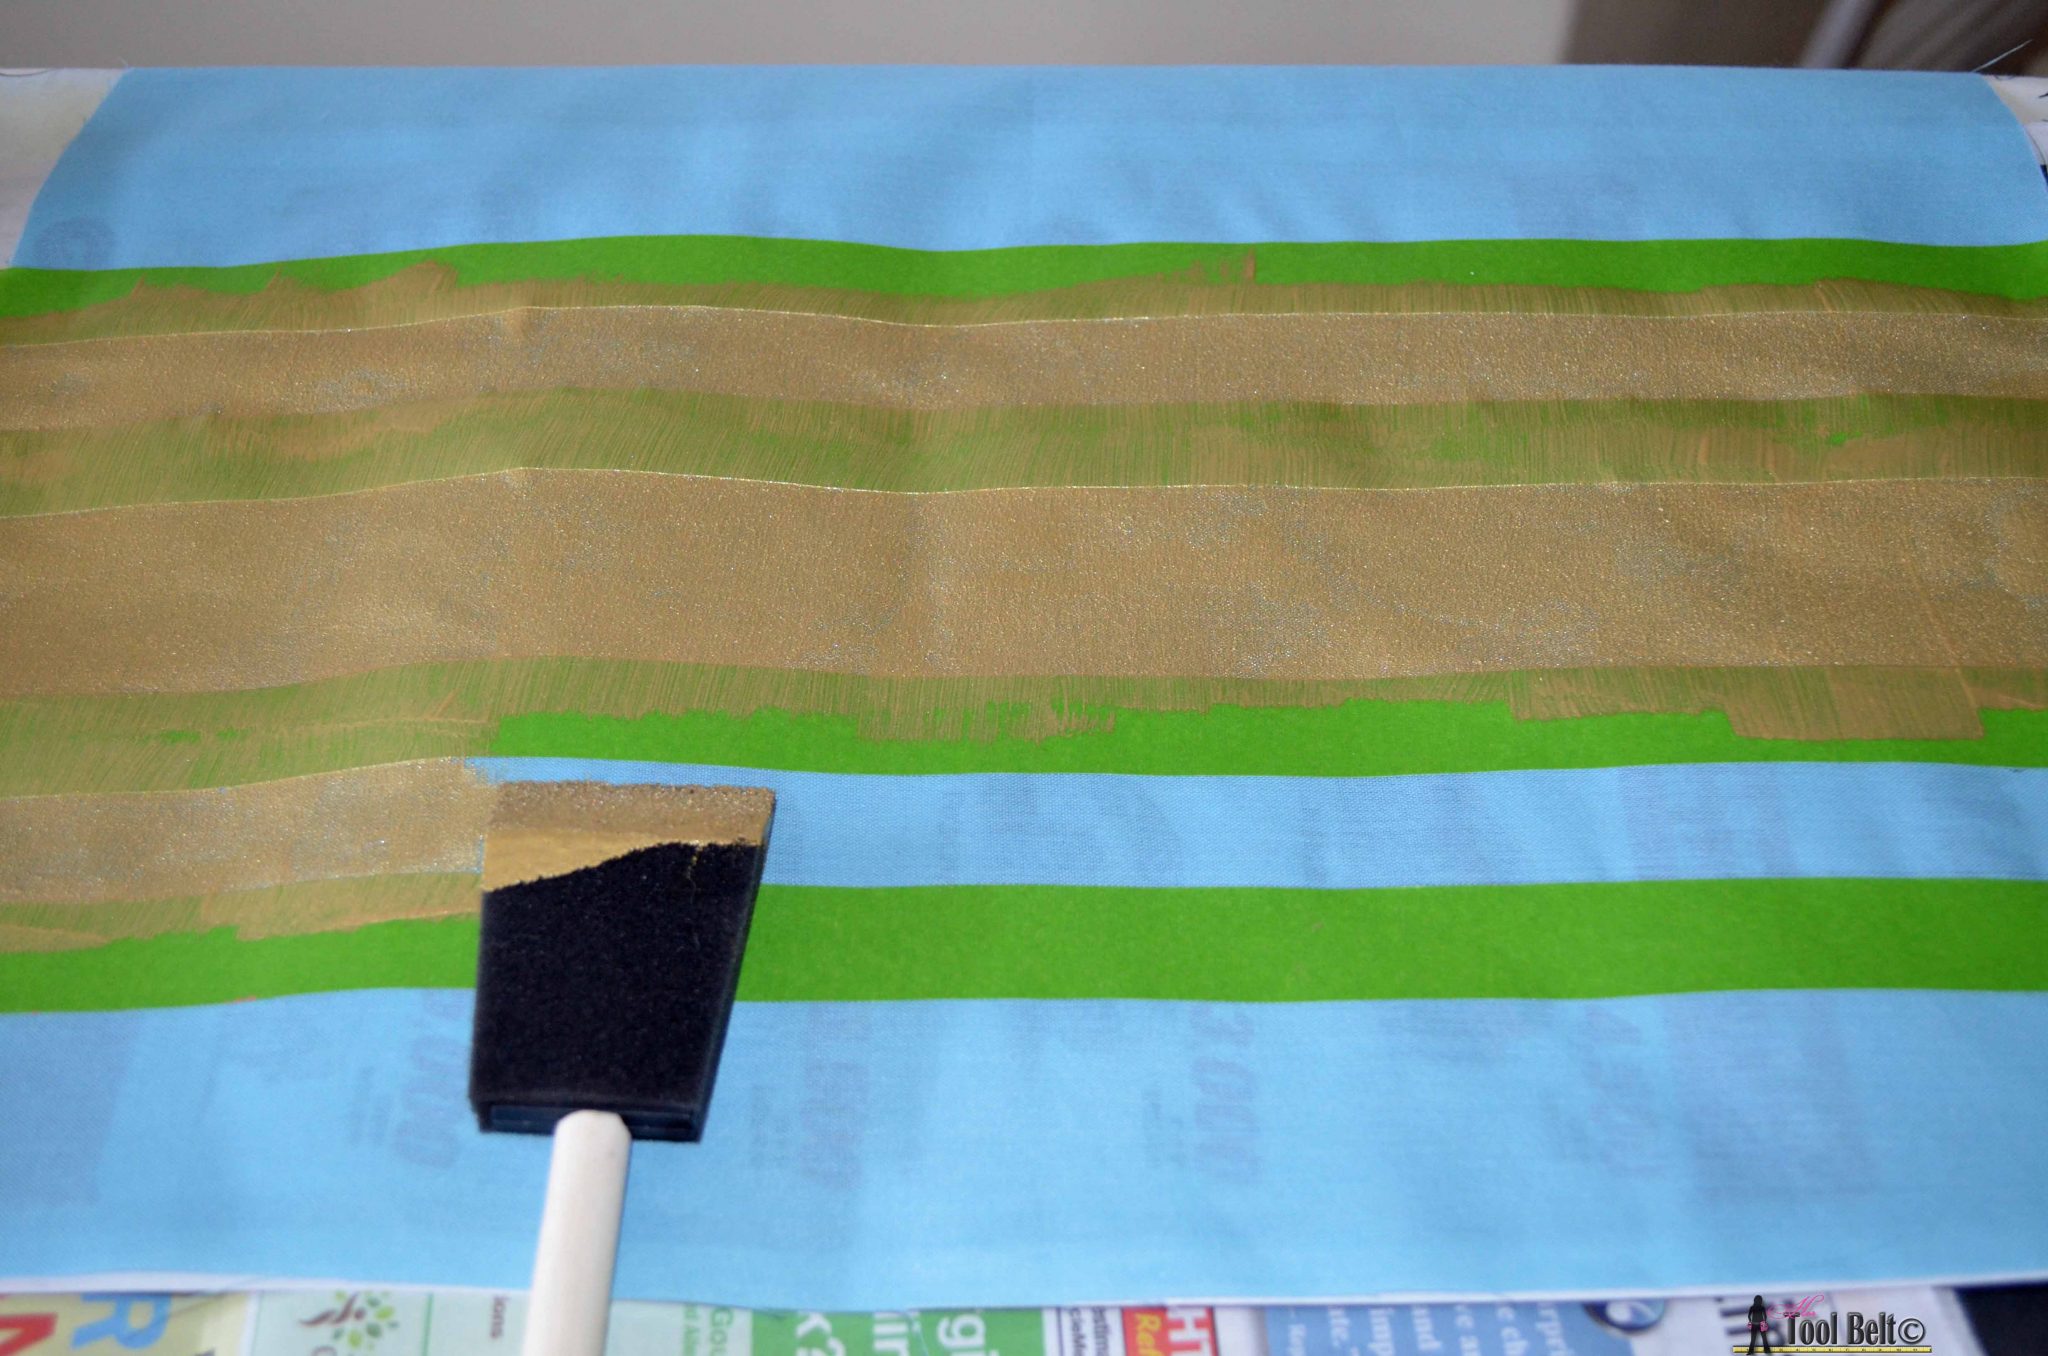
Then I got busy with Frog Tape making patterns. On the blue polyester, I was attempting grain sack stripes. Make sure the back panel lines will line up with the front.
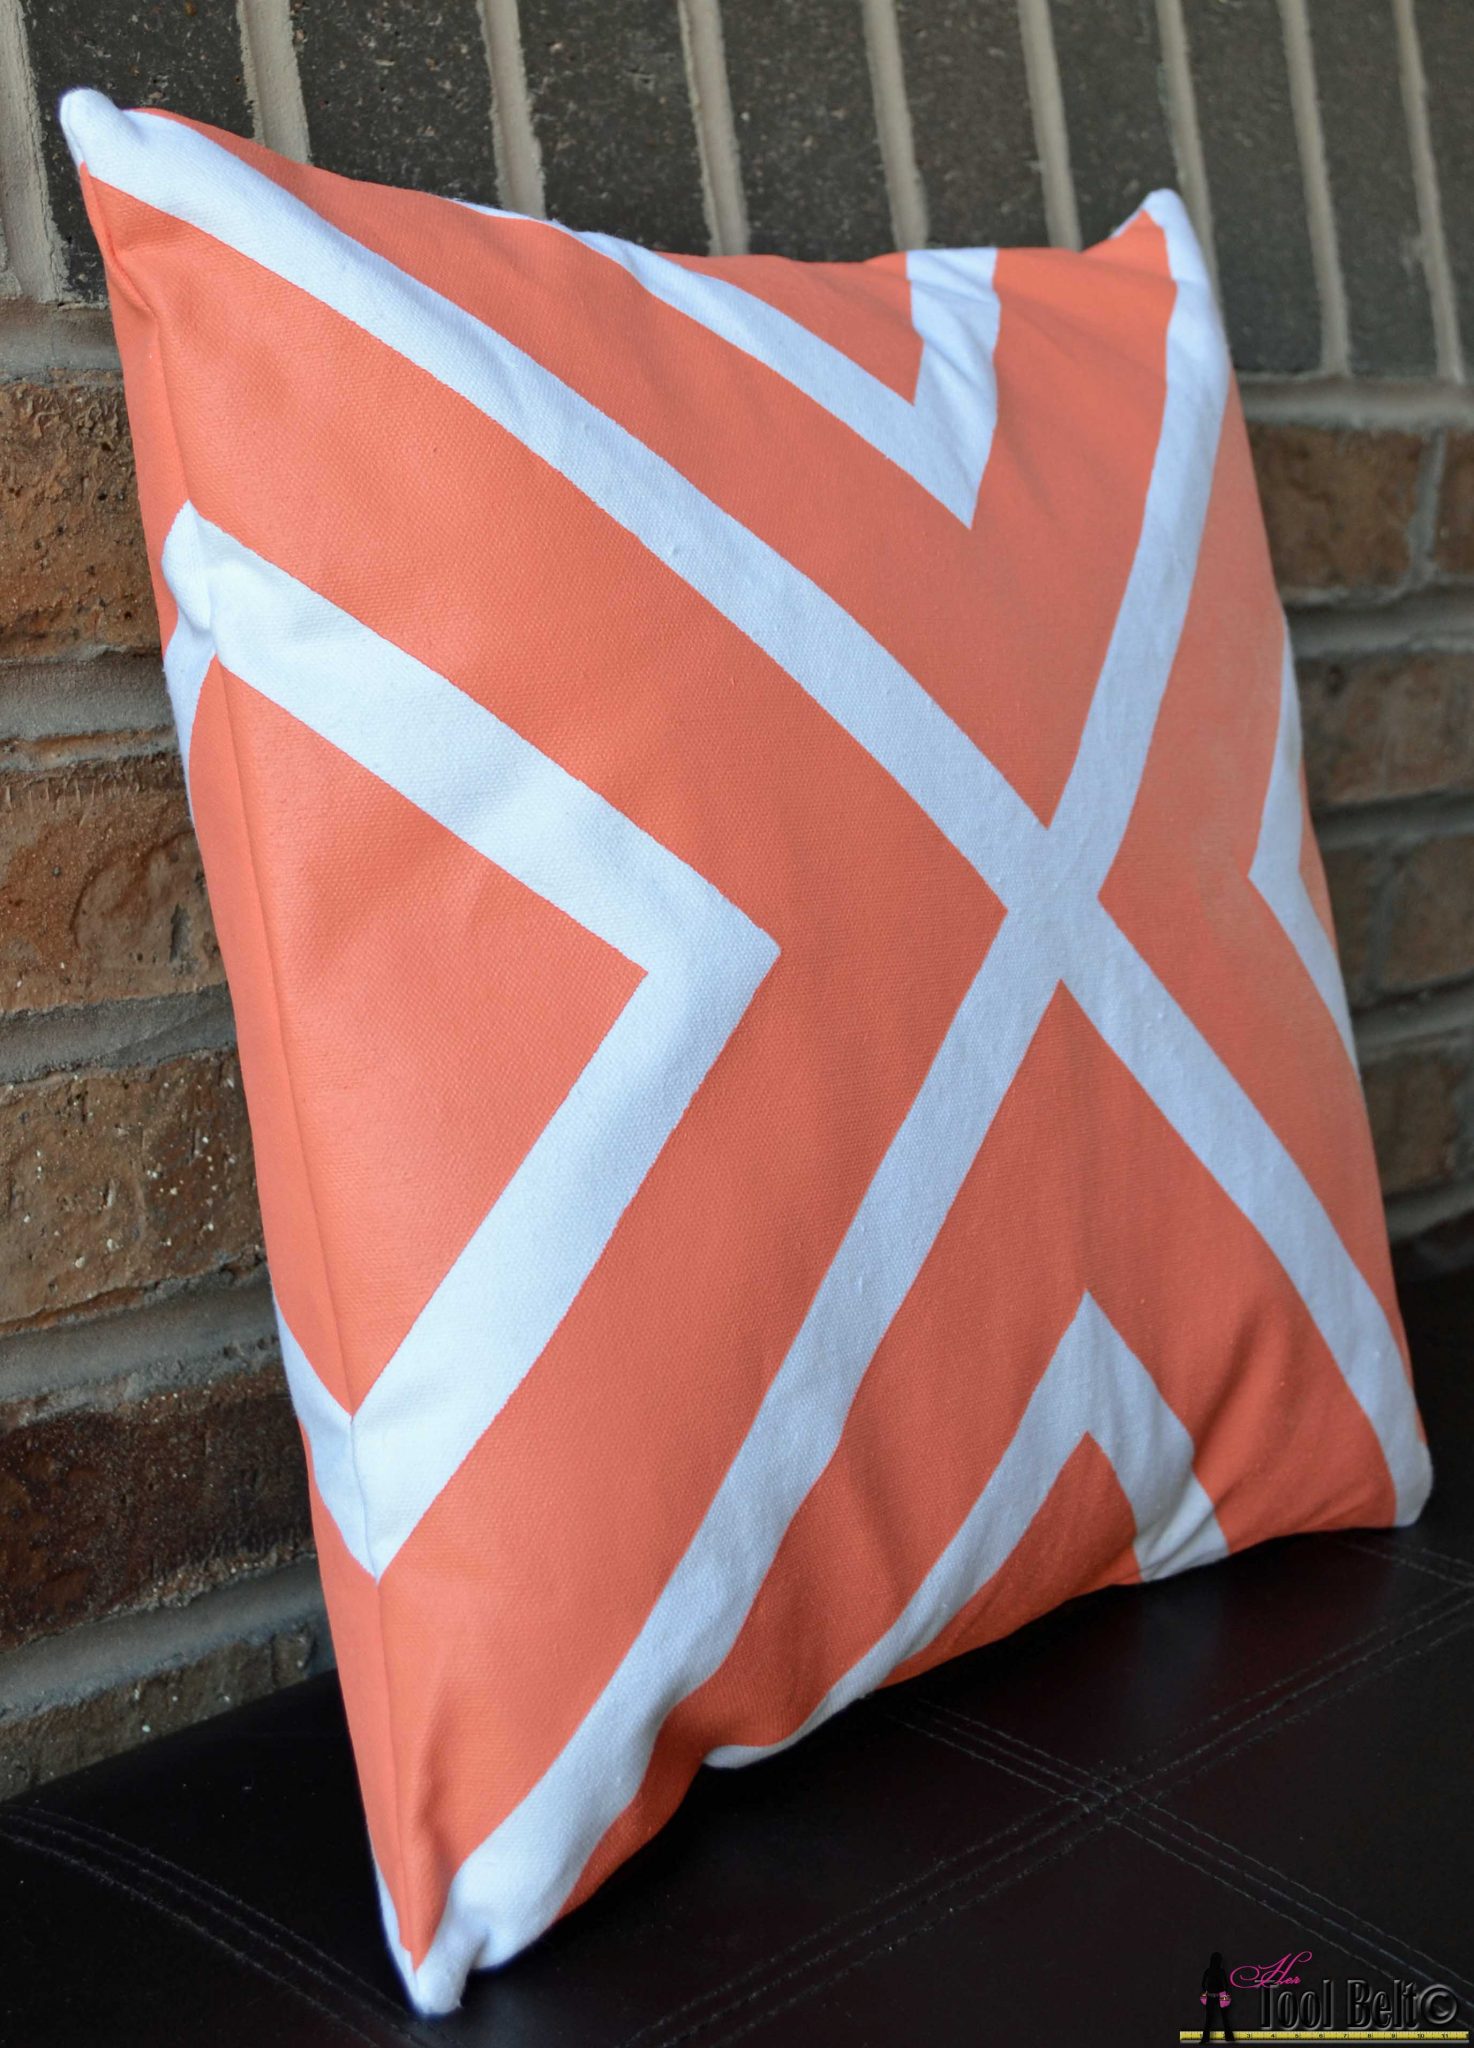
I wanted to try a gold polka dot pillow. I put strips of Frog Tape on the canvas, then took a 1 1/4″ lid and lightly traced around it with an X-acto knife. Then removed the inner tape circle. 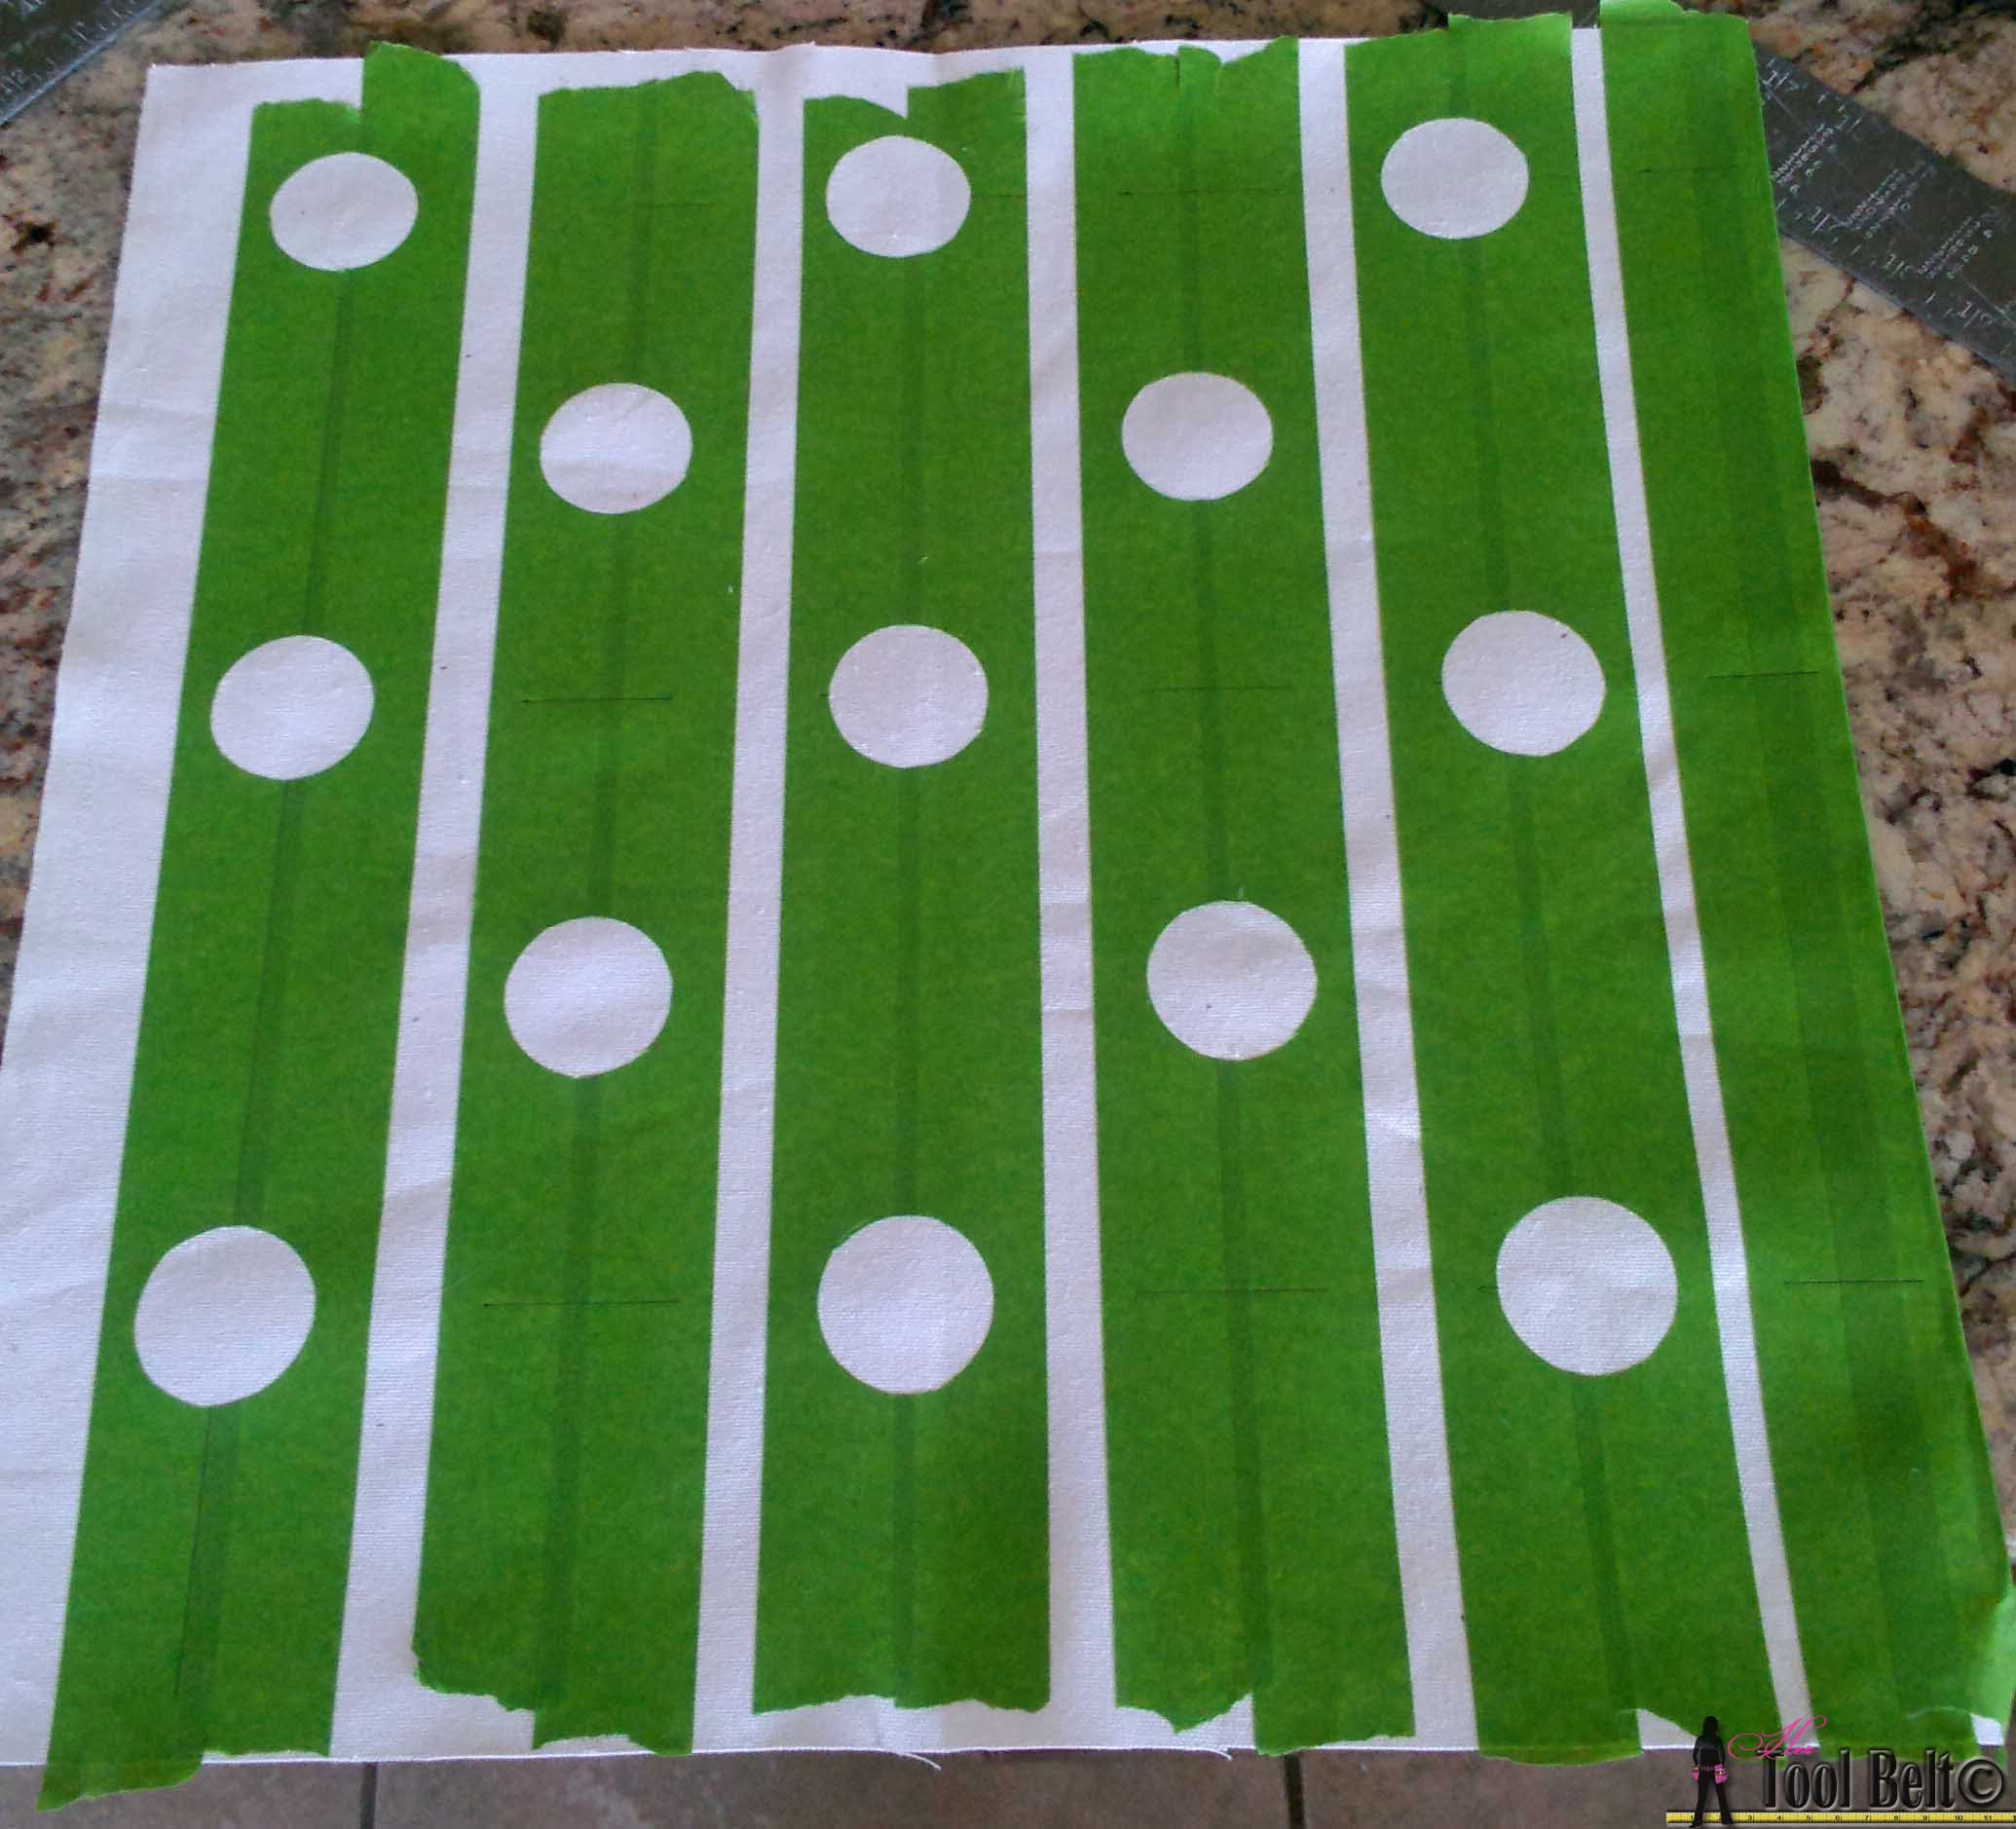
Before you paint, press down firmly on all of your taped areas.
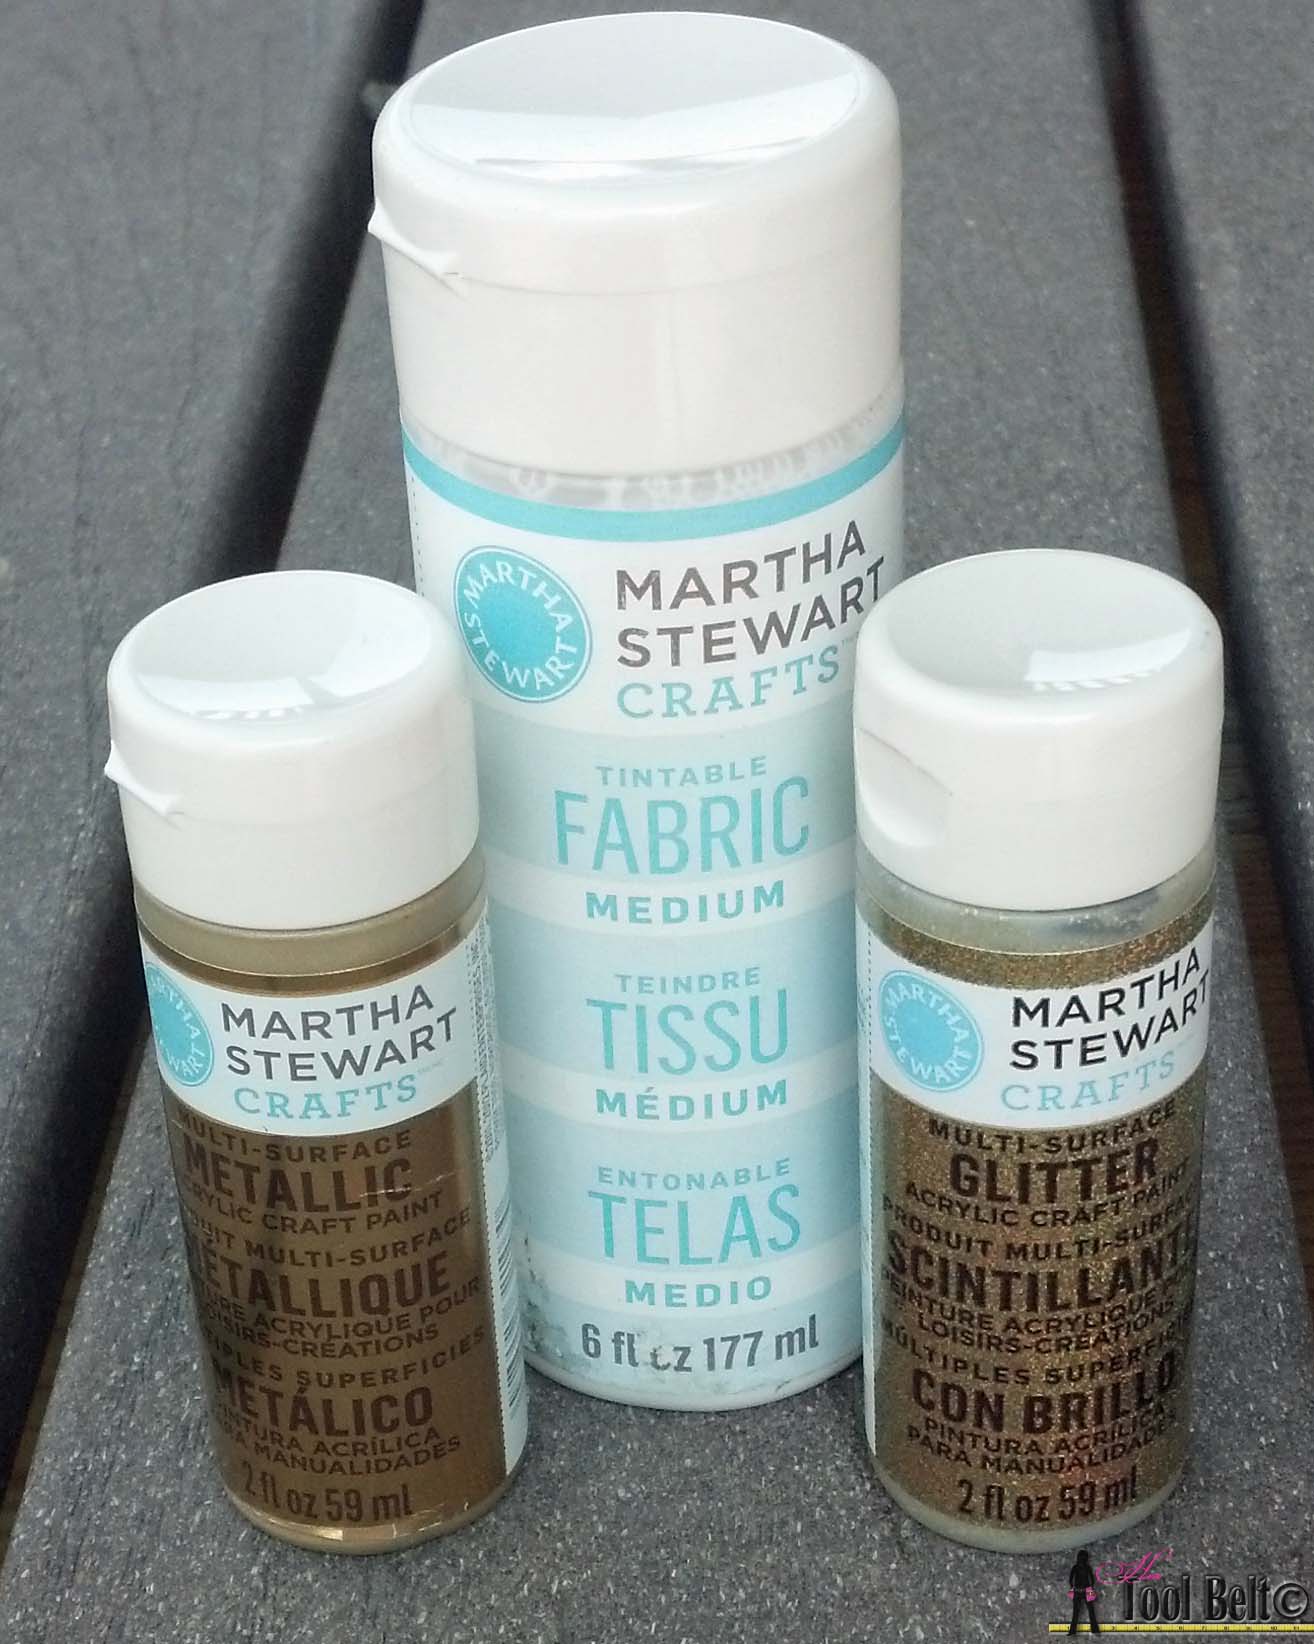 To paint the pillows you need to add Fabric Medium to the paint. This keeps the paint pliable when dry, and prevents the paint from flaking. You can grab some at JoAnn’s, but I ended up buying it off of Amazon, it was cheaper. The acrylic paints were cheap on amazon too about $1.75, I was surprised.
I used acrylic metallic gold paint for the gold pillows and used coral latex paint for the coral pillow. Both seemed to work great.
Mix 2 parts of paint with 1 part of fabric medium.
Now the painting fun, put something under your material like newspaper. Paint the material with a light coat, don’t puddle the paint. That’s a recipe for leaks. Allow the paint to dry, mine was dry within 30 minutes. Touch up any spots that you need too.

On the gold polka dot pillow, I wanted to add a little extra bling. I added a final coat of the gold glitter paint mixed with fabric medium.
Now pull off the tape and allow your material to fully dry. I was super impressed, I did not have 1 leak. (I can’t say that about my walls. ) The painters tape worked perfectly. Even on the thin polyester material, there was no paint leak.
 Once everything was dry, I talked my friend into sewing these pillows for me. It took her all of 10 minutes to sew. Then I stuffed the pillow forms into the envelope.
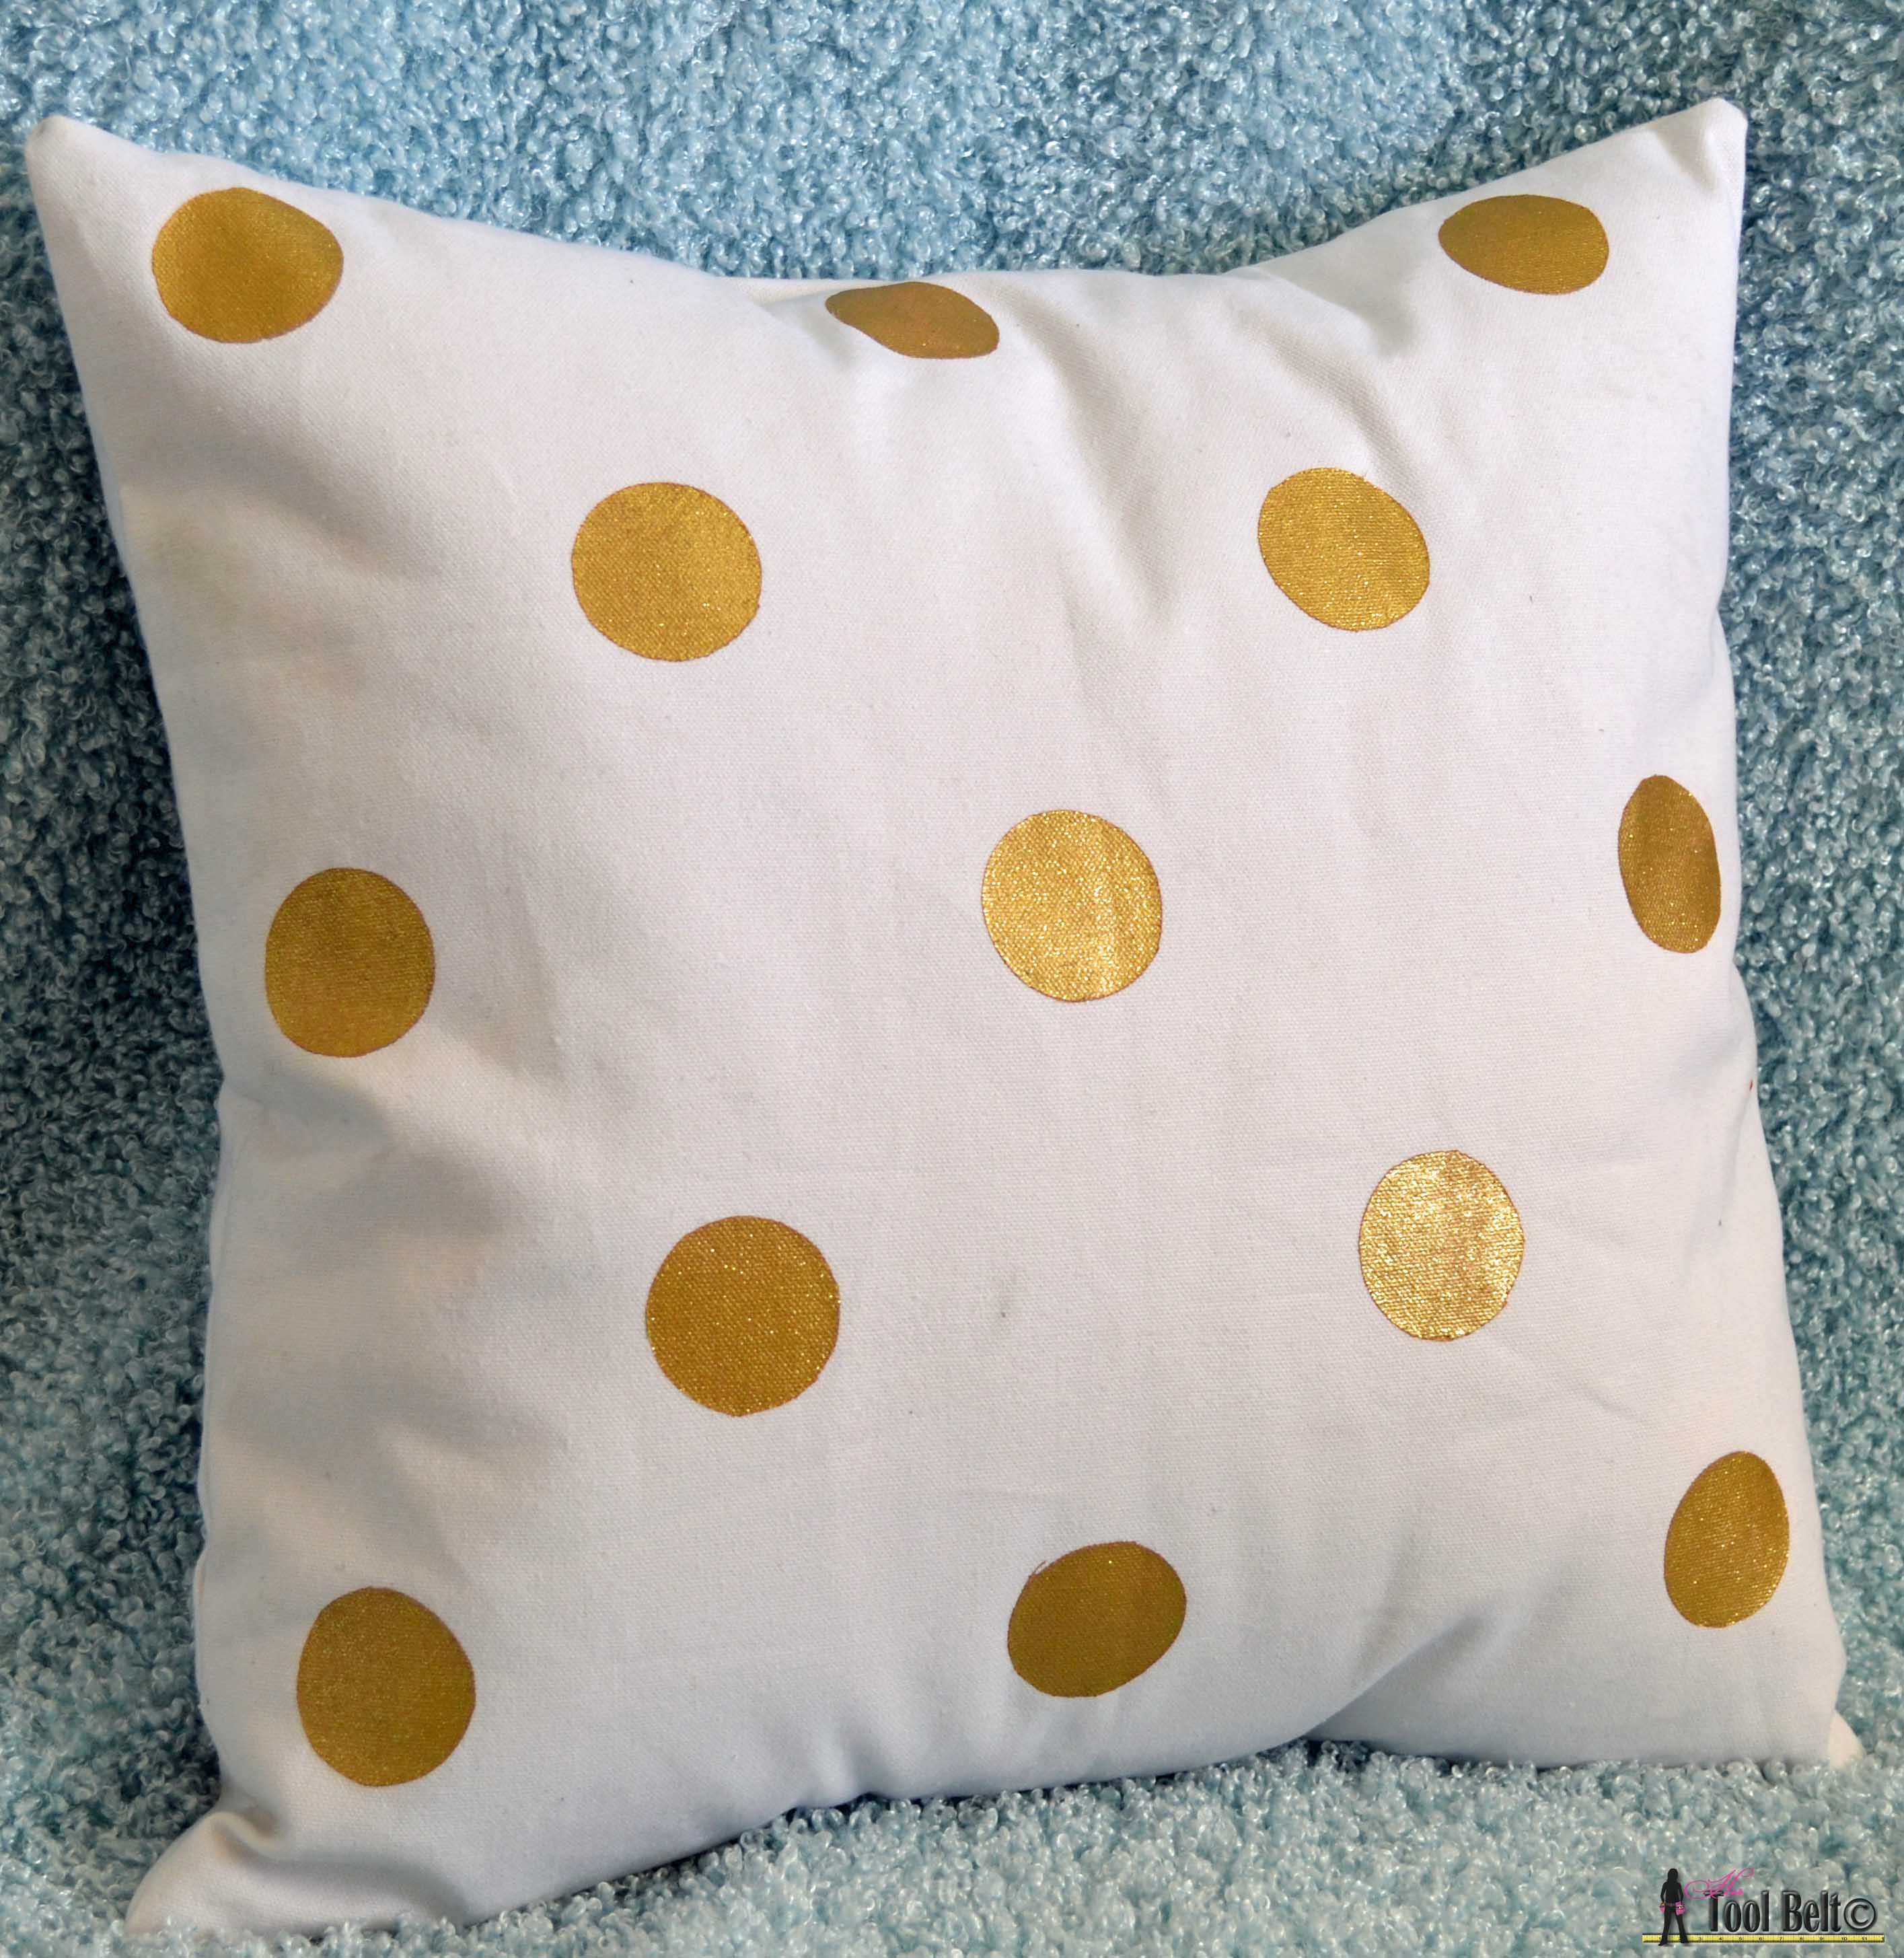
 I absolutely love how the painted pillows turned out, I would do it again in a heart beat. The nice thing is that you can use any water based paint, so you can easily customize your color scheme by painting pillows and/or curtains. The finished texture reminds me of outdoor fabric.
Now here comes the big FAIL. The fabric medium bottle says “Care: wash inside out with cool water.” The polka dot pillow had a few pencil marks on it, so I decided to wash it.
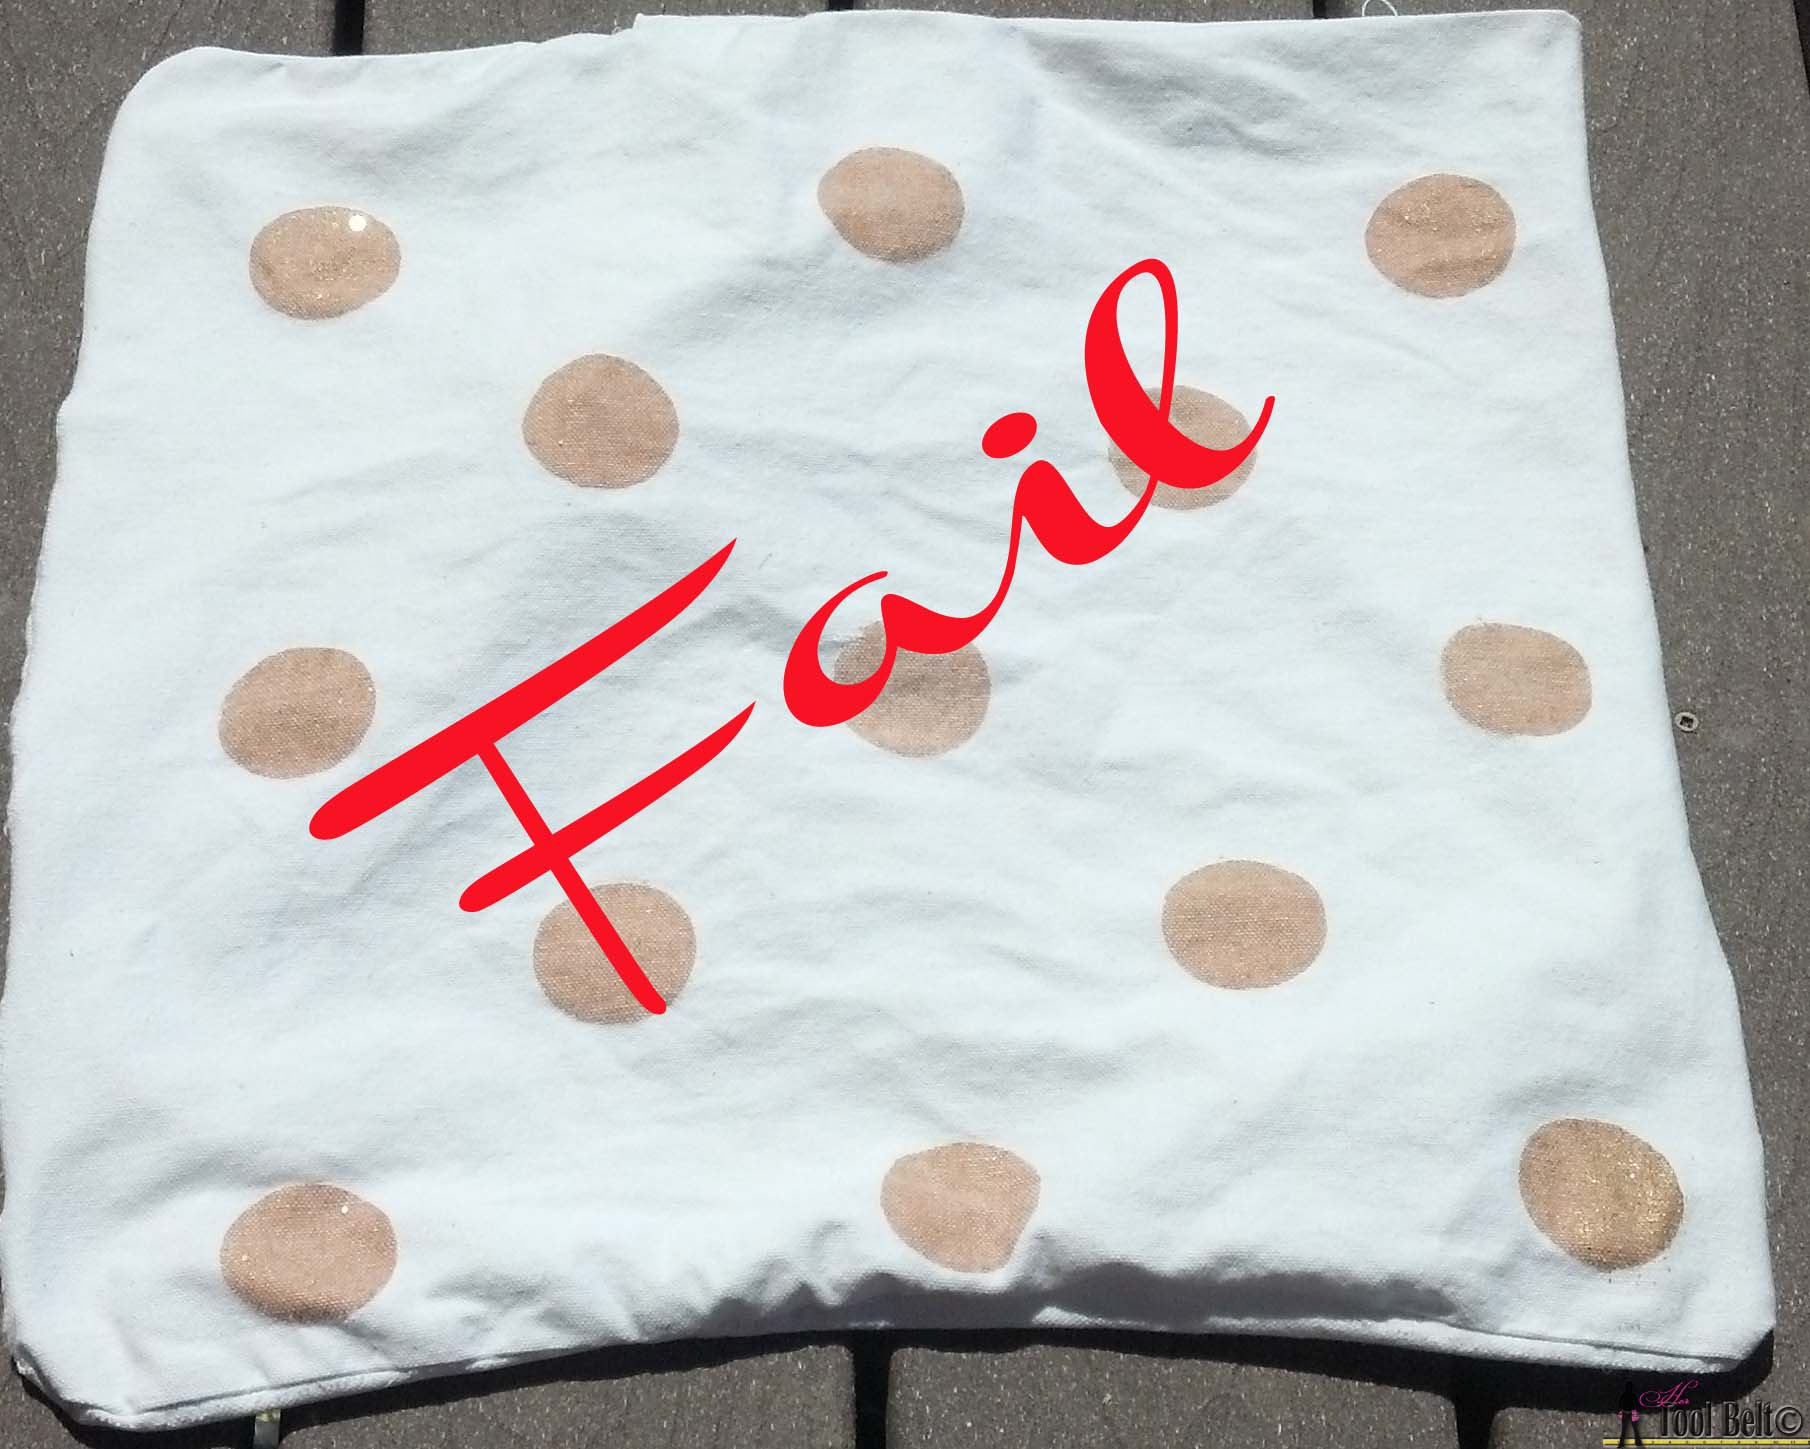
Well that was disappointing. Update: So apparently I did something wrong, because Stacy at NotJUSTahousewife has washed hers numerous times and they still look great.
I missed a crucial step, I didn’t heat set the painted pillow after the paint was dry, whoops. To heat set the paint, turn the fabric to the back side. Use an iron set on medium high with no steam and slowly iron the painted fabric. I successfully washed the blue polyester pillow and the paint still looks great – Thanks Stacy!
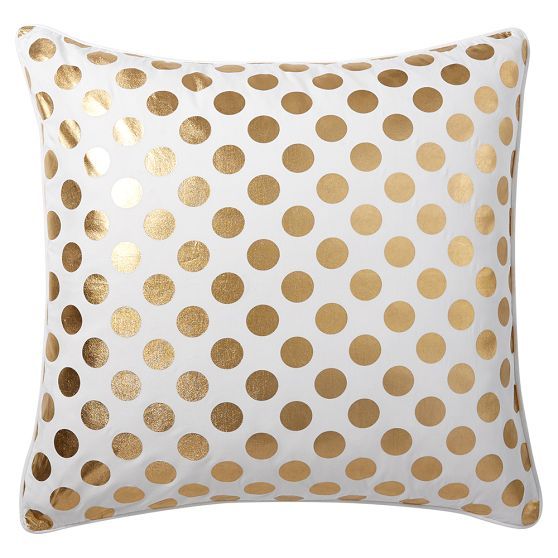
Now that I know how well painting fabric works, I am going to try and recreate this fabulous gold polka dot pillow, so fun.
 Have fun creating.
Pin for later
Tips to make a sign with perfect lines
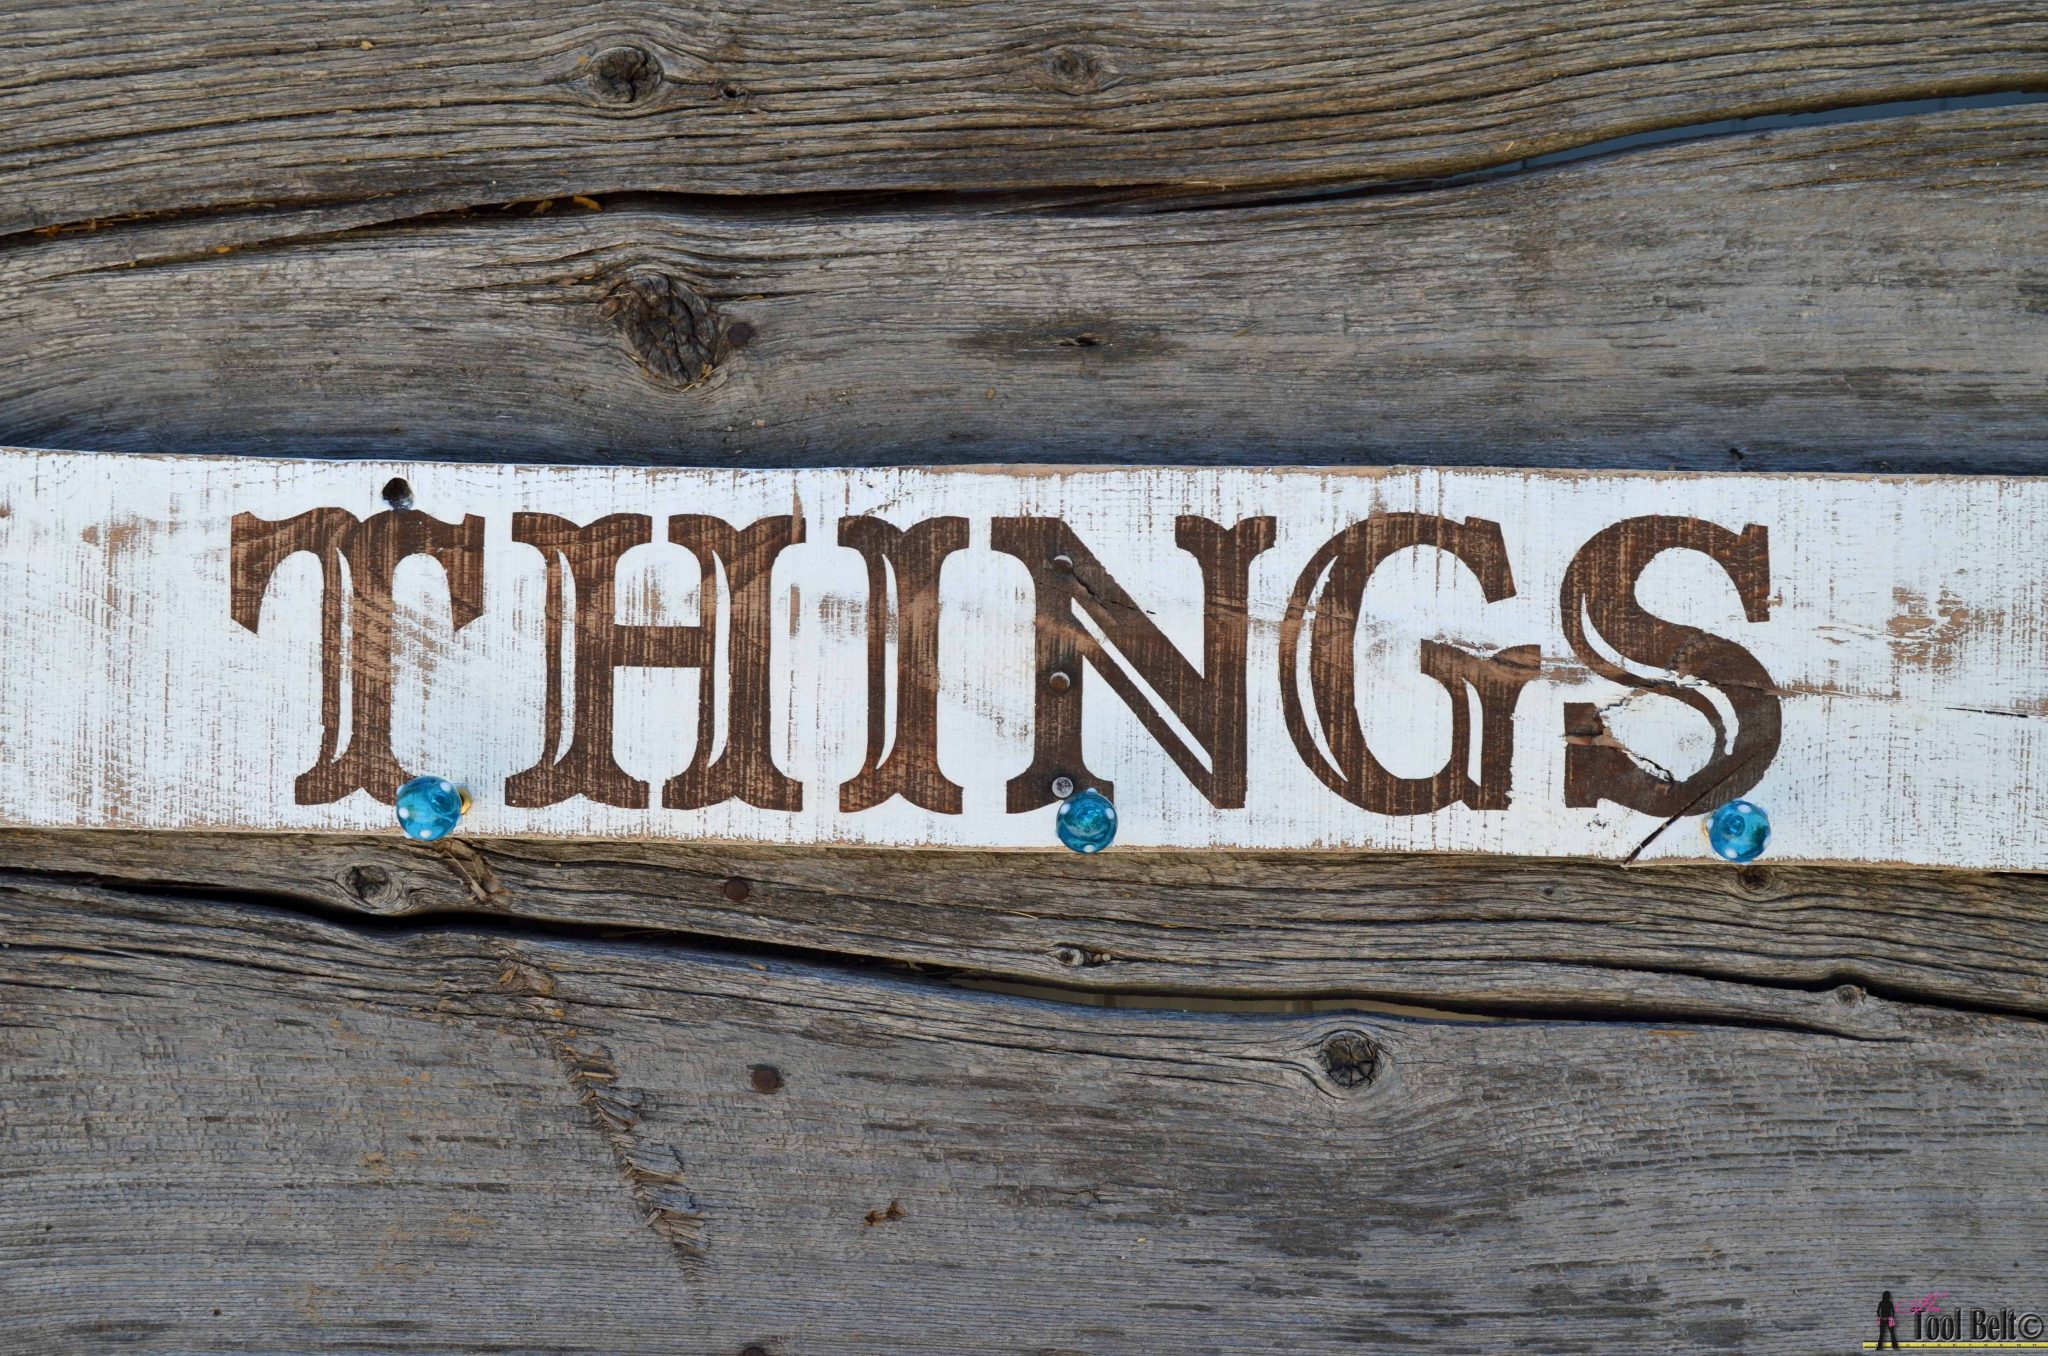
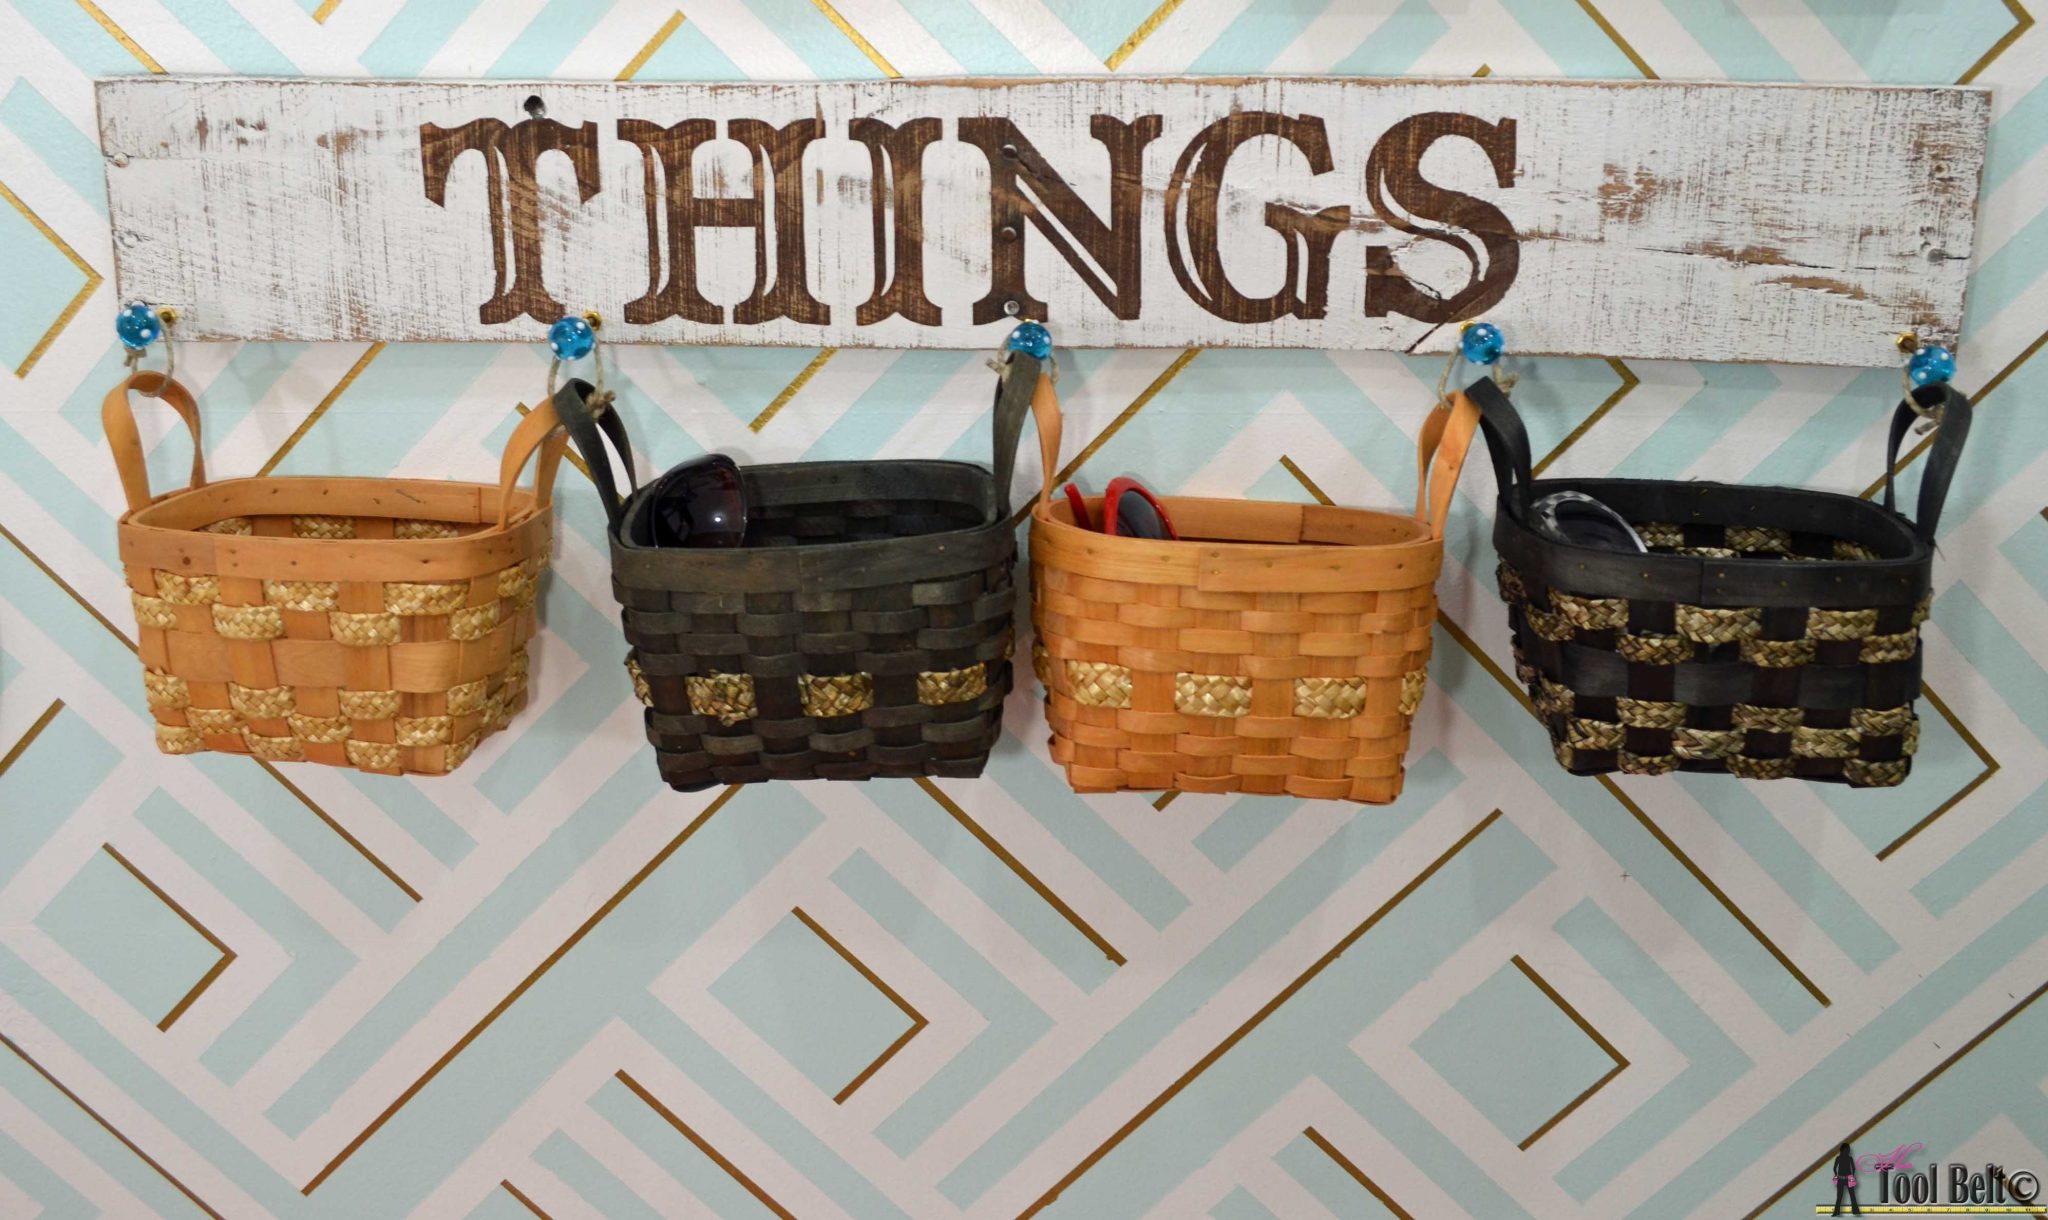
This ‘THINGS’ sign is another element in my newly revamped mudroom & command center project: Save my counters! I wanted to make a painted sign, but I have horrific handwriting and my hand painting skills are really really lacking. This is the easiest method to have perfect lines, like you get with a vinyl stencil…but without the expensive vinyl cutter.
To make this project you’ll need:
- wood (mine is a pallet slat 5 1/2″ x 35″)
- Printer/paper
- Frog Tape (affiliate)
- X-acto Knife (affiliate)
- Stain/paint
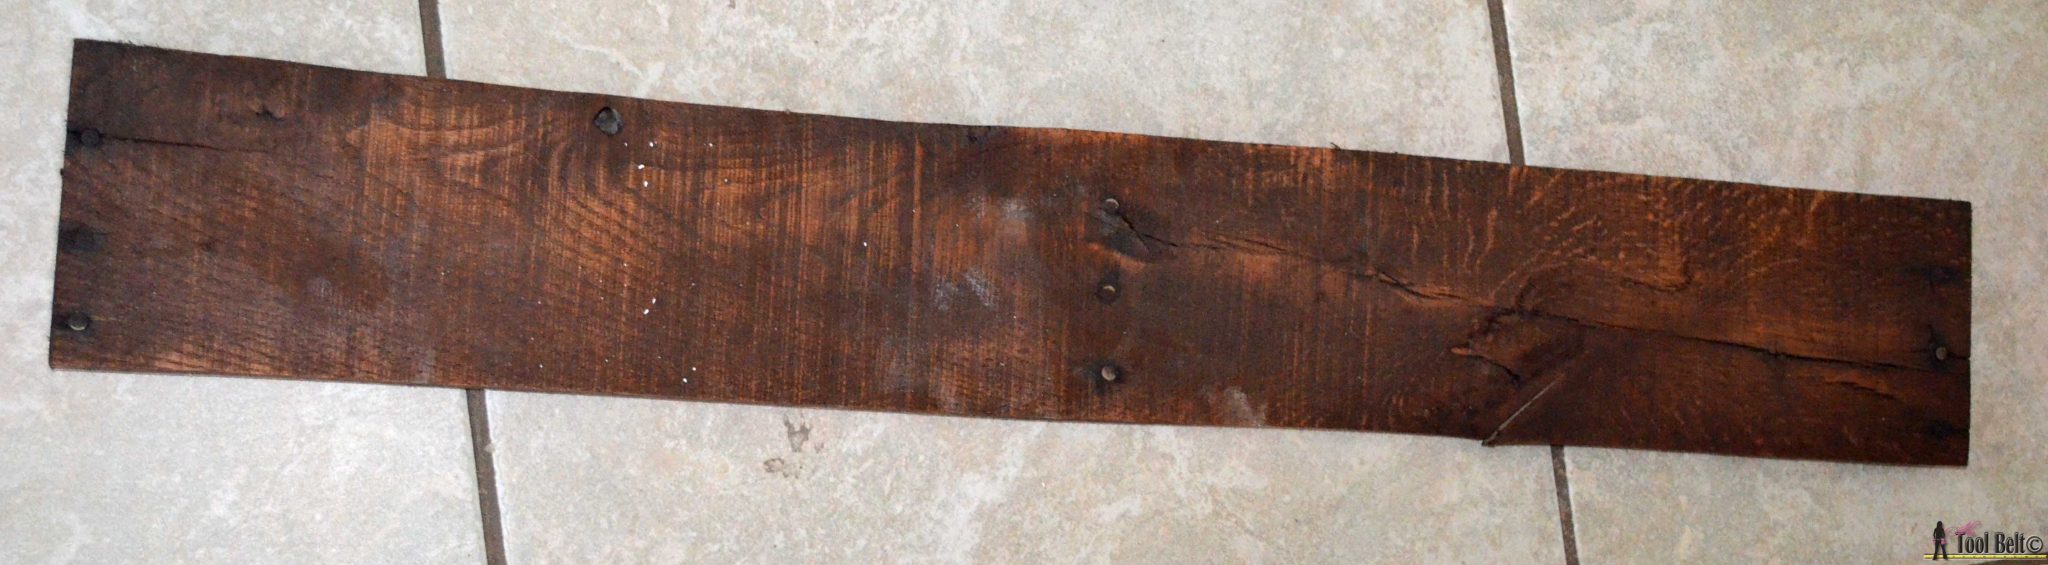
I wanted my sign to be a little bit rustic. So I used a pallet slat, I love to leave the nails for added character (here’s a video showing how.)
Please Subscribe!
Then I stained the wood with the under color that I wanted, this is General Finishes Nutmeg. Let the stain dry for at least a day.
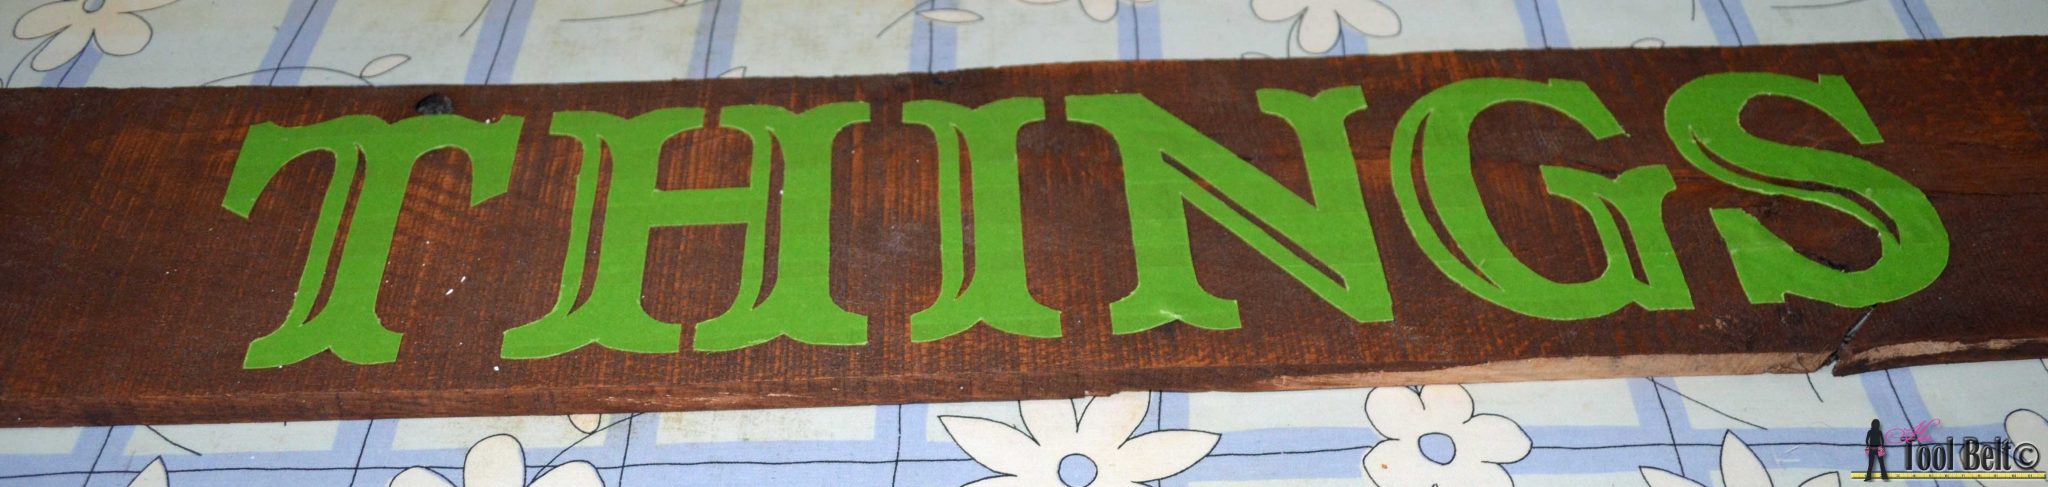
Download and print THINGS Things – THI Things – NGS and tape together. Or design the words or shapes that you want on your sign and print it out. The font I used is called Captain Howdy.
Add Frog Tape to the wood, when overlapping the tape, overlap around 1/4″ or more.
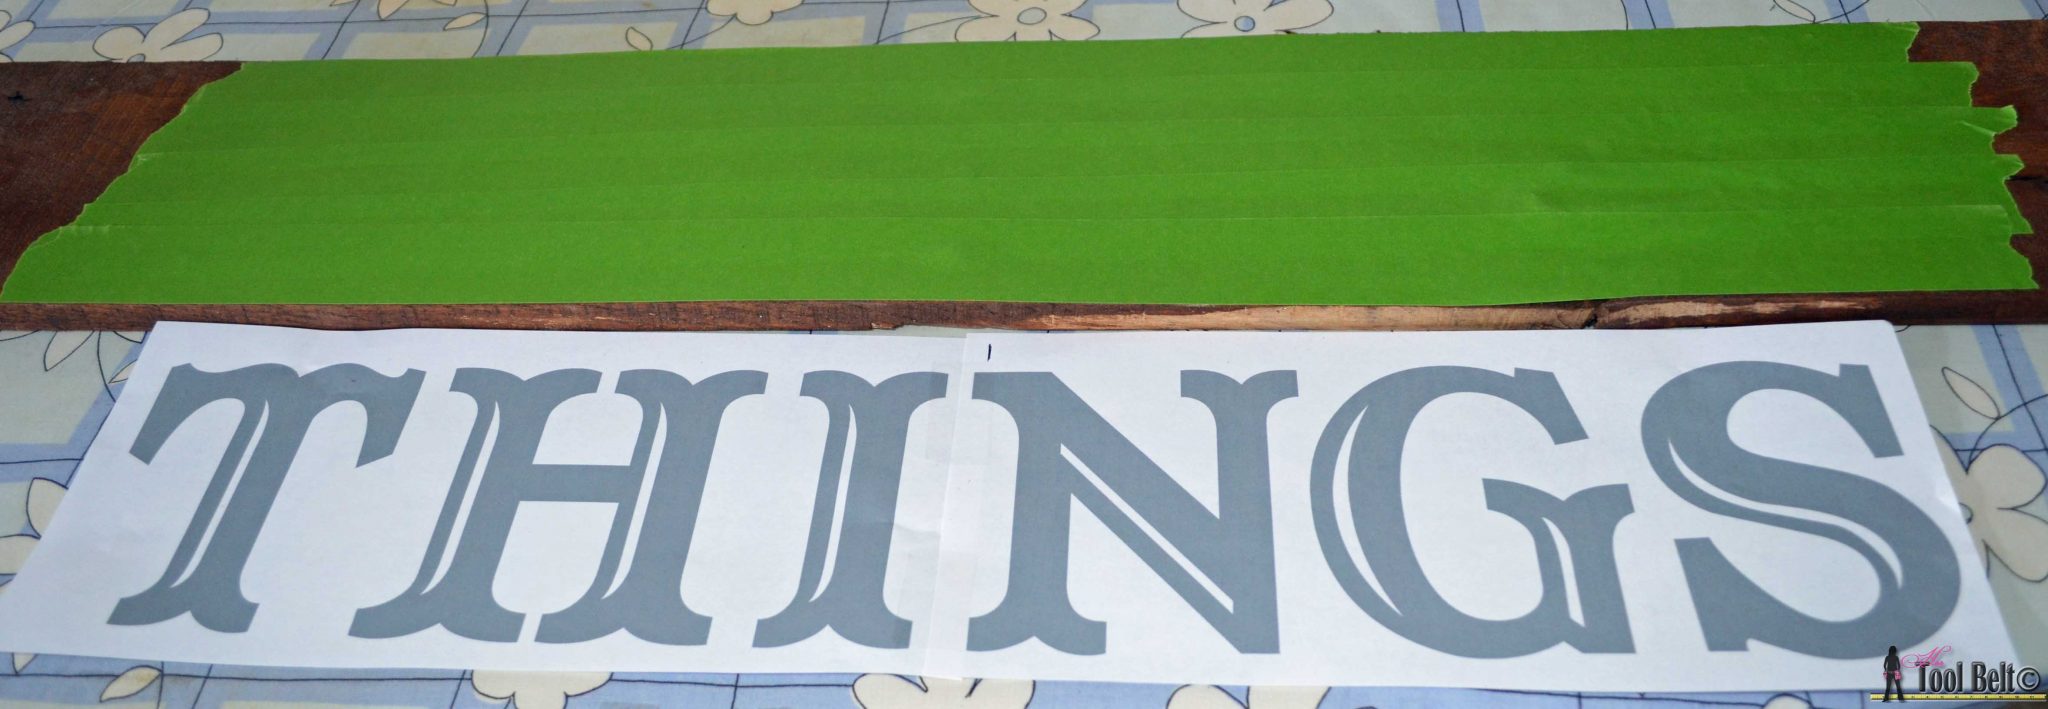 Tape ‘things’ or your pattern in place on top of the Frog Tape.
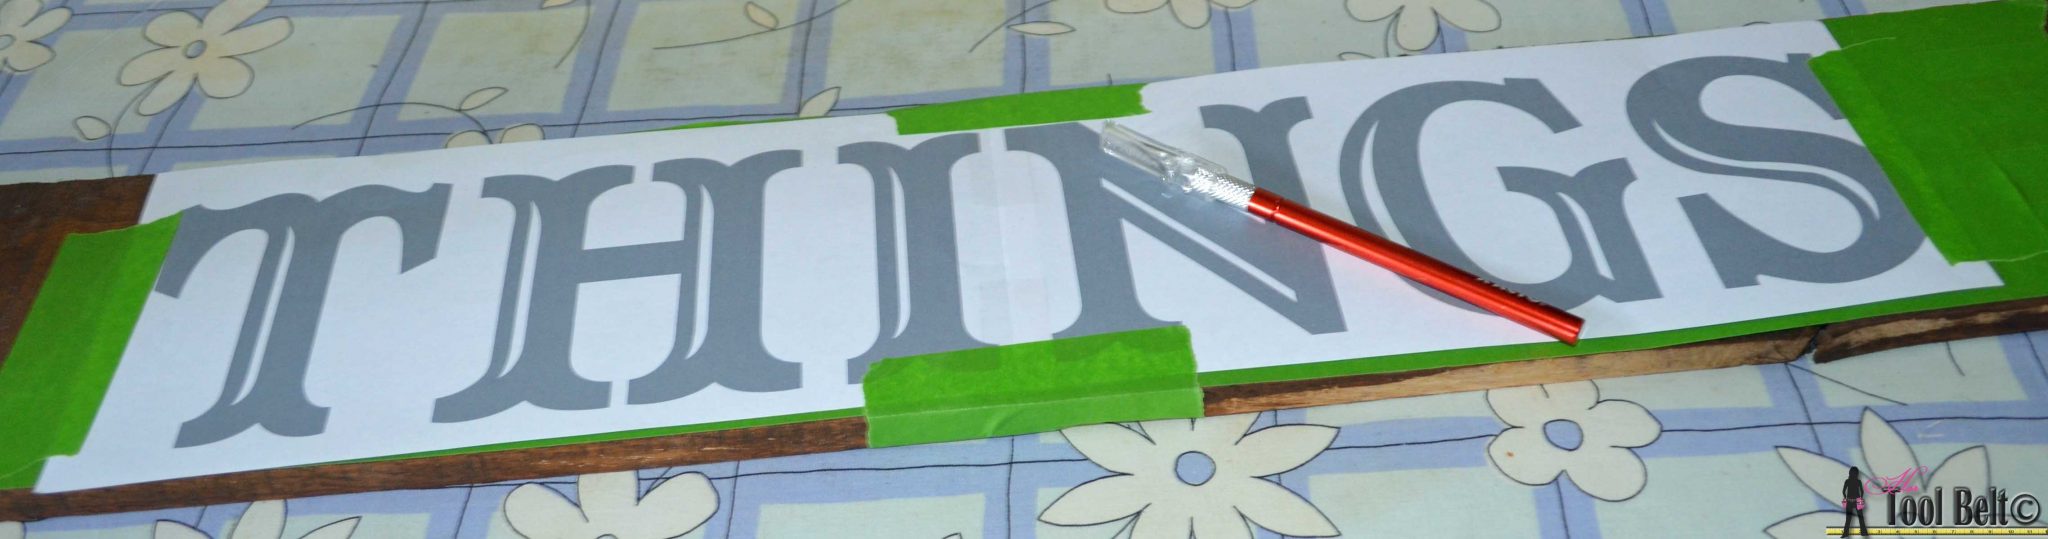 Use an X-acto knife and trace around the pattern, cutting through the paper and tape.
Remove the paper pattern and excess Frog Tape, revealing the stencil. Make sure all of the tape is pressed down firmly.
Now it’s time to paint! One painting tip that I’ve learned is that you don’t want to soak the painters tape. To get the crispest lines, paint on a super light coat of paint at first. I used the dry paint method, where you put minimal paint on your brush and dab it off on a paper towel or sponge and lightly coat the wood. Let this thin paint coat dry, it’ll dry fast. Then add another thicker coat of paint depending on the look you’re going for.
After painting, you can either pull off the tape carefully wet or wait until the paint is dry.
Tip for rustic look: wait for the paint to be FULLY dry, at least 1 day, then lightly sand the edges and face until the sign is distressed as much as you like.
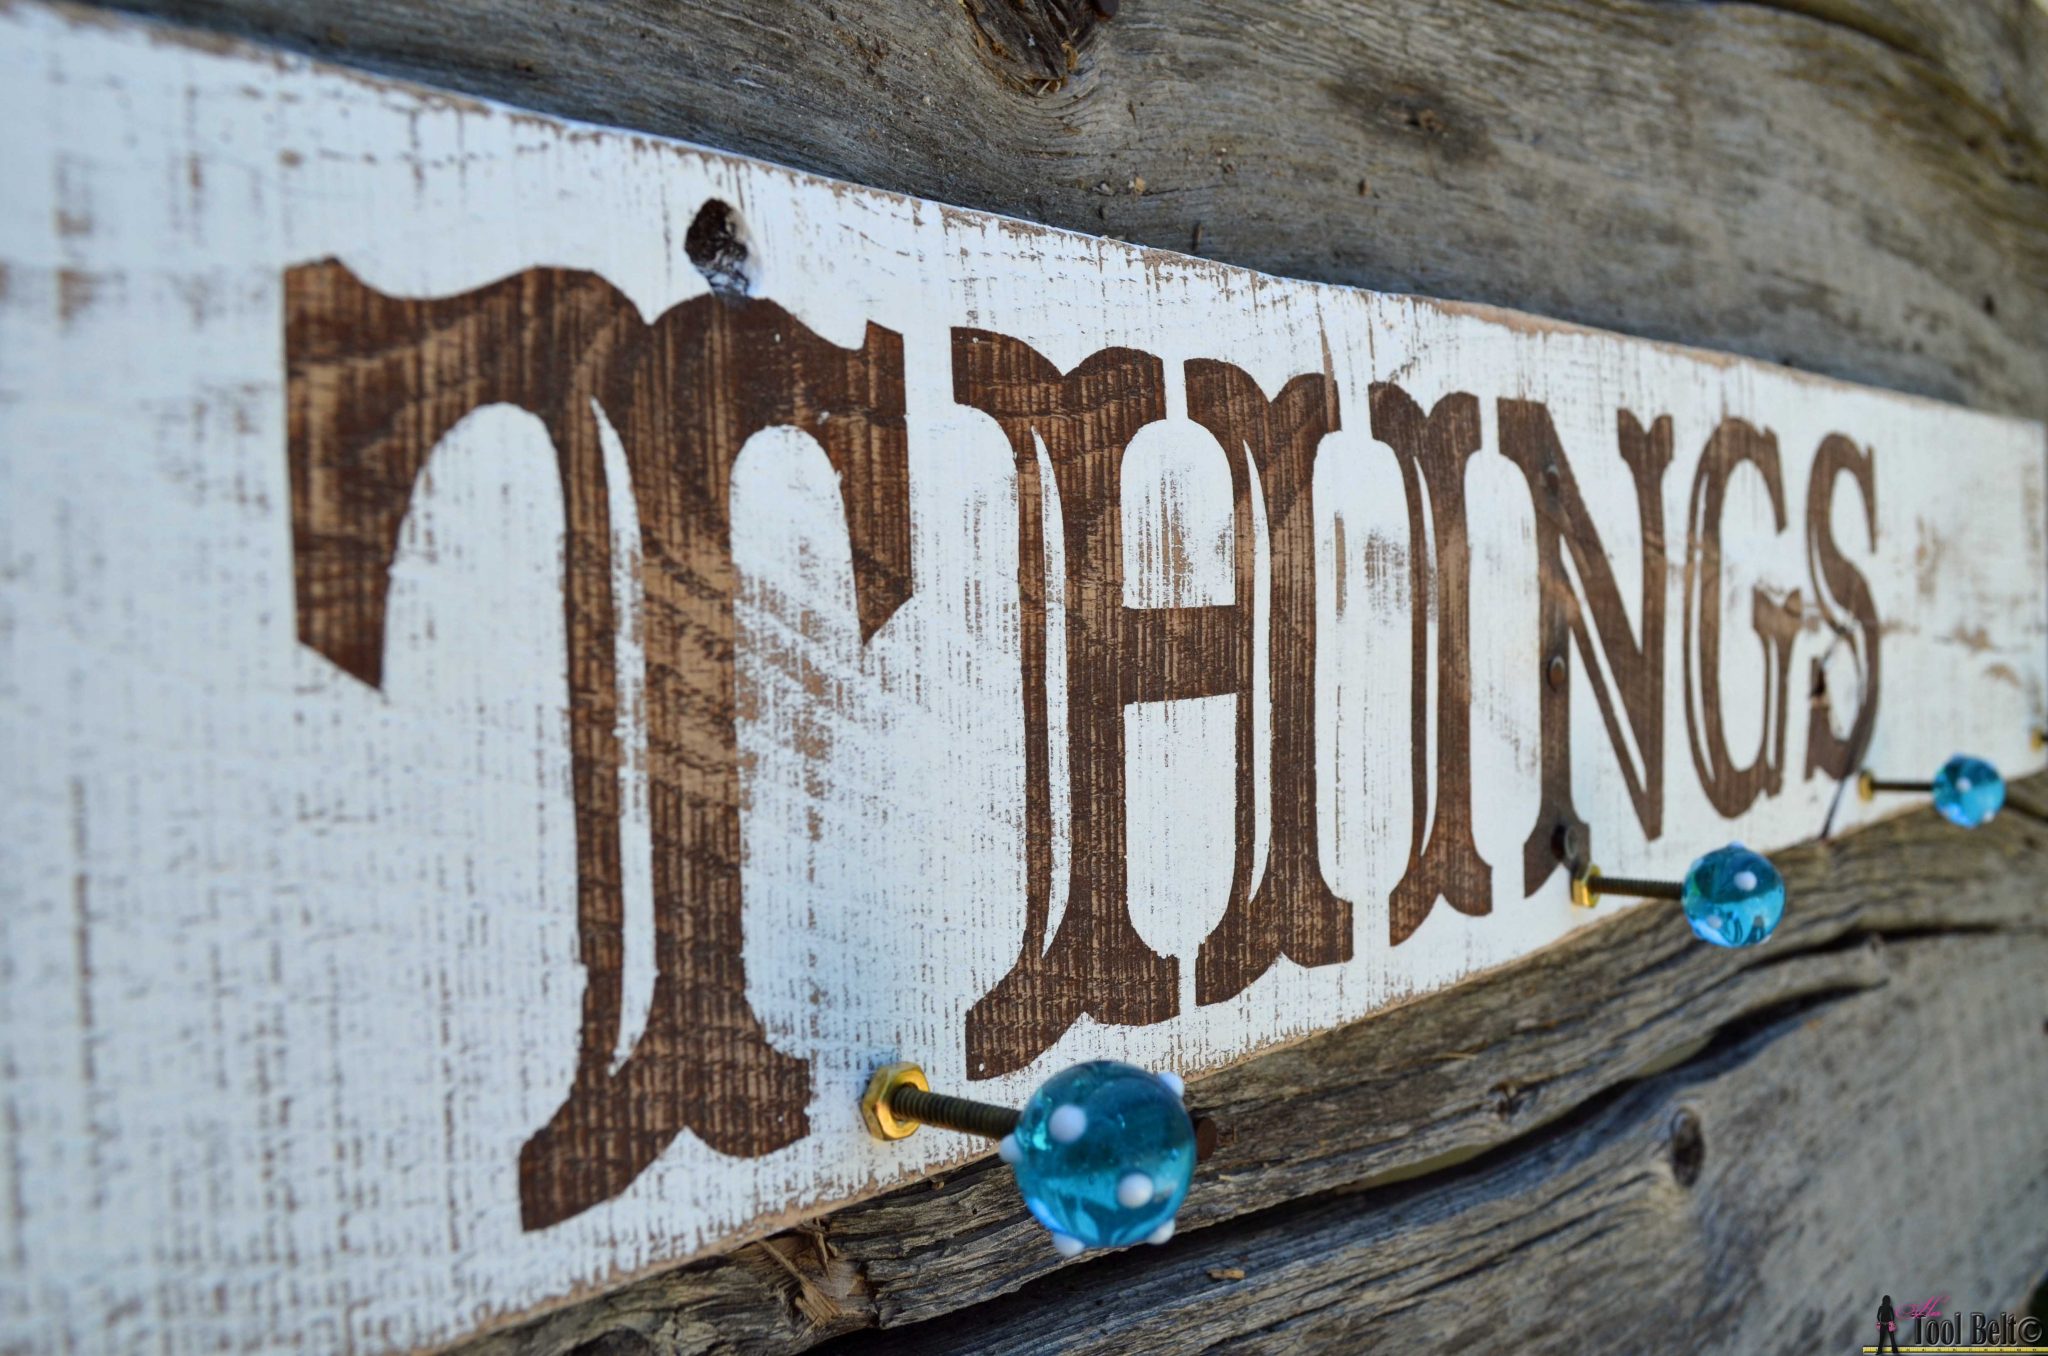
I added turquoise glass knobs that I had previously purchased on ebay for another project, but didn’t work out. Add 2 picture hangers to the back.
For the baskets I really wanted to find something like these white bins.
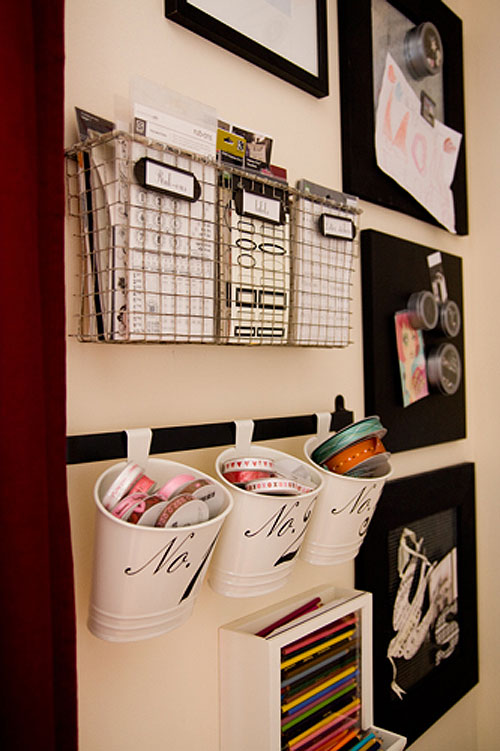
Or these woven baskets.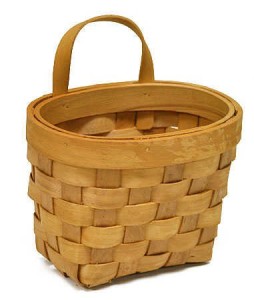
But the baskets I found were at Jo-Ann’s for $2.50, so I had a hard time passing them up. Maybe I’ll come across something a little cuter later. The purpose of the ‘things’ and baskets, is for each family member to have a place to put their little things that they need frequently.
Pin for later:
Linked to: My Favorite Link Parties &
Not JUST a house wife, remodelaholic, Savvy Southern Style, House On The Way, Be You tiful, Creative Exchange, Creative Ways, DIY Dreamer, Funky Junk, Confessions of a serial diyer
Vintage Keyhole – Key Holder
I wanted to make a key holder for my new command center. Our old one just wasn’t working. It had 4 large pegs, and the key rings were hard to get on the pegs, so a lot of the time, the keys weren’t where they should be. You know how frustrating that can be 🙂 I thought it might be fun to make the key holder look like an old vintage keyhole. The decorative radiator grate idea came from a previous Jewelry Display Project. Continue reading