Backpack Storage Bench Plans

My sister has a very open concept rambler house without a mudroom space (it’s the only thing she doesn’t like about her house). She hates clutter, and with 4 kids in school ranging from high school to elementary school she was in desperate need of a way to organize all those backpacks. There is one wall at the end of the kitchen cabinets that she had a decorative cabinet on and the kids put their backpacks in there for 9 years. But she got a new kitchen table that was bigger, leaving the space way too tight for that old cabinet. She started brainstorming 2×4 bench ideas that she could put 4 baskets under for the kids to store their backpacks. After lots of searching she had a hard time finding baskets that would fit overflowing high school backpacks.

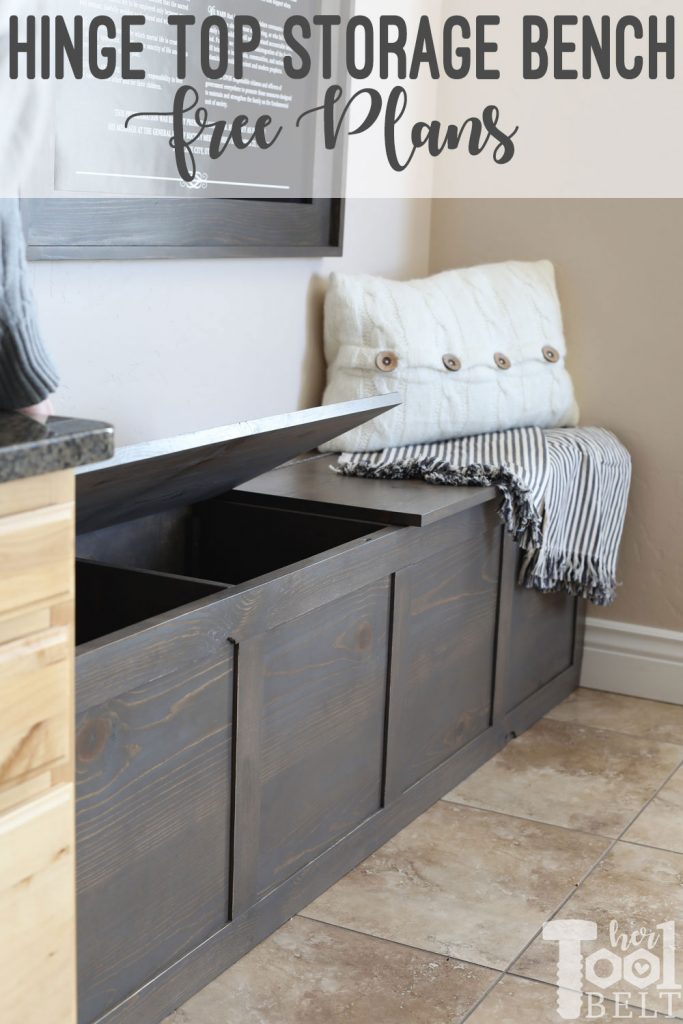
I suggested that we make a bench with a hinging top and compartments for each backpack. It worked out perfectly for the space and all are happy, organized and clutter free!

Cute storage bench with hinge top. Great for storing backpacks and supplies. Free build plans on hertoolbelt.

Continue reading

Basement Playhouse Build – Tiny House Toy Room Reveal

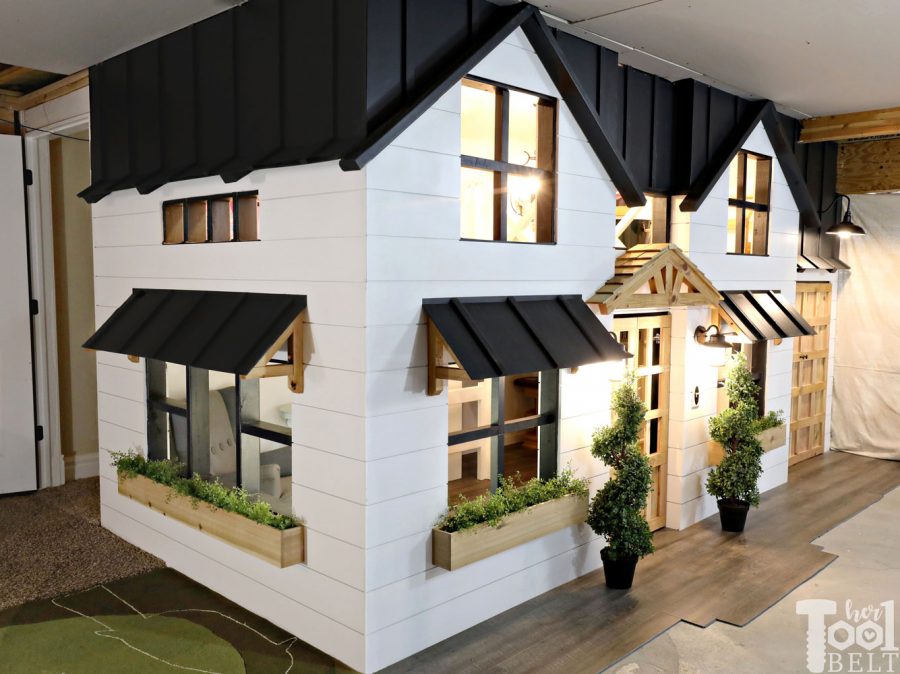
It took me about 6 weeks to chip away at this project, but I’m happy to say that the basement playhouse build (which is really a toy room shaped like a tiny house), is pretty much done! Yay! My kids are super excited and have been having fun inspecting everything as the project came together. My house may not be in style, but at least my playhouse is 🙂 I tried to make the playhouse in the modern farmhouse style…I love to drool over those houses on Instagram.

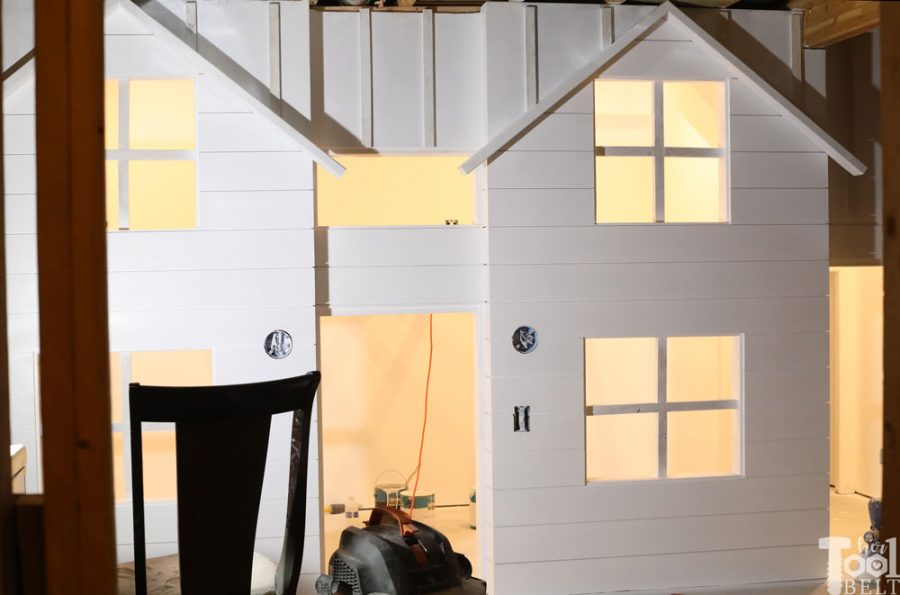
Remembering where I started…here’s the BEFORE.

This Mom built a basement playhouse for her kids. It's really a toy room shaped like a tiny house...come take a tour.

Sideview

This Mom built a basement playhouse for her kids. It's really a toy room shaped like a tiny house...come take a tour.

And the AFTER

What do you think?

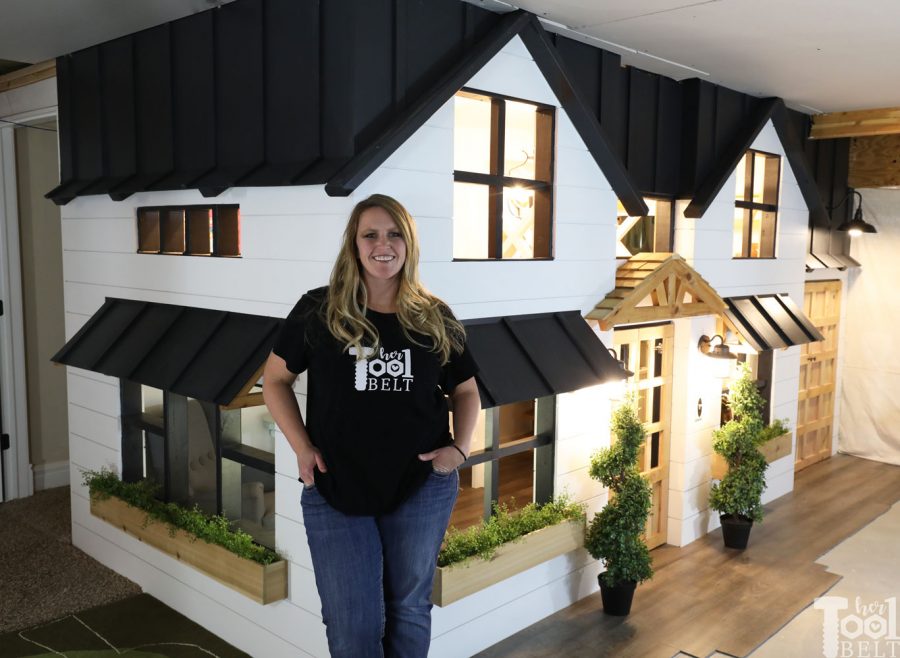
With me, for scale.

You can check out the tutorials for the whole playhouse build:

Continue reading

Basement Playhouse Build – Shiplap & Sheetrock

Progress on the basement playhouse is moving right along. In Part 2 of the build, I added the shiplap, sheetrock and the 2nd floor/ceiling. Adding the shiplap and sheetrock has been the most gratifying process, because it really made the playhouse take shape.  When designing the playhouse, I decided to put shiplap on the inside and outside of all the walls with windows. Then sheet rock on the other walls and ceiling (the regular basement ceiling). I framed the windows with 2×4 in the framing process of part 1. I didn’t want to waste the space of properly trimming out the windows, so when adding shiplap I left a 1/2″ reveal of the 2×4 framing to paint black later. This worked out really well.  After painting the walls and ceiling, I added the 2nd floor to the playhouse. It’s starting to look cute!

Part 2 of the basement playhouse build is shiplap & sheetrock. Lots of mudding, nailing, sanding and painting. It's really starting to take shape.

You can check out the tutorials for the whole playhouse build:

This post contains some affiliate links for your convenience. Click here to read my full disclosure policy.  Continue reading

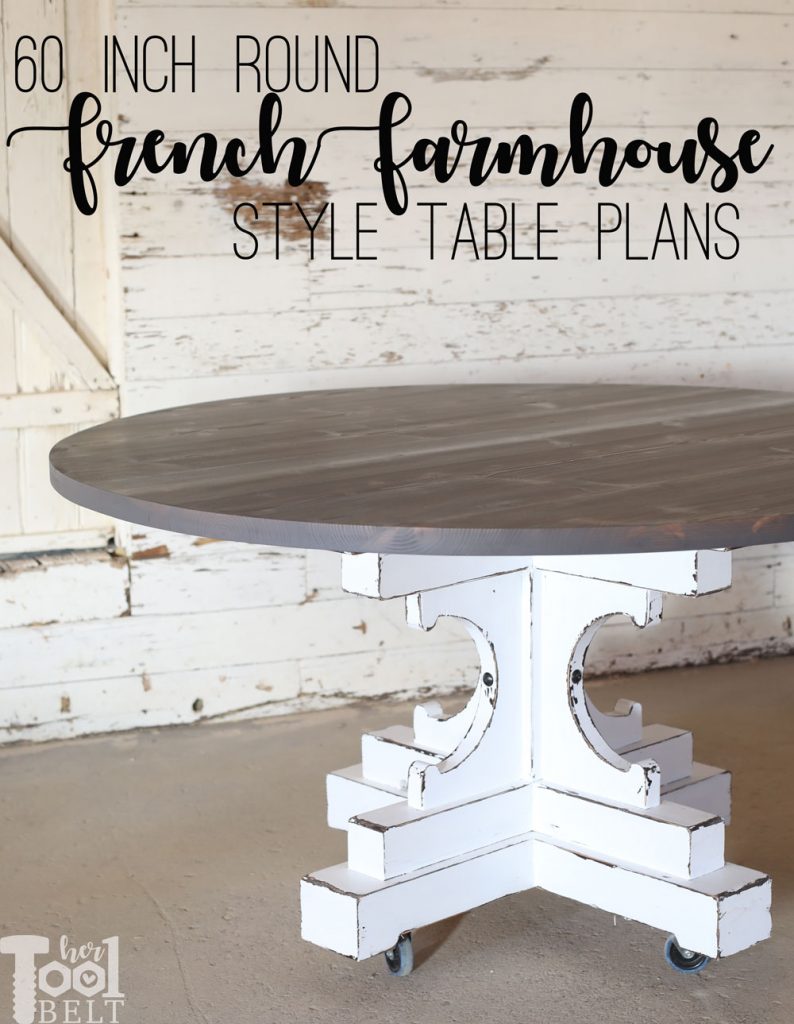
60 Inch Round Table French Farmhouse Style

The 60 inch Round Table – French Farmhouse Style Build includes tool reviews that are sponsored by The Home Depot. I have been compensated for my time and provided with product. All ideas and opinions are my own. This post contains some affiliate links for your convenience. Click here to read my full disclosure policy. 

If you follow me on Instagram, you may have caught my stories of this dining table build, I was burning the midnight oil trying to finish it on time for Christmas.  My siblings rotate who we give a present to each year. I had my sister just younger than me and she was in desperate need of a dining table.  She really likes the 48″ round pedestal table that I built 2 years ago, however they are a family of 7 so that table is way to small for them.  She measured the dining space in her house and we decided that a 60″ round table will work the best for her needs. I went ahead and modified the size of the base for a 60″ round table. This table is inspired by this gorgeous one at Restoration Hardware, but the look was modified for readily available lumber.

For about $85 in lumber, make a french farmhouse style 60 inch round table. Free plans and tutorial.

BTW just ignore the wheels, I put it on wheels to haul it around, and thought it would be easier for her to move too. Once in place the wheels will come off :-).

Lessons learned from previous table

Having built a similar table a few years ago, I was able to implement a few “I wish I would’ves” to make the build go smoother and faster.

  • First off, I had a bunch of 4×4 and 4×6 posts left over from when I fixed my deck slope. I used these 4×4’s and 4×6’s with cross lap joints, instead of stacking 2×4’s and 2×6’s like I did on the 48″ table, it made assembly quite a bit faster and eliminated the need for wood filler.
  • Planing the boards first makes a smoother top and makes the base fix together better, because some lumber has a little curve. Plus my belt sander bit the dust, so planing was a real necessity in this case.

With this build, I’m also reviewing a few tools as part of the #THDprospective program with Home Depot. I’ll be sharing my thoughts on these tools noted with *.

How to Build a 60 inch Round Table with French Farmhouse Style Pedestal Base

Continue reading

Basement Playhouse Build – Framing

The Basement Playhouse Build includes tool reviews that are sponsored by The Home Depot. I have been compensated for my time and provided with product. All ideas and opinions are my own. This post contains some affiliate links for your convenience. Click here to read my full disclosure policy. 

I have always loved those darling basement playhouses and under the stair play areas that you see in home shows and on Pinterest. My basement is unfinished and really is an open slate to do whatever I want to with it.  I decided that instead of thinking about this project for a few years, like I usually do, I need to get it done while my girls are young and will still enjoy it.

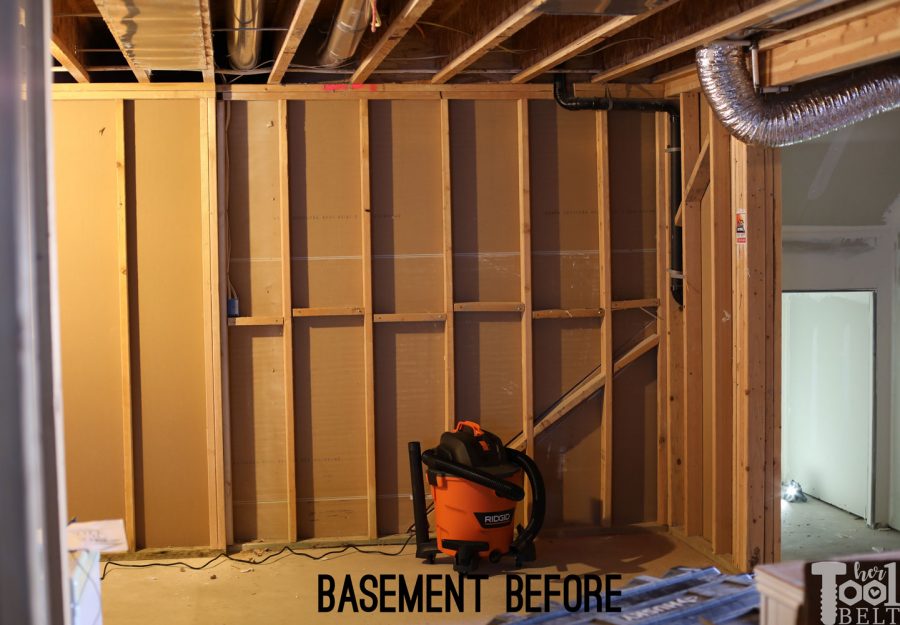
Here’s the space that I’ll be building the playhouse. The back of the playhouse will share the wall of the stairs leading to the basement.
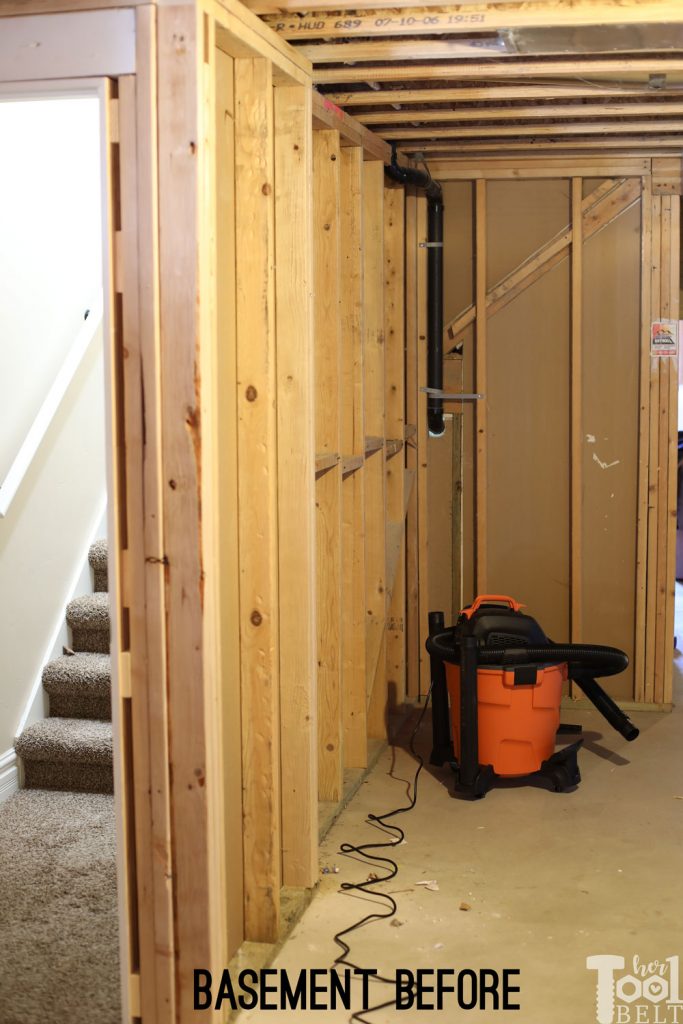
On the far right side, is a little under the stairs cove.  On the left side of the wall is a little pop out from when I had to move the door location.
This is what I came up with for the space. The playhouse will come out from the wall about 6′, and the main portion of the playhouse will be about 12′ long.
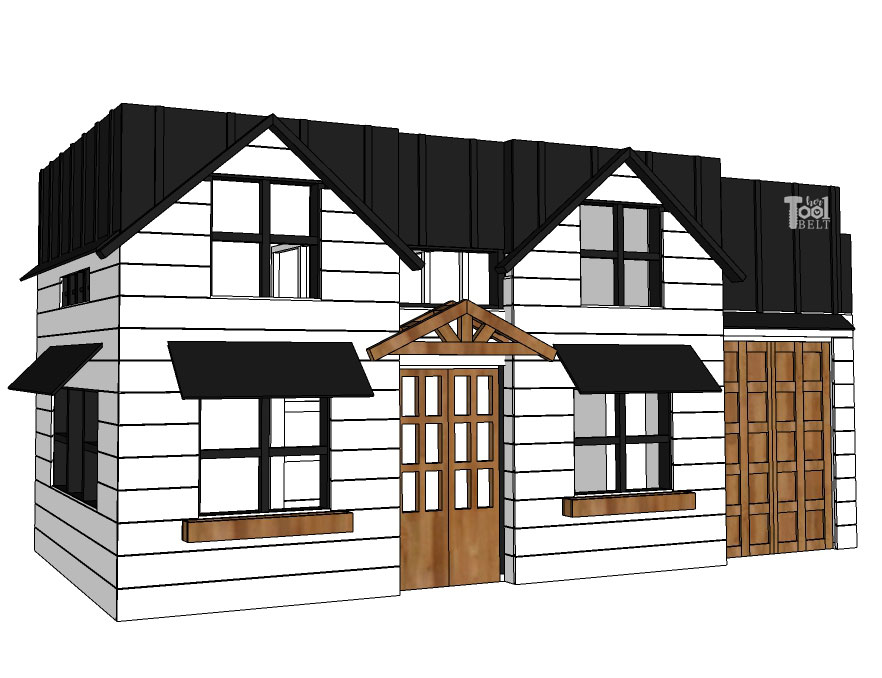
The playhouse will run along the wall of the stairs, and the ‘garage’ will go under the stairs. The main house will have 2 levels. On the main level will be the Kitchen and Living Room for ‘tea parties’ and such. Upstairs will have the Arts & Crafts Room and a Nursery for all of their stuffed animals that they love. Unfortunately my basement ceilings are only 7 1/2′ high, so it is a little squishy for my older daughter. But when both girls get too tall, I can remove the second floor if they want me too. I’m thinking that the under the stairs portion will just be a hangout place with big soft pillows and cushions.
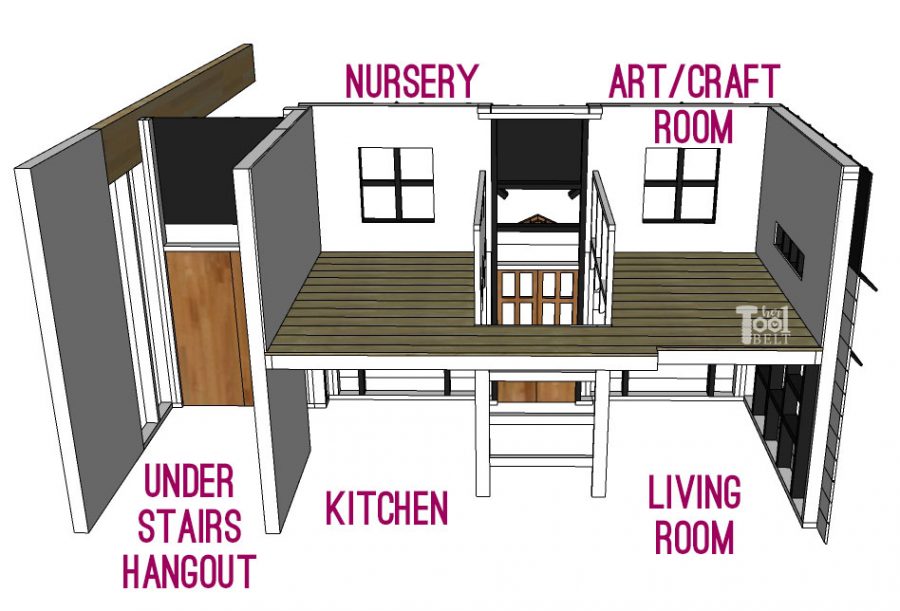
I had to build around a number of odd things (multiple beams, walls, HVAC, plumbing) in my basement, which I’m sure every situation will be different. I’ll share the plans as if the playhouse is built along a flat back wall, then they’ll have to be adjusted as necessary.

You can check out the tutorials for the whole playhouse build:

With this build, I’m also reviewing a few tools as part of the #THDprospective program with Home Depot. I’ll be sharing my thoughts on these tools noted with *.

Continue reading