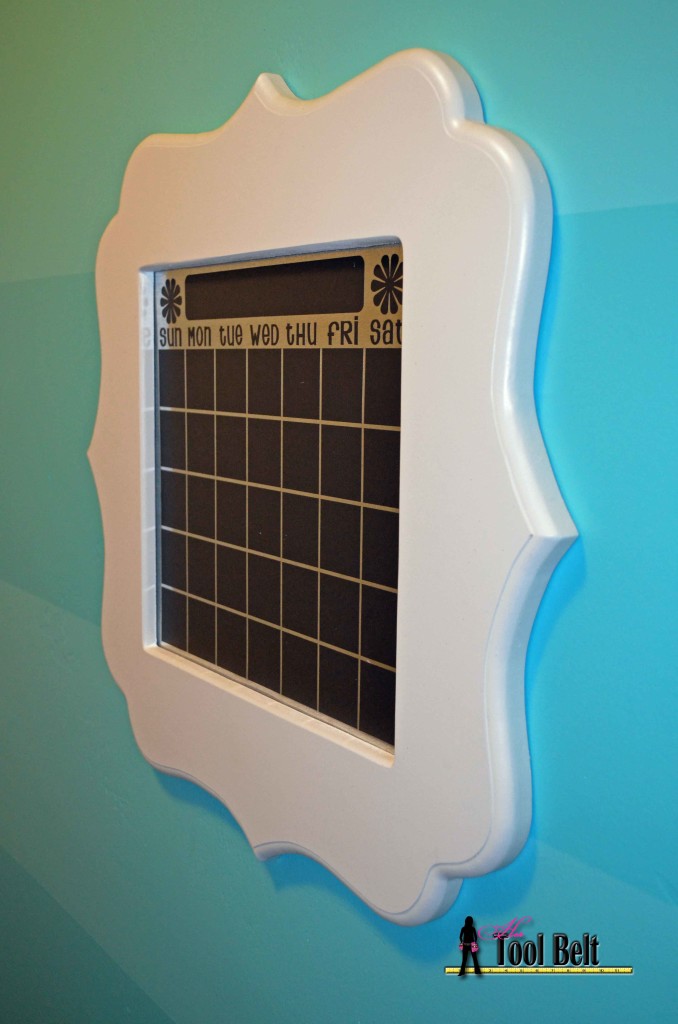
Does anyone else suffer from a case of the procrastinations? Me, Me, Me, I do! Luckily this blog is helping me actually finish projects 🙂 My friend bought this cute vinyl cut out on a group dealz of sorts oh maybe 2 years ago (from StyleWithVinyl). She thought it would be so cute in her daughters room. The vinyl is a chalkboard/dry erase vinyl, so awesome for a calendar. She asked me a couple of months ago if I could whip up a frame for the calendar, and of course I would. Luckily her daughter’s birthday was coming up, so I had a deadline, and I procrastinated until the deadline…ha ha.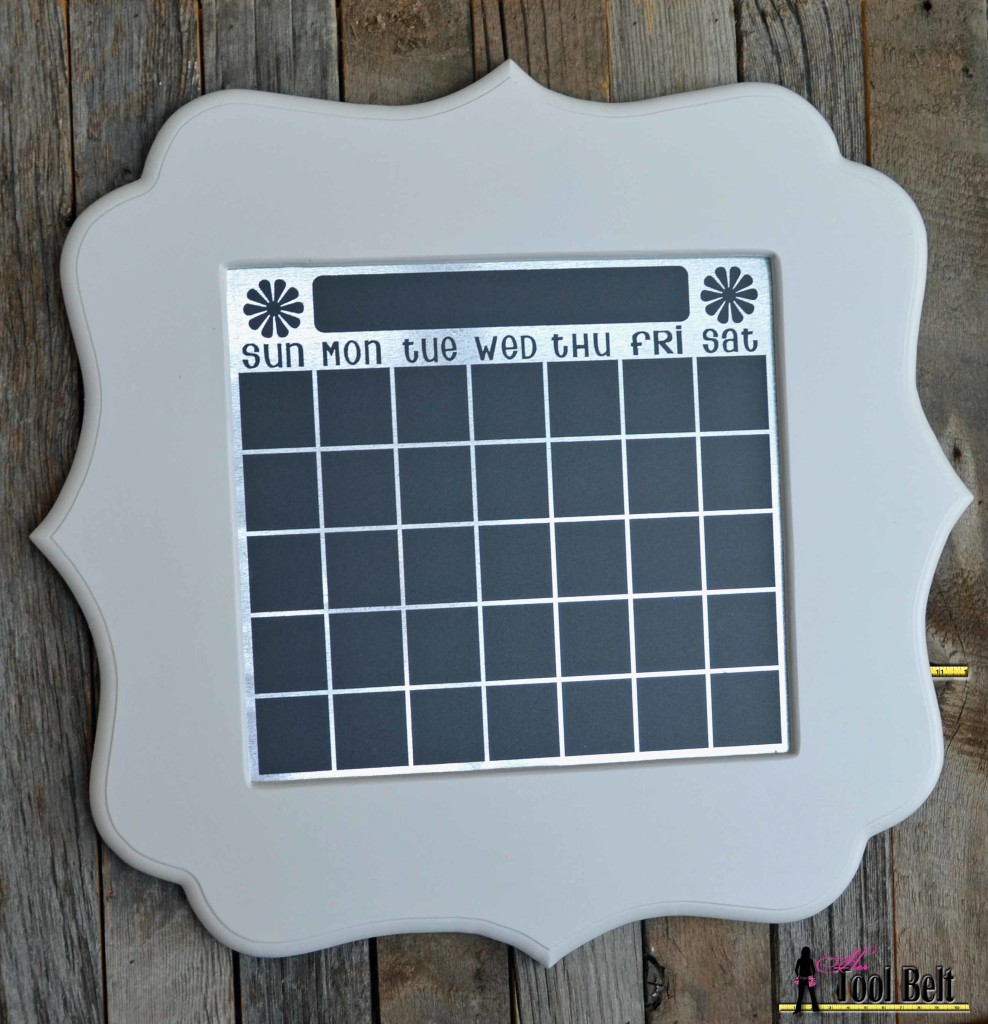 I have loved the bracket frames ever since I first started seeing them in craft shows a couple of years ago. I’m pretty sure that every girl’s room can use a bracket frame. I thought that the calendar pairs up nicely with the frame and mounted the vinyl on tin, so it doubles as a magnet board.
This frame is for a 12″ wide and 11″ tall opening (I’ll be adding patterns for 11″x14″ and 8″x10″ frames soon.) I bought a 2′ x 4′ x 3/4″ piece of MDF (medium density fiberboard) at Home Depot for about $12.50. You can get 2 frames out of one of these MDF pieces. The overall dimensions of the frame are about 21″ wide x 20″ tall.
Print out the bracket frame patterns Bracket frame pattern 1, bracket frame pattern 2 and 5, bracket frame pattern 3, bracket frame pattern 4, and bracket frame pattern 6, make sure your pdf print settings are print 100%, not ‘fit to page’. Cut out the bracket frame pattern, line up the pattern and tape together.
Sketch the pattern on the MDF and cut it out with a band saw, scroll saw or jig saw. Sand around the cut edges to smooth any bumps.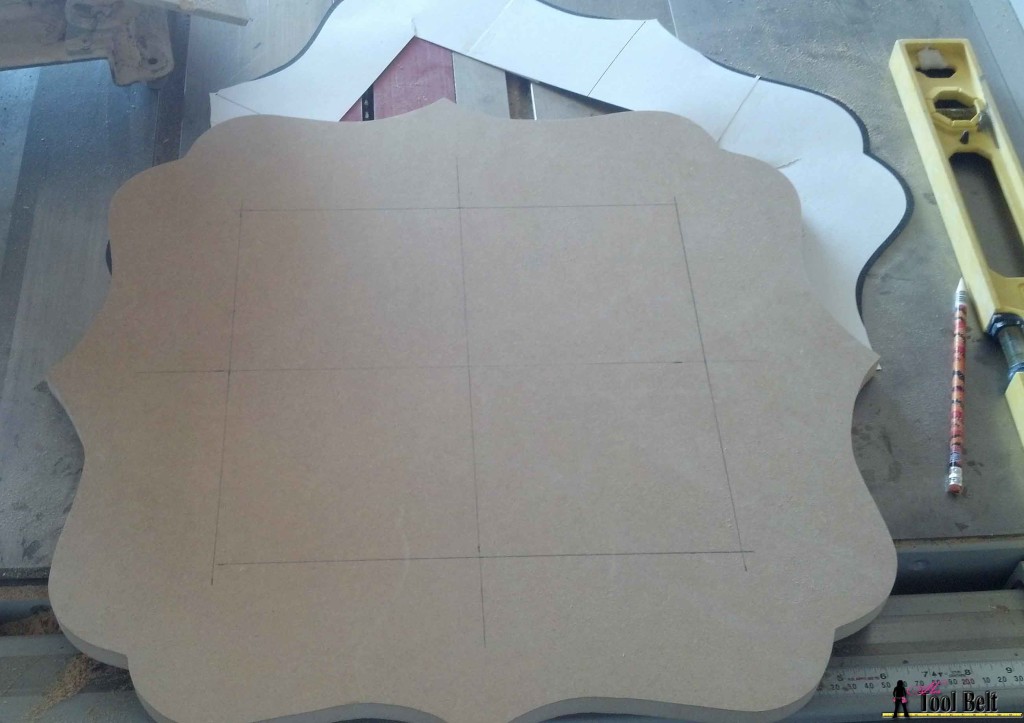
Use a router and round over the edges. This can also be accomplished with a sander, but more time consuming.
Use a router to make an inset for the picture/vinyl on the backside of the inner cutout. I cut about 1/4″ down and 1/2″wide. Cut an insert to hold the tin/picture. I added a piece of thin plywood to give the tin support. I also cut a keyhole line to hang the frame. You can substitute for a picture hanger.
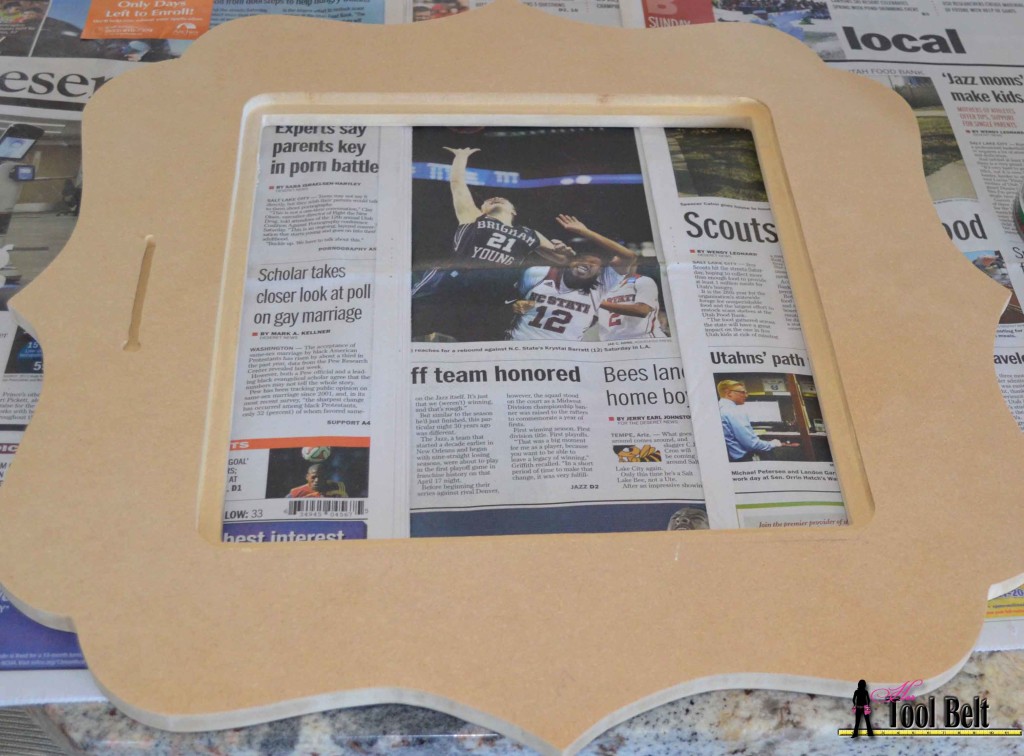
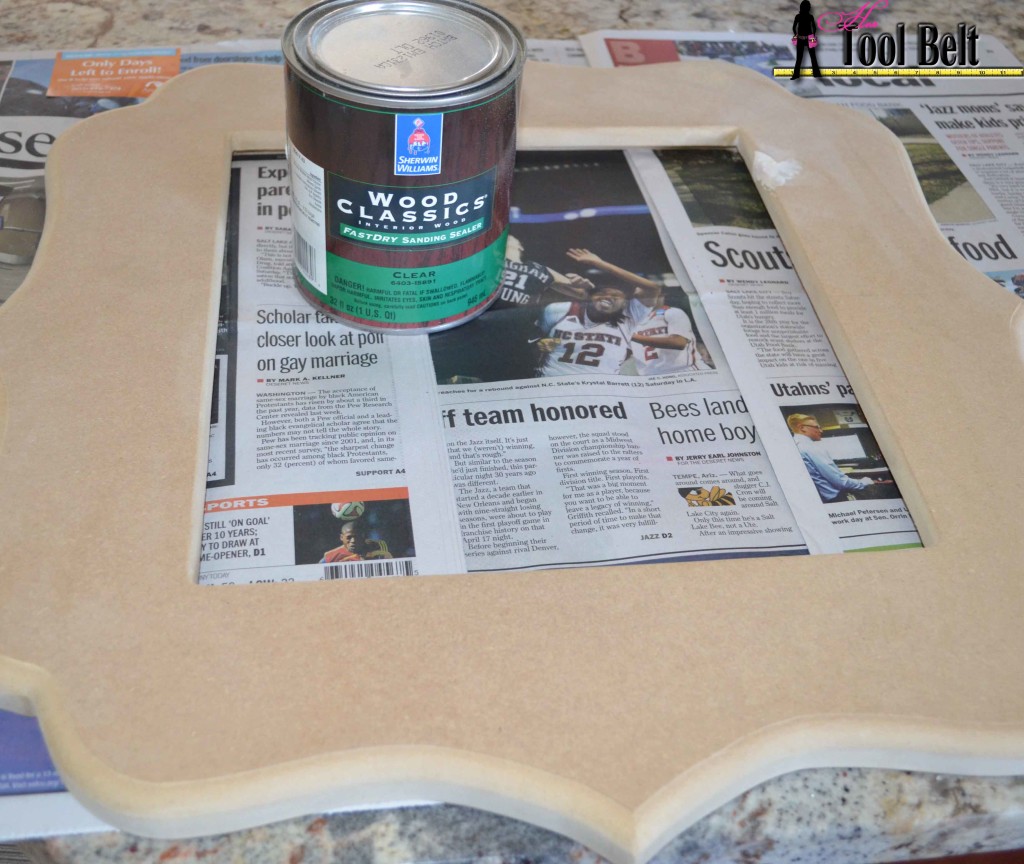
I love using MDF, it’s straight and flat and easy to use. However painting it can be horrible if it’s not primed well. The raw cut edges of MDF can soak up paint and never look quite right. I have started sealing it with sanding sealer. It works great as the primer. Brush a coat of sanding sealer on the entire frame and allow the sealer to dry. When the sealer is dry, it’s time to paint.
For smaller projects like this, I almost always use spray paint. It about kills the deal seeker in me, but I have sworn off those awful cheap spray paint cans. Fork over the extra bucks and get the good stuff, like Rust-Oleum…it’s worth it. Smoothly apply the spray paint according to the directions, and allow to dry sufficiently. If you need to fix any areas, sand it as necessary and repaint. (Never sand over almost dry paint, it gums up and makes a mess of your project.)
I like to secure the backs of my pictures with glazing points. They seem to work well, keep it tight and are easy to use. Use a flat head screw driver and push the glazing point into the frame edge, repeat for each insert edge.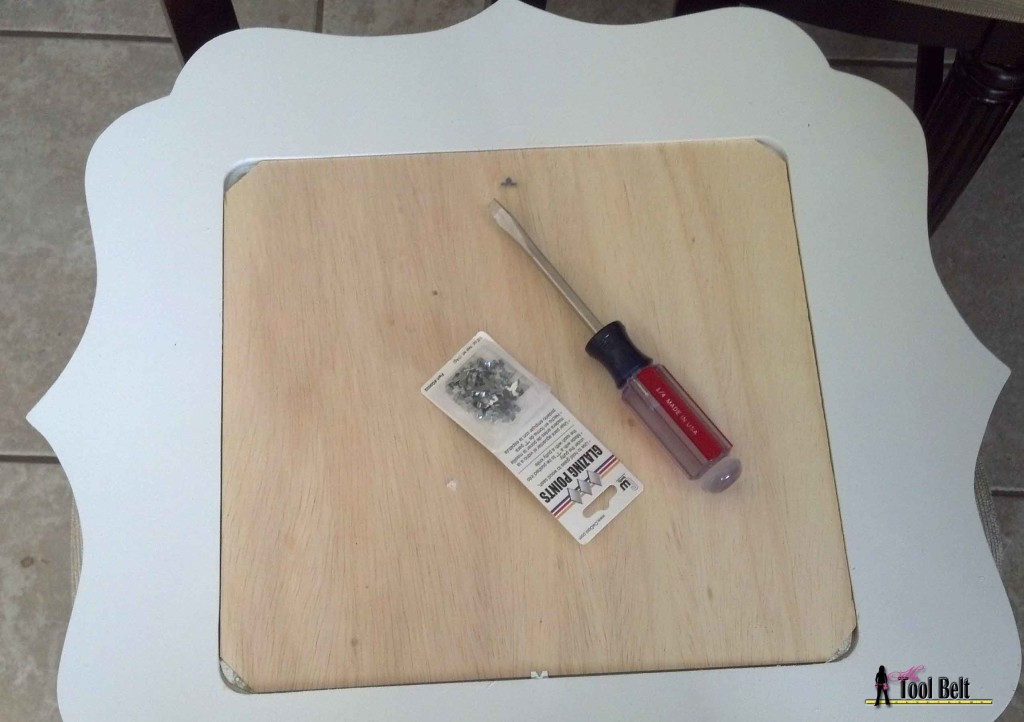
And that’s it, you’ve made a cheap Bracket Frame with magnetic chalkboard calendar. Enjoy!
Linked up to:
It turned out super cute! Good Job!!
Cute idea! I would love it if you joined and contribute your awesome posts at my link party at City of Creative Dreams on Fridays 😀 Hope to see you there at City of Creative Dreams Link Party
Nicely done girl! I love how your frame turned out! It was so nice to meet you at Snap Conference this weekend, I’m nominating you for the Liebster Award! Check it out here: http://realitytodreams.com/2014/04/the-liebster-award-and-11-blogs-to-watch.html Can’t wait to get to know you better!