Backpack storage and organizer Plans and Tool Review is sponsored by The Home Depot. I have been compensated for my time and provided with product. All ideas and opinions are my own. This post contains some affiliate links for your convenience. Click here to read my full disclosure policy. During this build, I’ll be reviewing the Milwaukee hammer drill/impact combo, Diablo blades and Makita Subcompact circular saw and will share my thoughts on these tools.
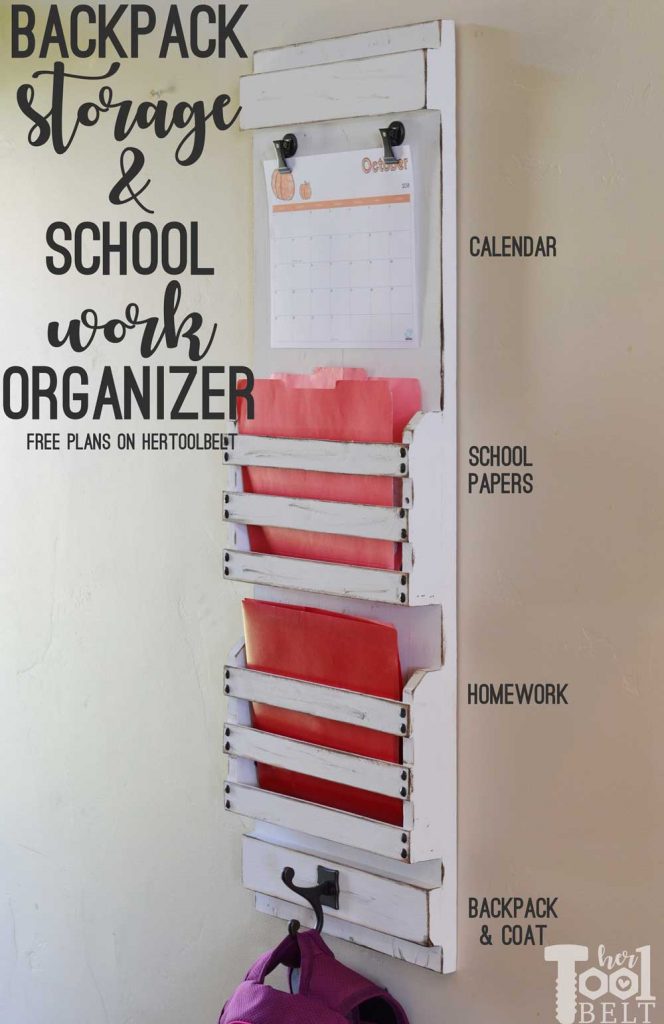
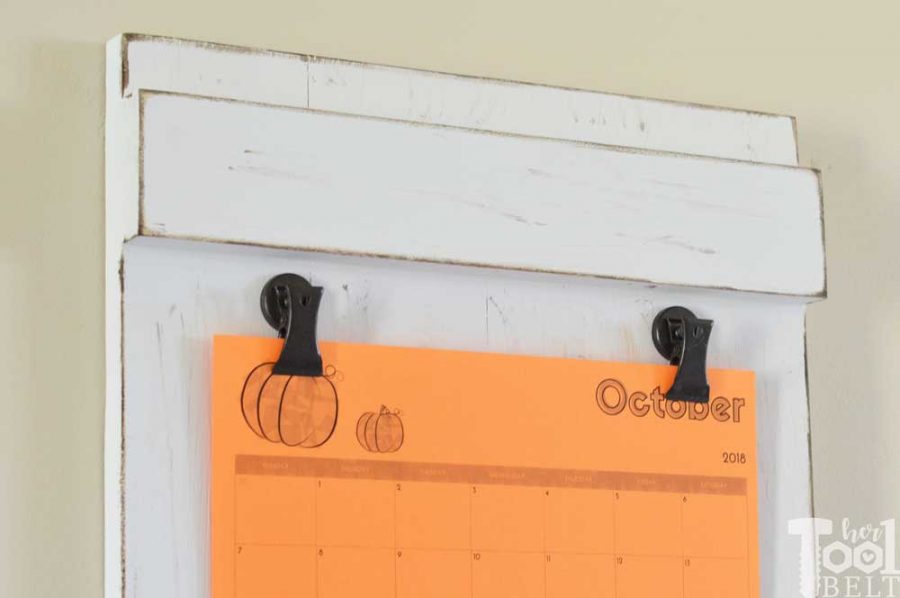
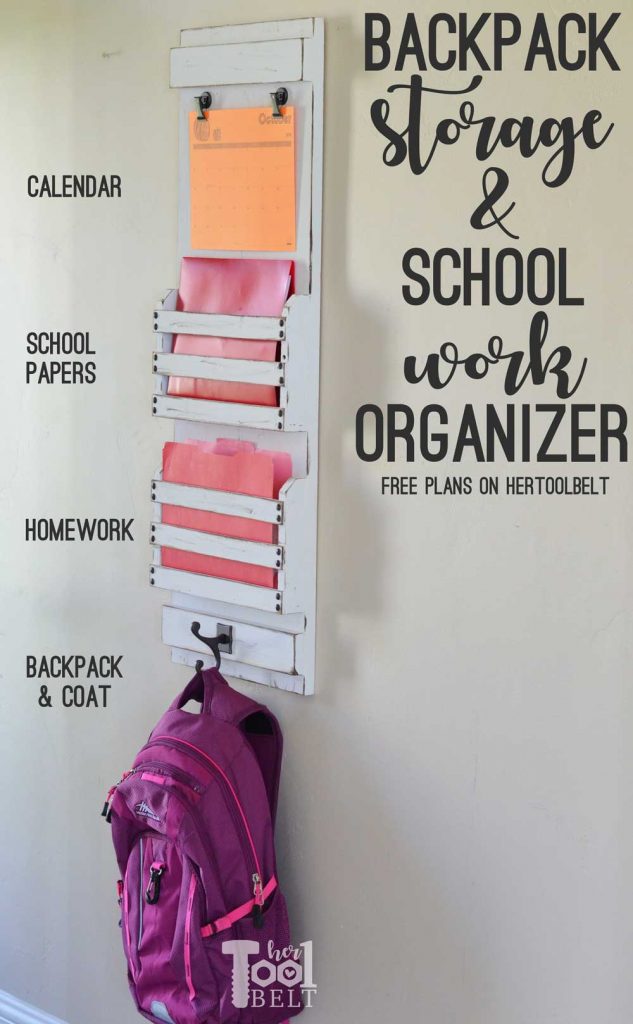
We are a little over a month into the school year and I have got to do something to organize backpacks, homework, school papers and calendars. Ugh, they are going to take over my life… joking… sort of. 😉 One child has papers that we have to hold onto long-term (longer than a week) and weekly homework, so I made one version with 2 baskets for folders and another version with 1 basket. There’s a space at the bottom for 1 or more coat/backpack hooks. At the top I have a space for calendars. These can be attached with clips, or if you want an erasable calendar, an acrylic calendar will be great. Another idea for the top space is an acrylic To-Do checklist.
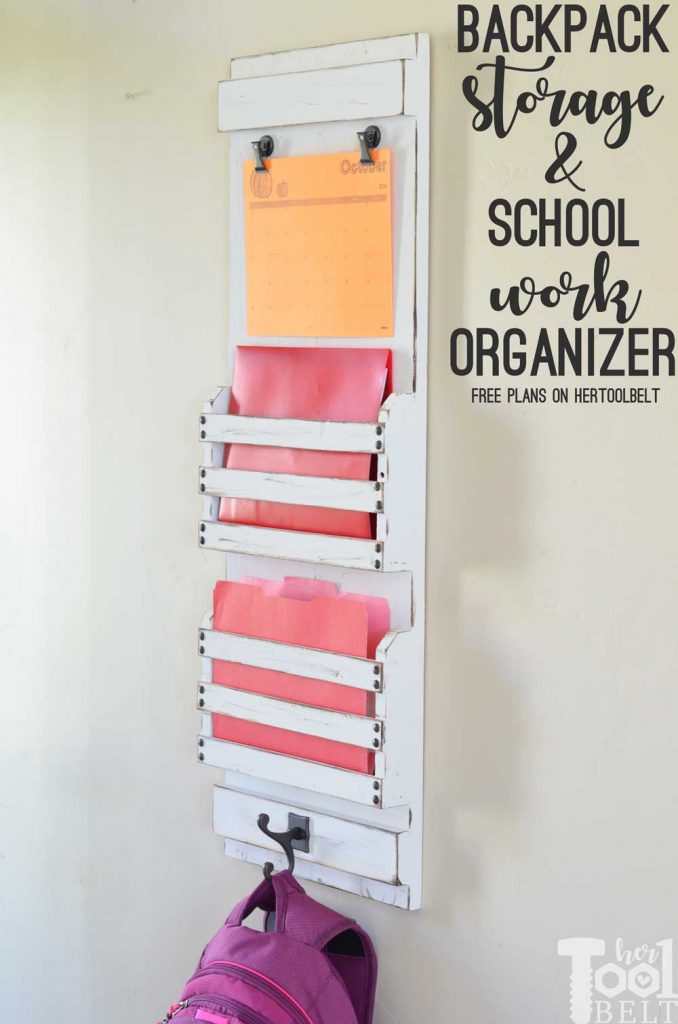 Backpack storage and school work organizer functions.
How to Build a Backpack Storage and Organizer
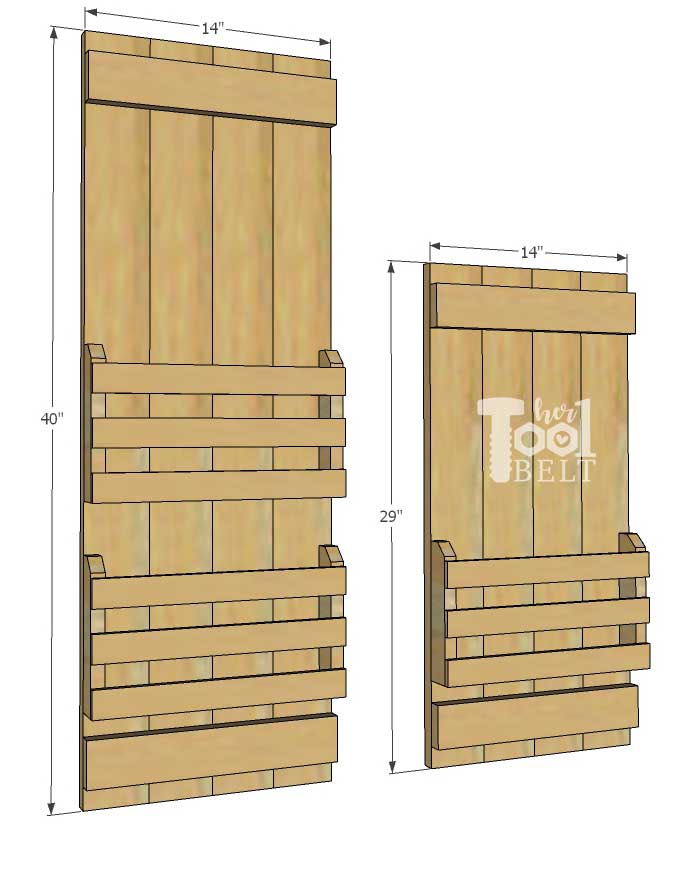
This tutorial includes instructions for either the 2 basket or 1 basket backpack storage and organizer.
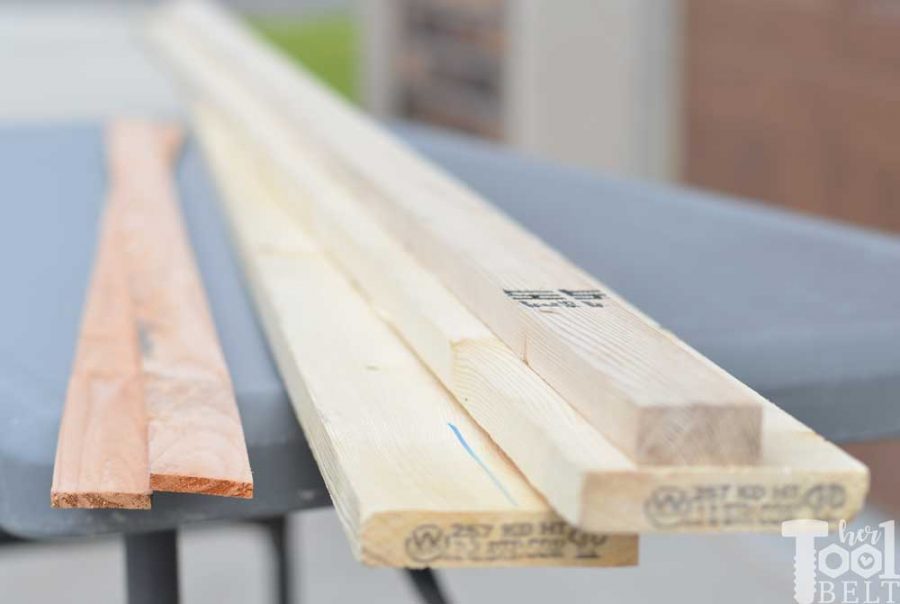
Materials for Backpack Storage and Organizer
2 basket option – wood cost approx $10
- 2 – 1 x 4 x 8′ board (actual dimensions 3/4″ x 3 1/2″)
- 1 – 1 x 3 x 8′ board (actual dimensions 3/4″ x 2 1/2″)
- 1 – 1 x 2 x 8′ board (actual dimensions 3/4″ x 1 1/2″)
- 2 – 48″ lath (5/16″ x 1 1/2″ x 48″) about .55 cents each in store
1 basket option – wood cost approx $9.50 (with left over material to make more)
- 2 – 1 x 4 x 8′ board (actual dimensions 3/4″ x 3 1/2″)
- 1 – 1 x 3 x 8′ board (actual dimensions 3/4″ x 2 1/2″)
- 1 – 1 x 2 x 8′ board (actual dimensions 3/4″ x 1 1/2″)
- 1 – 48″ lath (5/16″ x 1 1/2″ x 48″) about .55 cents each in store
additional materials
- 1 1/4″ wood screws
- 1 1/4″ brad nails
- wood glue
- coat hook
- clips – optional (painted oil rubbed bronze)
- upholstery nails – optional (painted oil rubbed bronze)
- paint or stain
- acrylic for calendar – optional
Tools Used
- Circular Saw with Diablo fine finish blade (or miter saw)
- Milwaukee drill and impact
- Ryobi brad nailer
- Ryobi corner cat sander
- Hammer
- Measuring tape
- Clamps
- Drill bits
- router and keyhole bit for hanger or attach a hanger to the back
If you have a way to rip boards (like a table saw), you don’t need to buy the 1×3. Just cut the extra piece of 1×4 to 2 1/2″ wide.
Backpack Storage and Organizer Cut List
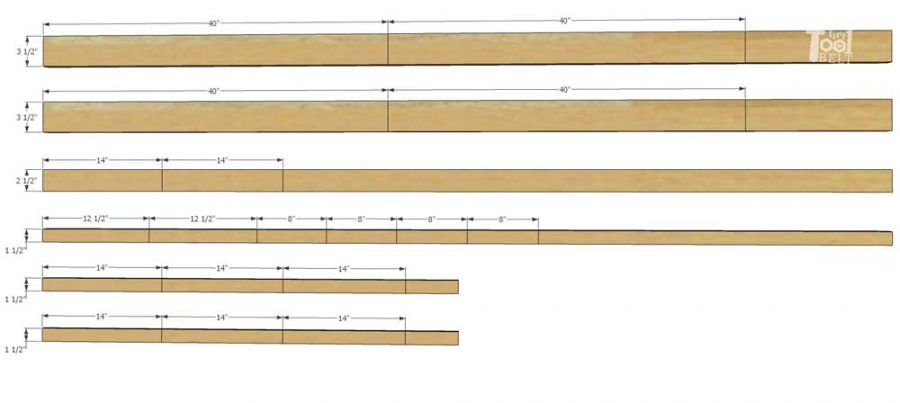
- 2 basket version
- 4 – 3/4″ x 3 1/2″ x 40″ (1×4)
- 2 – 3/4″ x 2 1/2″ x 14″ (1×3) cut to size
- 2 – 3/4″ x 1 1/2″ x 12 1/2″ (1×2)
- 4 – 3/4″ x 1 1/2″ x 8″ (1×2) (45 deg dog ear cut on one end)
- 6 – 5/16″ x 1 1/2″ x 14″ (lath) cut to size
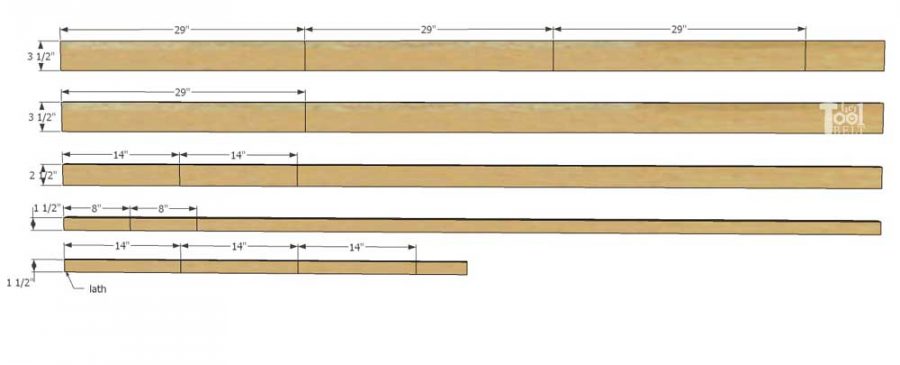
- 1 basket version
- 4 – 3/4″ x 3 1/2″ x 29″ (1×4)
- 2 – 3/4″ x 2 1/2″ x 14″ (1×3) cut to size
- 1 – 3/4″ x 1 1/2″ x 12 1/2″ (1×2)
- 2 – 3/4″ x 1 1/2″ x 8″ (1×2) (45 deg dog ear cut on one end)
- 3 – 5/16″ x 1 1/2″ x 14″ (lath) cut to size
Cut Diagram
2 Basket
1 Basket
Step 1 – Cut the boards
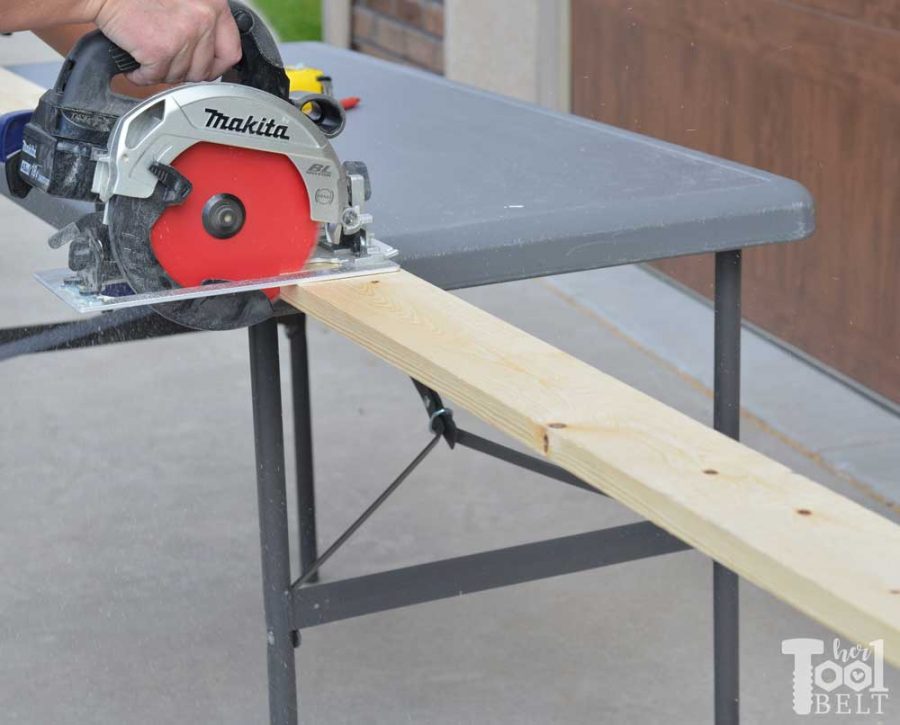
Cut the boards according to the cut list. When I have enough space on the board, I like to trim the ends off the board to start with a straight end.
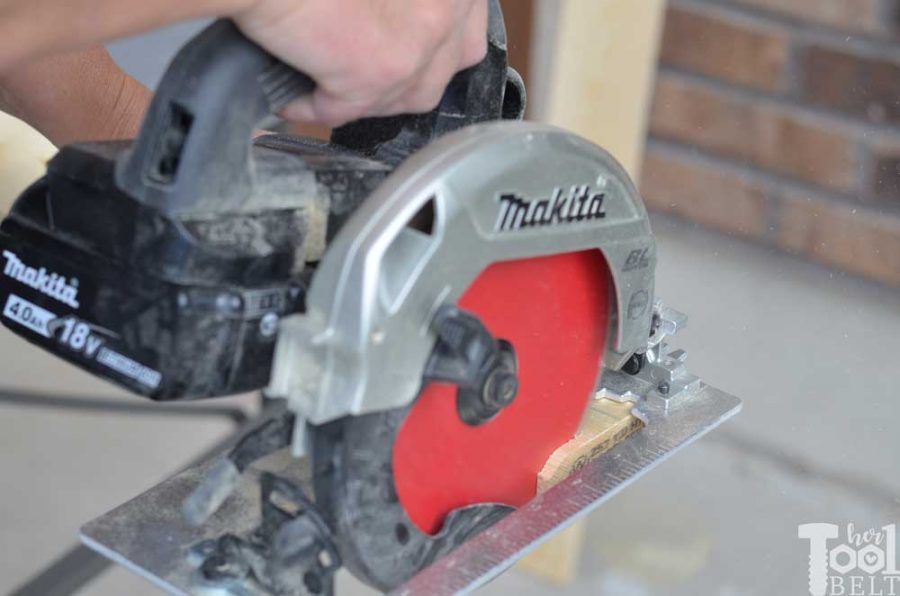
You can make the cuts with a circular saw or miter saw. If using a circular saw, the speed square is a great assistant. A great way to upgrade your circular saw is with a new blade, I’m a big fan of Diablo blades. I have been reviewing Makita’s subcompact circular saw. It’s a great light weight (~6lbs) and compact saw that is not lacking on power! Definitely a go to tool.
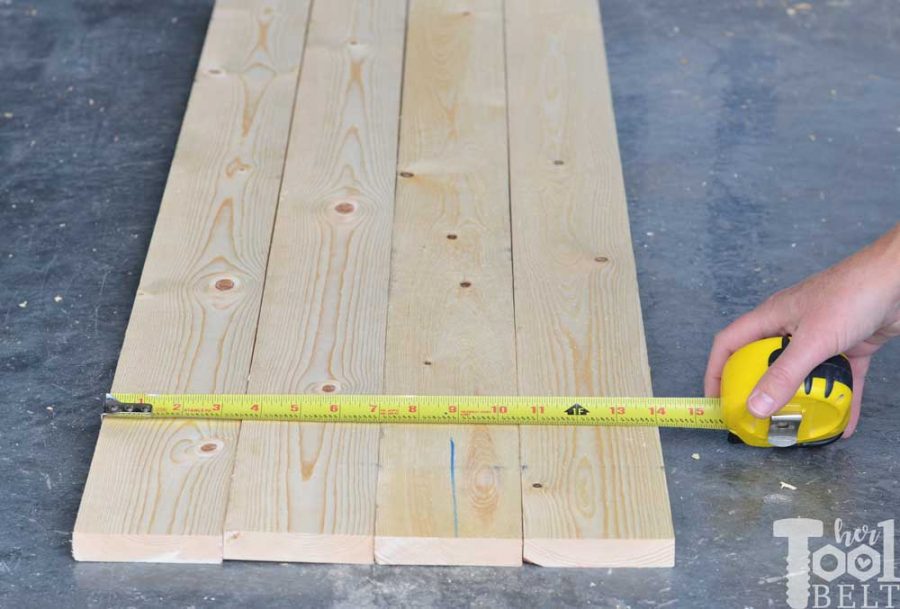
Once the 4 back boards (1×4’s) are cut, set them side by side and measure the width. If your 1×4’s are 3 1/2″ it’ll be about 14″, but 1×4 widths can vary. Cut the 1×3’s and lath to the measured width (mine was 14″).
Step 2 – Assemble Basket Frames
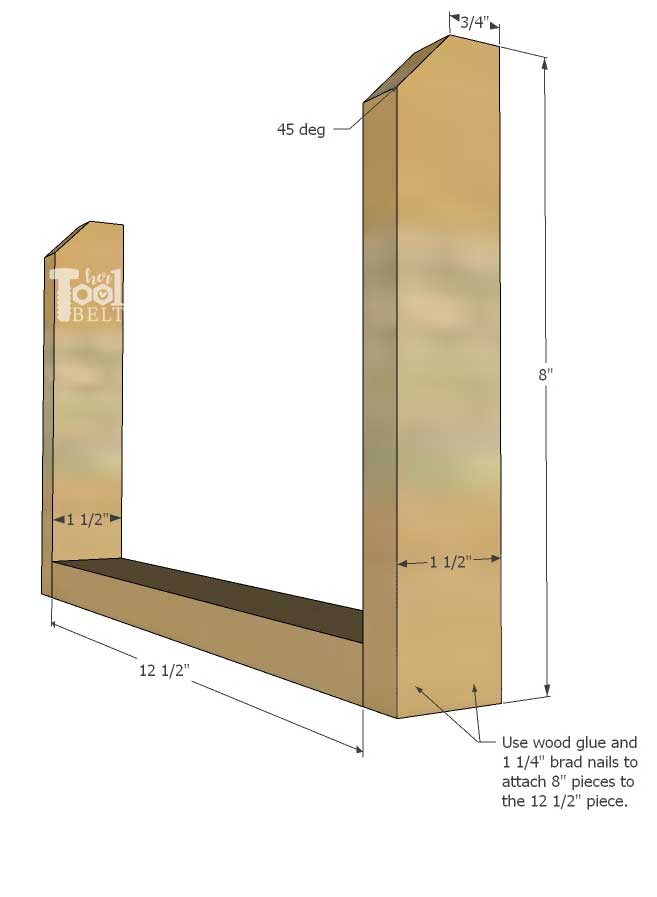
If desired cut a dog ear off 1 end of each 8″ piece (mark 3/4″ over and cut at a 45 deg angle). Then use wood glue and 1 1/4″ brad nails to secure an 8″ piece to each end of a 12 1/2″ piece.
Repeat for each basket, if making multiple.
Step 3 – Pre-drill holes for screws
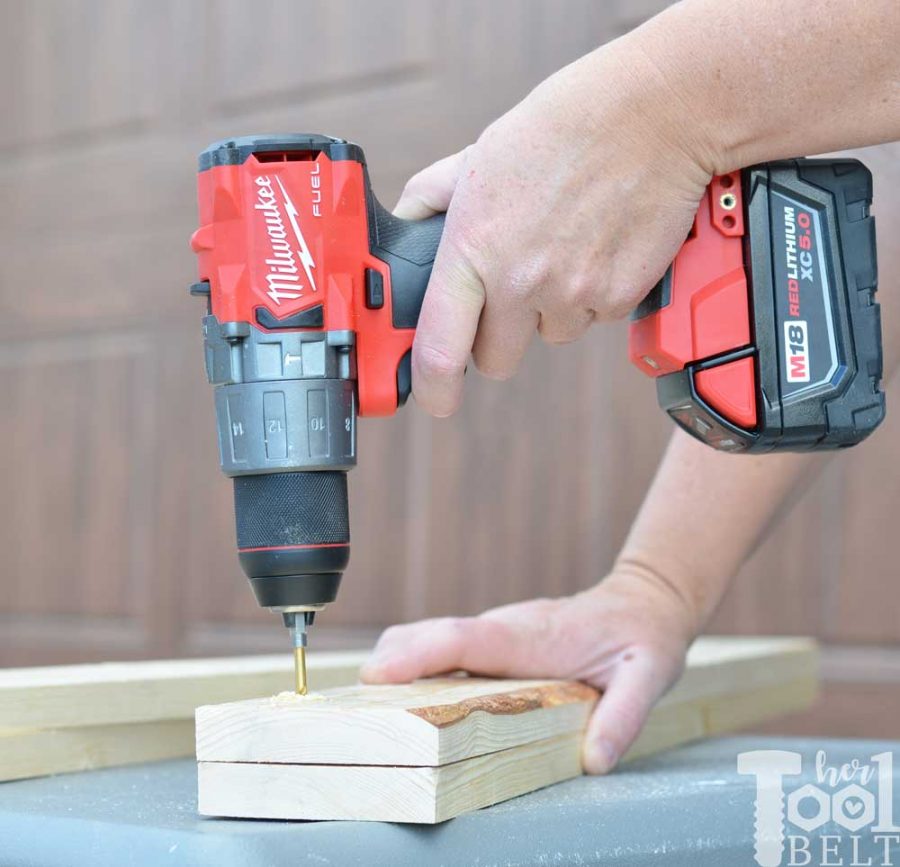
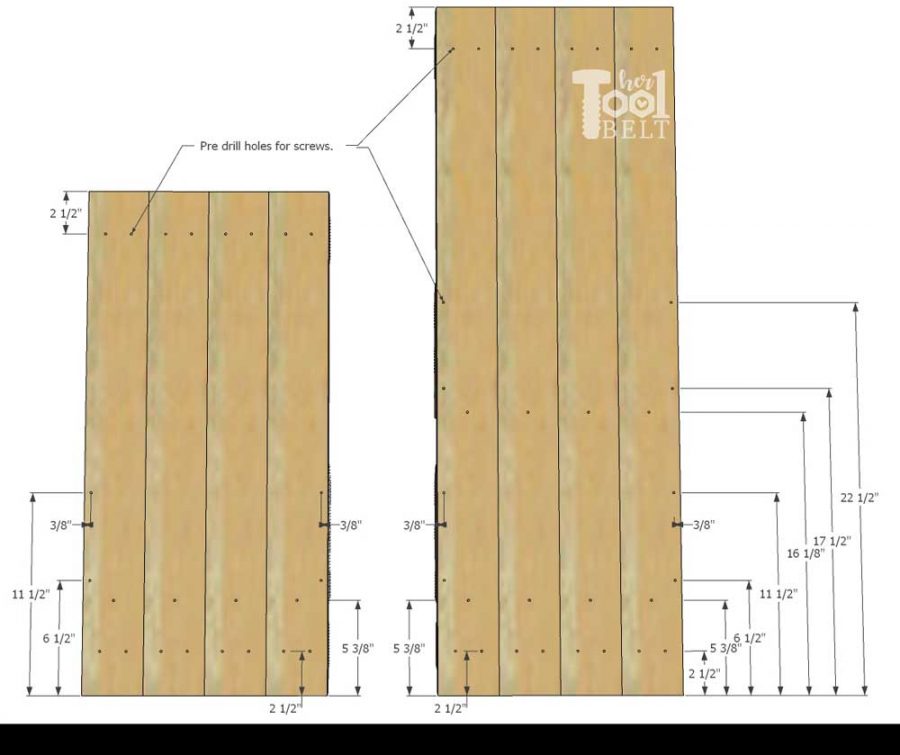
To make assembly easier, I pre-drilled holes in the back boards. I’ll be putting screws through the backboard into the front pieces.
Here are the measurements for hole locations. Use a drill bit that is the same size or just bigger than the screw you’re using.
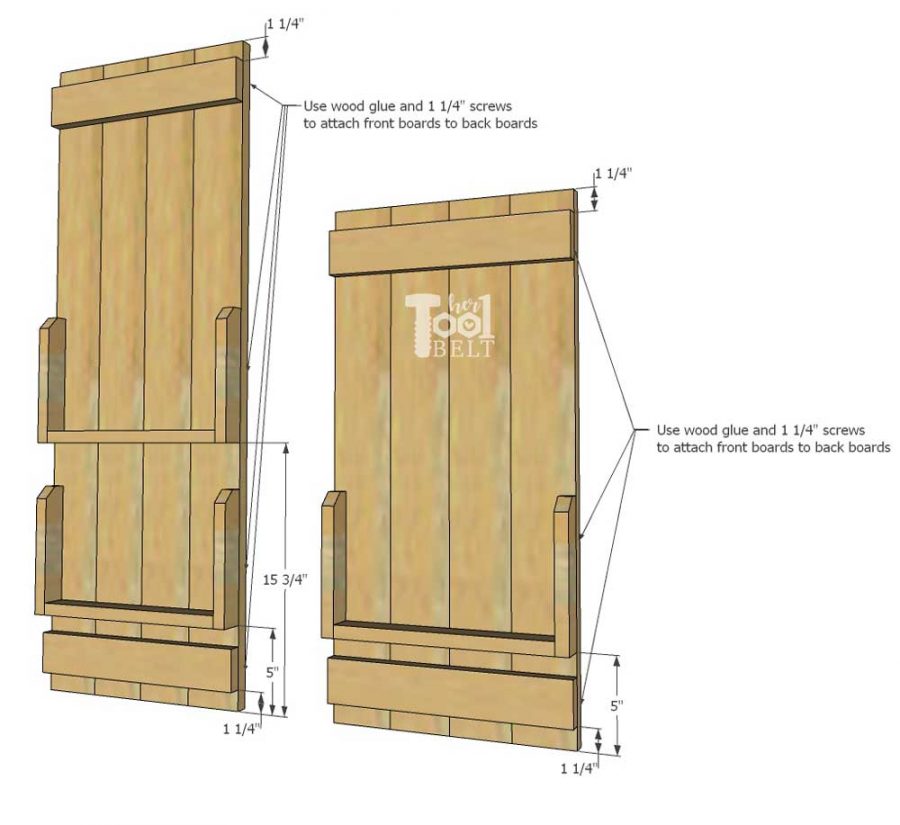
Line up the backboard pieces (1×4) and place the 14″ 1×3 pieces 1 1/4″ from each end.
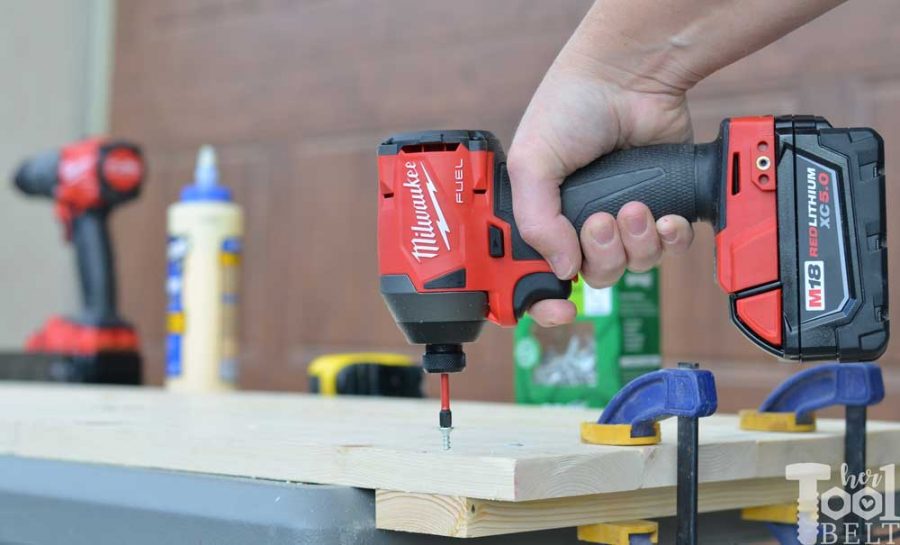
Use wood glue and clamp the 1×3’s into place. Then secure them on with 1 1/4″ screws.
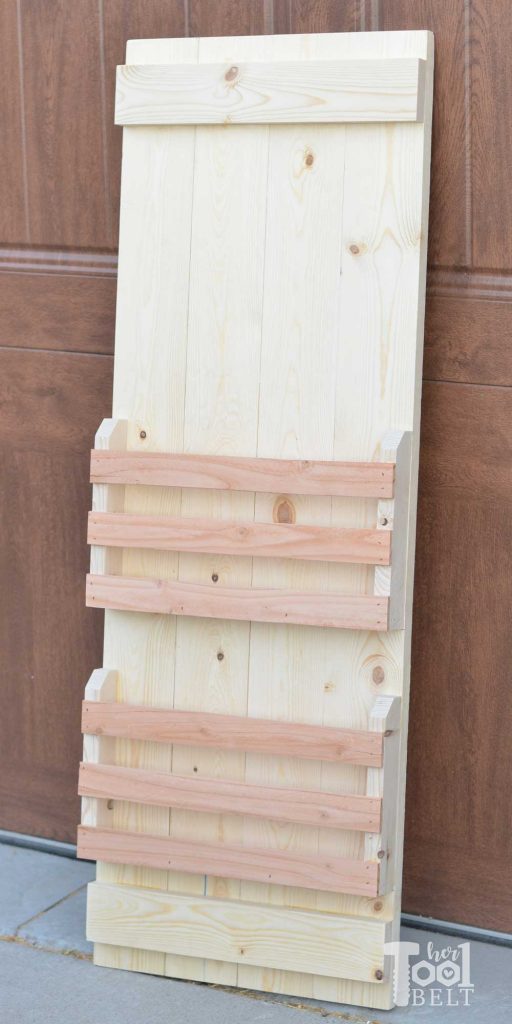
On the front of the back board, measure up and mark 5″ and 15 3/4″(for 2 baskets). Use wood glue and clamp the basket frame(s) to the back board. Use 1 1/4″ screws to secure the basket frames to the back board.
Step 4 – Basket Slats
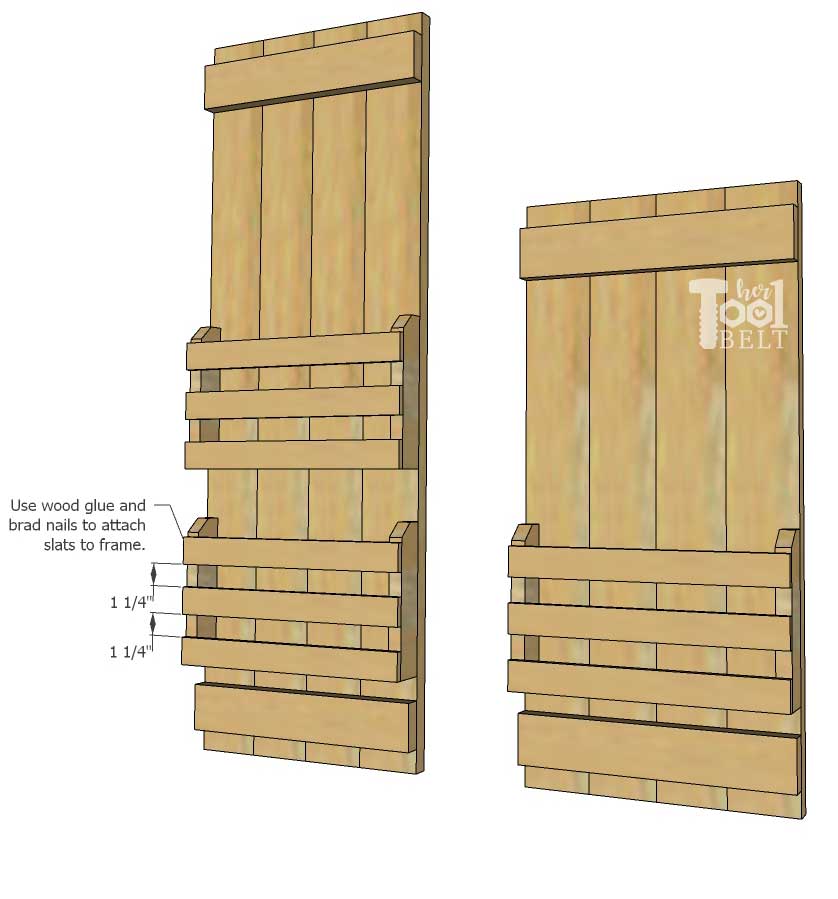
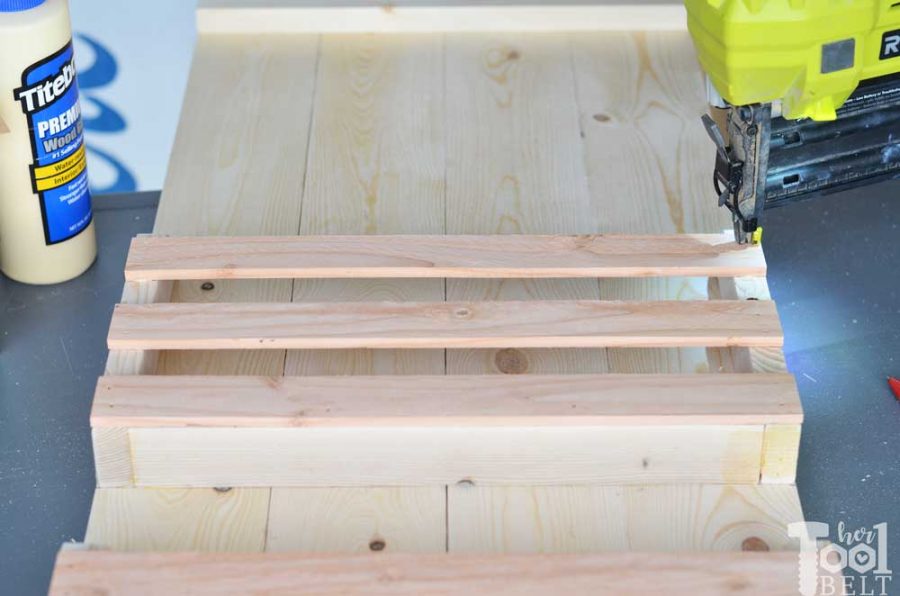
Line up the bottom basket slat with the bottom of the basket frame. The space between basket slats is 1 1/4″.
Use wood glue and brad nails to secure the slats to the basket frame.
Assembled
Step 5 – Finish
Sand the backpack storage organizer as needed. Then paint or stain. I used Rustoleum linen white chalky paint, let that dry and scuffed the edges with the corner cat sander. Then I used a dab of brown stain to highlight the edges.
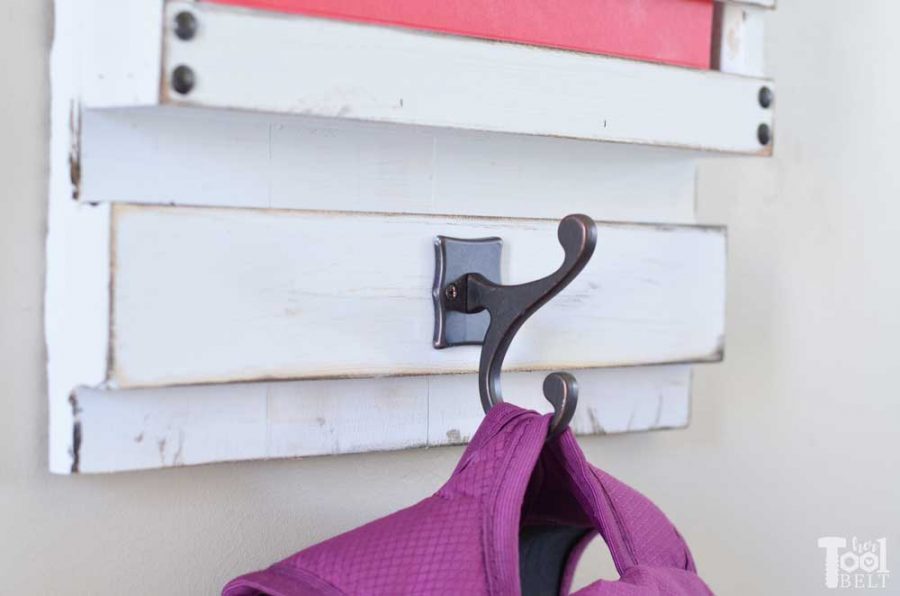
I attached the coat hook in the middle of the lower 1×3 piece.
I decided to put two clips at the top, so the paper calendar wouldn’t curl, I’m not sure if that would be a problem or not.
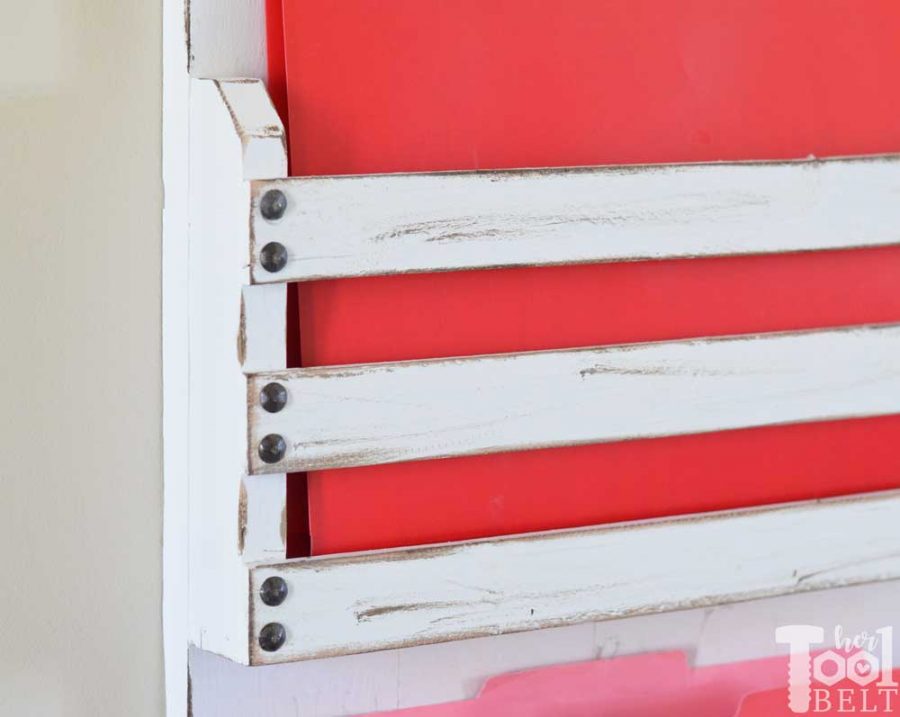
Just for looks, I added upholstery nails on the ends of the basket slats. I want to add a label holder to the baskets too, but need to find or order some.
Now I’m wondering why I didn’t get these done in August??? 🙂
With this build, I’ve been reviewing the Milwaukee hammer drill and impact combo. I have to say that this is a solid set! The 1/2″ hammer drill is small enough to seem like a regular drill, but with tons of power and hammer drill capabilities with a change of a switch. I especially like the feel of the chuck when loosening/tightening. The 1/4″ impact driver is also great, it is compact and has variable torque settings, which I love. They are M18 Fuel and run off the M18 system (18 volt).
“I acknowledge that The Home Depot is partnering with me to participate in the Tool Review Program. As a part of the Program, I am receiving compensation in the form of products and services, for the purpose of promoting The Home Depot. All expressed opinions and experiences are my own words. My post complies with the Word Of Mouth Marketing Association (WOMMA) Ethics Code and applicable Federal Trade Commission guidelines.”
Leave a Reply