The tiling has begun…
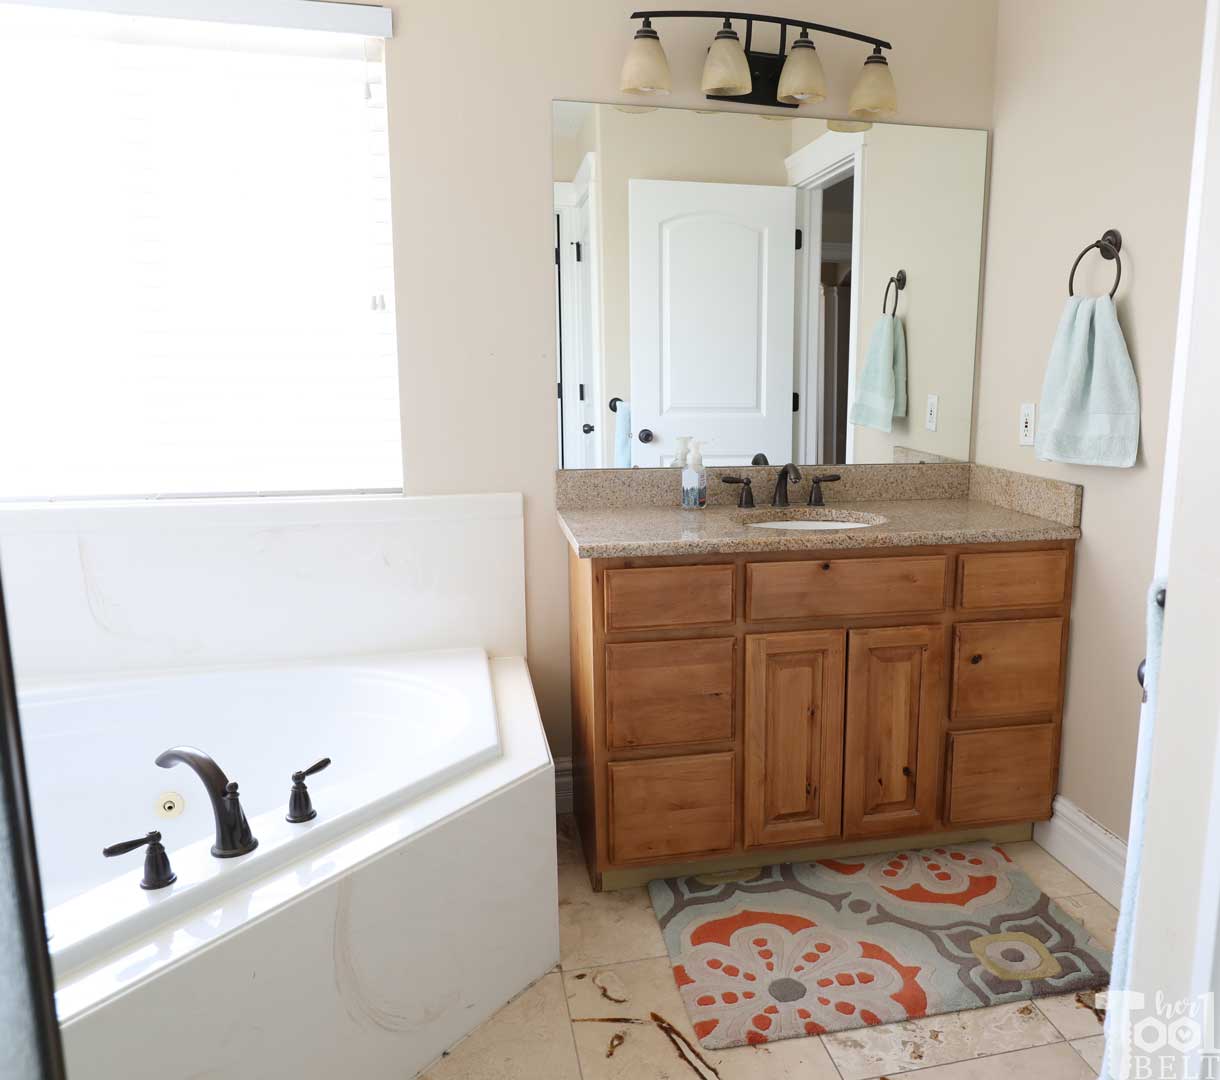
We are in week 2 of the Jeffrey Court All-star Challenge hosted by Jeffrey Court along with Behr Paint and Frog Tape. This week has been all about getting the bathroom floor tiled! I only crossed one item off of my To-Do list, but I feel good about it. It was a big task.
Voting begins today and goes through July 12th at 11:59 pm EST. You can vote once per day. If you have a minute, I would sure love your vote.
Vote HERE
missed week 1? check it out here.
Installing Cement Board (Hardiebacker)
Materials Used
Tools Used
- 1/4 x 1/4 Square trowel
- Spatula
- Husky Knee Pads*
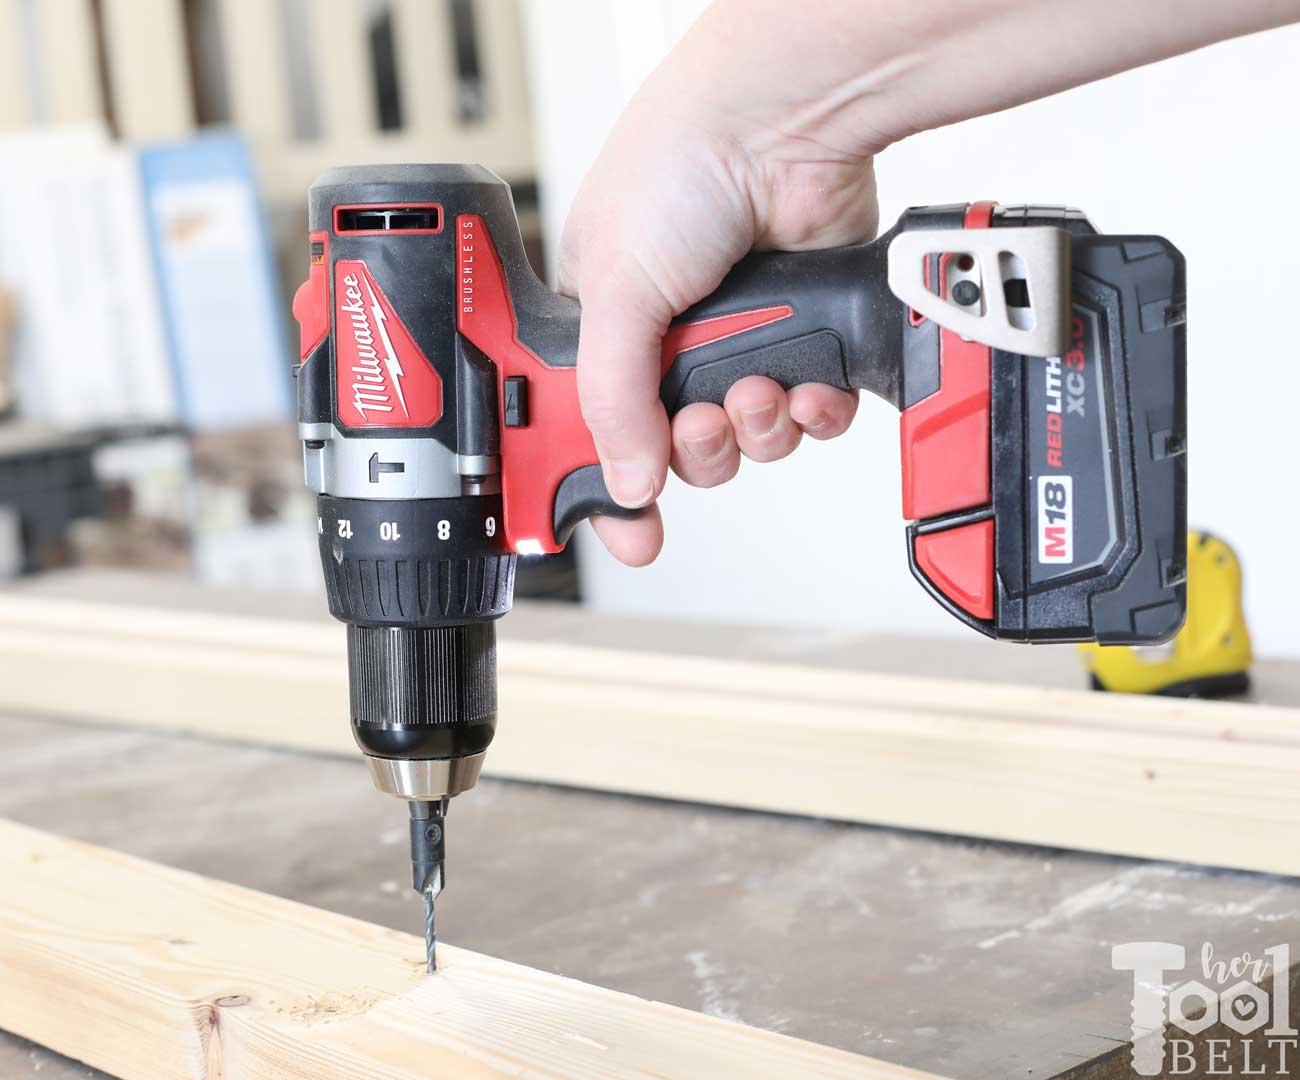
- Milwaukee Impact Driver*
- Bucket
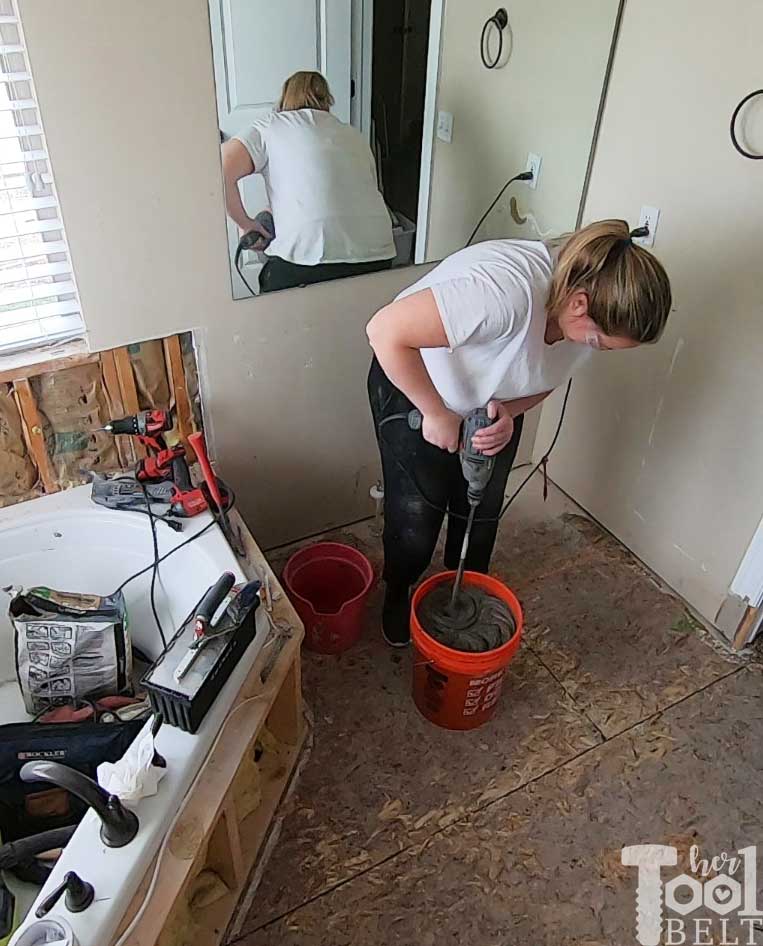
- 1/2″ Drill (heavy drill)
- Thinset mixing paddle
- Bosch Laser Level* or Chalk-line*
- Ridgid shop vac
- Utility knife to cut the hardiebacker
A good system for DIY’ers to get a good solid base for tile is with mortar (thinset) and cement board. My bathroom is small and a complex shape, so I precut out all of the hardiebacker cement board so it would be ready to lay all at once. I mixed up a batch of mortar with a 1/2″ drill, thinset mixing paddle and followed the directions on the bag.