Hi! I’d love for you to follow me on Pinterest Her Tool Belt and if you love instagram, you can keep up with me there too!
Welcome to Day 8 of the 13 Days of a Woodworker Christmas!
This year I built a fun DIY Wood Santa Sleigh for my front porch, but what is a sleigh without a reindeer to pull it??? I really like the shape of this wood deer (that is no longer available). My DIY wood reindeer follows that same basic shape with some changes.
See how it’s made:
Please Subscribe
This post contains some affiliate links for your convenience. Click here to read my full disclosure policy.
How to Make a DIY Wood Reindeer
Materials
- 1 – 1″ x 8″ x 6′ board
- 1 1/4″ brad nails
- wood glue
- sandpaper
- 1 1/4″ pocket hole screws
- stain or paint (I used Rustoleum antique white, Minwax Classic Gray, Minwax Jacobean)
Download and print the DIY Wood Reindeer Pattern with reference. When printing make sure your printer settings are on 100%, not ‘fit to page’. Line up the patterns and tape together. Cut out the pattern pieces and trace them onto the 1″x8″ board (trace 2 ears).
Use a band saw, scroll saw or jigsaw to cut out the reindeer pieces from the board. I used a band saw, but use whatever you’re most comfortable with. Sand the pieces as needed.
To attach the head, antler and tail, I decided to use my pocket hole jig. (There are other ways, but this is quick and easy.) I drilled 2 holes for 3/4″ material in the head and tail pieces and 1 hole in the antler.
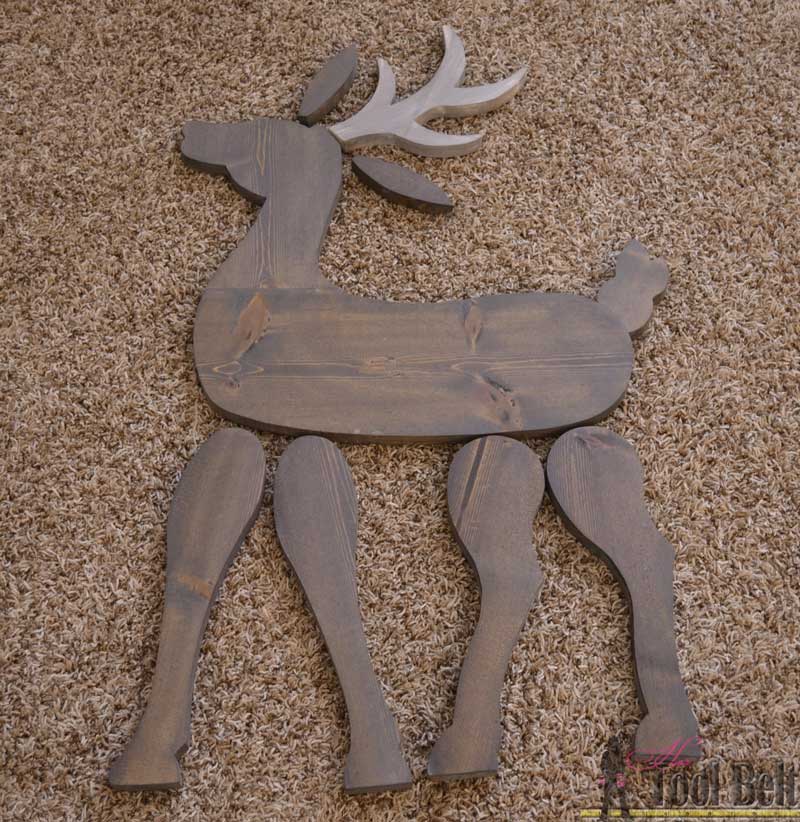
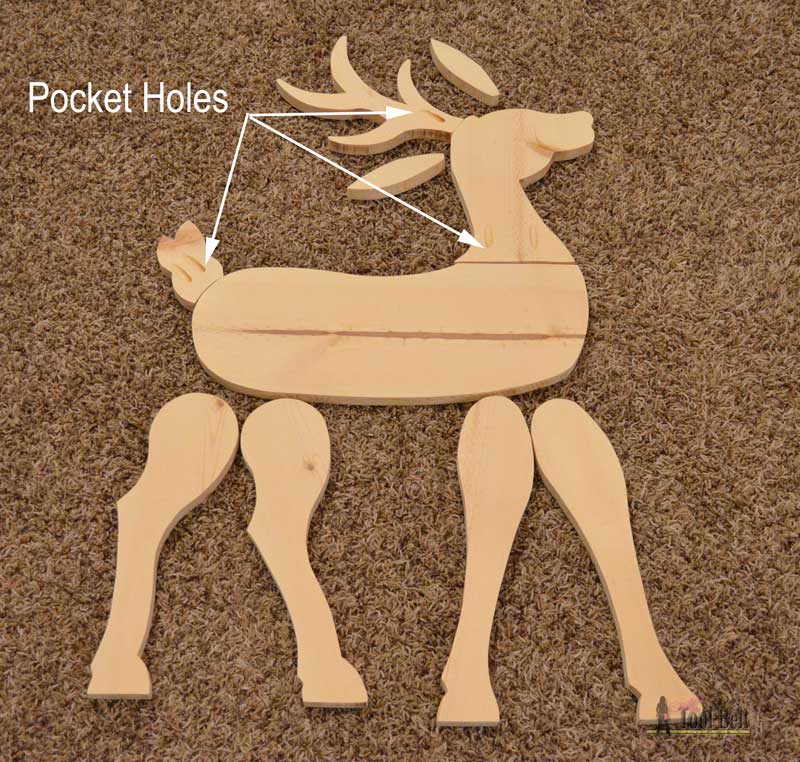 I stained the reindeer pieces before assembling it together. The antler was stained with antique white and after the white soaked in, I lightly brushed it with my stain soaked rag from the deer body. The rest of the deer is stained with classic gray, followed by jacobean. I would say let it dry, but it was so cold in my garage that the stain is really just kind of frozen onto the wood 🙂 Hopefully it dries by the time the reindeer is put away after the holidays.
After the stain ‘dried’ I roughed up the edges with sandpaper.
Attach the head, antler and tail to the body with wood glue and 1 1/4″ pocket hole screws.
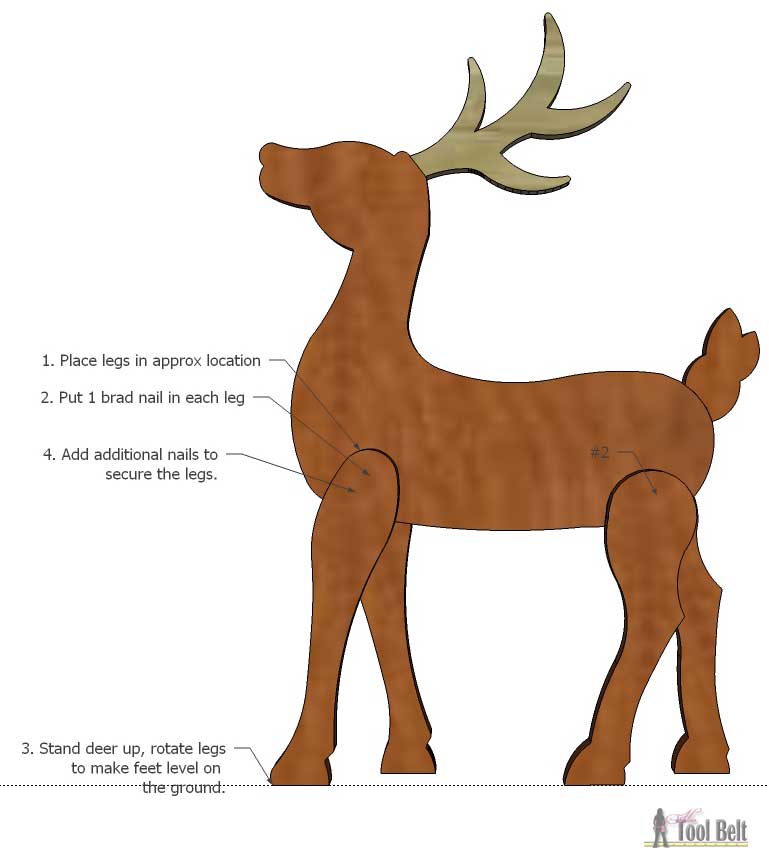
Now the trick to this reindeer is that you want to have all of the feet flat so it will stand nicely. To do this, I put the legs about where they should go and put 1 brad nail in each leg near the top. Stand the reindeer up and adjust the legs so each foot is level, then add a couple more nails to each leg.
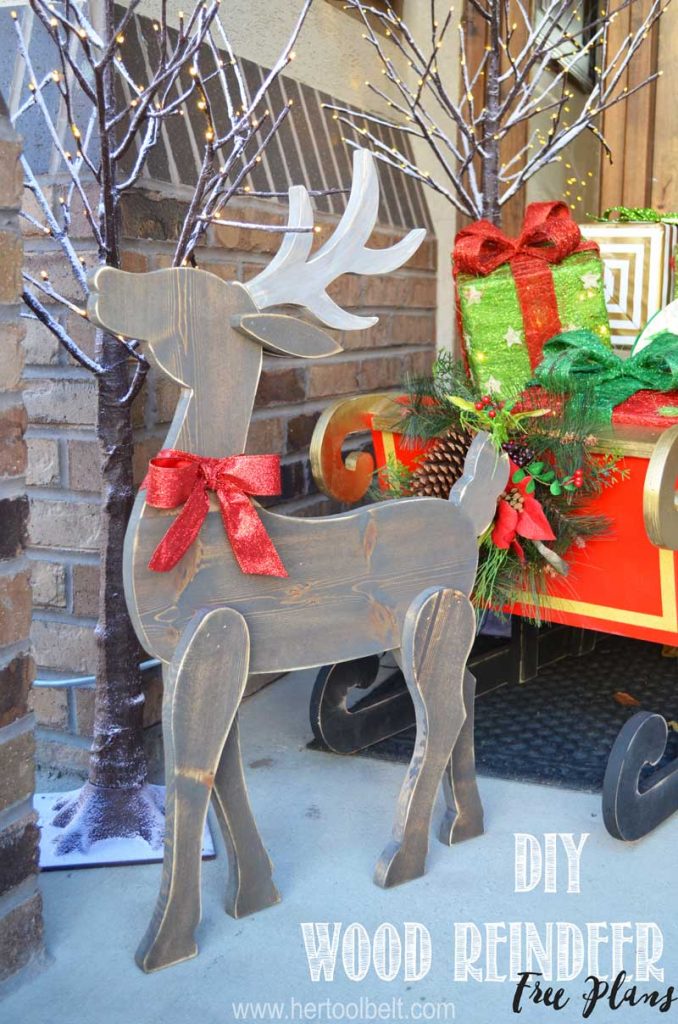
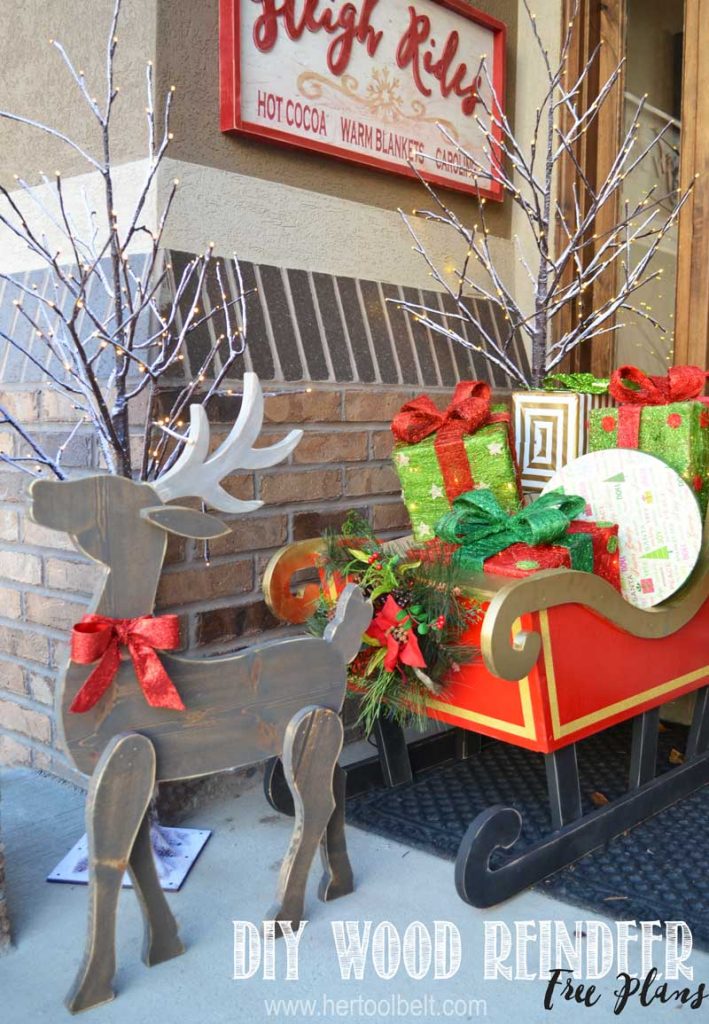
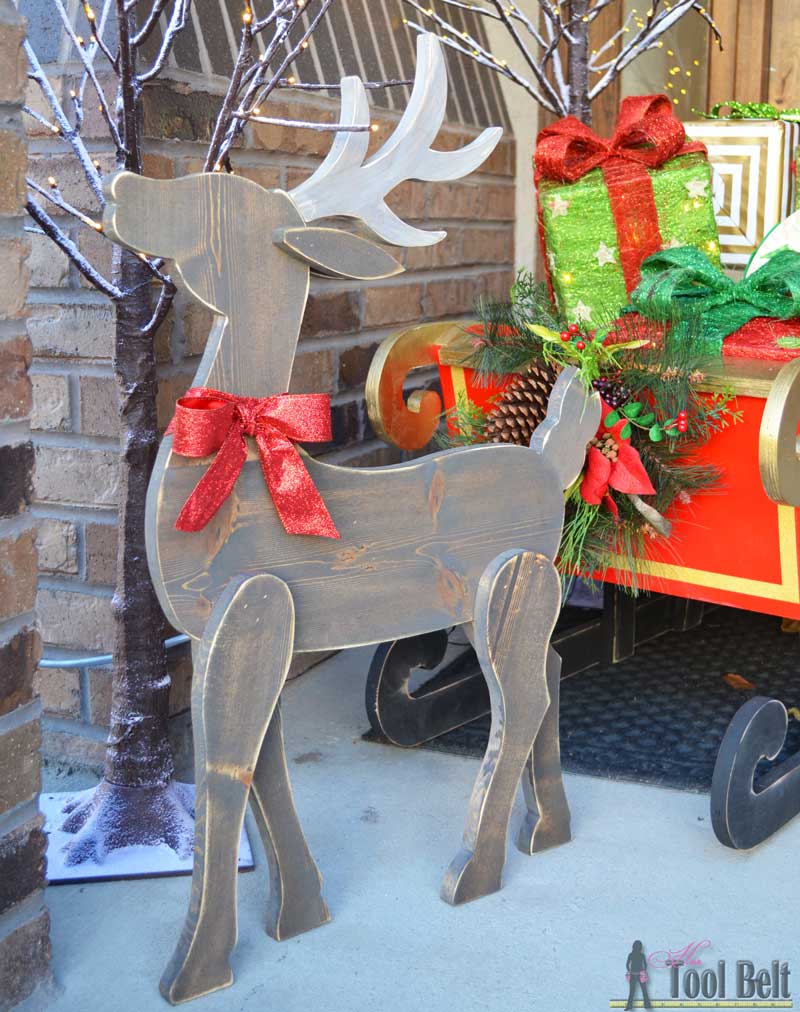
Attach the 2 ears to the head. Now the DIY wood reindeer is ready to go! He looks pretty good out by the Santa Sleigh,
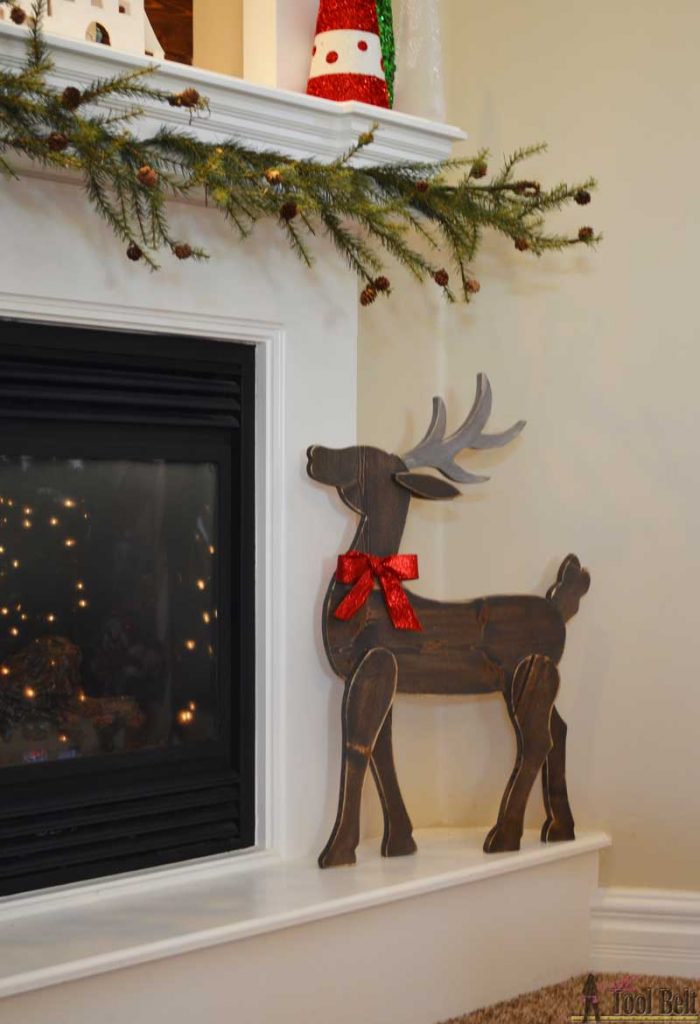
or cozy by the fire. Maybe I’ll have to make a second one for the fireplace.
Be sure to check out the other awesome projects in the 13 Days of a Woodworkers Christmas
- My Love 2 Create – Decorative Scrap Wood Signs December 1st
- The Handyman’s Daughter – Let it Snow Sign December 2nd
- Craftsman Drive – DIY Porch Planters December 3rd
- Handmade with Ashley – DIY BB-8 PUSH TOY December 4th
- Hazel & Gold – Christmas Tree Tray December 5th
- The Painted Key – Sliding Lego Table December 6th
- The Created Home – Wood Star Mosaic December 7th
- Her Tool Belt – DIY Wood Reindeer December 8th – You’re here!
- Lazy Guy DIY – Do not open until December 9th
- Uncookie Cutter – Do not open until December 10th
- Knock It Off Crafter – Do not open until December 11th
- The Jawn Shop – Do not open until December 12th
- Keddie Woodshop – Do not open until December 13th

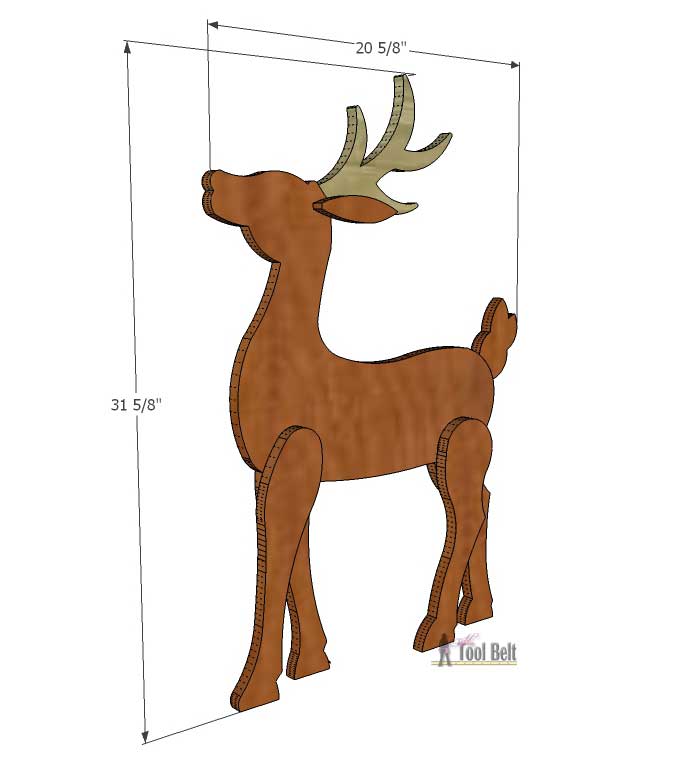

I adore this! And I think I might make one myself because I was needing a decoration about 20″ tall! Genius! Well done!
Amy I need a whole herd!!!! That is the cutest project and so nice of you to make the pattern pieces free. Love this.
Amy, I love this reindeer and must make him! Thanks for providing the pattern – I am pinning!
Love the Reindeer and the stain you put on it.
Love your reindeer. Is there any way you could draw the pattern out on paper with actual sizw?. I would pay you for it and shipping.
You can print the actual size pattern here https://www.hertoolbelt.com/wp-content/uploads/2016/12/Reindeer-pattern-with-reference.pdf
Can’t get the pattern to print from my phone, any suggestions?
Thanks
This is so adorable. It will become a family heirloom.
Thank you
Saw this pinned by a friend . . . absolutely adorable!! Are there plans available for the sleigh?? Happy to pay for them if they’re for sale.
Thx and hope you had a great Christmas!!
Thank you. Yes the free plans for the sleigh are available on Ryobi Nation https://www.ryobitools.com/nation/projects/santa-s-diy-wood-sleigh
Thank you for the prints on the reindeer and sleigh, I made them both and I love them ,once again thank you
Awesome, I’m glad they could be helpful.
Where can I get the pattern for the reindeer?
It’s after the materials list. Download and print the “DIY Wood Reindeer Pattern with reference“. <---- DIY wood reindeer is a link to the pattern download.
This link will not allow you to print the pattern from a phone.
Anyone has any solutions? I really want this pattern!
Thanks in advance!
Do you think this could be made with old barn wood?
Yes that would look cool.
I made a couple but adjusted the pattern a bit. I also reduced it and made a smaller one, thanks!
Greetings,
This is a good project, well explained. It seems like it would be a good project for one of our seasonal projects at the CU Woodshop School. I would like to know if we would be allowed to reference your site and use your plan as the basis for a seasonal class at our woodworking school. http://cuwoodshop.school.
Yep
Love this! If I want to make a couple for indoor use, would there be any reason not to use 3/4″ MDF? I already have a sheet from another project. Thanks so much for this pattern!
MDF would work great!
Very good video. And funny at the beginning. Please can u tell me what is the big (and fixed) machine to cut the wood? The other is very small and is very dificult to see the “way”. Thanks from Portugal.
Hi Jose, the big fixed machine is called a band saw here in the US.
Hello,
I stumbled across your website and found the deer I had given my sister for Christmas. I would love to make one for myself. I printed the pattern. Do you by chance have the instructions written on how to put the deer together? Oh, and I absolutely love, love the sleigh and hope I can make it as well and would love to make one to go with my sisters deer. I can’t wait to go through the rest of your items.
Karen
Thank you for the free pattern. I am going to work on a yard display for my front yard. It is so nice to see women getting into woodworking. I have been into woodworking since 1990 and I use mostly my own patterns. I do lots of scarecrows and snowmen. If you like I could send pictures.
I would love to see your creations, do you share them on instagram or facebook?
What size paper is the reindeer is printed on?