Don’t you just love this time of year? Fall is in the air, and Thanksgiving is right around the corner. Tom Turkey is here to help you celebrate. This craft is great because it is versatile to adapt to whatever scrap materials you have around. Here is the pattern and how I put it together.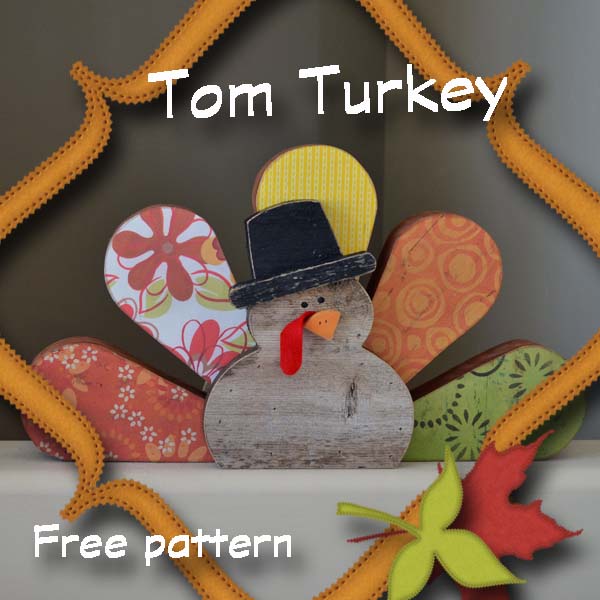
Print and cut out pattern:
Tom Turkey’s feathers and beak: Tom Turkey pattern pg 1
Tom Turkey’s Body with Hat option: Tom Turkey pattern pg 2
Tom Turkey’s Body without Hat option: Tom Turkey pattern pg 3
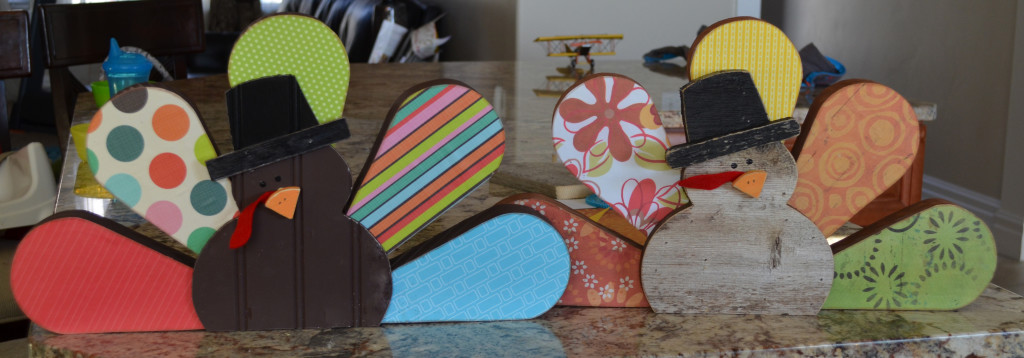
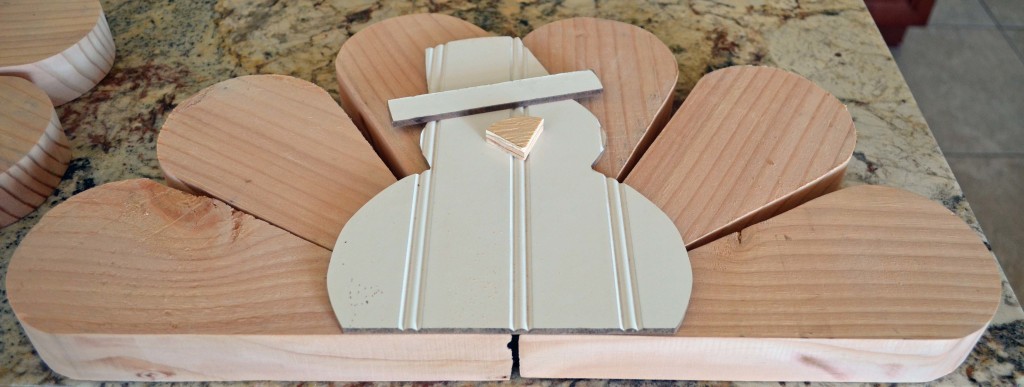
Trace 5 or 6 feathers on wood pieces. I used scrap 2″x6″ pine board, however MDF or 3/4″ thick wood will work just as good. Trace one beak on thinner wood (about 1/4″ or smaller). Trace one body on your choice of wood. I made one with rustic barnwood, and one on beadboard. Both turned out great.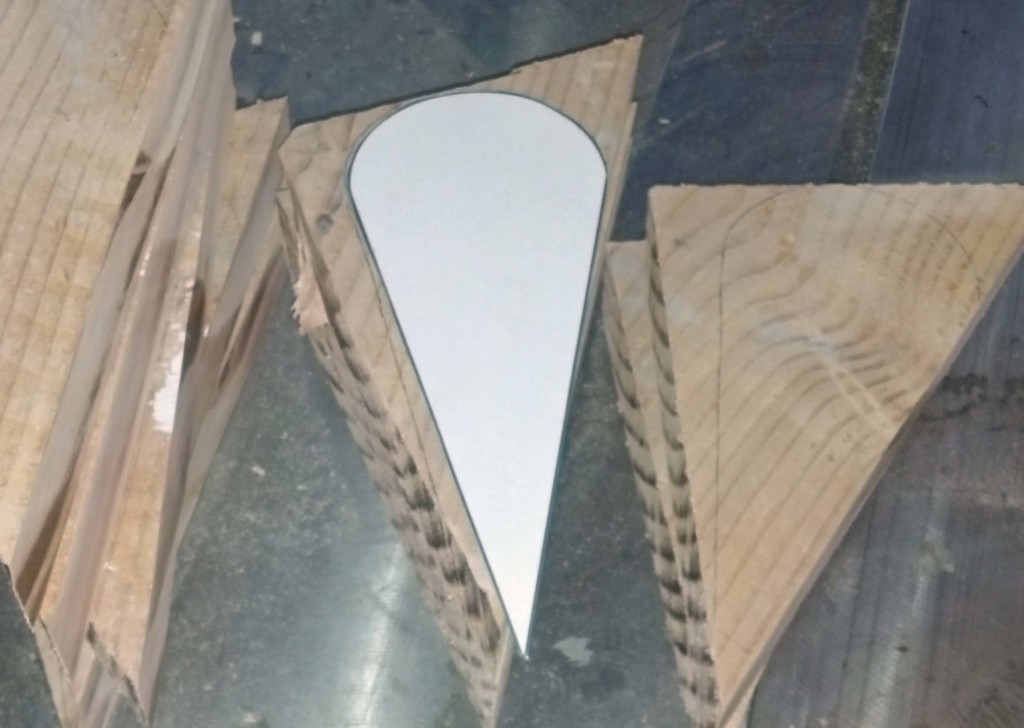
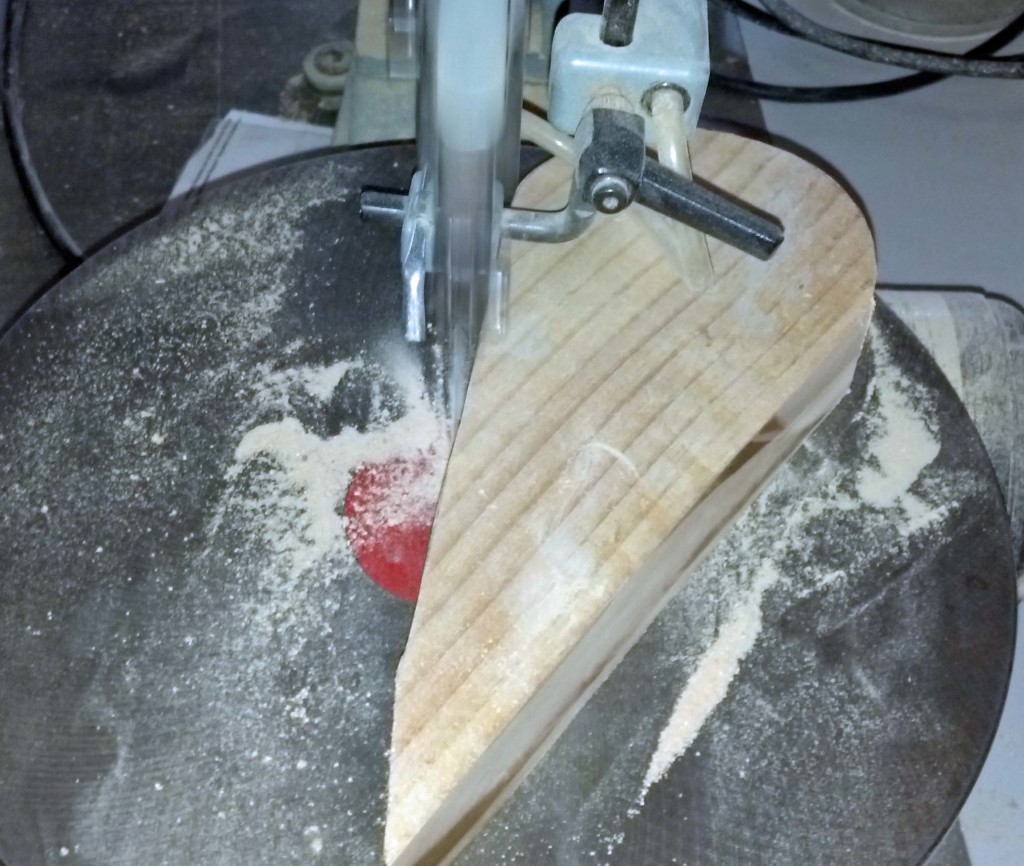
Using a scroll saw, jig saw or band saw cut out your wood pieces. Sand around the edges to smooth out any rough edges.
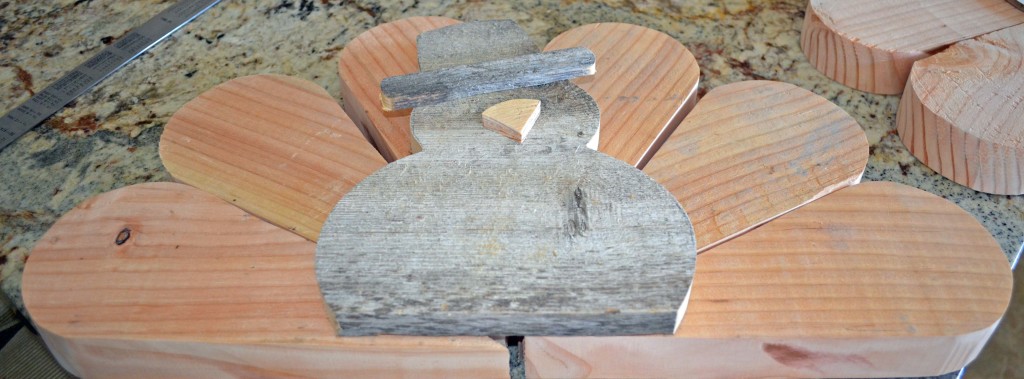
I wasn’t sure whether to do 5 or 6 feathers. Ultimately I opted for 5 feathers. Here is a view of the rustic barnwood tom with 6 feathers.
 Here is beadboard tom with 6 feathers.
Next paint around the edges and back of the feathers with brown or whatever color you choose. Depending on the body you choose paint the edges and/or front of the body brown. If you are doing the hat option, paint the hat and rim black. Paint eyes on tom as you like. I just did two black dots using the back of a pen. (That’s about all I’m capable for!) Also paint the beak a yellowish/orange color.
Next pick scrapbook papers that you’d like to decorate tom’s feathers. Trace a feather onto the back of the paper. (If you cut wood like me, each feather will be a little different :-), so you’ll want an exact match to each individual feather. Using Mod Podge and a sponge brush, paint Mod Podge onto the feather, and on the back side of the feather paper. Place the paper on the wood feather, line up the edges and press the paper on firmly, trying to remove any bubbles. Paint the front of the paper and over the edge of the wood with Mod Podge. Repeat for each feather and let dry. Once dry, remove any excess paper, and ink the sides of the paper for a rustic-ish look.
Cut a piece of red felt for the wattle that is about 3/4″ wide and about 3″ long. Round out one end.
There are a few different ways that you can assemble Tom. I used wood glue and a brad nail gun and 1″ brad nails. Apply glue to the back of Tom’s body, start with the bottom two feathers. Line the feathers up such that they are flush with the bottom of the body and it’ll sit flat. Secure the body/feathers using about 3 nails through the body and into each feather. Nail the remaining 3 feathers and hat rim into place. Apply a little glue to the back of the beak. Nail the beak onto Tom’s face tucking the wattle (red felt) behind the beak, so it’ll fling over when Tom is sitting up. And there you go, I hope you enjoy Tom Turkey. Thanks to my friend Wendy for decorating Beadboard Tom!
Great turkey plan.
This is a great simple pattern. Our Senior Center will be making this as a craft project for seniors,
I love that the body looks like a snowman, so if you did that on a thicker block, and attached the feathers to something else to hold them together, you could just place the body in front, and then after thanksgiving, pull the feathers out from behind and you have a snowman decor.
Maybe even do the feathers on thin plywood, with them connected in center instead of fully cut out, since feathers should be thinner than a body, anyway? Then maybe have a screw or something to attach them, that you can easily unscrew?
Howdy, I was invited to go to a friend’s house for Thanksgiving dinner (2014) and I wanted to take a dish but, I didn’t know what would be appropriate or well liked being that the family was hispanic and made non traditional/stereotypical dishes than what my East Coast Irish family made (Turkey, stuffing, cranberries, etc.) I had made your turkey according to pattern using junk wood laying around and I had drilled holes in the feathers and stuck lollipops/suckers in them. I had a wonderful Columbian-American Thanksgiving dinner and his family truly appreciated the turkey. Fast forward – I spoke to my friend this past summer and he told me that his mother still displays the turkey every year and has learned to cook a traditional/stereotypical turkey which they all love! Thank you kindly for posting free patterns. * I don’t think you realize how much happiness and joy you bring to others. The turkey that I made because of your generosity all those years ago will be handed down from one generation to another. It tickles my heart to know that folks still remember me whenever they see that turkey that I made at the last minute using hertoolbelt.com’s turkey pattern. Wishing you and yours good health, happiness and prosperity.