Hi! I’d love for you to follow me on Pinterest Her Tool Belt and if you love instagram, you can keep up with me there too!
It is getting COLD in these parts, and it has even snowed a bit. I guess my mind has been on snowflakes, especially after seeing Pauline at My Altered State’s latest 3D snowflakes, so cool. So when this months power tool challenge came around I knew what I wanted to make. This wooden snowflake door hanger is a winter holiday spin on my Americana door hanger from a while back. 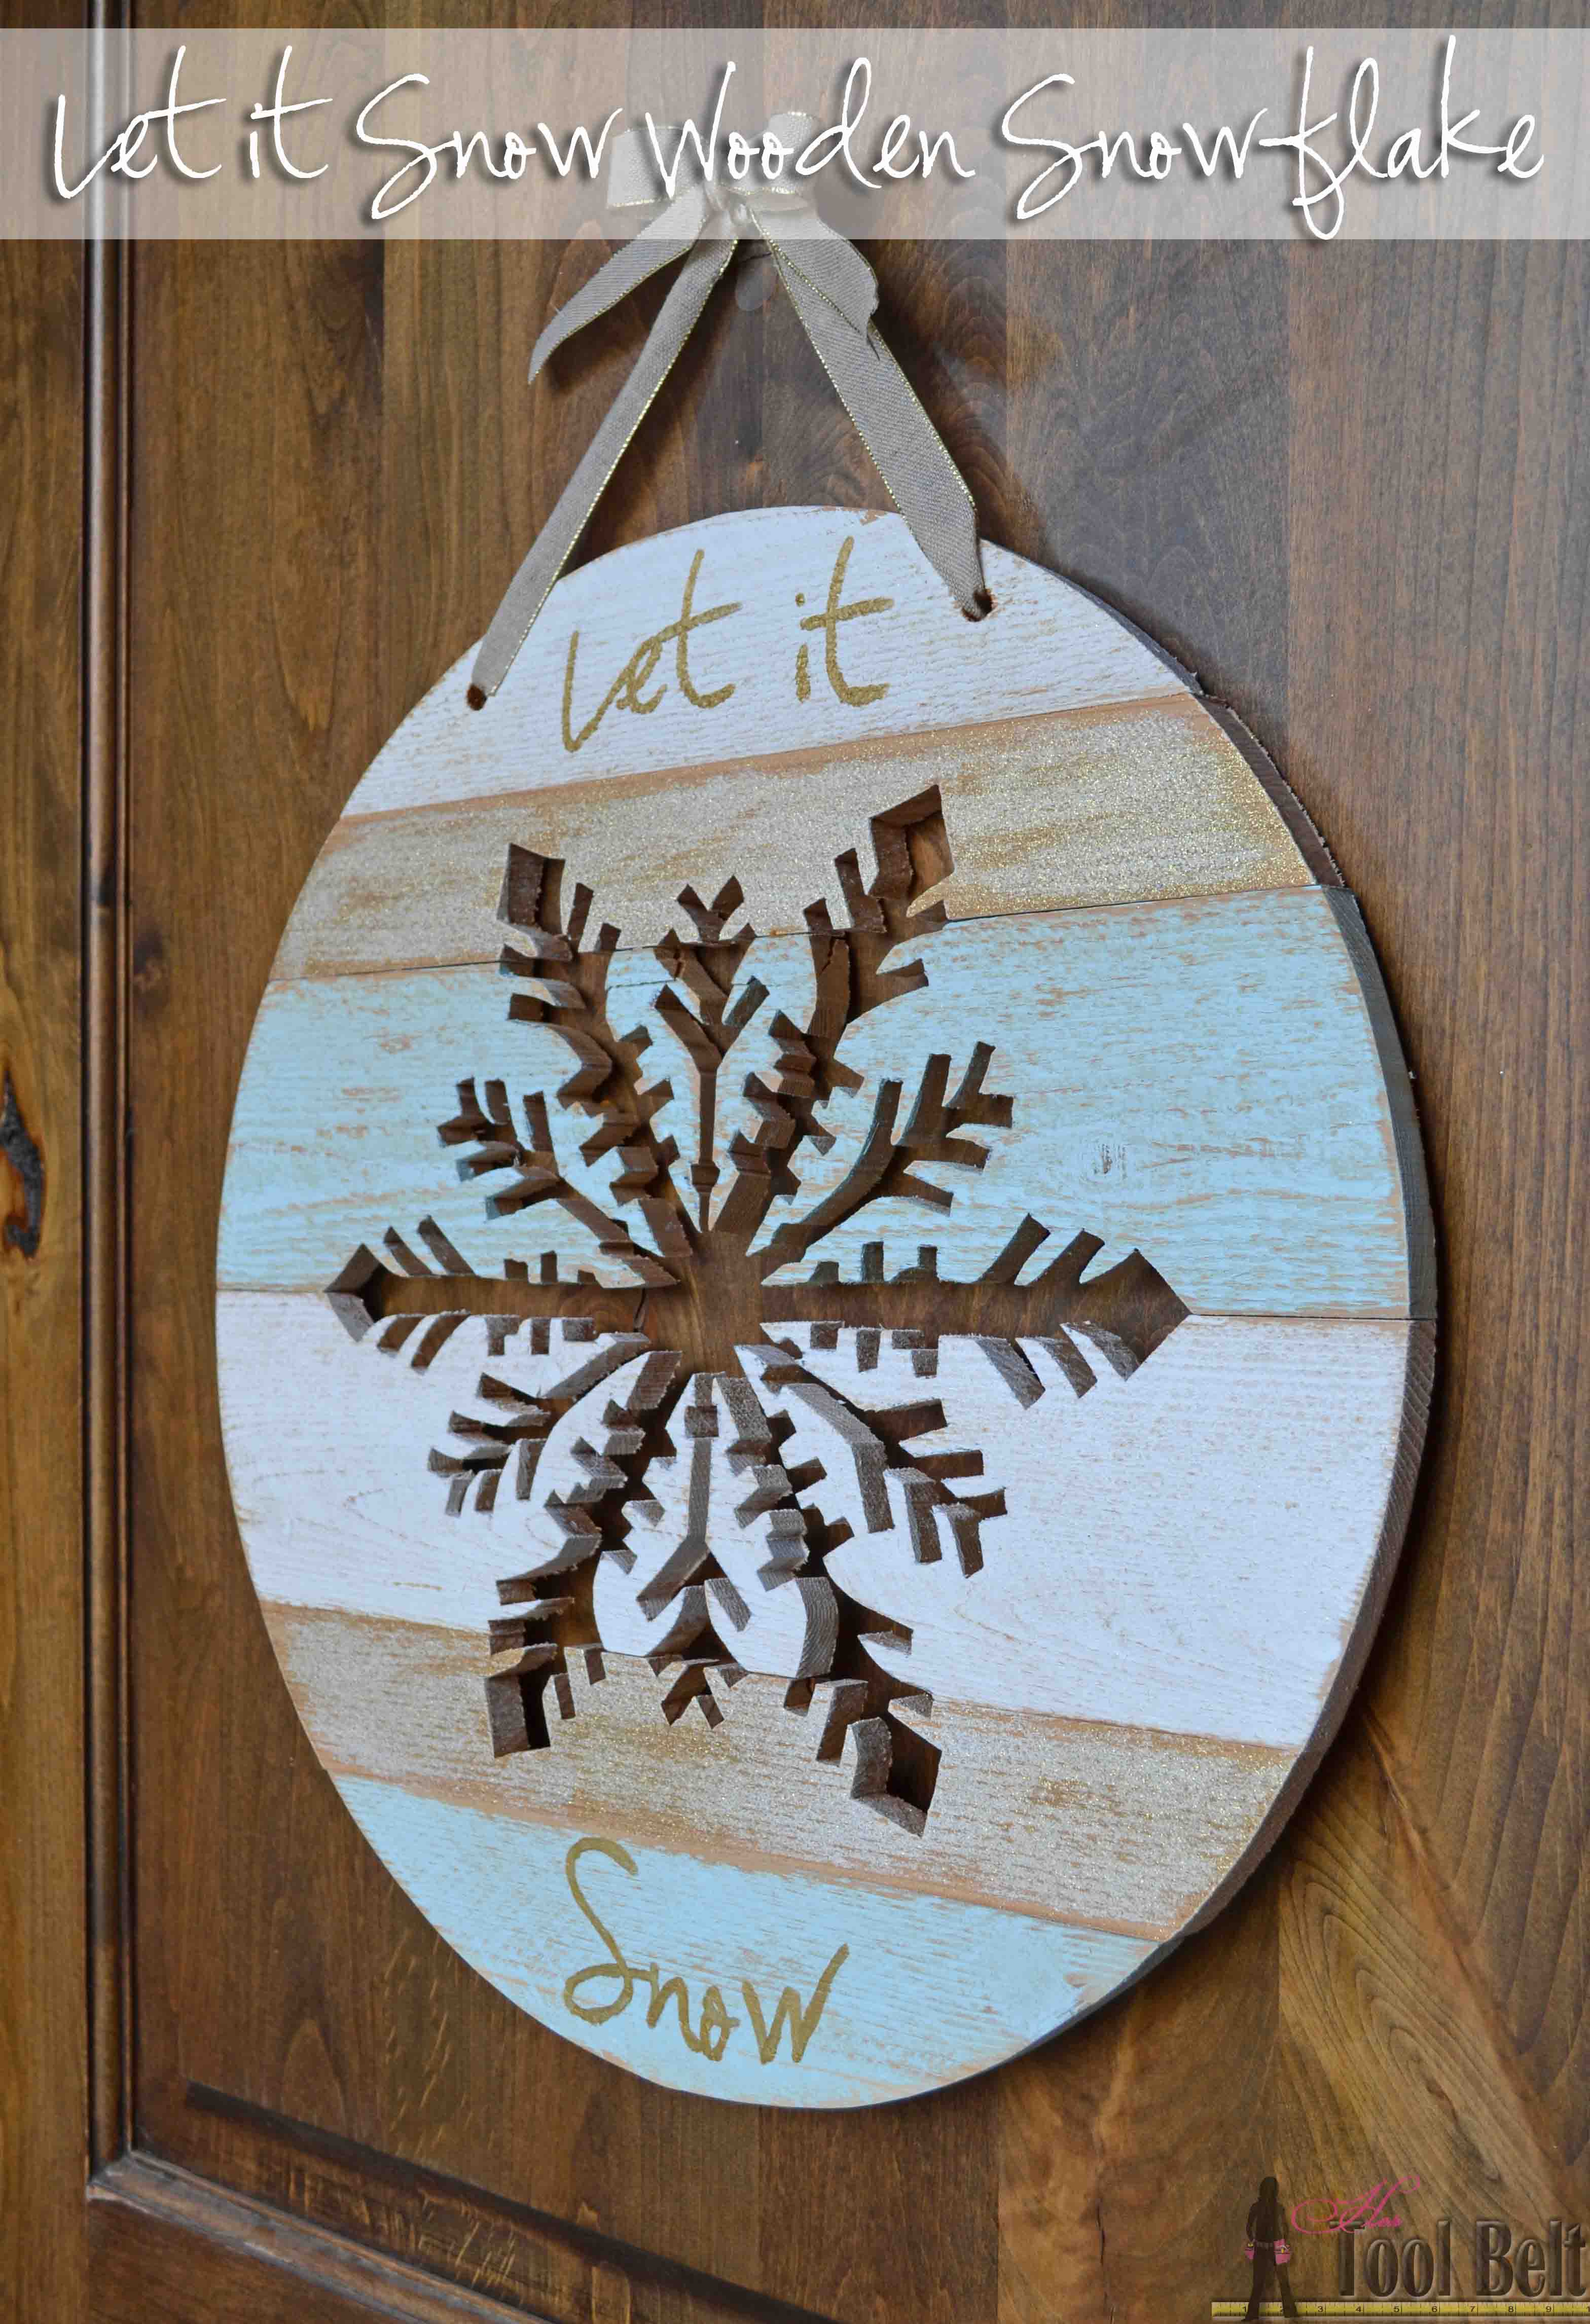
How to Build a Wooden Snowflake Door Hanger
Materials
- 1 – 5/8″ x 5 1/2″ x 6′ cedar picket ($2.45)
- 1″ pocket hole screws (affiliate)
- paint
- ribbon
- wood glue
- sand paper
Tools
- Drill
- Band saw, jig saw or scroll saw (I used a band saw, but I think the scroll saw would probably be the easiest.)
- Table saw – optional
Cut List
- 2 – 18″ long
- 2 – 17 7/8″ long
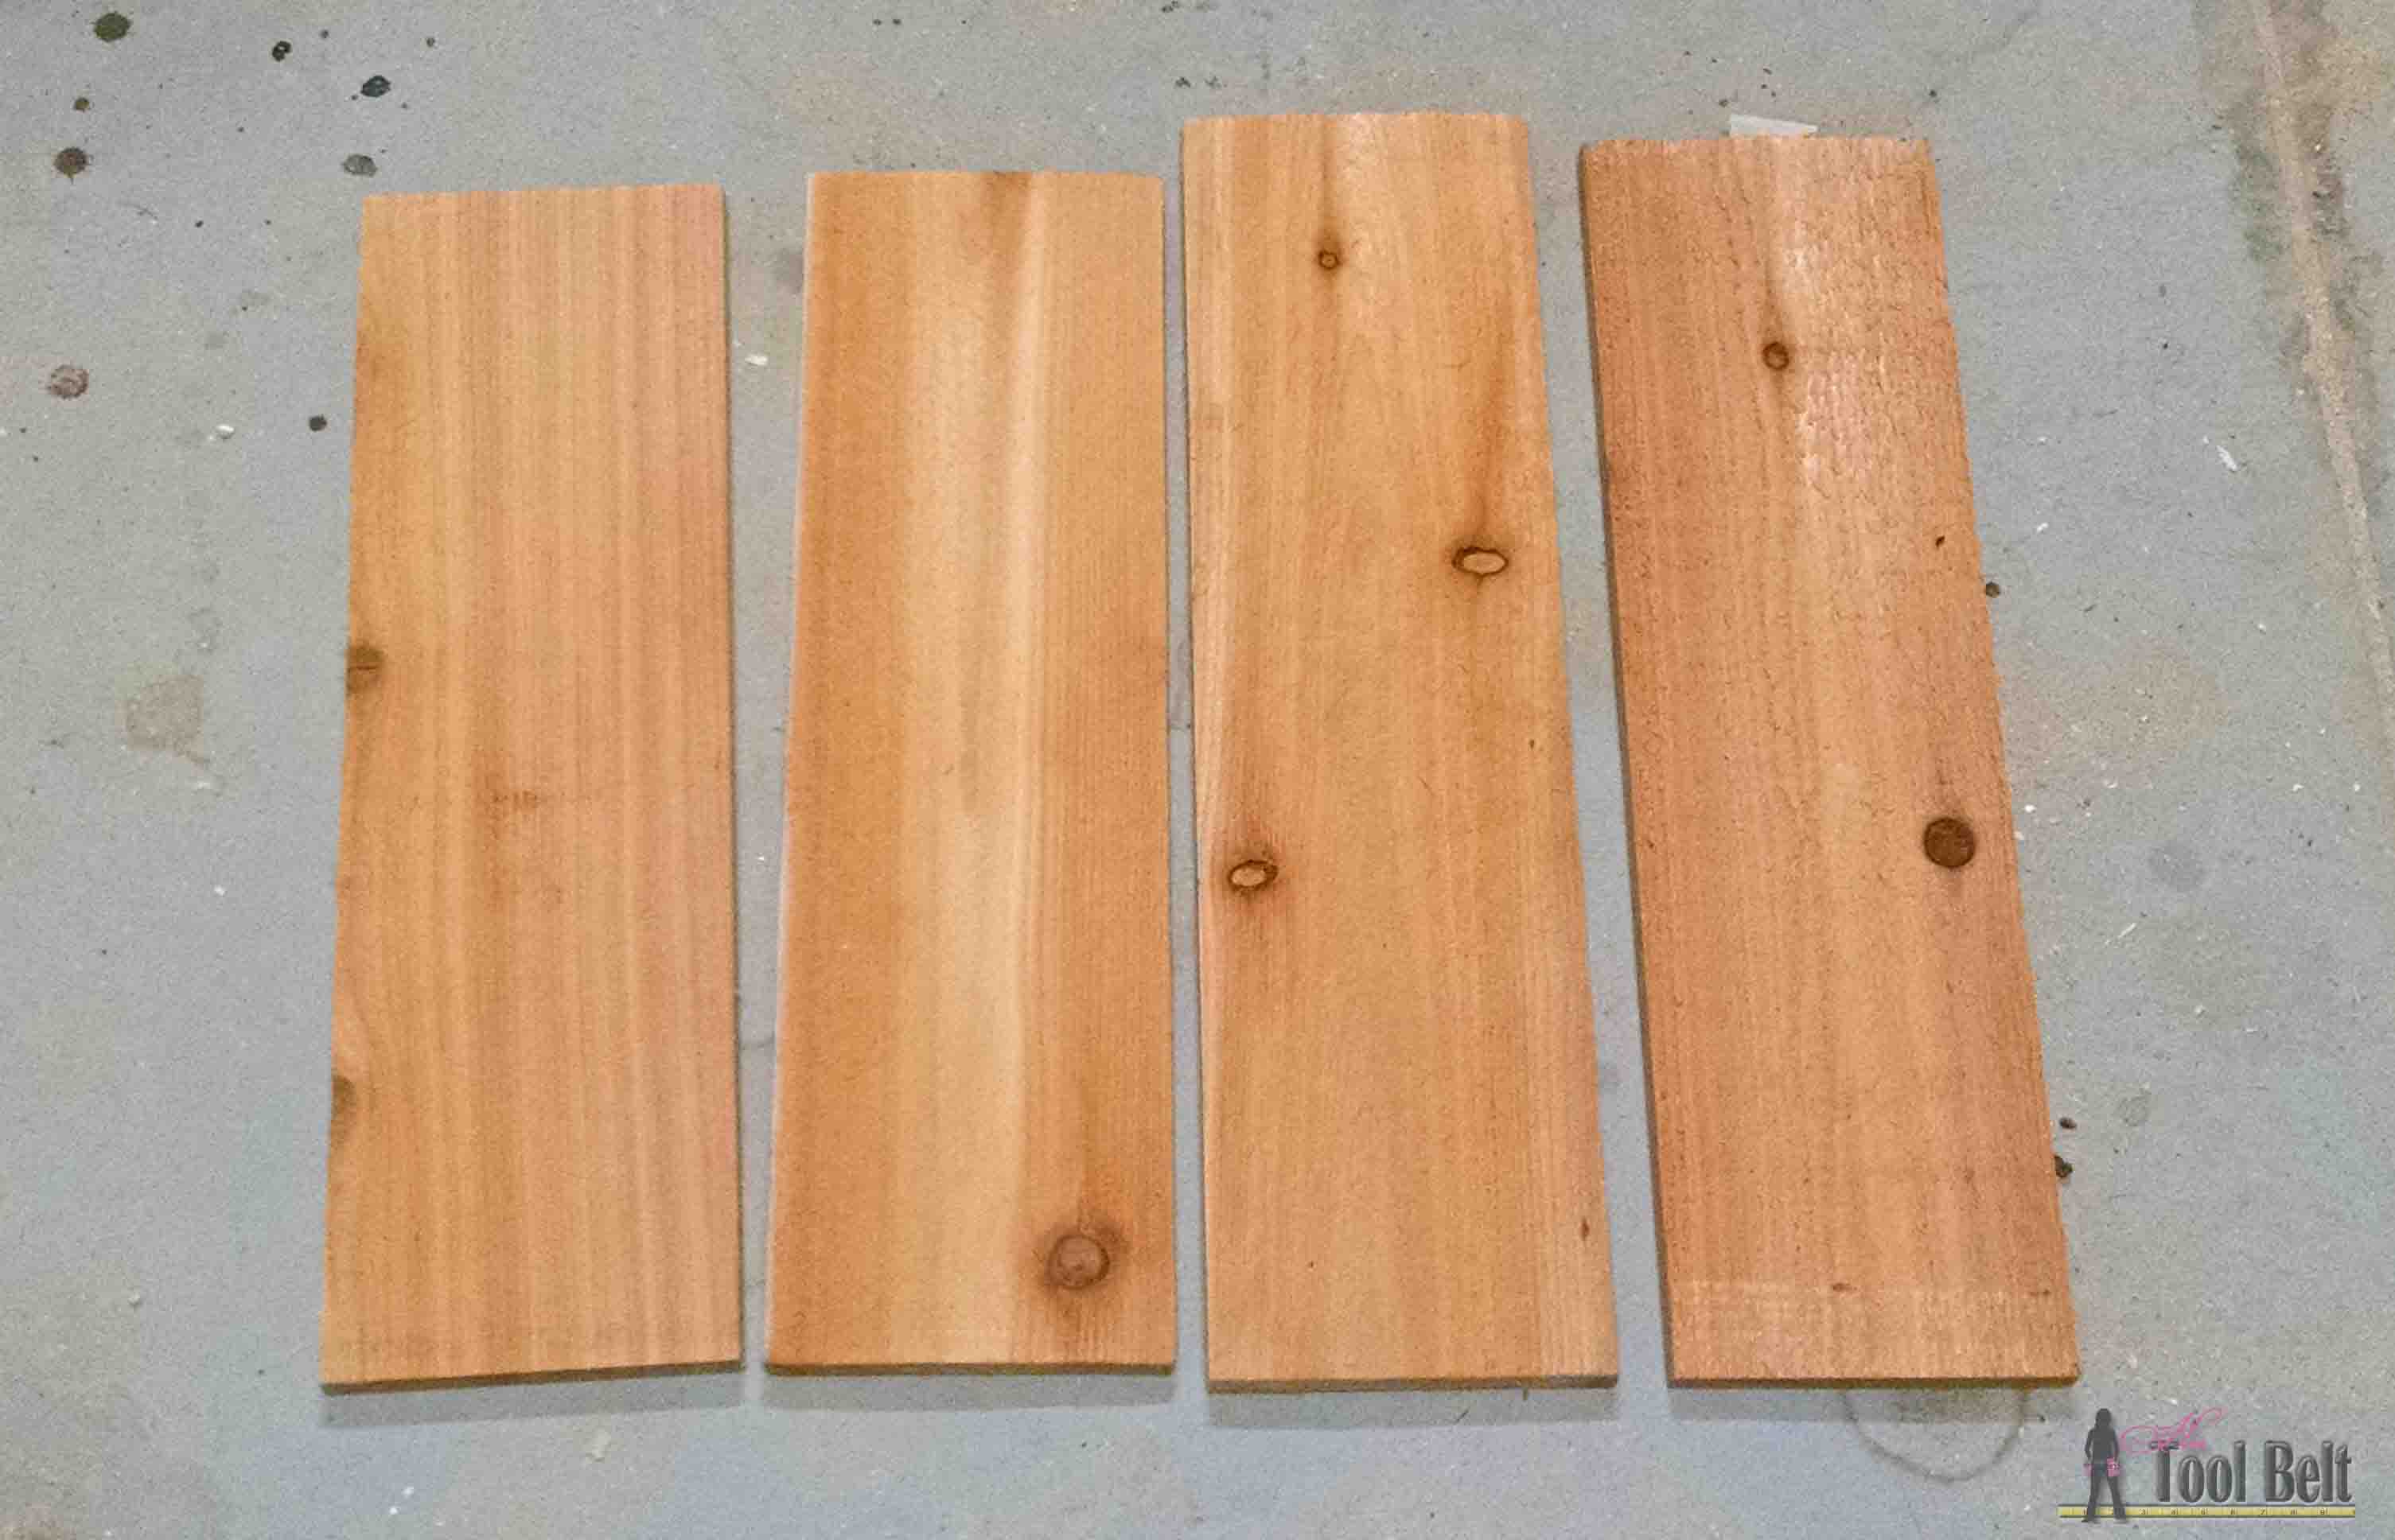 I started off with 4 scrap pieces of the cedar picket. I decided to vary the widths of the pieces so I ripped the 2 – 18″ long pieces to 4 1/4″ wide, then I ripped a 2″ piece from each of the 17 7/8″. My actual cuts were about:
- 2 – 4 1/4″ x 18″
- 2 – 2″ x 17 7/8″
- 2 – 3+” x 17 7/8″
I created a pattern for a 18″ circle and picked a snowflake pattern that I liked. Since I was cutting the snowflake out with no other support, I had to make sure I picked a design that didn’t have middle pieces, since nothing would support them. You can download my pattern if you’d like: snow 1, snow 2, snow 3, snow 4, snow 5 I rubbed white chalk on the back of my pattern and traced it onto the wood, you can see the faint outline in the picture. It is more obvious in person. Anything to light to see, I retraced with a sharpie. 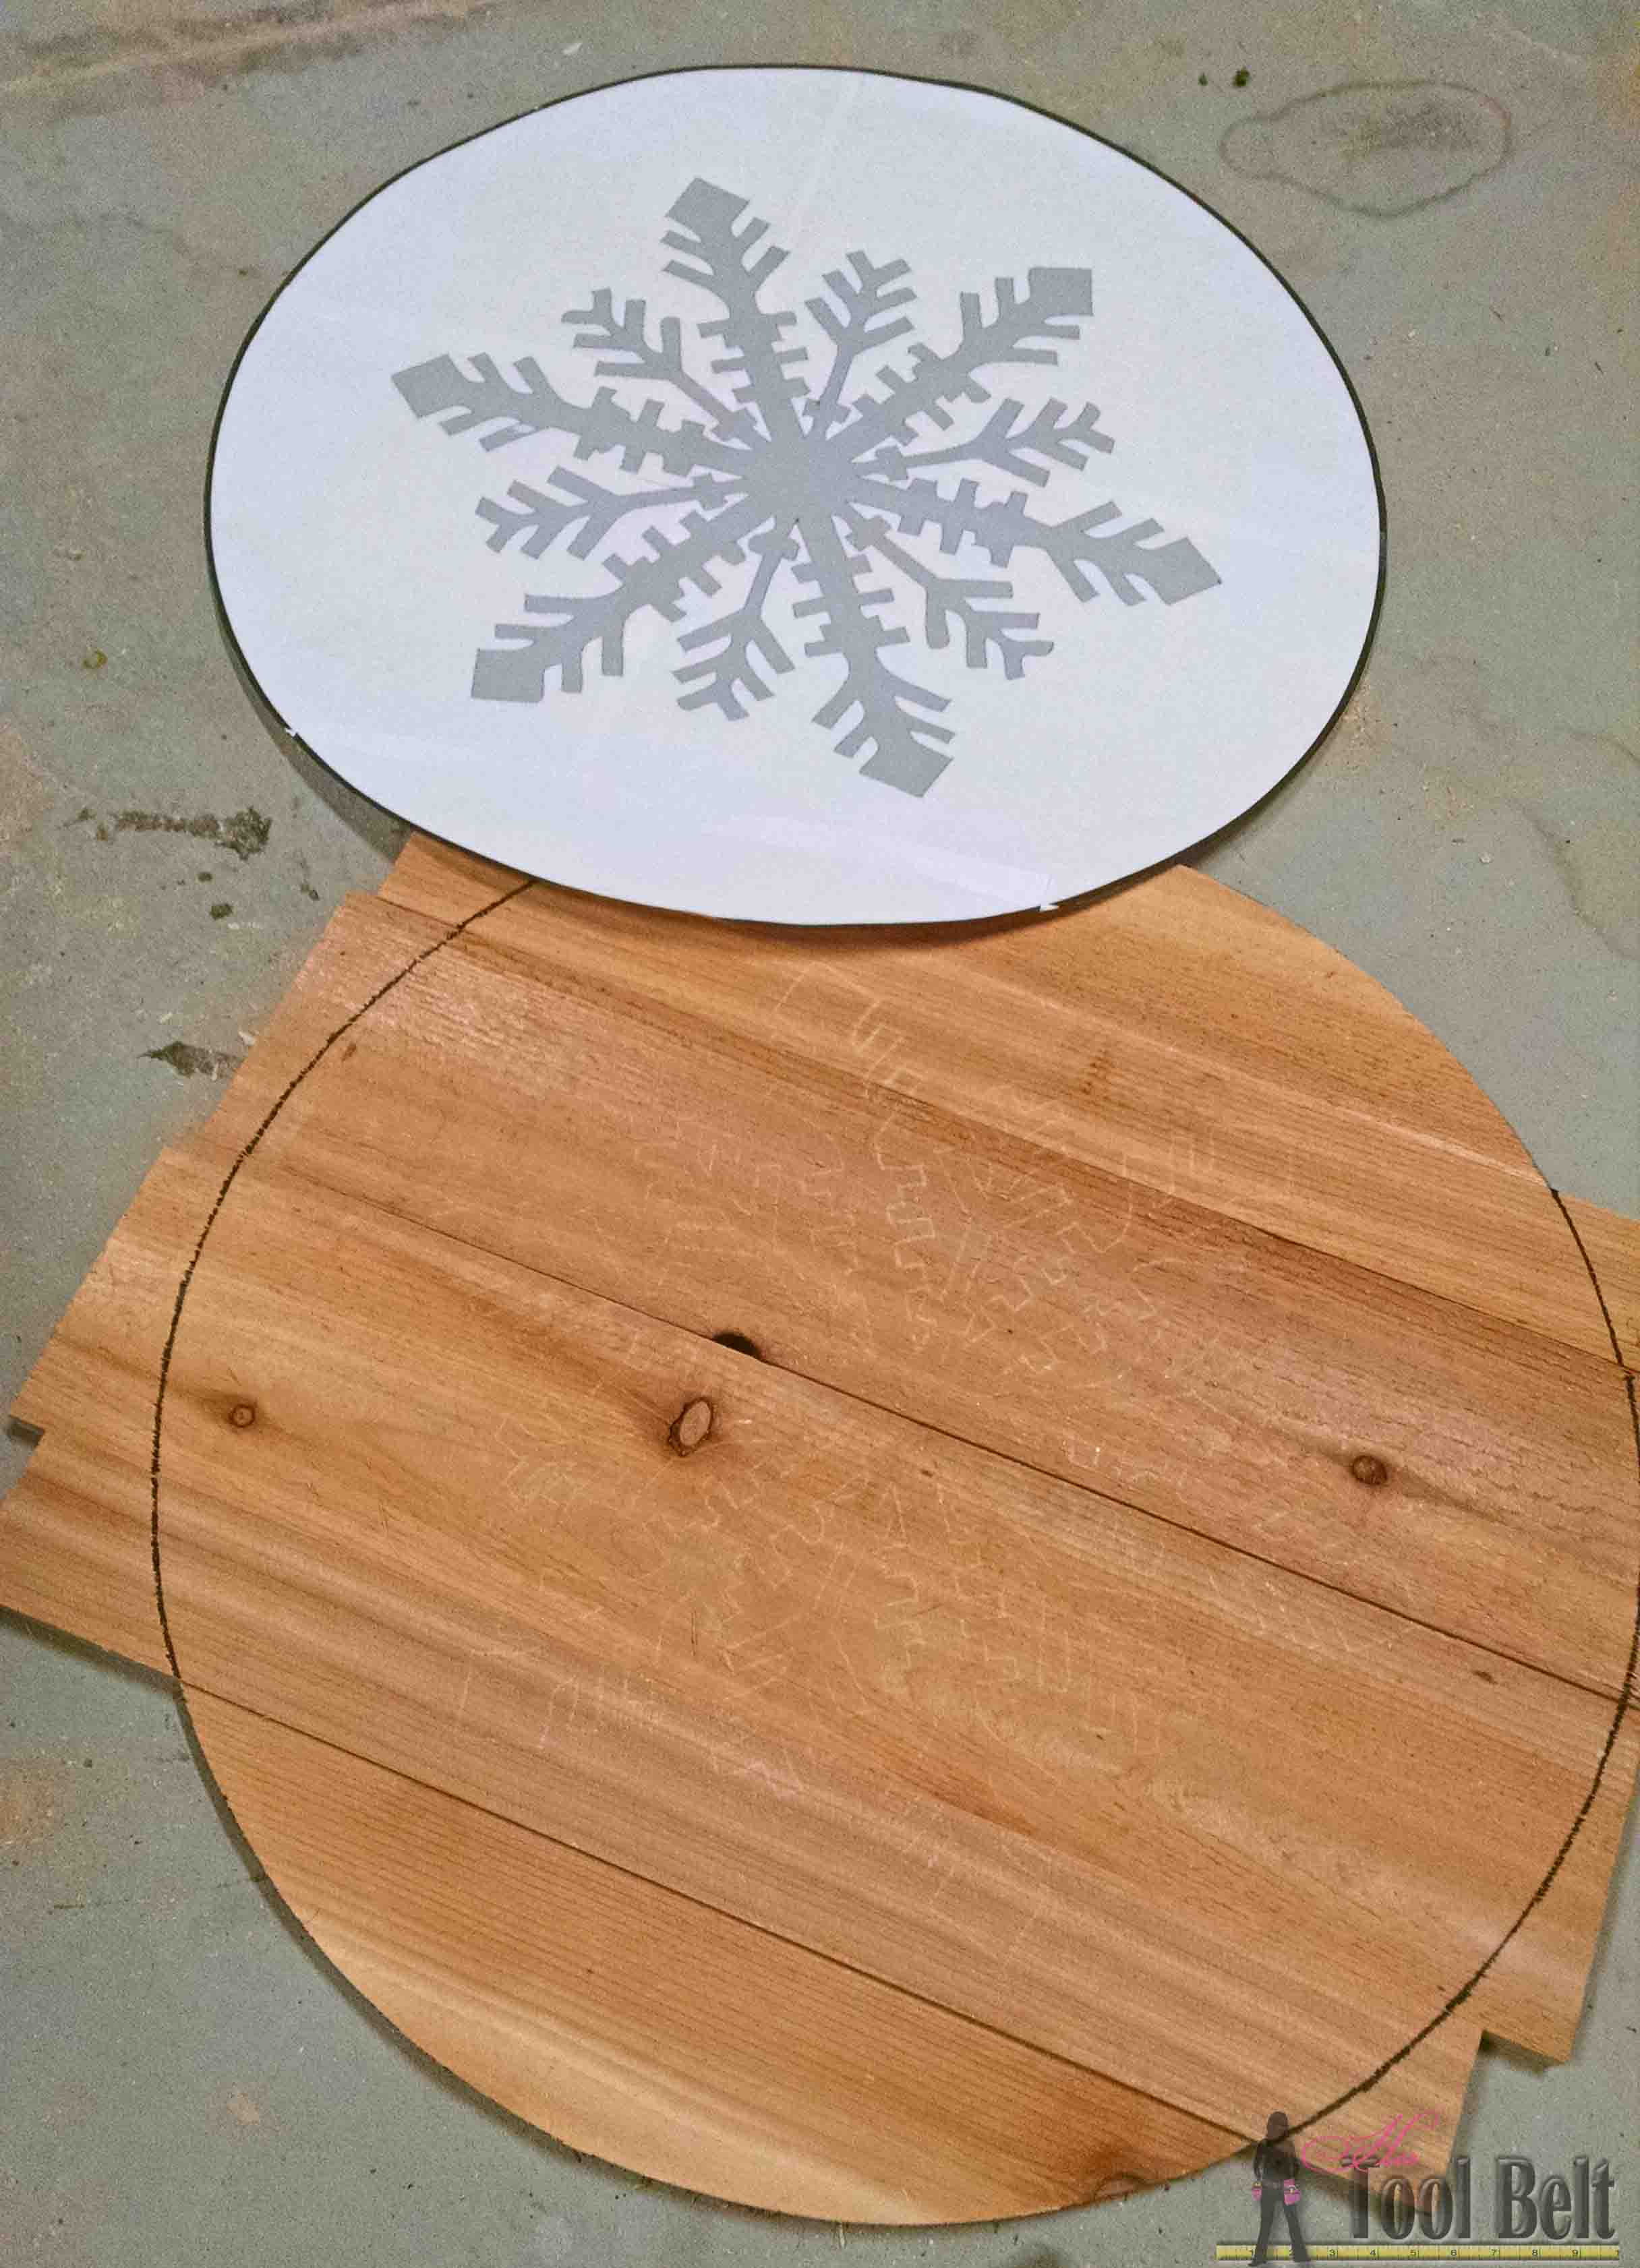 Then I spent a while cutting all of the intricate details, but the design turned out fun. (I used a band saw, I would have used my scroll saw but I broke my blade and hadn’t bought a new one yet.) 🙂
 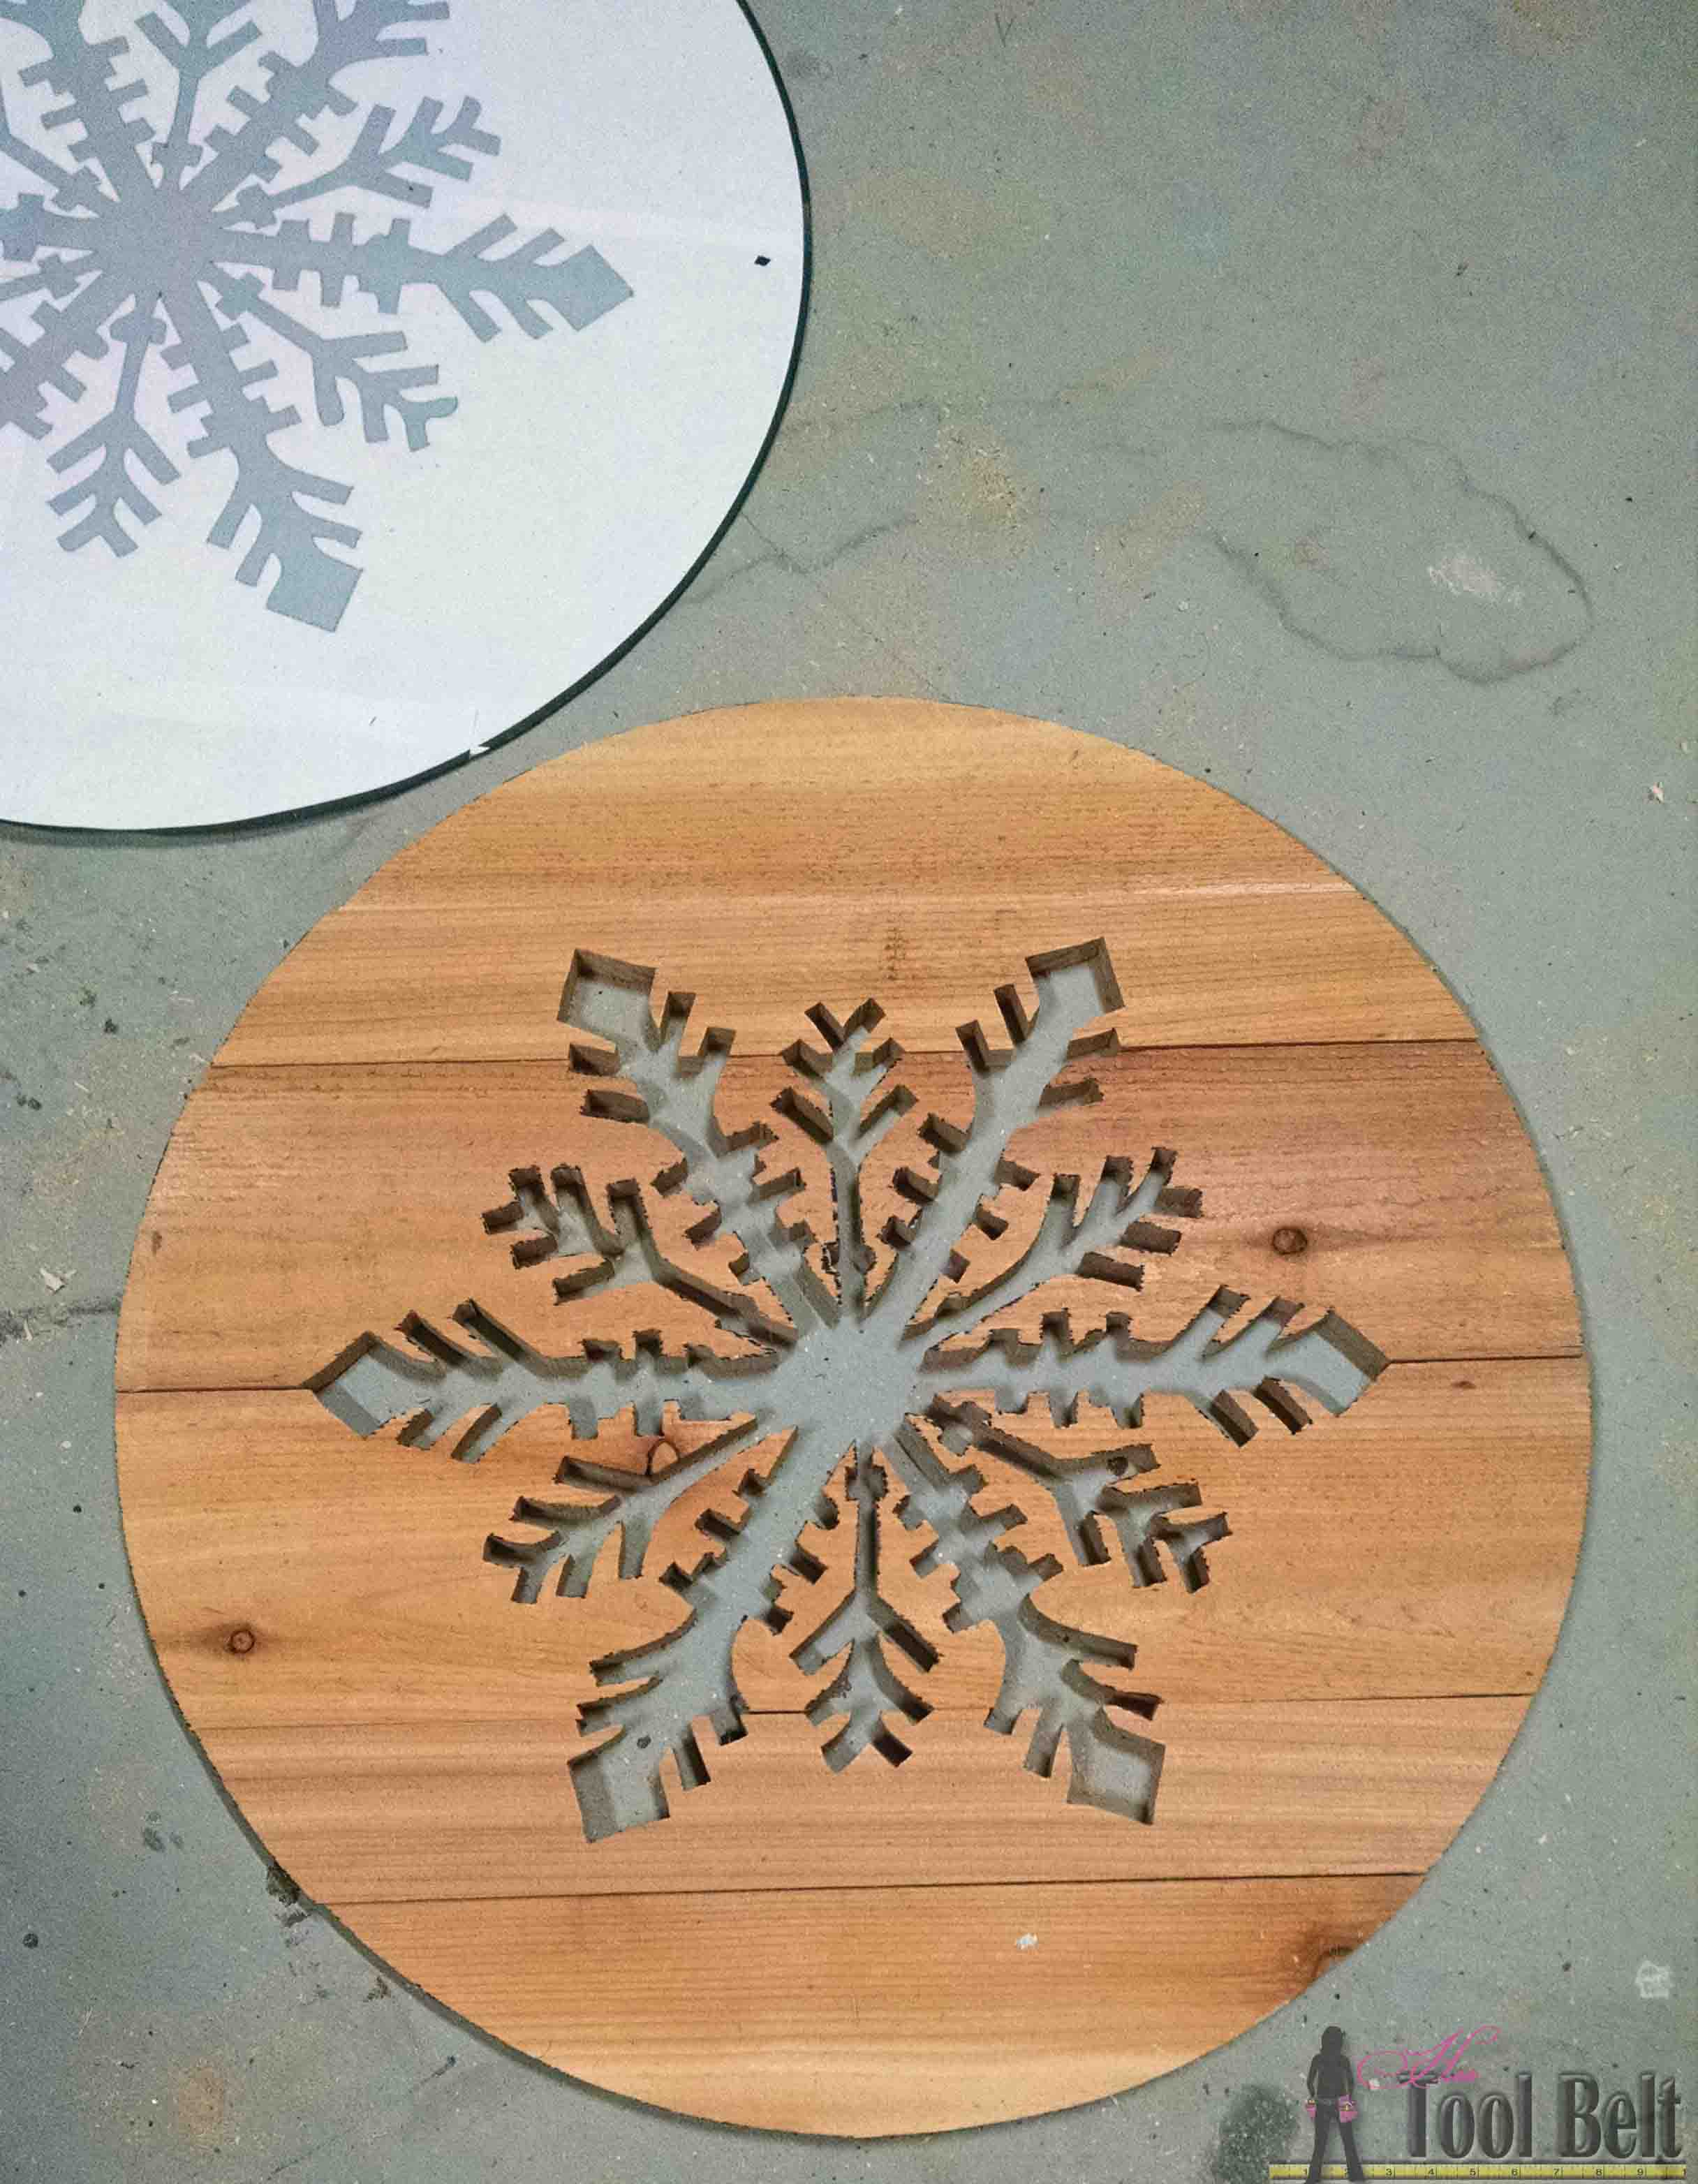 The nice thing about these cedar pickets is that the wood is pretty rough. After painting it is easy to get a distressed look with a little sanding. I painted my pieces
- white
- white wash and gold glitter spray
- aqua
- white
- white wash and gold glitter spray
- aqua
It can’t be a holiday project without glitter, right!?! After the paint dried, I distressed the pieces with sand paper. To secure the wood pieces together I used my Kreg pocket hole jig (affiliate) set for 1/2″ material and 1″ screws (affiliate). 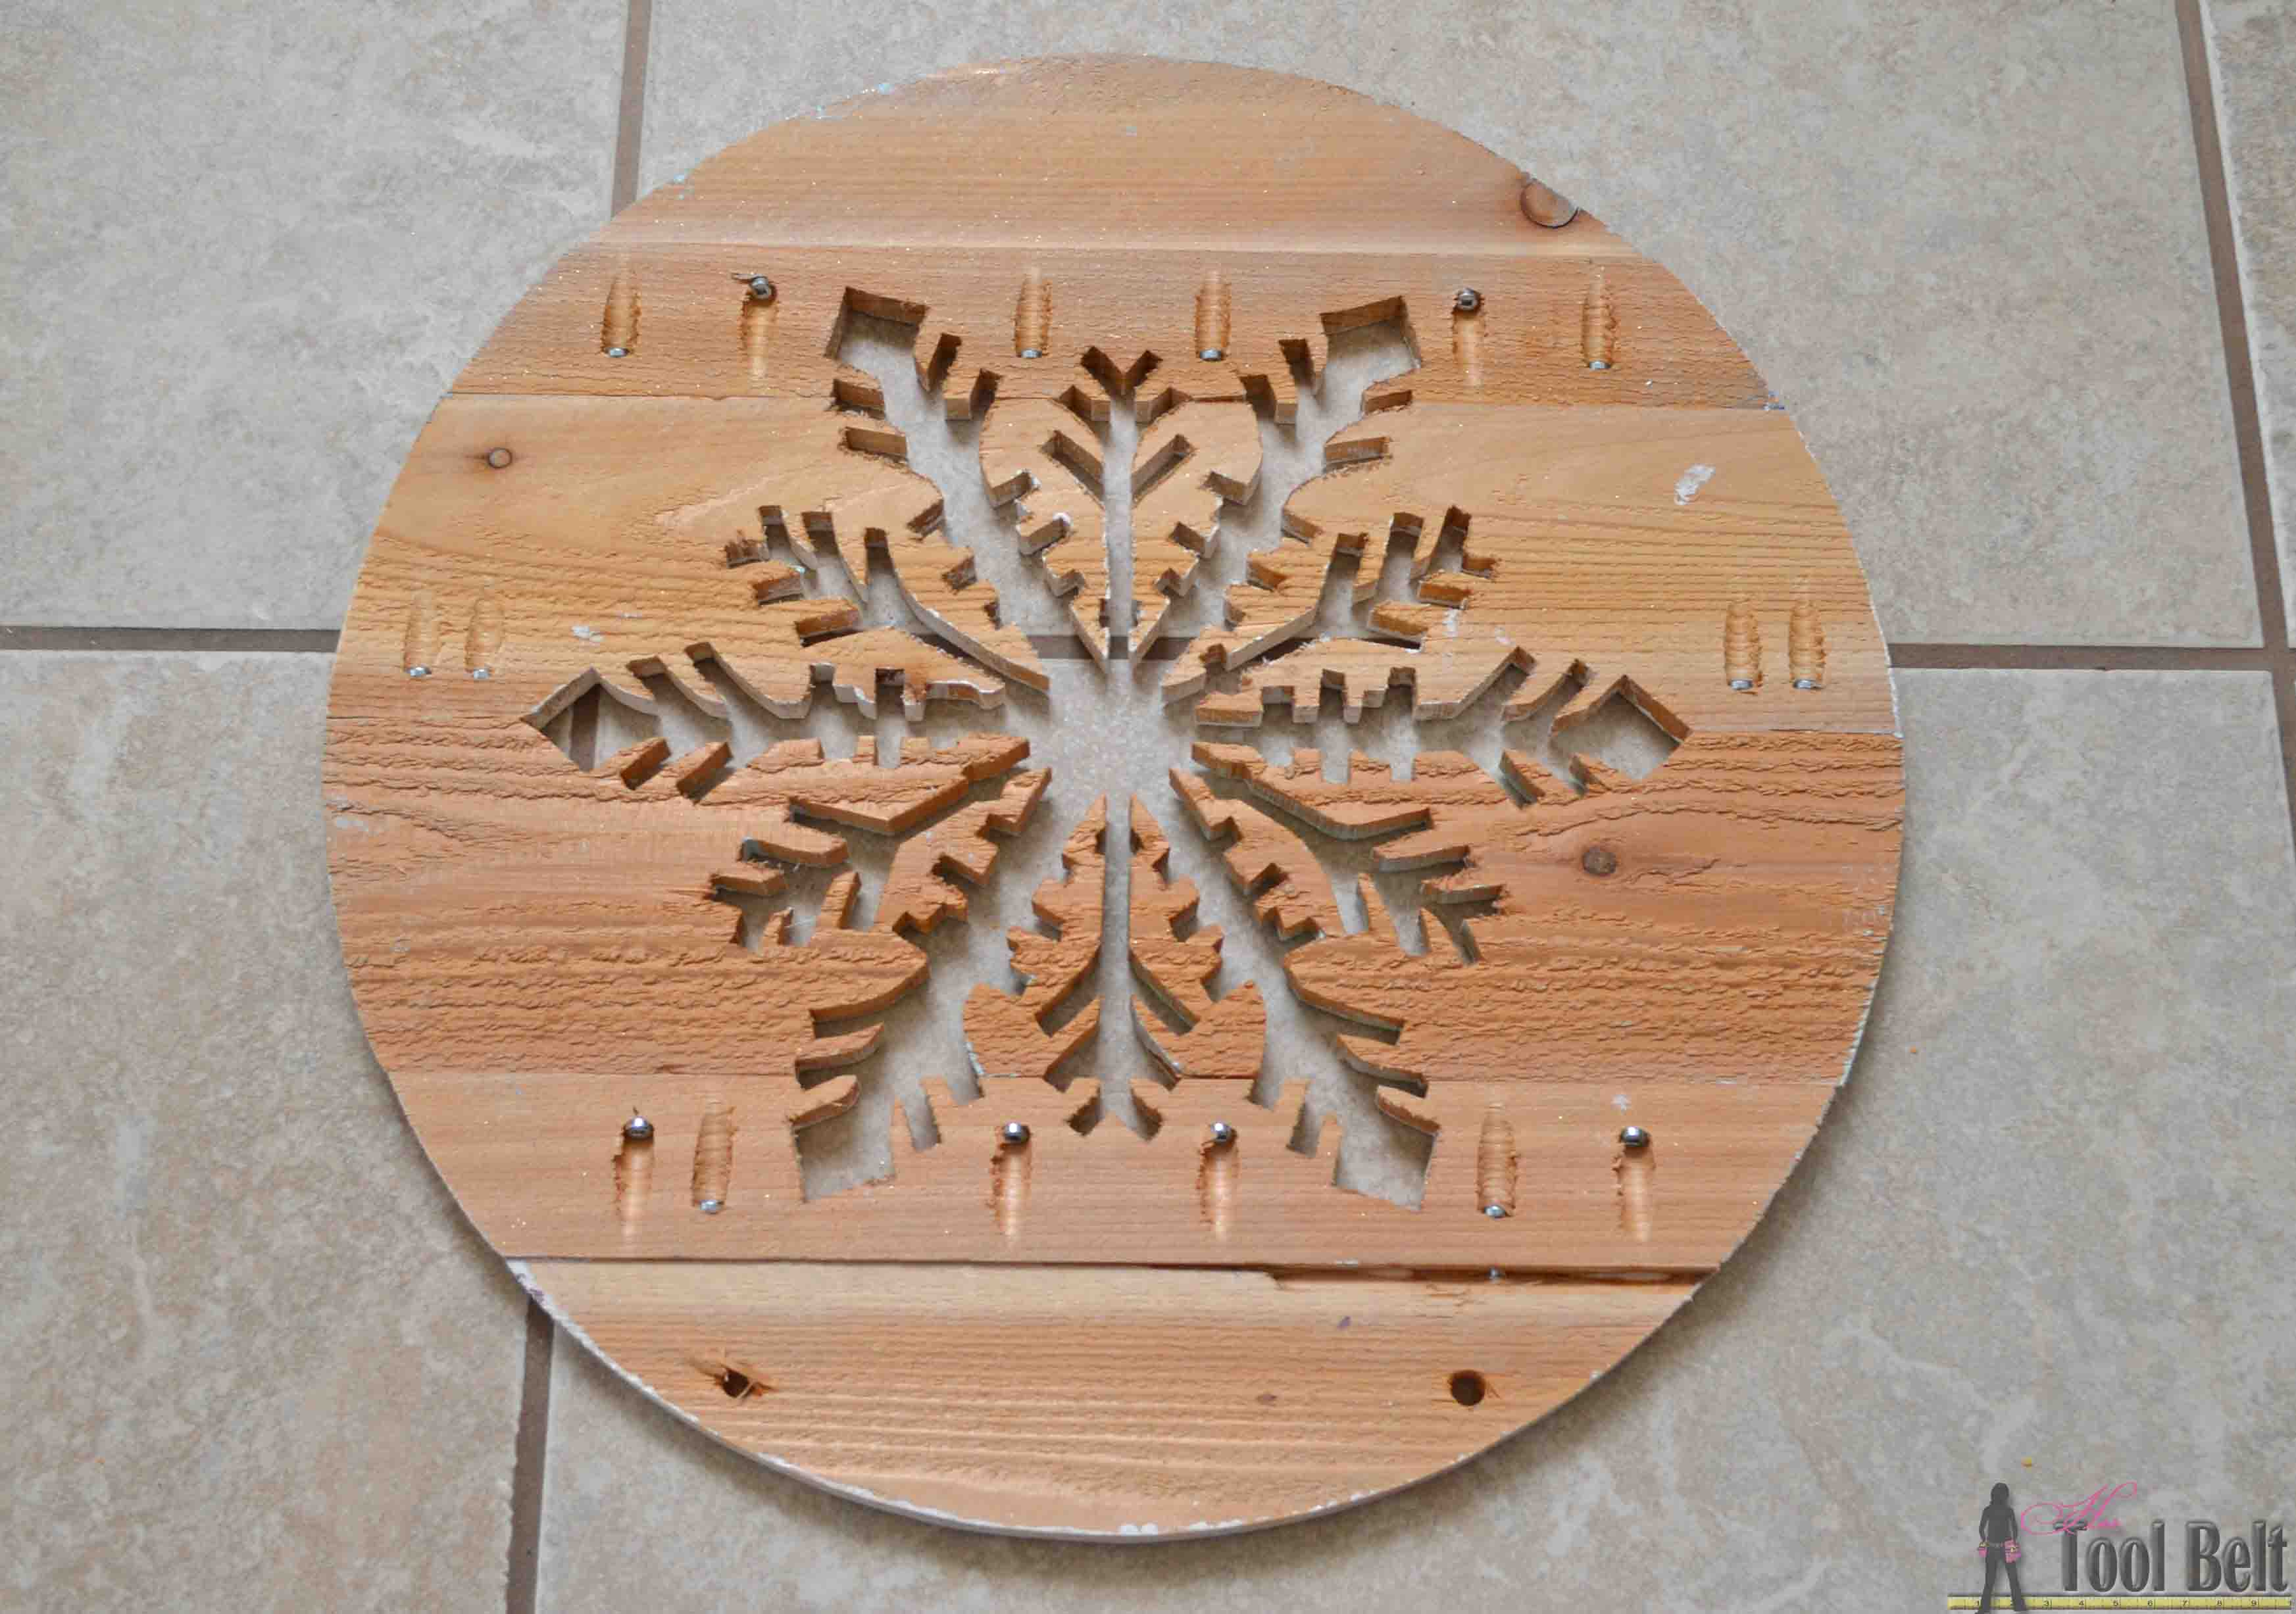 Finally, I drilled a couple of holes near the top to thread ribbon.
 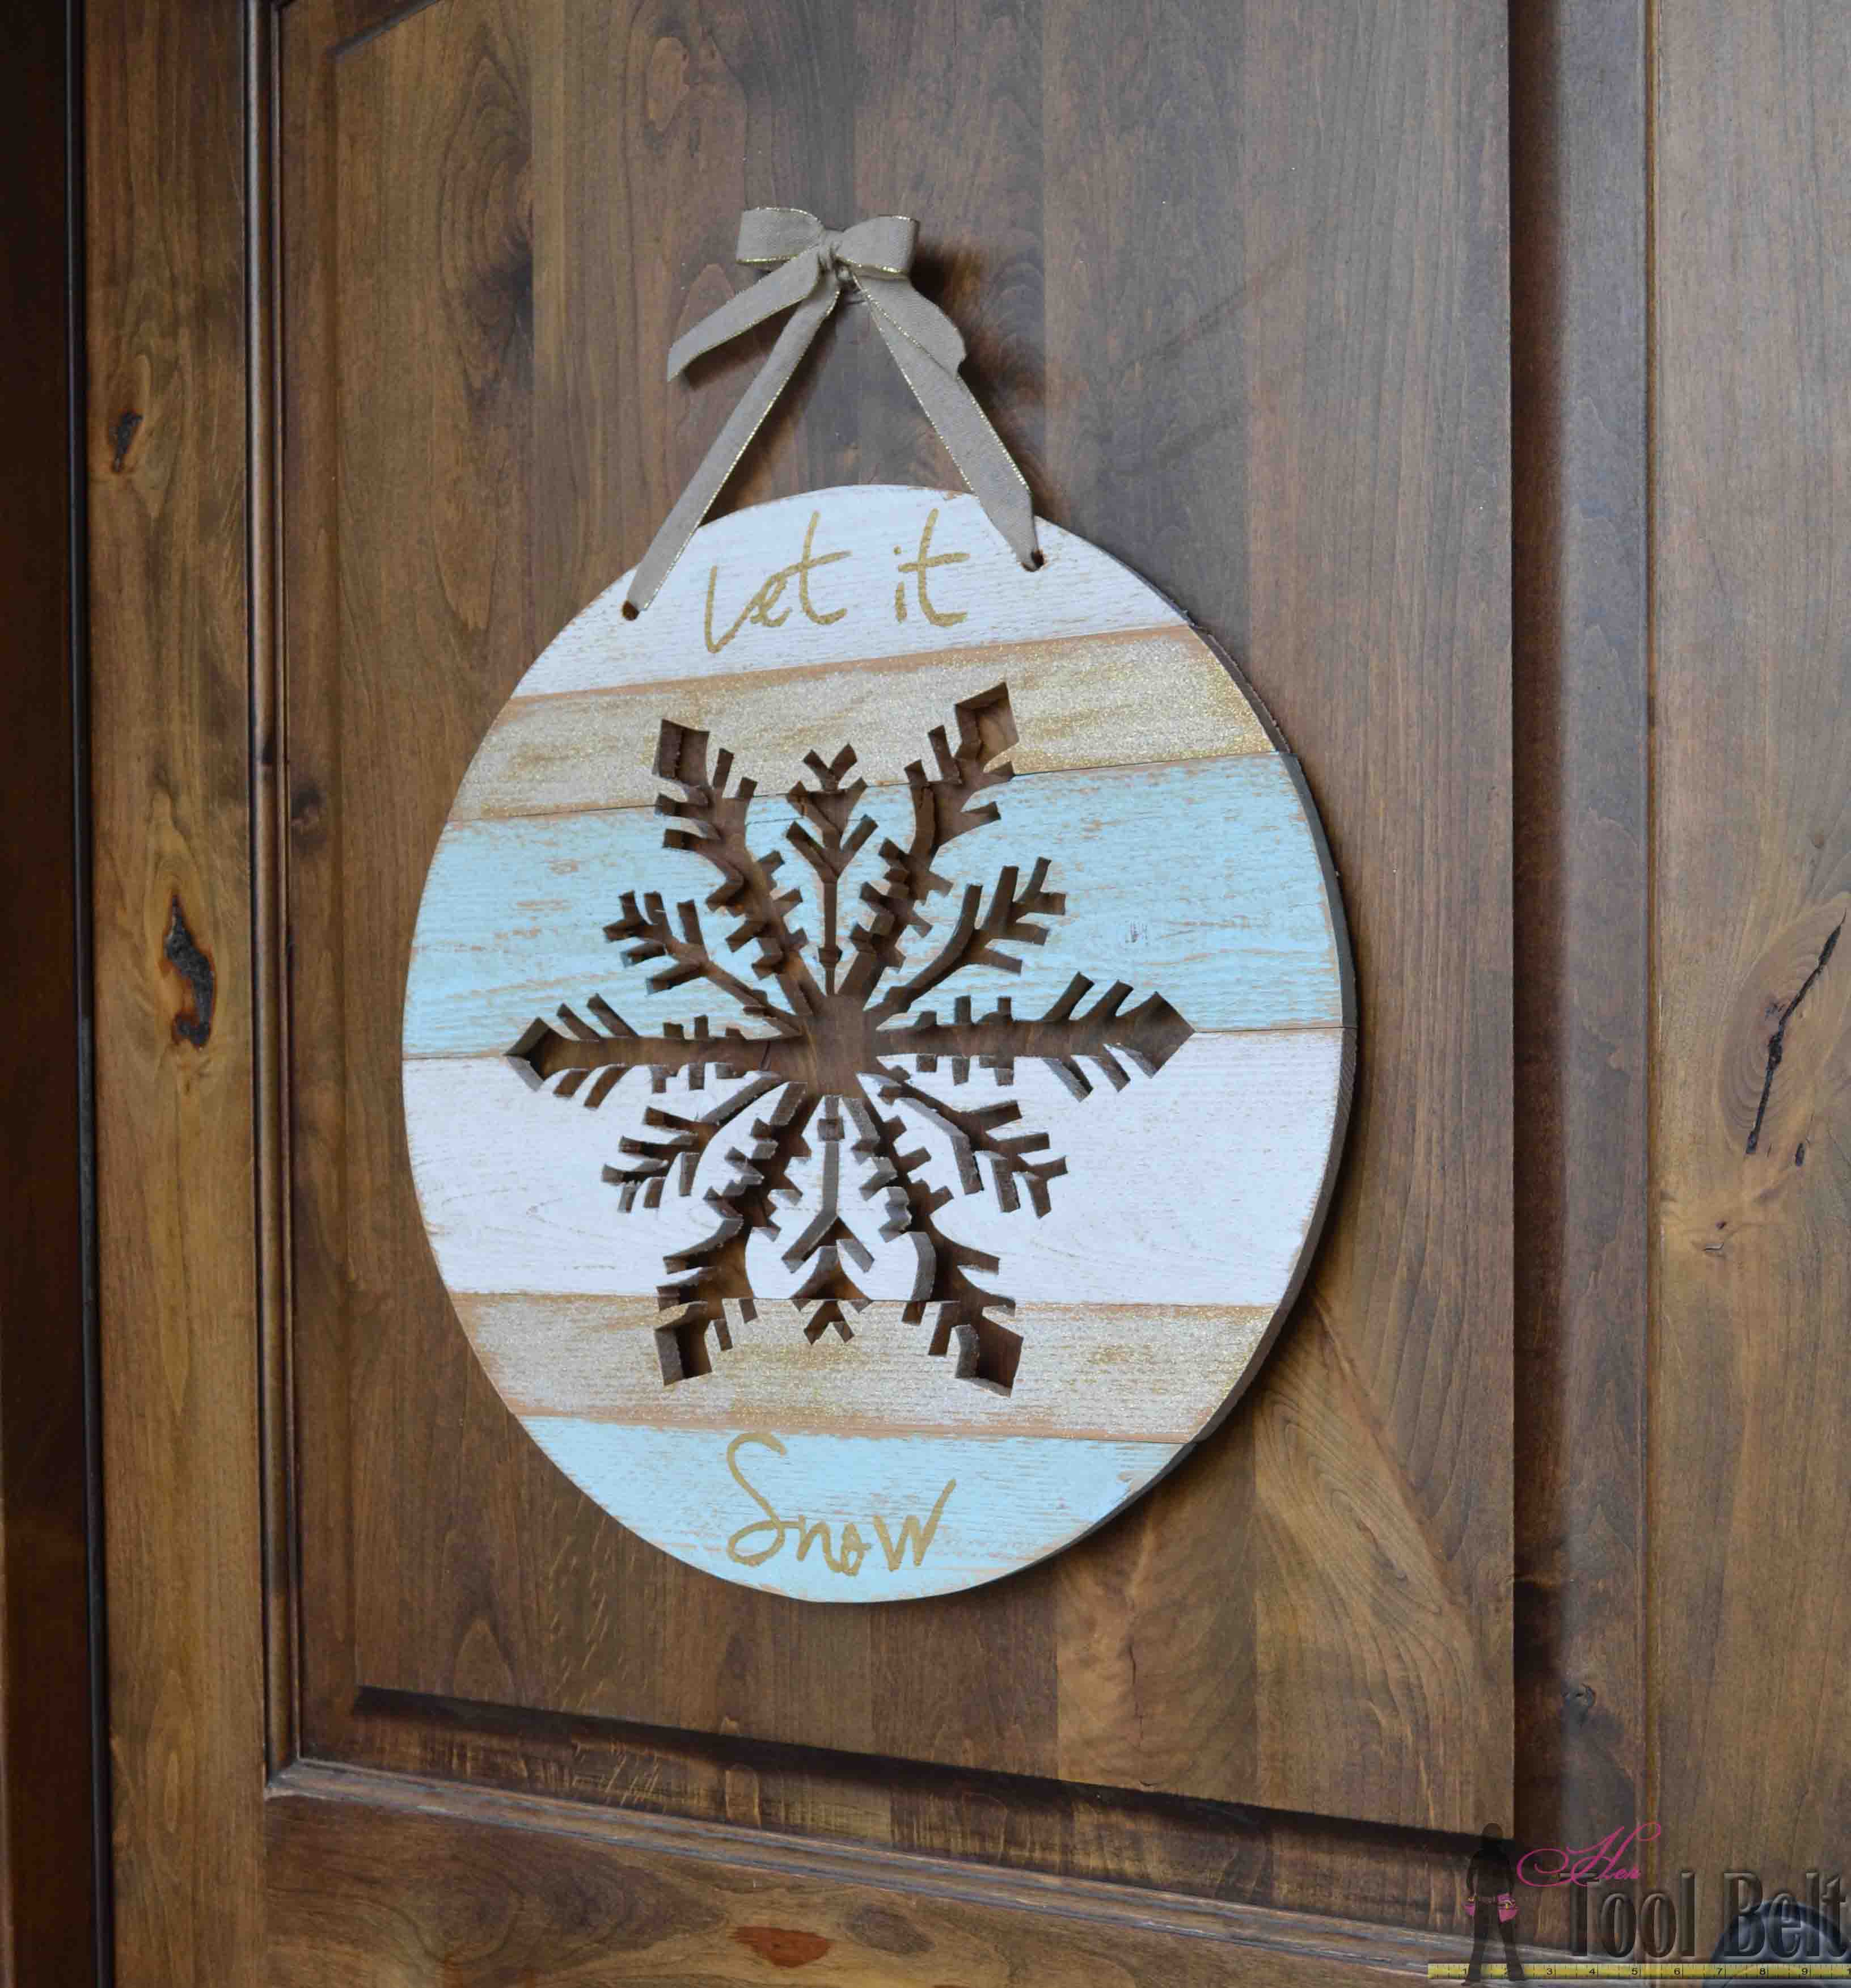 Turned out to be a fun little project and will only cost a few bucks to make…the best kind! I wish you could see the glitter shine.

Check out the other great projects in the Power Tool Holiday Challenge. 
Linked up to My Favorite Link Parties, Savvy Southern Style. Remodelaholic, homestoriesatoz
Amy, I absolutely love this! I love how you cut out the wood snowflake! I am going to have to make one of these. That was a lot of little cuts and you rocked it!
Thanks! I think I might pick a simpler snowflake design next time 🙂
Very, very cool! I think the bandsaw is my favorite tool – so many neat things can be cut with it. Your snowflake is awesome!
Thanks Cher, the band saw is definitely one of my favorites.
Amy!!! This is awesome:) When I saw the picture my first thought was how did she do that with all the detail cut out. You have a lot of patience my friend… I adore the oversized snowflake and using the Kreg Jig for the boards was smart! Love it!
Thanks Wendi!
Amy holy moses all those little cuts are amazing! Love this piece.
Thanks Jaime, just don’t look too close at the cuts 🙂 .
Love it! It’s gorgeous and rustic. Best.combo.ever!
Thanks Cecilia!
Finger’s behind my back hoping that Secret Santa package arrives on my doorstep! You rocked the band saw girl!! I wondered how in the heck you cut all those intricate details and after seeing the pics I’m still in awe of how you cut all those intricate details. LOVE LOVE LOVE your Wooden Snowflake Art Amy!
Thank you Marie, it was a lot easier than it looks 🙂
Love this project! I’m impressed with all of the small cuts that you made to create the snowflake’s detail. I really want to make one of these!
Thanks Paula, make sure to send me a pic when you make yours. 😉
This snowflake came out awesome. The fact that you made all of those cuts on the band saw is amazing and shows great skill and patience but have you ever tried using a CNC? This is a popular blog, I’m sure you could get a CNC from Inventables to review. And I’m also sure you could come up with some amazing CNC projects.
Thanks Anthony. I haven’t tried a CNC yet, but they do look seriously fun.
This is amazing!! You win! ?
Thanks 🙂
Holy cow, I’m late to the party! This is so gorgeous, I LOVE it!
Those colors too!!!! (I want a bunch of heart emojis to go here:……)
Amazing! I love everything about this project. I just wish I had the tools to make my own. I have a feeling I’d be cursing my jigsaw if I attempted it with that…
Hi Vineta, I’m sure you could totally do this with your jigsaw if you picked a simpler snowflake design. All of those little cuts were a bit tedious. 🙂
Amy this is just sooo adorable! I really love the colors you choose just beautiful and the snowflake, wow!!
This turned out beautifully! I love the snowflake and can’t imagine how long it took to cut all of that detail. The painting is the final finishing touch.
Thank you! It really didn’t take that long.
What a beautiful piece!! Great craftsmanship too! Thanks for sharing on My 2 Favorite things on Thursday!! Hope to see you again this week! Pinned!
Love this! Did you put it all together and then cut, or did you cut and screw it together after.
Yes, I cut out the pieces, painted them, then screwed it together.
I love this!! I have a silly question though – what’s the difference between a band saw and a scroll saw? Thanks!!
A band saw has a continuous blade (like a big loop), and a scroll saw has a small blade that can be removed to so you can do cut outs without cutting through the wood to get to the part you want to cut out.
ABSOLUTELY LOVE THIS!! so pretty!
I love this! Thanks for sharing.
You were the most clicked link at You’re Gonna Love It this week! You’re awesome snowflake will be featured tomorrow afternoon!
Yay!
Awesome thanks Kim!
HI Amy! I just wanted to let you know that you are this week’s MEGA Rockstar from Creativity Unleashed! I will be shouting you out on all my social media outlets and will have tons of pins going up tonight on my biggest boards starting around 7:30EST. I’ll also be featuring you in my weekly newsletter on Friday. I hope you get LOTS of love this week! You totally deserve it, girl!!!
Thanks so much Gwen!