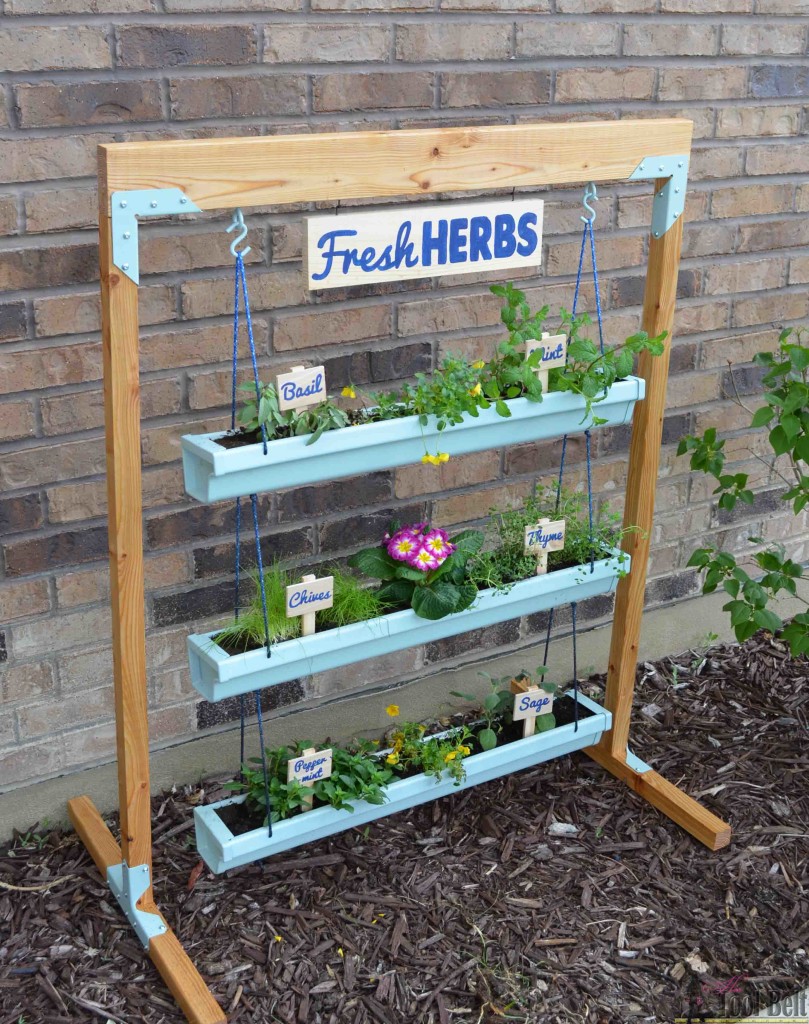
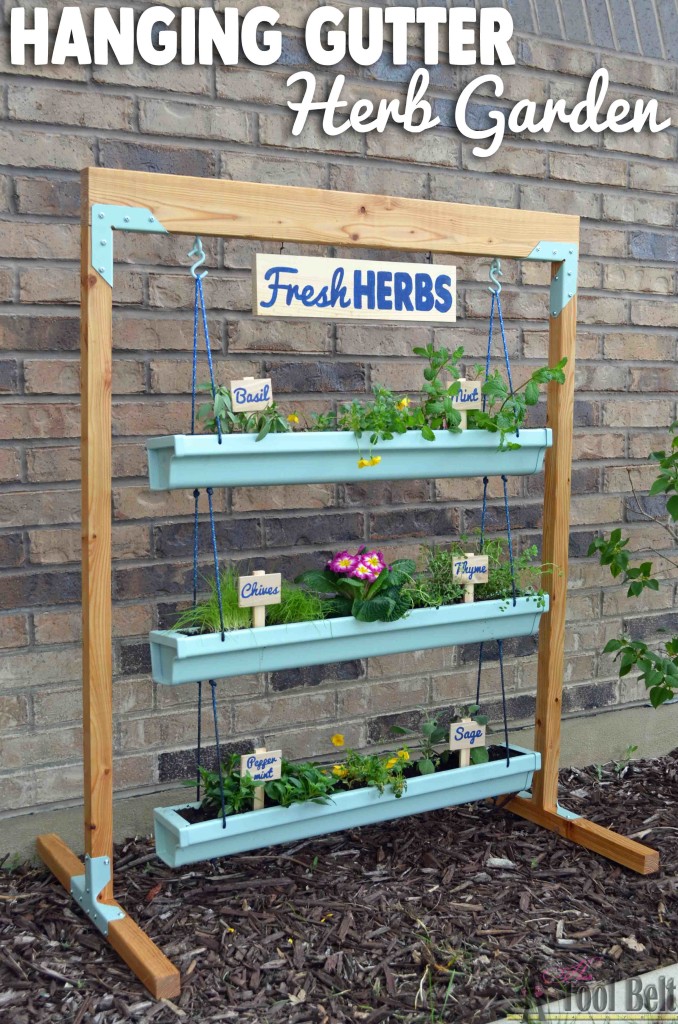
I have been wanting to make a fresh herb garden to assist with cooking, but didn’t want a large dedicated space in the ground. Everything tastes better fresh right, but a little bit of herbs seem to go a long way. This was the perfect project to check that wish off my list. Also I don’t have a great area to hang planters, so I built a really simple stand to hold the hanging gutter planter. The stand is light weight and easy to move around.
How to Build a Hanging Gutter Planter and Stand
Materials
- 1 – 2×4 board
- 2 – 2×2 board
- 2 – RTA2Z rigid tie connector
- 2 – RTT22Z rigid tie connector
- 40 – 1 1/4″ screws
- Rustoleum Robins Egg spray paint
- 1 – 10′ traditional vinyl gutter
- 3 sets – vinyl K-style end cap set (2-pack)
- rope
- 2 – large S-hooks (1/4″ x 2″)
- 2 – eye hooks (1/4″ x 3 3/4″)
- Thompson’s water seal
- potting soil
- your favorite herbs
- optional for sign and markers
- 4 – small cup hooks (1/2″ or smaller)
- 4″ x 16″ piece of wood
- 6 – 1/4″ x 2″ x 3″ pieces of thin plywood
- 6 – 1/4″ x 3/4″ x 6″ pieces of wood or popsicle sticks
- paint
- hot glue
- optional for sign and markers
Cut List
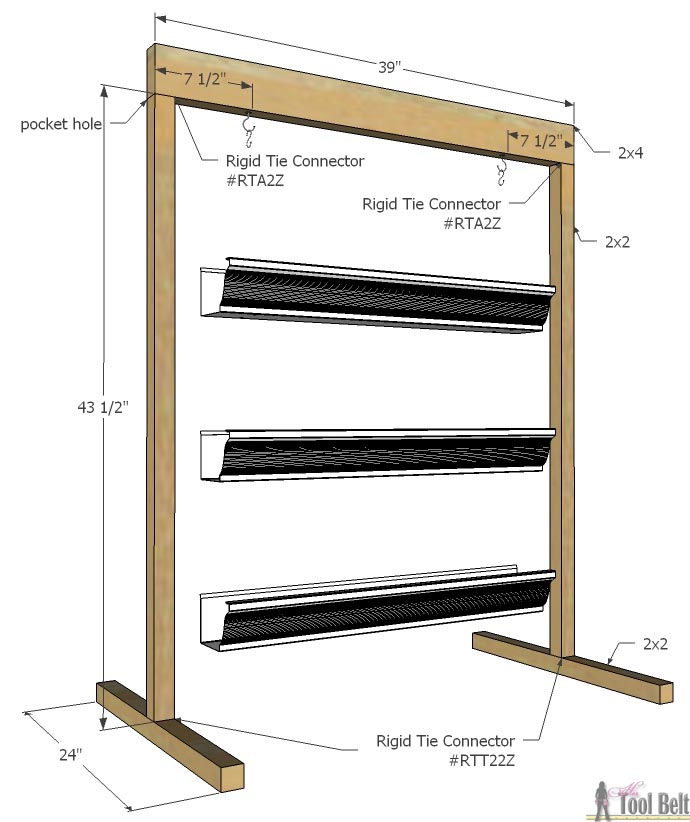
- 1 – 1 1/2″ x 3 1/2″ x 39″ (2×4)
- 2 – 1 1/2″ x 1 1/2″ x 43 1/2″ (2×2)
- 2 – 1 1/2″ x 1 1/2″ x 24″ (2×2)
Optional – Cut List (for the sign and markers)
- 1 – 3/4″ x 4″ x 16″ (Fresh Herbs)
- 6 – 1/4″ x 2″ x 3″ (Herb names)
- 6 – 1/4″ x 3/4″ x 6″ (Herb name sticks) or popsicle sticks
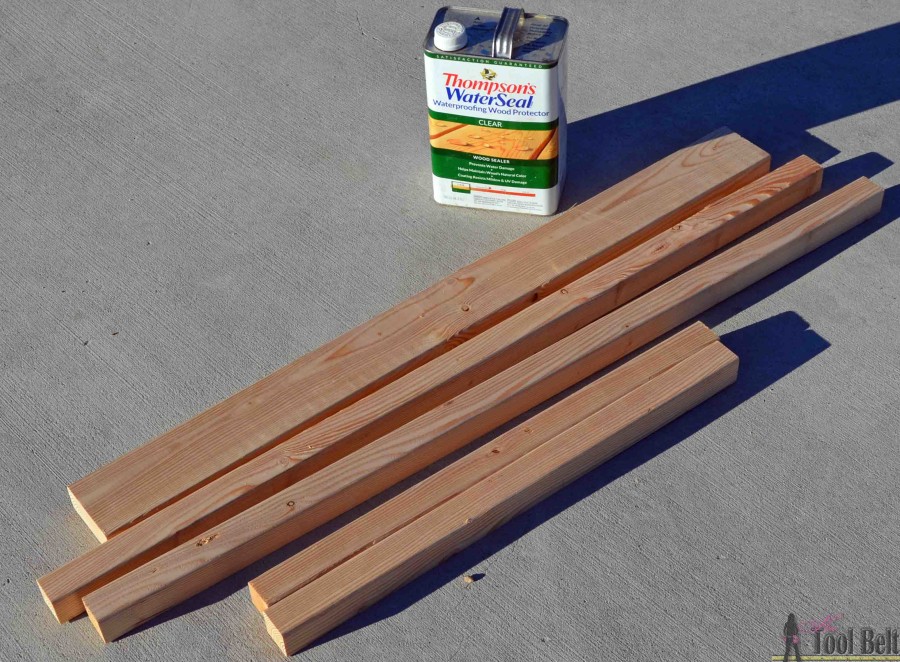
Before assembling the stand, I applied a coat of Thompson’s water seal to the wood. I painted the brackets robin’s egg and let them dry.
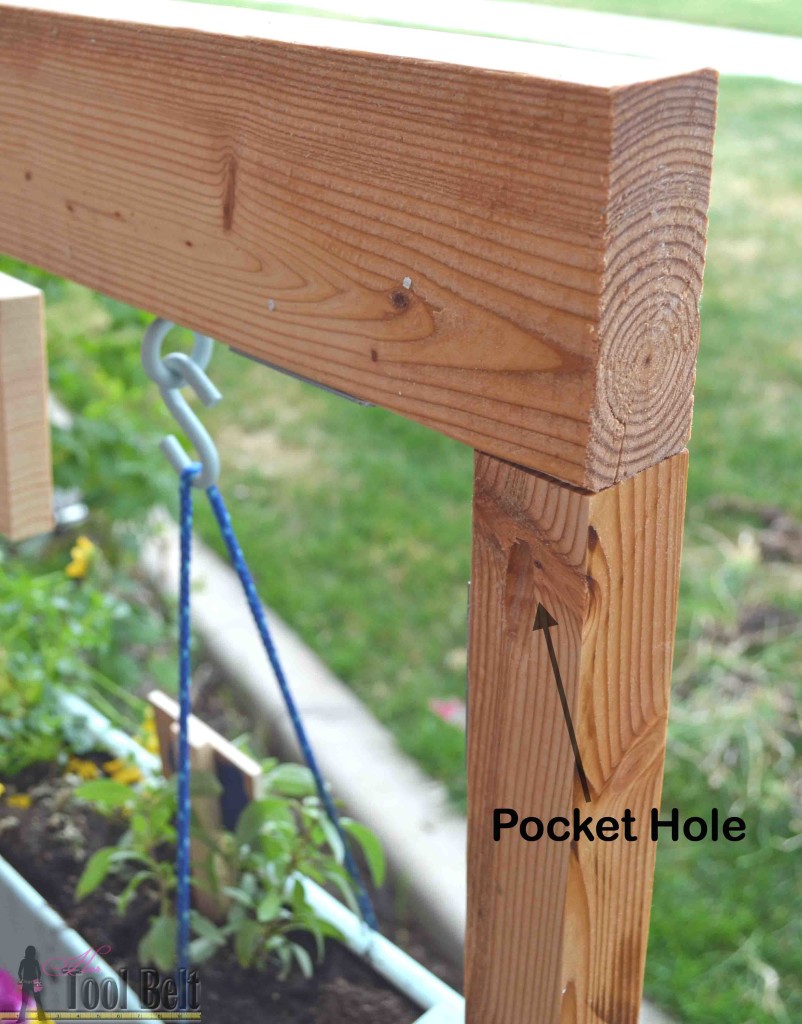
On the top of the 43 1/2″ legs, drill a pocket hole in the back side. (If you don’t have a pocket hole jig you can toe nail a screw in later.) In the 2×4, drill pilot holes for the hooks at 7 1/2″ from each end.
Attach a rigid tie connector #RTT22Z to the center of a 24″ 2×2 with 1 1/4″ screws (I prefect self-tapping screws). Attach a 43 1/2″ 2×2 to the connector. Repeat for the other leg. Attach the legs to the 39″ 2×4 with the rigid tie connectors #RTA2Z and screws.
Put a 1 1/4″ screw in the top of the legs for a little extra security.
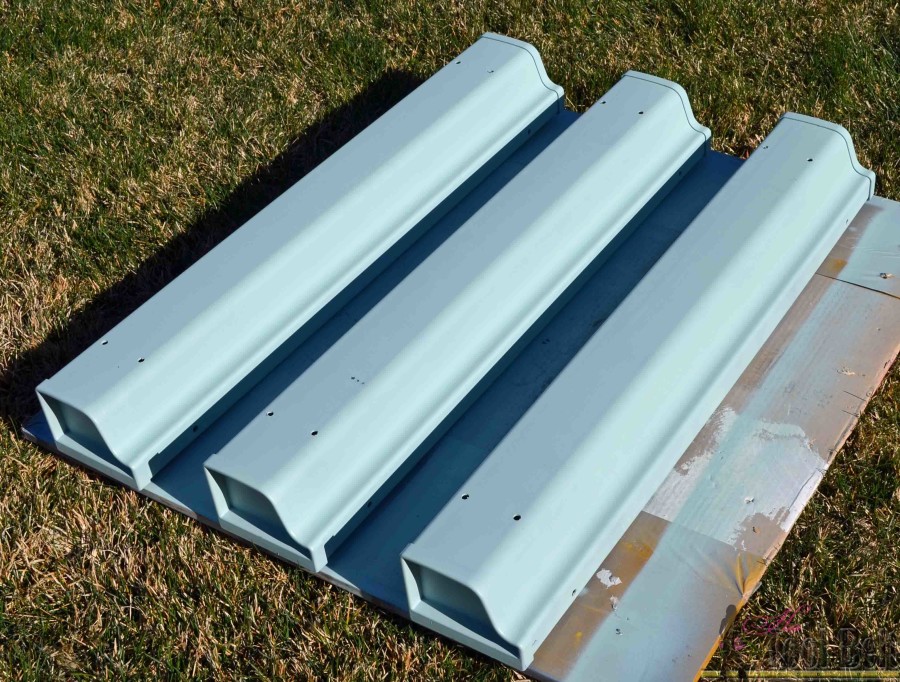
Onto the planter. I cut the gutters to 30″ lengths and drilled holes for the ropes 3″ from each end. I slid the gutter ends on and painted the gutters Rustoleum robin’s egg.
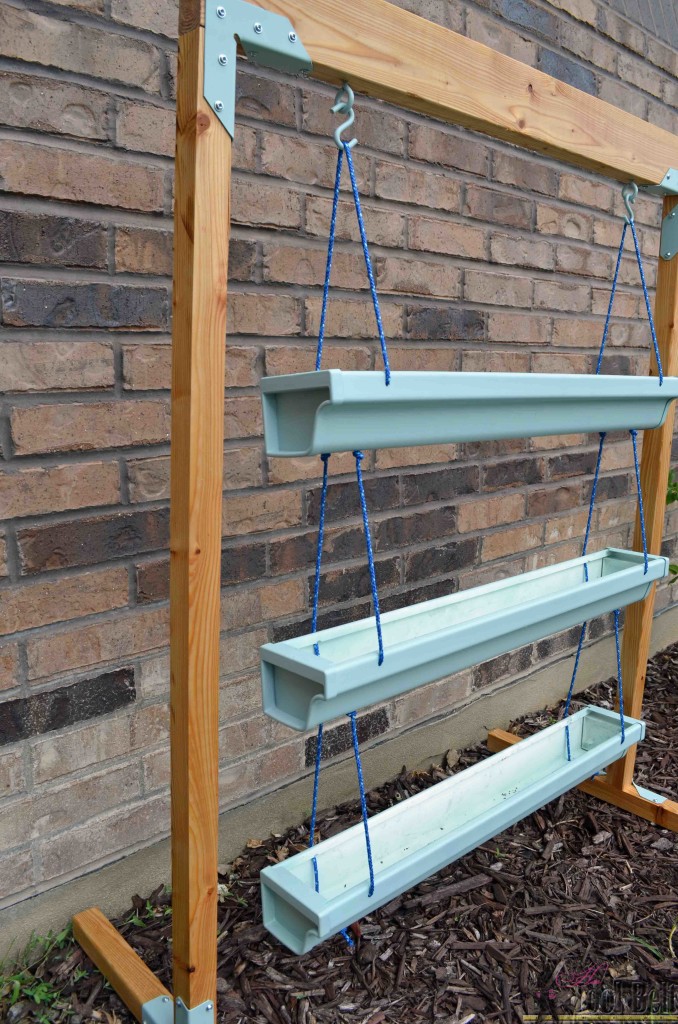
Cut 2 pieces of rope about 10 feet long. Center the rope on the S hooks, thread the rope through the first gutter and loosely tie knots under the gutter. Thread the second gutter onto the rope and loosely tie knots under the gutter. Thread the third gutter onto the rope and loosely tie knots under the gutter. Adjust the spacing and levelness of the gutters until you get it how you want it, then tighten the knots. Phew the hardest part of this project is done! 🙂
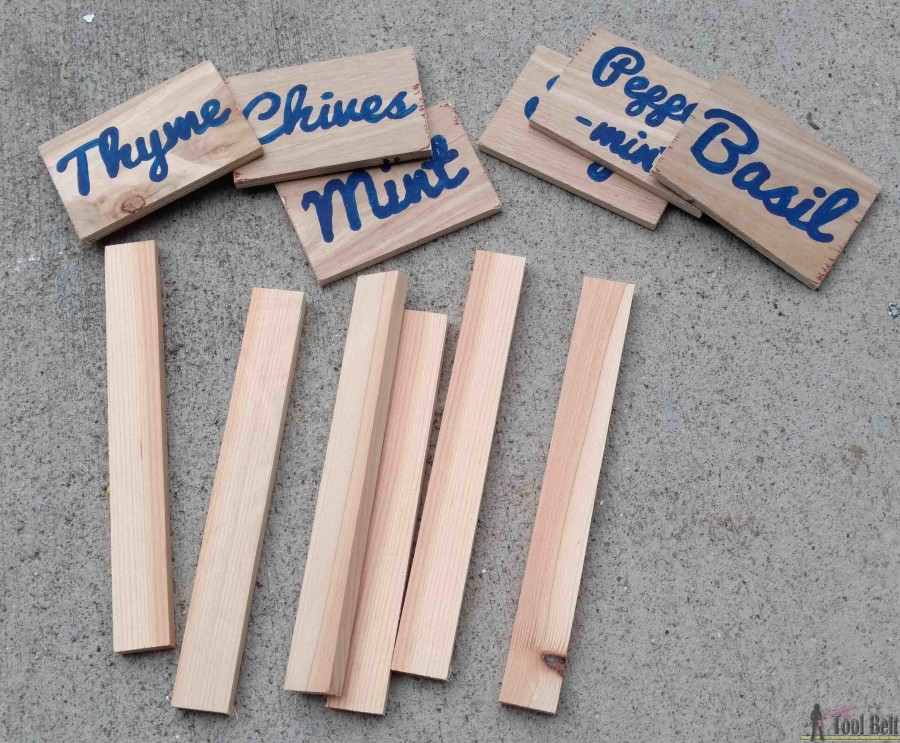
I rummaged through my scrap wood pile to make the Fresh Herbs sign and markers. I printed out the names of the herbs and traced the words onto the wood and filled the tracing with blue paint. Use a little hot glue to connect the herb names to the sticks.
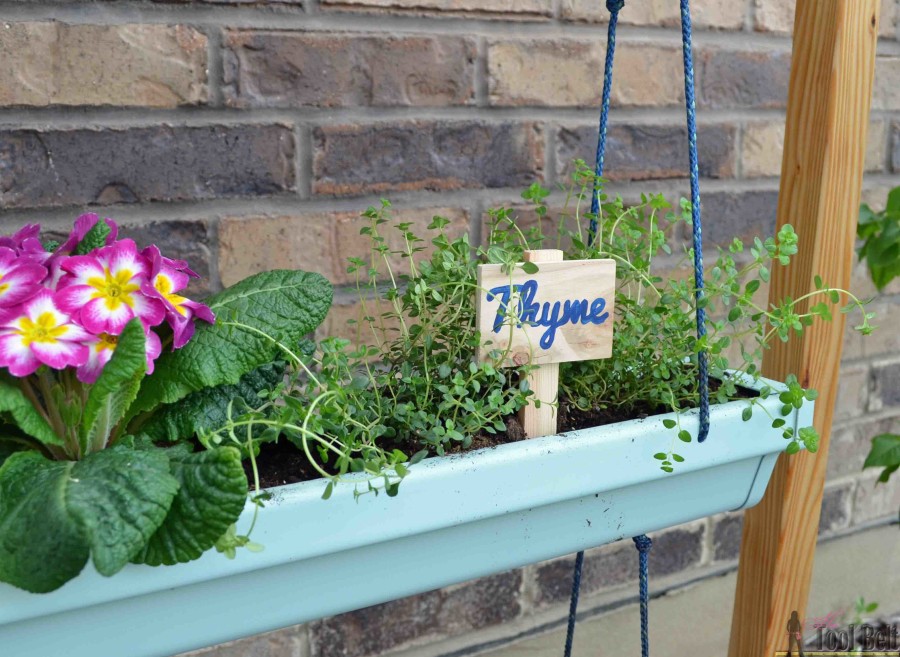
Fill the gutters with potting soil and plant with your favorite herbs (or flowers).
I’m really excited to get using these delicious fresh herbs!
Check out all of these cools ideas to customize your hanging gutter planter!
- The Creative Mom / Her Toolbelt / The Contractor Chronicles / A Girl and a Glue Gun / Make It Love It
- Live Laugh Rowe / My Fabuless Life / Place of my Taste / Hawthorne and Main /House By Hoff
- Domestically Speaking / My Repurposed Life / Restoration Redoux / Designs By Studio C / Cupcakes and Crinoline
- All Things Thrifty / Lou Lou Girls / Reality Daydream / Over The Big Moon / Pretty Providence
- The Rustic Life / The Glam Farmhouse / Boxwood Avenue / Our Vintage Farmhouse / A House and a Dog
Hi and welcome to the Home Depot DIH Workshop (Do it herself) Virtual Party! I am really excited about today’s project, it’s been something I’ve wanted to make for a while. Before we get to my project, this is the gorgeous project for April’s DIH workshop at your local Home Depot on Thursday, April 21 from 6:30-8 pm.
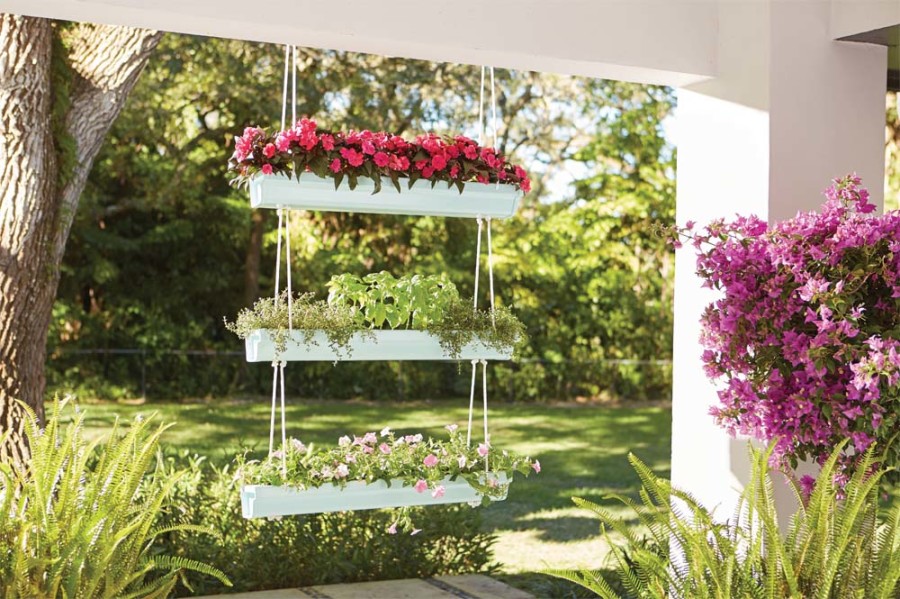
Where will you hang yours? I’ve seen people use them as privacy screens on the porch and it turns out lovely.
The Home Depot offers Workshops at all of their locations for DIY’ers of all ages and experience levels.
- There are three types of Workshops offered – Do-It Yourself (DIY), Do-It-Herself (DIH) and Kids.
- Customers can learn how to build décor projects, how to make easy home repairs and how to operate tools through demonstrations and step-by-step instructions.
- Visit Home Depot to learn more.
If you’re new to DIY projects and tools, DIH workshops are a great place to build your confidence and power tool skills. Workshops are free, demonstrative classes. You’ll walk away with the skills to recreate the project at home.
Register for the Free Workshop
Gather your flower loving girlfriends and register to attend the free workshop at your Home Depot on Thursday, April 21 6:30 – 8pm ——> Register Here
Share your project creations with hashtag #DIHWorkshop
This post was sponsored by The Home Depot, all ideas and opinions are my own.
Linked to Link Parties, Savvy Southern Style, Remodelaholic, Homestories AtoZ

Amy
You did a great job on the planter, and tutorial. I love the color of your gutters and the plant markers are such a great touch.
gail
Thanks Gail!
Love the stand – what a great idea!
Love it! Fresh herbs are delicious!
Love, love the stand!!! Such a cool idea!
Thanks so much!
I am in love with this! I tried doing pots of herbs last year, but my little kept knocking them over. I hope I can convince the husband to make me one! Thanks for the awesome tutorial Amy!
Thanks Kirsten! Check out this one too, she cleverly incorporated pots. http://www.agirlandagluegun.com/2016/04/35240.html
Love this! Your instructions for the cut list are so easy to follow. I love the stand!
Shonee
Love this project! Your version is so pretty! I’m featuring this week on You’re Gonna Love it!
Awesome! Thanks so much Kim.
This is such a cute project! I love the signs you added.
Amy, this looks awesome and you gave a real good rundown on how to do it! I am looking at creating a vertical garden by the deck and this may be a nice idea. Not sure but I will look into getting something similar done this spring. Thanks for the inspiring idea!
What length did you cut the gutter pieces? (sorry if i missed that) Did you have to glue the ends on them?
I cut the gutter pieces 30″ long. I didn’t glue the caps on, they had something in them that made them stick on.
A very attractive idea for a space saver herb garden. I recently saw a similar idea on TV for hanging on a kitchen wall.